


As I stood in my kitchen, the aroma of warm, sticky rice enveloped me like a familiar embrace. Today, I’m thrilled to share my recipe for Easy Flavorful Salmon Onigiri Rice Balls, a delightful fusion of textures and tastes that transcends your average meal prep. These Japanese rice balls are not just quick to whip up; they also cater to our busy lives while delivering a gratifying, wholesome bite. With minimal fuss and simple ingredients, this dish makes healthy eating exciting and accessible—perfect for packed lunches or a comforting snack. Plus, they’re naturally gluten-free when using tamari, making them ideal for everyone at the table. Ready to explore this scrumptious tradition? Let’s dive into the joy of onigiri together!
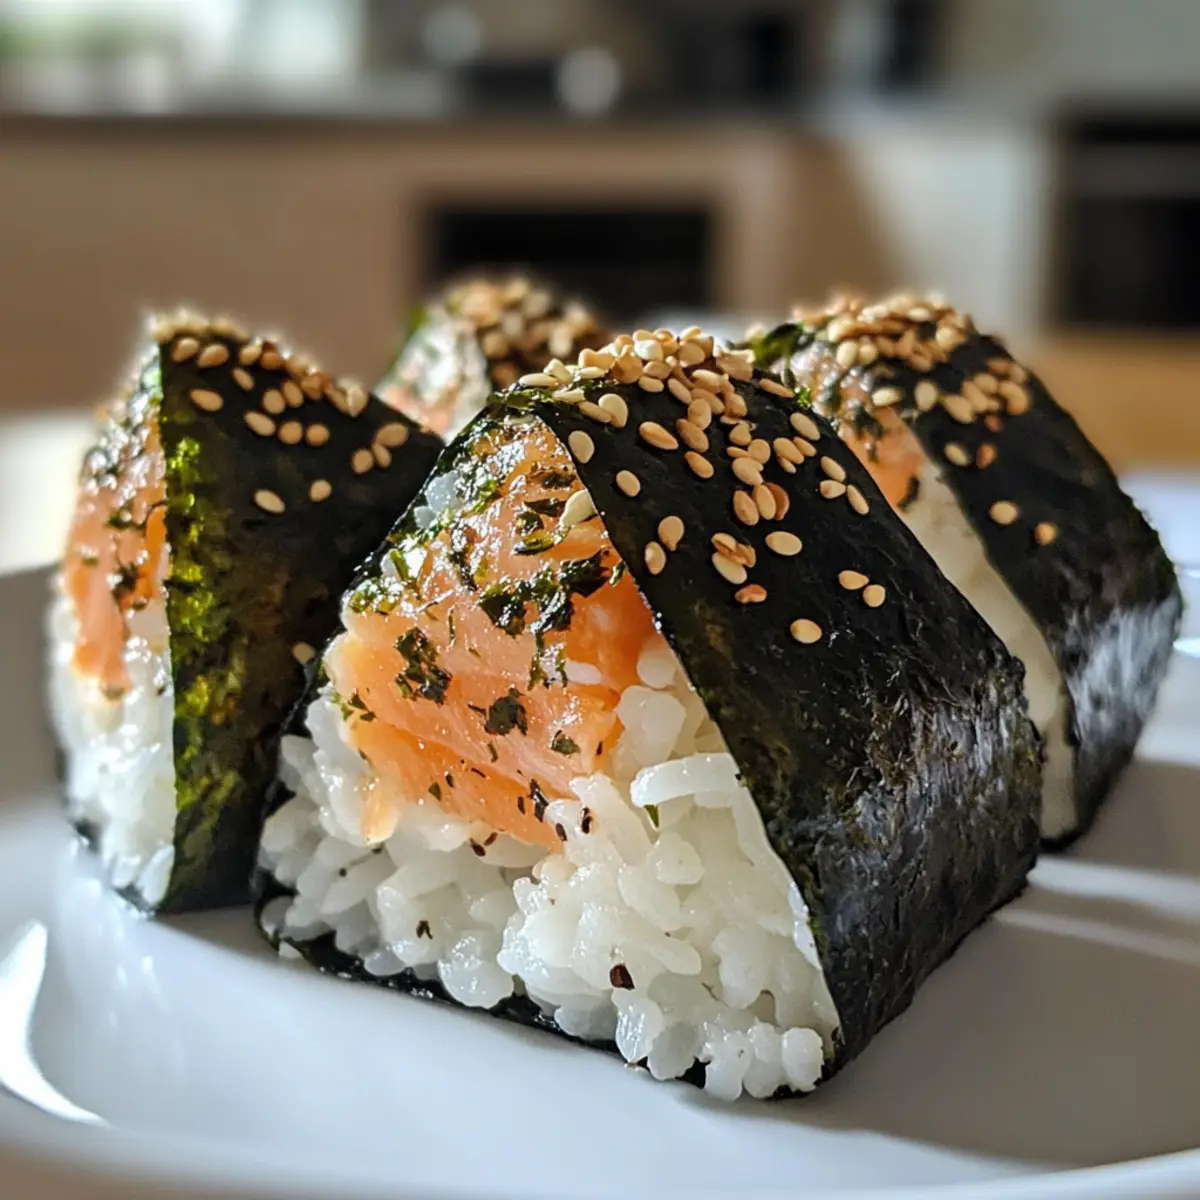
Why Are Salmon Onigiri So Delicious?
Simplicity of Preparation: This recipe shines with its straightforward technique, making homemade onigiri easier than ever!
Wholesome Ingredients: Using fresh, quality salmon and sticky rice creates a satisfying meal that’s both nutritious and delicious.
Versatile Fillings: Customize your onigiri by swapping salmon for various fillings. Whether it’s a hit of tuna mayo or vibrant veggies, the options are endless!
Perfect for Meal Prep: These rice balls are fantastic for busy weeks; make ahead and store in the fridge or freezer to enjoy anytime.
Cultural Experience: Embrace a touch of Japan in your kitchen with these delightful onigiri, offering a fun cooking adventure! You won’t regret exploring this delicious tradition and pairing it with dishes like Smothered Chicken and Rice to expand your meal repertoire!
Flavorful Salmon Onigiri Ingredients
For the Rice
• Sticky Japanese Rice – This is the essential base for your onigiri, providing the perfect texture. Make sure to rinse until the water runs clear to avoid mushiness.
For the Filling
• Cooked Salmon – Adds a rich flavor and protein boost; feel free to substitute with canned salmon or vegan options like mashed chickpeas.
• Soy Sauce – Elevates the umami taste; use tamari if you need a gluten-free option.
• Mirin (or Honey) – A touch of sweetness is important; if mirin’s not available, honey will work just as well.
For Garnish
• Toasted Sesame Seeds – These enhance the flavor and add a nutty aroma; though optional, they are highly recommended.
• Salt – A light pinch when shaping the onigiri brings out all the flavors beautifully.
Now you’re ready to gather everything you need to make these delicious Flavorful Salmon Onigiri Rice Balls!
Step‑by‑Step Instructions for Flavorful Salmon Onigiri Rice Balls
Step 1: Rinse and Cook the Rice
Begin by rinsing 1 cup of sticky Japanese rice under cold water until it runs clear, removing excess starch. This step is crucial for achieving the perfect texture. Then, combine the rinsed rice with 1 ¼ cups of water in a rice cooker or pot, bringing it to a boil. Once boiling, reduce the heat to low, cover, and simmer for about 15-20 minutes until the water is absorbed and the rice is tender.
Step 2: Prepare the Salmon Filling
While the rice is cooking, flake the cooked salmon into a mixing bowl. Add 1 tablespoon of soy sauce, 1 tablespoon of mirin or honey, 1 tablespoon of toasted sesame seeds, and a pinch of salt. Gently mix until the ingredients are combined, taking care not to break the salmon too much. This savory filling will be the heart of your Flavorful Salmon Onigiri Rice Balls, providing a delicious contrast to the rice.
Step 3: Shape the Onigiri
Once the rice is cooked and still warm, dampen your hands with water mixed with a pinch of salt to prevent sticking. Take a small portion of rice, about the size of a golf ball, and mold it into a triangle shape using your hands. Aim for a firm yet gentle grip to ensure the rice holds together. Repeat this process, making sure to encase a bit of the salmon filling within each rice ball for added flavor.
Step 4: Adjust the Rice Temperature
If the rice cools down and becomes difficult to mold, microwave it for about 10-15 seconds to soften. Ensure it remains warm and pliable, as this will help the rice grains adhere better together while shaping the onigiri. The warmth also helps enhance the overall delightful flavor of your Flavorful Salmon Onigiri Rice Balls.
Step 5: Wrap and Store
Carefully wrap each shaped onigiri with plastic wrap to keep them fresh until serving. Alternatively, store them in an airtight container lined with parchment paper to prevent sticking. These rice balls can be kept in the refrigerator for up to 3 days, making them an excellent meal prep option for busy weeks.
Step 6: Add Nori for Serving
If you’re using nori (seaweed), cut strips to serve alongside your onigiri. Add them just before you eat to maintain their crispness. This addition not only enhances the flavor but also adds an appealing visual touch to your Flavorful Salmon Onigiri Rice Balls, creating a delightful dining experience.
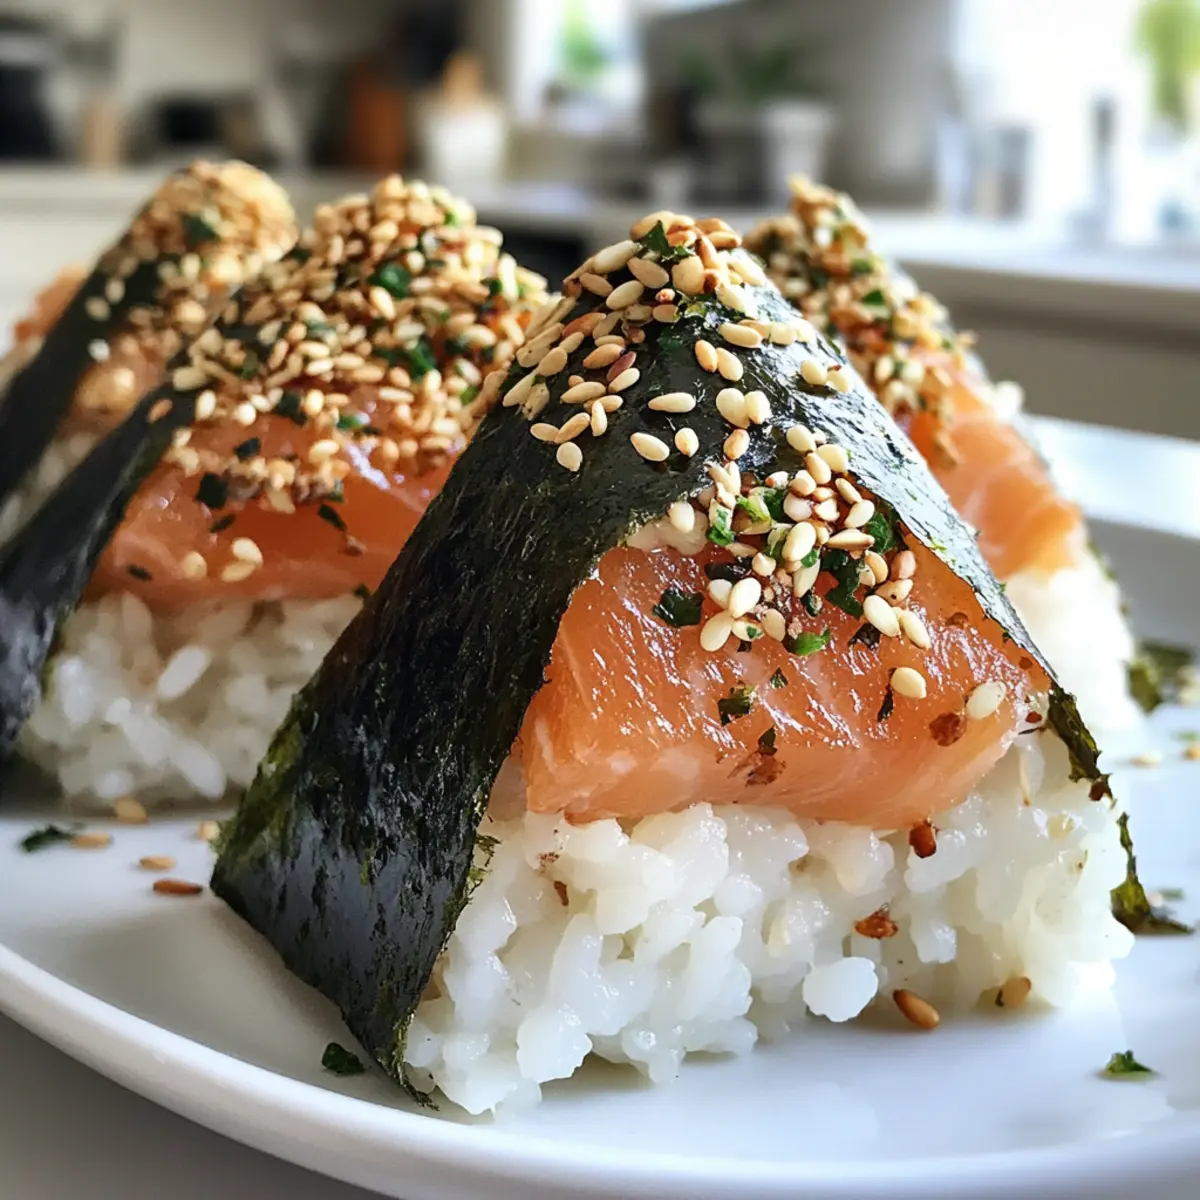
Expert Tips for Flavorful Salmon Onigiri Rice Balls
-
Rinse Thoroughly: Always rinse the sticky rice until the water runs clear to avoid mushy onigiri that won’t hold their shape.
-
Keep Hands Damp: Use damp hands while shaping your rice balls to prevent sticking. This step ensures your Flavorful Salmon Onigiri Rice Balls maintain a beautiful texture.
-
Shape While Warm: Mold the rice into triangles while still warm; this is crucial for achieving the best texture and allows the grains to stick together perfectly.
-
Careful Reheating: If your onigiri dry out, microwave them briefly with a damp paper towel to restore moisture without compromising texture.
-
Storage Smartly: For longer storage, wrap individual onigiri tightly in plastic wrap. They can be frozen, thawed overnight, and then reheated carefully to enjoy fresh flavors later.
Flavorful Salmon Onigiri Rice Balls Variations
Feel free to personalize your onigiri with these tasty twists to suit your palate or dietary needs!
-
Vegan Delight: Replace salmon with mashed chickpeas or sautéed mushrooms for a hearty and fulfilling plant-based option. The resulting texture is wonderfully creamy and satisfying.
-
Spicy Kick: Add a splash of Sriracha or a pinch of chili flakes to the salmon mixture for an exciting layer of heat. This kick elevates your onigiri, making them enjoyably bold.
-
Brown Rice Alternative: Swap the sticky white rice for brown rice for a nuttier flavor and added fiber. This twist will give your onigiri a different, heartier feel, catering to health-conscious diners.
-
Tuna Substitution: Try using canned tuna mixed with mayo instead of salmon for a quick and convenient alternative. It’s a classic twist that’s always a crowd-pleaser, reminiscent of childhood lunches.
-
Pickled Plums: For a touch of sweetness and tang, incorporate pickled plums into the filling. Their unique flavor adds a delightful complexity to your onigiri.
-
Herbed Variation: Mix finely chopped fresh herbs like cilantro or chives into the rice for extra flavor and freshness. This addition uplifts the entire dish, making it feel vibrant and light.
-
Crispy Coating: For a crunchy twist, roll your shaped onigiri in panko breadcrumbs and lightly fry them until golden. The texture contrasts beautifully with the tender rice and filling.
Thinking about more delightful options? Make sure to check out my Salmon Rice Bowls or the cozy flavors of Smothered Chicken and Rice to inspire your next meal preparation!
What to Serve with Easy Flavorful Salmon Onigiri Rice Balls
Imagine a beautiful dining table, where the comforting aroma of salmon onigiri mingles with vibrant, flavorful side dishes, creating a feast for the senses.
-
Crisp Salad: A light, refreshing salad pairs perfectly, balancing the savory onigiri with crunchy greens and a zesty dressing.
-
Miso Soup: This warm, umami-rich soup offers a comforting contrast, enhancing the overall Japanese dining experience.
-
Pickled Vegetables: Bright and tangy pickles complement the richness of the onigiri, providing a burst of flavor with each bite.
-
Edamame: These lightly salted green soybeans add protein and a fun snack element, perfect for sharing or as a nutritious side.
-
Sushi Rolls: Serve alongside sushi for a dining experience that celebrates Japanese flavors. Choose simple fillings like cucumber or avocado to keep it light.
-
Green Tea: A warm cup of this traditional drink is delightful, cleansing the palate between bites of flavorful salmon onigiri.
Enjoy the delightful interplay of textures and flavors as you serve these side dishes. Each element enhances the satisfaction of your onigiri, making every meal feel special and cherished.
How to Store and Freeze Flavorful Salmon Onigiri Rice Balls
Fridge: Store onigiri in an airtight container lined with parchment paper for up to 3 days. This method helps retain their delightful freshness as you enjoy them throughout the week.
Freezer: For longer storage, wrap each onigiri tightly in plastic wrap and place them in a freezer-safe bag. They can be frozen for up to 3 months without losing flavor.
Thawing: To thaw, transfer the onigiri to the fridge overnight. This slow thawing method keeps the texture intact, ensuring a satisfying meal when you’re ready to enjoy your flavorful salmon onigiri rice balls.
Reheating: When reheating, microwave with a damp paper towel for 15-30 seconds. This technique adds moisture back into the rice, helping to achieve that lovely soft texture again.
Make Ahead Options
These Flavorful Salmon Onigiri Rice Balls are perfect for meal prep, making your busy days a breeze! You can prepare the salmon filling by mixing the flaked salmon, soy sauce, mirin (or honey), toasted sesame seeds, and a pinch of salt up to 24 hours in advance. Keep it stored in an airtight container in the refrigerator. As for the rice, it can be cooked and shaped into onigiri, then wrapped tightly in plastic wrap or stored in an airtight container for up to 3 days. For optimal texture, reheat the onigiri briefly in the microwave with a damp paper towel to restore moisture before serving. This way, you’ll enjoy delicious, homemade onigiri that feels just as fresh as when you first made them!
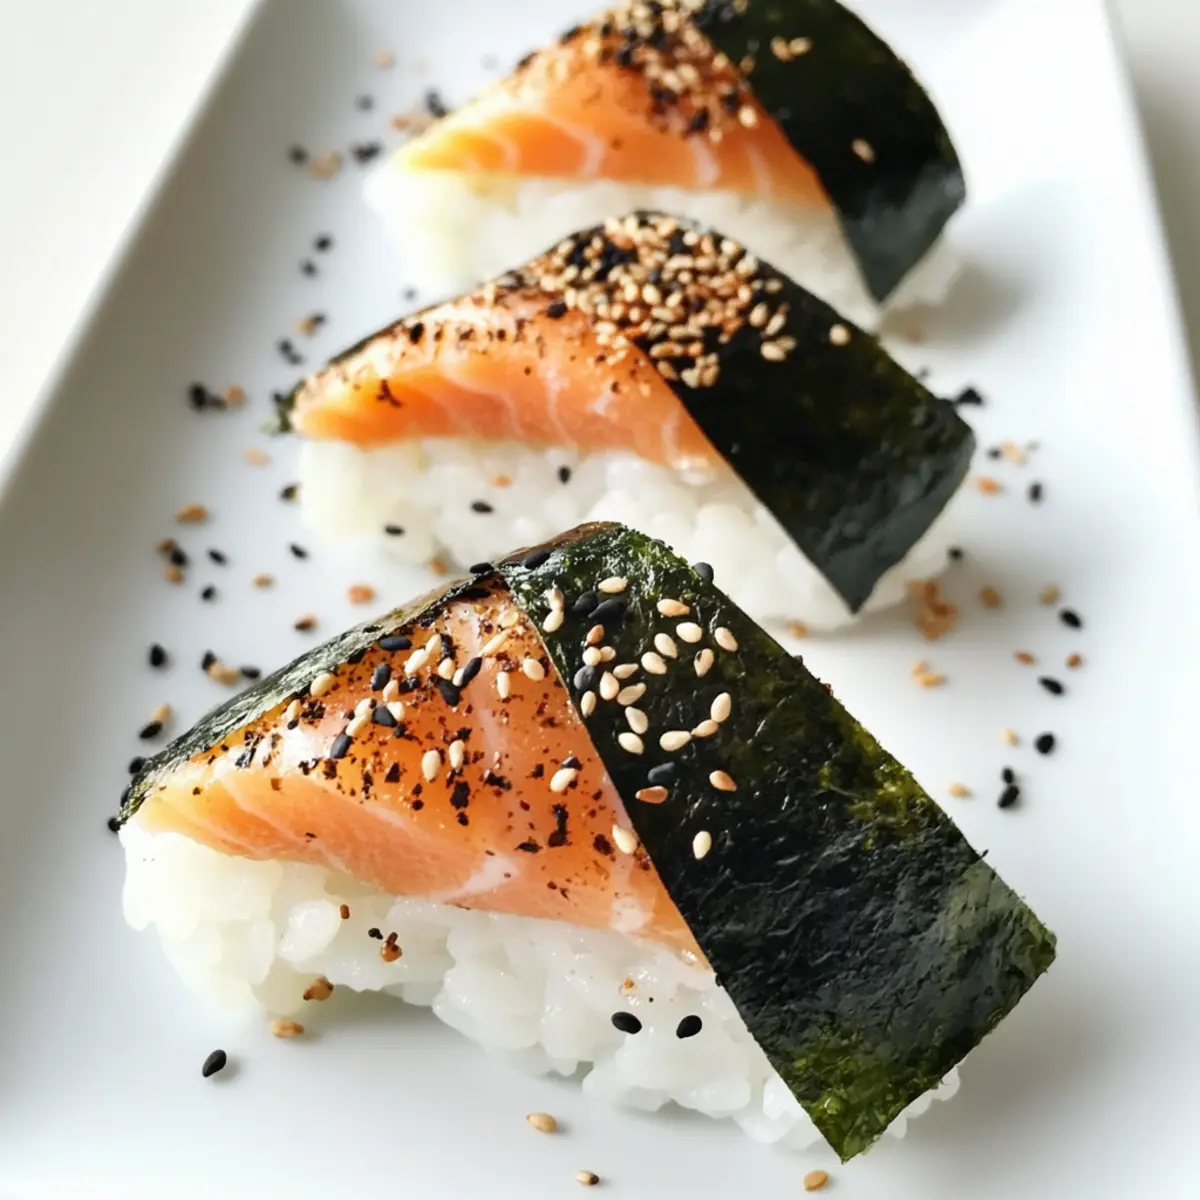
Flavorful Salmon Onigiri Rice Balls Recipe FAQs
What type of rice is best for making onigiri?
Absolutely, sticky Japanese rice is essential for the ideal texture of onigiri. This rice has a higher starch content, which makes it sticky and easier to mold. Rinse the rice until the water runs clear to remove excess starch and prevent mushiness.
How should I store leftover onigiri?
Onigiri can be stored in the fridge for up to 3 days. Place them in an airtight container lined with parchment paper to keep their texture intact. If you want to save them for longer, consider freezing.
Can I freeze onigiri? How do I do it?
Yes, you can freeze your flavorful salmon onigiri rice balls! Simply wrap each onigiri tightly in plastic wrap and then place them in a freezer-safe bag. They can be frozen for up to 3 months. To thaw, move them to the fridge overnight, and when you’re ready to enjoy them, microwave with a damp paper towel for about 15-30 seconds to restore their delightful soft texture.
What if my onigiri falls apart when shaping?
If your rice is falling apart, it might be too cold. Make sure to shape the onigiri while the rice is still warm, as this helps the grains stick together better. If needed, you can briefly microwave the rice for about 10-15 seconds to soften it again before molding. Keeping your hands damp can also help.
Are there any dietary considerations for onigiri?
Yes! These onigiri can be made gluten-free by using tamari instead of regular soy sauce. Also, if you have any seafood allergies, you can substitute the salmon filling with alternatives like mashed chickpeas or sautéed mushrooms for a delicious vegan option!
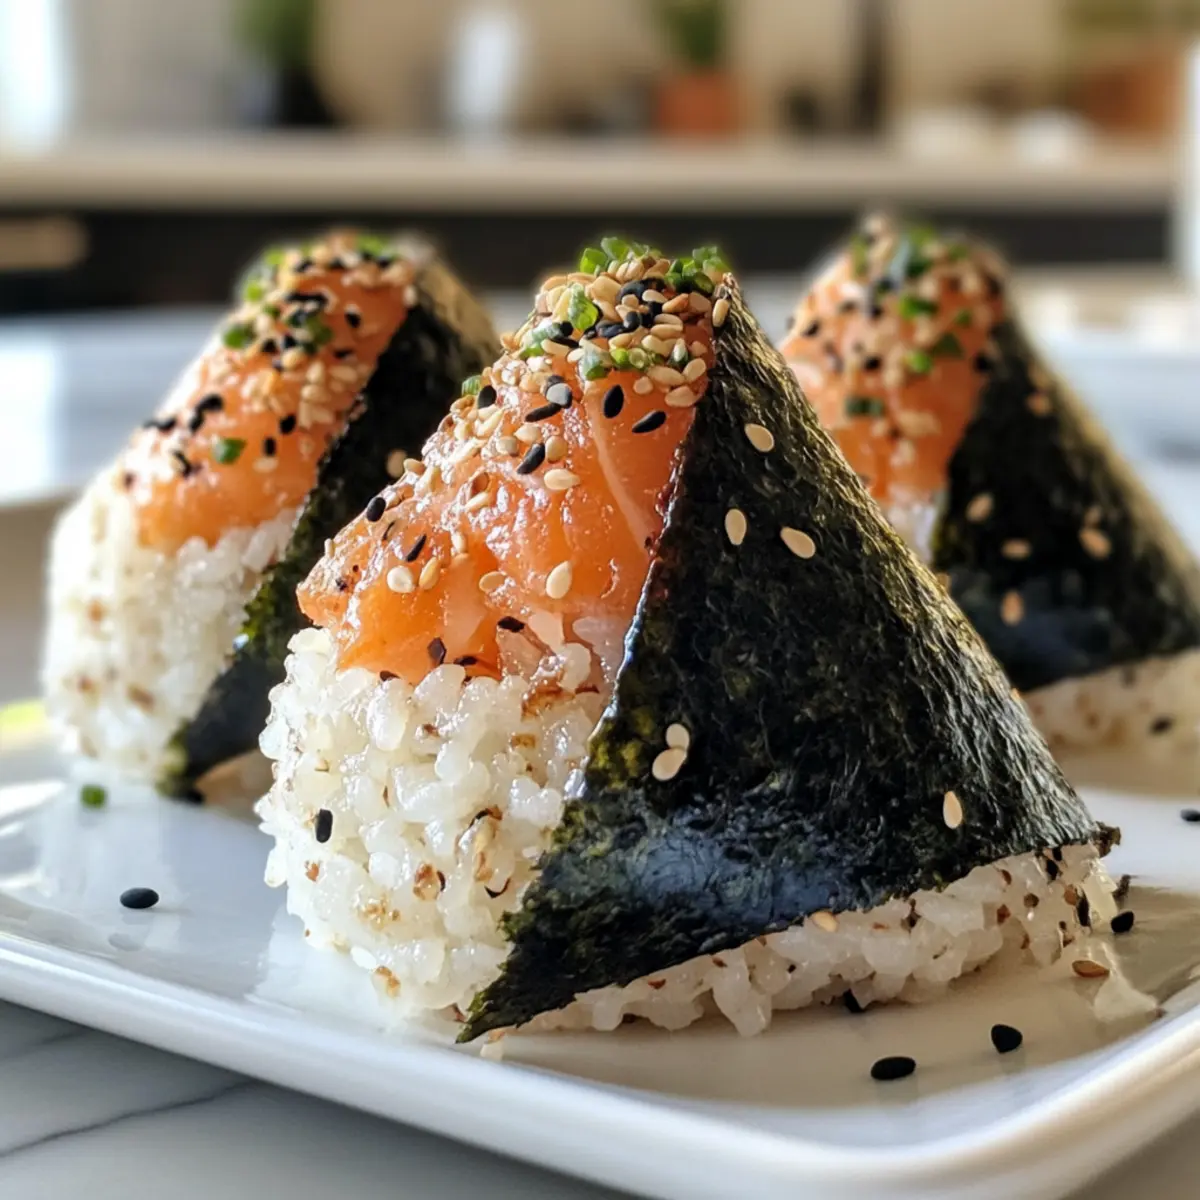
Flavorful Salmon Onigiri Rice Balls for Effortless Meal Prep
Ingredients
Equipment
Method
- Rinse 1 cup of sticky Japanese rice until the water runs clear. Combine with 1 ¼ cups of water in a rice cooker or pot, bring to boil, reduce heat, cover, and simmer for 15-20 minutes.
- Flake the cooked salmon into a bowl. Add soy sauce, mirin or honey, sesame seeds, and salt. Mix gently.
- Dampen hands with salted water and take a portion of rice, mold into a triangle shape, encasing some salmon filling.
- If the rice cools down, microwave for 10-15 seconds to soften it.
- Wrap each onigiri in plastic wrap or store in an airtight container lined with parchment paper.
- Cut nori strips to serve alongside the onigiri, adding them just before eating.