


As I stood in the kitchen, surrounded by jars of nut butter and bags of oats, the idea struck me: what if I could create a treat that captures the essence of comfort food, yet is quick and easy enough for any occasion? Enter my Easy No-Bake Cookie Bars! These delightful bars are not only customizable to fit every family member’s cravings, but they also promise to satisfy that sweet tooth without the need for an oven. Whether it’s a last-minute snack for the kids or a delightful addition to your next gathering, these bars are the perfect blend of chewy and crunchy textures. Plus, they are a breeze to whip up, requiring minimal cleanup! Who knew that a no-bake recipe could bring so much joy and convenience? Ready to dive into the world of endless flavor possibilities? Let’s get started!
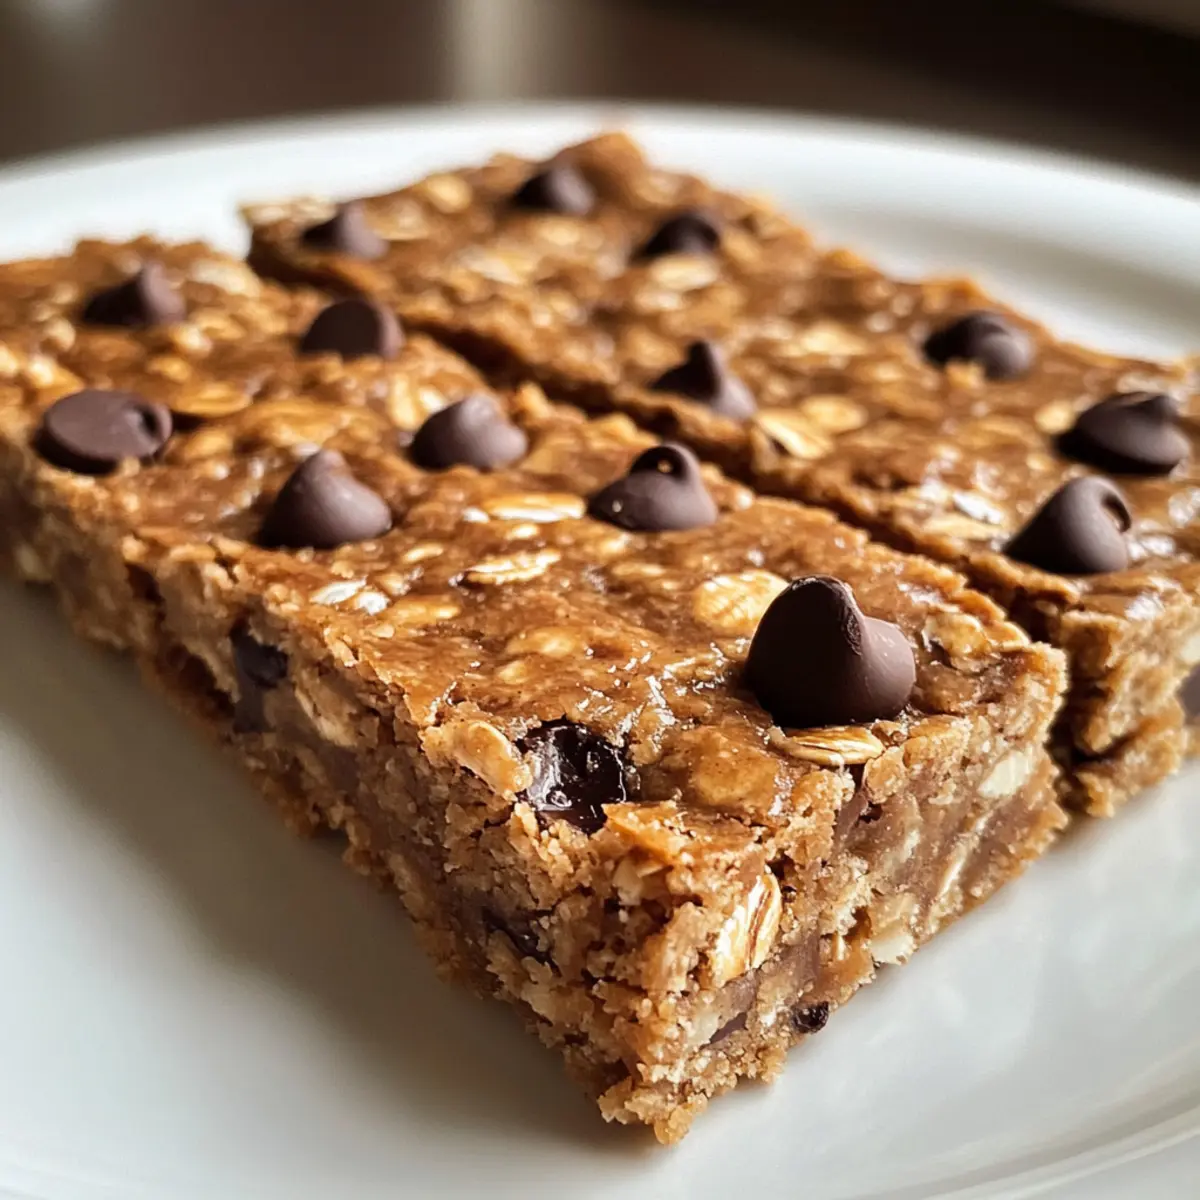
Why Are These Cookie Bars a Must-Try?
Quick to Make: These no-bake cookie bars are a breeze to whip up, perfect for busy days or spontaneous cravings.
Fully Customizable: Whether you prefer classic chocolate chip or want to try oatmeal raisin, these bars can be tailored for every taste.
Deliciously Nutritious: Packed with oats and nut butter, they offer a delightful balance of flavors while being a healthy snack option.
Family-Friendly Treat: Kids will love helping to mix in their favorite ingredients, making it a fun family activity!
Minimal Cleanup: Say goodbye to messy kitchens – with just one bowl required, you’ll be enjoying your treat in no time!
Enjoy them alongside a refreshing glass of milk or pair with fruit for a balanced snack just like my Creamy Tomato Burrata Pasta. You won’t regret adding this recipe to your collection.
Cookie Bar Ingredients
• These delightful treats are as simple as they are satisfying!
For the Base
- Oats – Provides heartiness and structure; rolled oats work best for ideal texture.
- Nut Butter – Acts as the binding agent; consider swapping almond butter for peanut butter for a twist.
For Sweetness
- Sweetener (Honey or Maple Syrup) – Adds moisture and sweetness; maple syrup is a great vegan substitute to keep these cookie bars delicious!
For Flavor
- Chocolate Chips – Infuses a rich flavor; opt for dark chocolate for a deeper taste or try dried fruits for a health-conscious option.
Feel free to mix and match these ingredients to create your perfect no-bake cookie bars!
Step‑by‑Step Instructions for Easy No-Bake Cookie Bars
Step 1: Mix the Base
In a large mixing bowl, combine rolled oats and your choice of nut butter. Stir vigorously until the oats are fully coated, and the mixture is well blended, achieving a sticky yet cohesive consistency. This process should take about 2–3 minutes. You want the mixture to hold together, resembling a doughy texture ready for the next steps.
Step 2: Add Sweetness
Gradually pour in your selected sweetener, whether honey or maple syrup, while continuing to mix with a spatula. Aim for an even distribution that incorporates the sweetness throughout the oat mixture, which should take another 2–3 minutes. You’ll know it’s ready when the mixture stops being crumbly and begins to stick together beautifully.
Step 3: Fold in Chocolate Chips
Gently fold in your chocolate chips or any other desired mix-ins like nuts or seeds. Use a spatula to incorporate these extras, ensuring they’re evenly distributed throughout the mix. This should take about 1–2 minutes, and you’ll want to see those delightful bits of chocolate peeking through the oat mixture.
Step 4: Press into Dish
Line an 8-inch square baking dish with parchment paper for easy removal. Transfer the cookie bar mixture into the dish, spreading it out evenly. Use a spatula to press down firmly, ensuring the mixture is compact and uniformly thick. This step typically requires about 3–5 minutes to get a nice, flat surface.
Step 5: Chill and Set
Place the baking dish in the refrigerator and let the mixture chill for at least 2 hours. This setting time allows the cookie bars to firm up, making them easier to slice. After this period, the mixture should appear solid and sliced cleanly without crumbling.
Step 6: Slice and Serve
Once chilled, remove the cookie bars from the baking dish using the parchment paper edges. Place them on a cutting board and slice into rectangular bars. At this point, admire the chewy, golden-brown texture of your Easy No-Bake Cookie Bars and prepare to enjoy a delightful homemade treat!
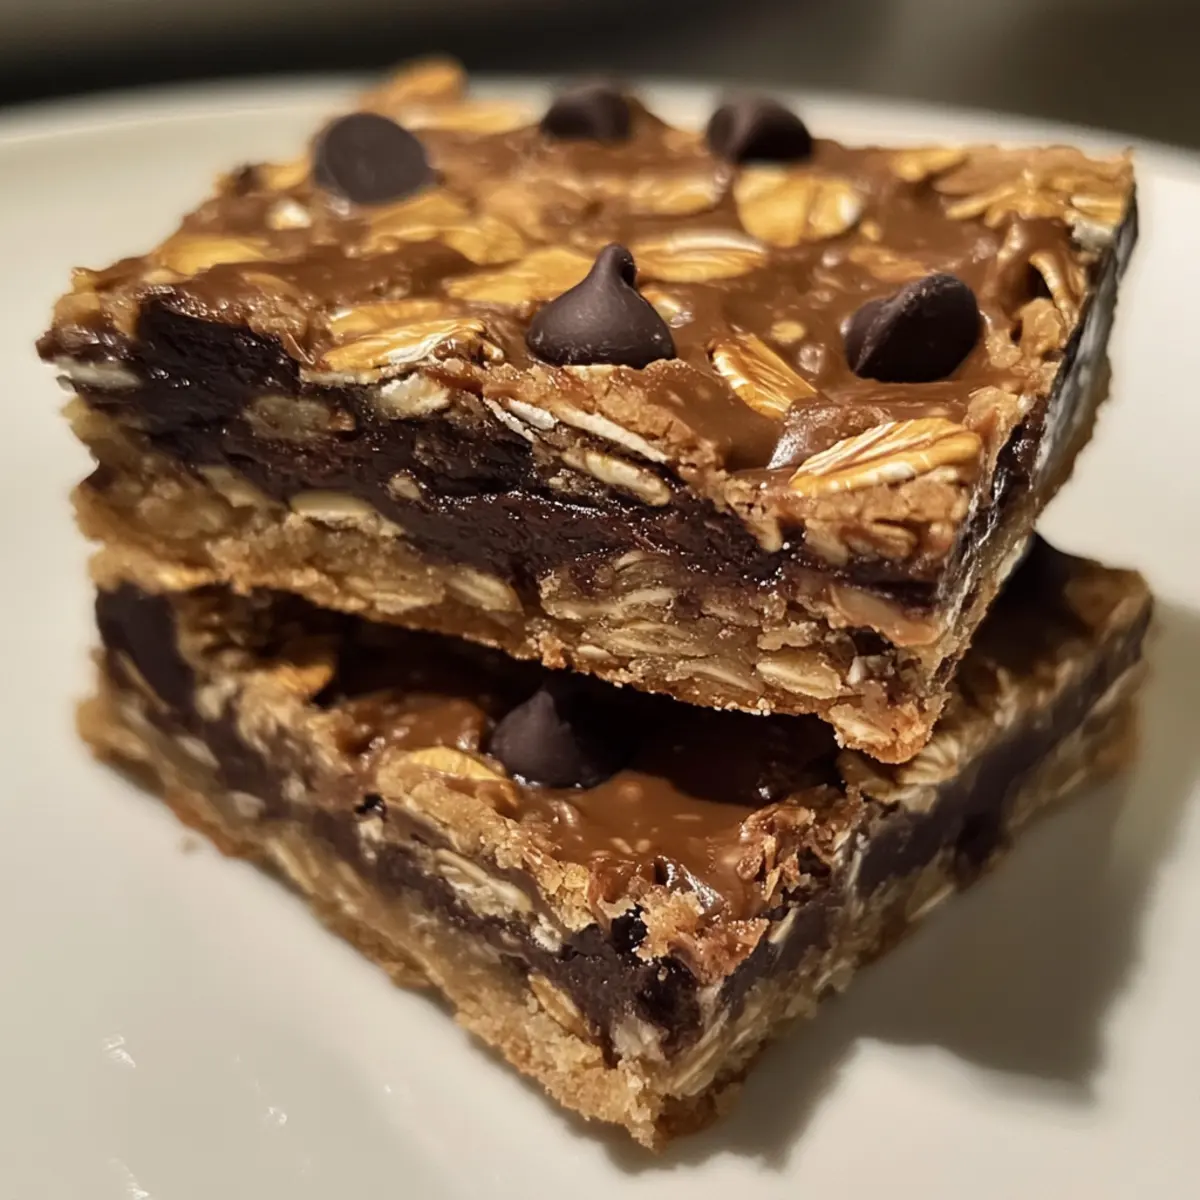
Variations & Substitutions for Cookie Bars
Feel free to unleash your creativity and tweak these cookie bars to match your taste buds!
- Chocolate Chip Delight: Classic chocolate chip adds a timeless flavor; you can never go wrong with gooey, melty chocolate!
- Oatmeal Raisin Twist: Swap chocolate chips for raisins and add a sprinkle of cinnamon for a cozy, classic treat. It’s perfect for those chilly evenings.
- Peanut Butter Punch: Substitute half the nut butter with peanut butter for a rich, nutty flavor that will enhance the chewy goodness of the bars.
- Coconut Dream: Replace oats with unsweetened coconut flakes for a tropical vibe; it pairs beautifully with dark chocolate chips. Your taste buds will transport you to sunny beaches.
- Nutty Boost: Mix in your choice of chopped nuts (like walnuts or almonds) to add crunch and protein; a fantastic way to elevate the texture!
- Protein Packed: Add a scoop of your favorite protein powder to the mixture. You may need to adjust the liquid ingredients slightly to maintain the right consistency. It’s a great option for a pre-workout snack!
- Snack Bar Fusion: Use a combination of chocolate chips and dried fruits like cranberries or apricots for a sweet-salty burst of flavor. Each bite will surprise you!
- Add a Kick: For those who love a little heat, consider sprinkling in a pinch of cayenne pepper or chili powder. Just a dash can add an exciting twist that complements the sweetness!
These variations not only elevate the bars but also offer endless possibilities. If you’re on the lookout for more delightful recipes, don’t miss out on the comforting flavors of my Garlic Butter Masterpiece or try the rich, hearty Philly Cheesesteak Pasta. Happy baking adventures!
Expert Tips for Easy No-Bake Cookie Bars
-
Press Firmly: Ensure the mixture is tightly pressed into the dish; this helps the bars hold their shape and not crumble when sliced.
-
Check Consistency: If your mixture feels dry, add a tablespoon of nut butter or sweetener to achieve the right sticky texture for your no-bake cookie bars.
-
Nut Butter Choice: Avoid using overly runny nut butter; it can lead to sticky bars that are difficult to cut. Opt for a thicker variety for best results.
-
Chill Time Matters: Allow the bars to chill for at least 2 hours to let them set properly; this will yield a perfect texture for slicing and enjoying.
-
Mix-In Options: Get creative with mix-ins! Dried fruits, nuts, or even seeds can enhance flavor while keeping the focus on your easy no-bake cookie bars.
Make Ahead Options
These Easy No-Bake Cookie Bars are perfect for meal prep enthusiasts! You can mix the base (oats, nut butter, and sweetener) up to 24 hours in advance and refrigerate it, ensuring the mixture stays fresh and ready to go. To maintain their delightful chewy texture, make sure to press the mixture firmly into the lined baking dish before chilling. If you’re feeling extra organized, slice the bars and store them in an airtight container, where they’ll last for up to 7 days, keeping them just as delicious. When you’re ready to serve, simply plate the bars, and enjoy a homemade treat that requires minimal effort on busy nights!
What to Serve with Easy No-Bake Cookie Bars
Complete your dessert experience with delicious pairings that enhance the sweet indulgence of cookie bars.
- Glass of Milk: The classic choice! Cold milk complements the chewy texture, making each bite coaster-perfect bliss.
- Fresh Berries: Juicy strawberries or tart raspberries add a refreshing contrast, brightening every delicious mouthful.
- Vanilla Ice Cream: For a decadent twist, serve your cookie bars alongside a scoop of creamy vanilla ice cream, merging flavors beautifully.
- Nutty Granola: Add a textural crunch by sprinkling granola on top, harmonizing with the chewy goodness of the bars.
- Caramel Sauce Drizzle: Drizzling warm caramel elevates these bars into a luxurious treat—sweet, gooey goodness in every bite.
- Cup of Tea: A soothing cup of herbal tea can balance the sweetness of the cookie bars, providing a delightful, cozy pairing.
These easy options not only complement the flavors of your Easy No-Bake Cookie Bars but also create moments of joy and togetherness around the table!
Storage Tips for Easy No-Bake Cookie Bars
Fridge: Store the cookie bars in an airtight container for up to 1 week. This helps retain their chewy texture while keeping them fresh and delicious.
Freezer: For longer storage, these bars can be frozen for up to 3 months. Wrap them individually in plastic wrap before placing them in a freezer-safe container for easy access.
Thawing: To enjoy, simply take them out of the freezer and let them sit at room temperature for about 15-20 minutes, or thaw them in the fridge overnight.
Reheating: While these cookie bars are best enjoyed cold, if you prefer a melty chocolate experience, briefly microwave them for 10-15 seconds before serving. Enjoy your delightful Easy No-Bake Cookie Bars!
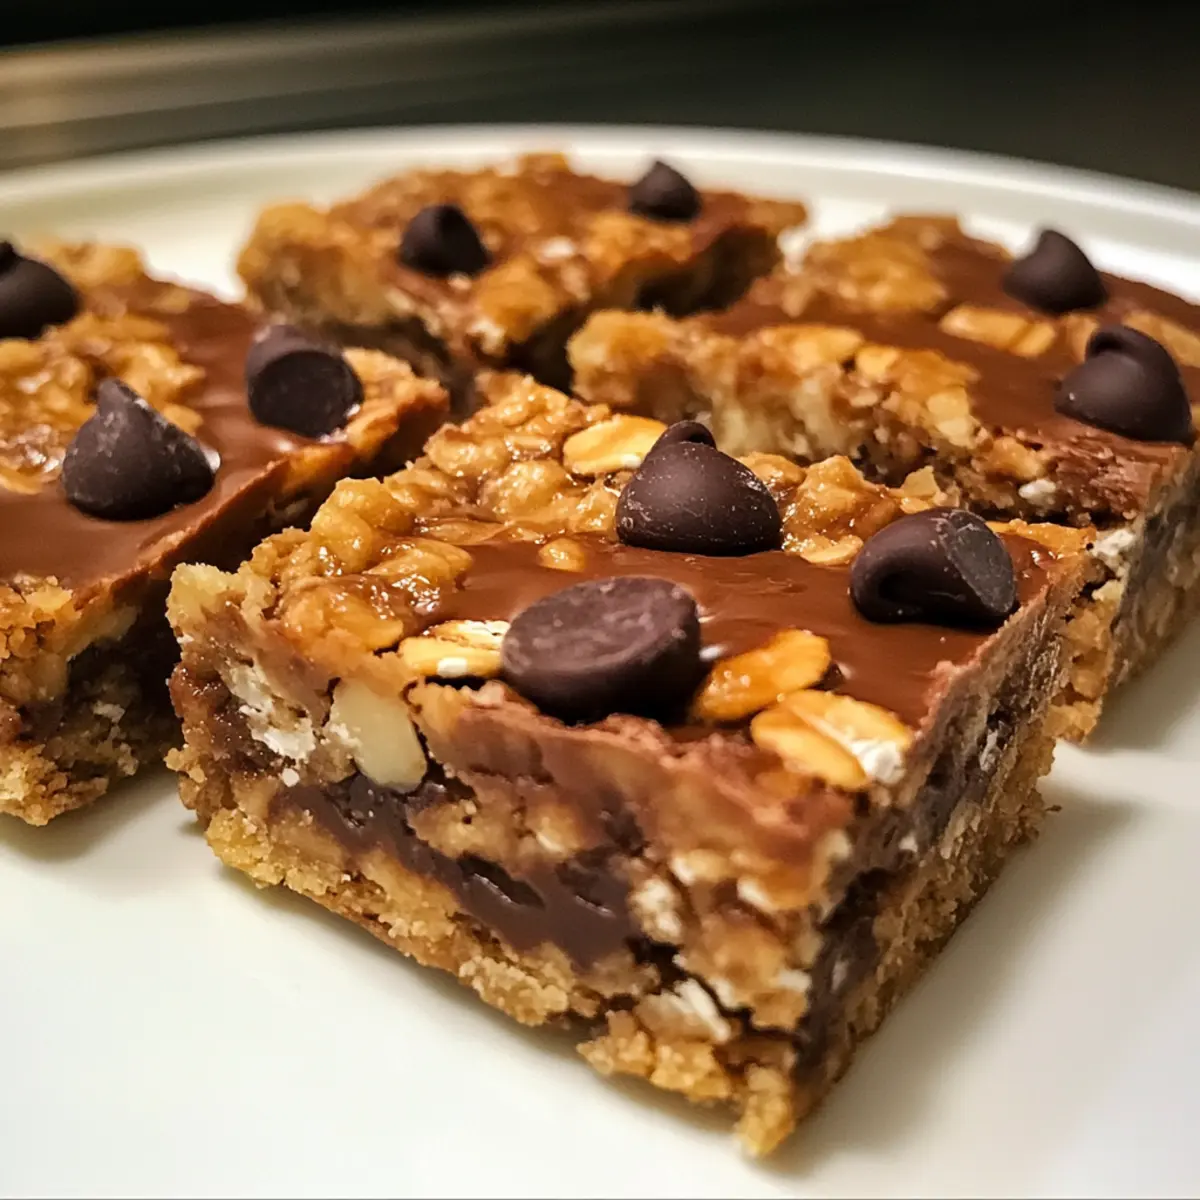
Easy No-Bake Cookie Bars Recipe FAQs
What type of oats should I use for the cookie bars?
I recommend using rolled oats for the best texture in these no-bake cookie bars. They provide heartiness and a lovely chewiness that holds everything together. Avoid instant oats, as they can become too mushy.
How long can I store cookie bars in the fridge?
You can store these delicious cookie bars in an airtight container in the fridge for up to 1 week. This keeps them fresh while maintaining their chewy goodness. Just remember to check for any signs of spoilage before enjoying!
Can I freeze the no-bake cookie bars?
Absolutely! These cookie bars freeze wonderfully for up to 3 months. Simply wrap each bar in plastic wrap and place them in a freezer-safe container. When you’re ready to enjoy, let them thaw at room temperature for about 15-20 minutes, or you can put them in the fridge overnight.
What should I do if my mixture is too dry?
If you find that your mixture feels too dry and crumbly, don’t worry! Just add one tablespoon of nut butter or sweetener at a time until the consistency is sticky and holds together. This should help you achieve that perfect texture for your no-bake cookie bars.
Are there any allergenic ingredients I should be aware of?
Yes, these cookie bars contain potential allergens such as nuts (if using nut butter) and chocolate. If you’re making these for someone with allergies, consider substituting the nut butter with sunflower seed butter or a similar alternative, and using allergy-friendly chocolate or omitting it altogether.
How can I ensure my cookie bars hold together well?
To make sure your cookie bars maintain their shape, it’s crucial to press the mixture firmly into the baking dish. Compacting it helps it stick together. If they’re still crumbly after chilling, consider adding a little more nut butter next time to enhance the binding effect.
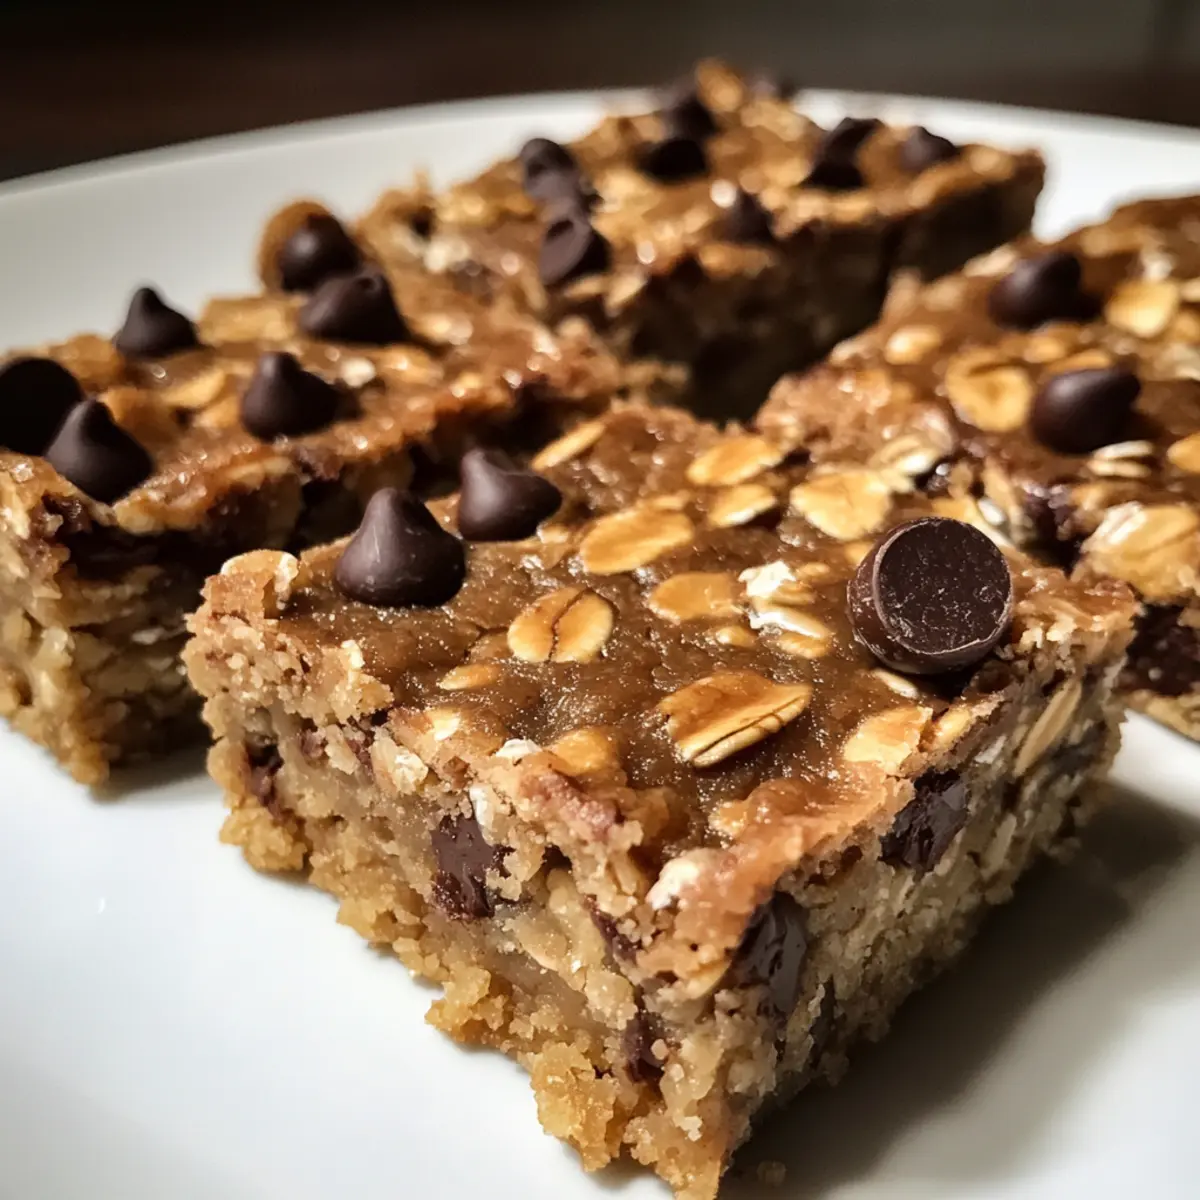
Creamy Tomato Burrata Pasta: A Cozy Dinner Delight
Ingredients
Equipment
Method
- In a large mixing bowl, combine rolled oats and nut butter. Stir until fully coated and mixed.
- Gradually pour in sweetener, mixing until evenly distributed and sticky.
- Gently fold in chocolate chips or desired mix-ins.
- Line an 8-inch square baking dish with parchment paper. Transfer mixture and press down firmly.
- Refrigerate for at least 2 hours to chill and set.
- Remove from dish and slice into bars. Enjoy your homemade treat!