


The aroma of warm rice mingling with crispy nori wafts through my kitchen, instantly lifting my spirits. I discovered this Easy Sushi Bake on a particularly busy weeknight when takeout just wouldn’t cut it. Imagine creating a dish that marries your favorite sushi flavors without the need for intricate rolling techniques; this is the magic of a sushi bake. Not only is it ready in a fraction of the time, but it’s also a forgiving recipe that welcomes whatever fillings you have on hand. Whether you’re a seasoned home chef or just someone looking to explore homemade comfort food, this dish is a guaranteed crowd-pleaser. How will you customize your sushi bake to impress your guests?
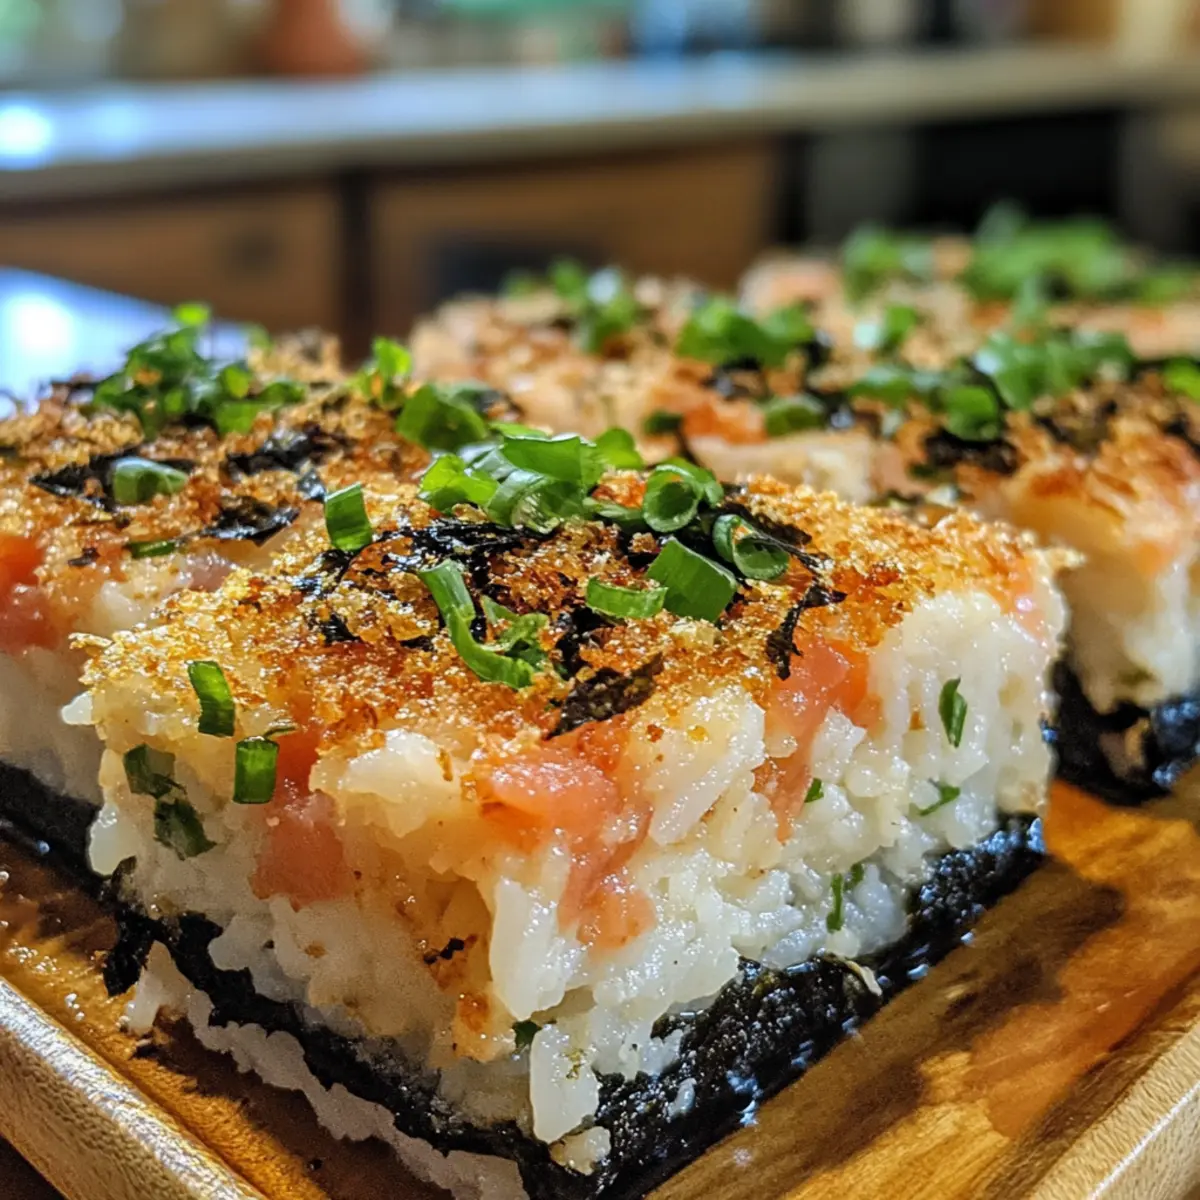
Why Is This Sushi Bake So Special?
Versatile in Nature: This Easy Sushi Bake allows you to use whatever fillings or toppings you have on hand, making it perfect for cleaning out the fridge!
Time-Saving Delight: With no rolling required, you can whip up this comforting dish faster than you can order takeout.
Crowd-Pleaser: Serve it at gatherings, and watch your friends or family rave over this innovative twist on sushi.
Forgiving Recipe: Don’t worry about precision; this dish welcomes creativity and experimentation.
Comforting Flavor: Enjoy the delightful combination of warm, creamy rice and crispy nori sheets, providing a satisfying harmony in every bite.
For extra inspiration, you can try variations like adding shrimp or your choice of sauces, just as I did in my Garlic Butter Meal or spice things up with a kick like in the Hot Honey Baked Chicken Breasts. Don’t miss out on the flavor adventure!
Sushi Bake Ingredients
For the Sushi Base
• Sushi Rice – A crucial foundation providing a deliciously sticky texture; adjust with 1/4 cup rice vinegar for moisture balance.
• Nori Sheets – Essential for that crispiness and iconic sushi flavor; don’t skip this component!
For the Fillings
• Crab Sticks – Adds a sweet seafood flavor; feel free to substitute with canned tuna or cooked shrimp.
• Canned Tuna – A protein-packed alternative that’s budget-friendly and versatile; great for a quick meal.
• Salmon – Rich in flavor and healthy fats; swap in for a gourmet touch.
For the Creamy Sauce
• Mayonnaise – Provides creaminess and binds everything together; mix with Sriracha for a spicy kick.
• Greek Yogurt – A lighter option for the creamy sauce without sacrificing taste; perfect for health-conscious cooks.
For Garnishing
• Green Onions – Brighten the dish with a fresh crunch; optional but highly recommended for extra flavor.
Step‑by‑Step Instructions for Sushi Bake
Step 1: Preheat the Oven
Begin by preheating your oven to 350°F (175°C). This ensures your Easy Sushi Bake will bake evenly and achieve that perfect golden-brown finish. While the oven heats up, gather your baking dish and any utensils you’ll need for mixing and layering the ingredients.
Step 2: Cook the Sushi Rice
Next, cook your sushi rice according to the package instructions, usually about 15-20 minutes. Once cooked, let it cool slightly for 5-10 minutes. The rice should be sticky but not mushy, creating the ideal base for your sushi bake. Don’t forget to fold in 1/4 cup of rice vinegar while it’s still warm for extra flavor!
Step 3: Prepare the Filling Mixture
In a large mixing bowl, combine the cooled sushi rice with your choice of fillings—such as crab sticks or canned tuna—and your creamy sauce. Stir gently for about 2-3 minutes until everything is well incorporated, ensuring each grain of rice is coated. The mixture should be creamy and flavorful, forming the heart of your delicious sushi bake.
Step 4: Layer the Sushi Rice
Now, grab your prepared baking dish and layer about half of the sushi rice mixture evenly across the bottom. Use a spatula to spread it out smoothly, creating an even base for the nori. The rice should form a snug layer, resembling the foundation of a sushi roll, ready to support the toppings to come.
Step 5: Add Nori and Fillings
Place the nori sheets over the rice layer, aligning them neatly. Then, spread the remaining sushi rice mixture on top, followed by your chosen fillings. Make sure to distribute them evenly to maximize flavor in every bite. The layers should be visually appealing, with the crispy nori slightly peeking through.
Step 6: Bake the Sushi Bake
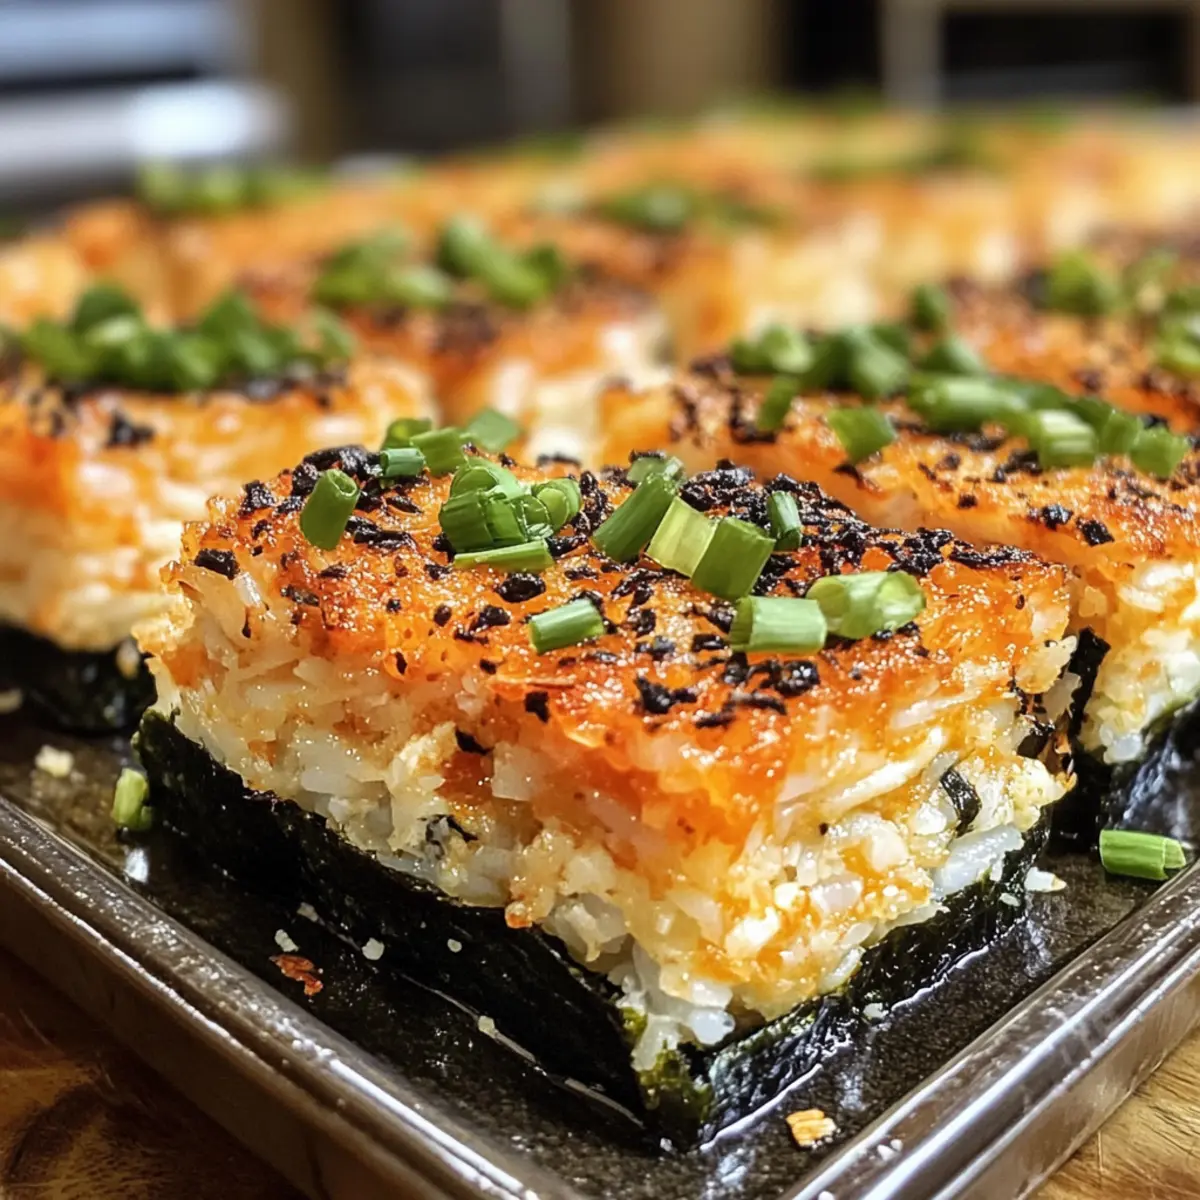
Transfer the assembled sushi bake to the preheated oven and bake for about 20-25 minutes, or until the top is golden brown and slightly crispy. You’ll know it’s ready when you see a light bubbling at the edges, releasing a savory aroma that fills your kitchen with warmth and invites everyone to the table.
Step 7: Garnish and Serve
Once baked, remove the dish from the oven and let it rest for 5 minutes before slicing. To enhance your Easy Sushi Bake, sprinkle chopped green onions on top for a fresh crunch. Serve warm, and watch as your family or guests delight in this comforting, crowd-pleasing dish!
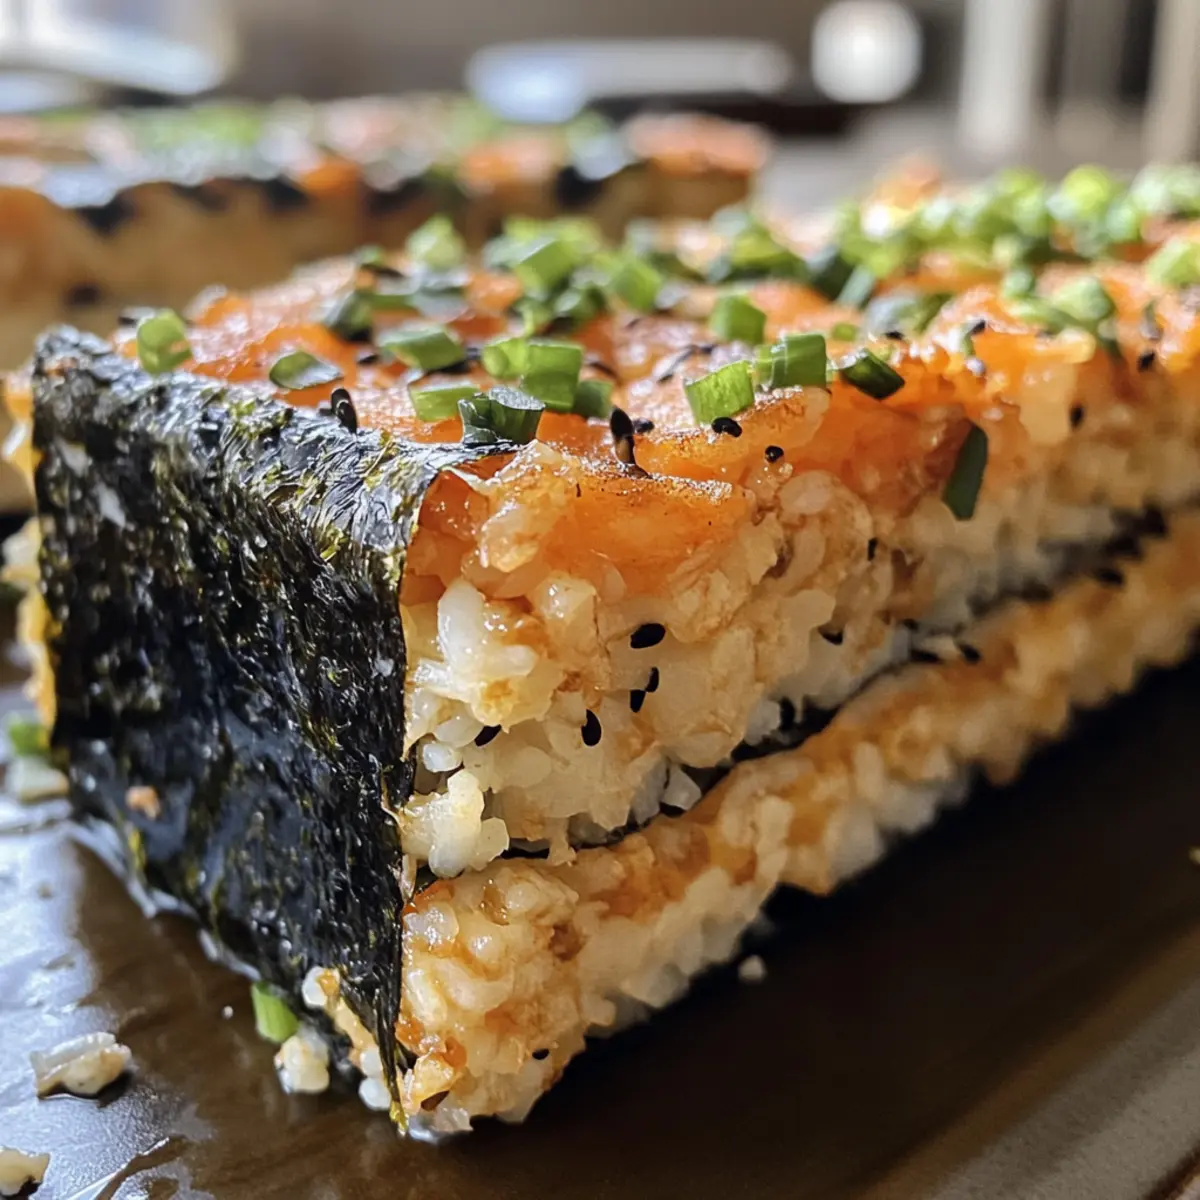
What to Serve with Easy Sushi Bake?
Indulge in a delightful feast by pairing your comforting sushi bake with complementary sides that elevate your dining experience.
-
Crispy Edamame: These lightly salted, roasted green soybeans offer a satisfying crunch that contrasts beautifully with the creamy sushi bake.
-
Miso Soup: This warm, savory broth enhances the umami flavors of the sushi bake, creating a harmonious meal that feels comforting and authentic.
-
Seaweed Salad: The fresh, tangy notes of seaweed salad provide a refreshing balance, lightening the rich and creamy elements of the bake.
-
Cucumber Salad: Crisp, cool cucumbers tossed in a sesame dressing add texture and brightness, making every bite of your sushi bake even more enjoyable.
-
Pickled Ginger: A traditional sushi accompaniment, pickled ginger cleanses the palate, allowing you to fully appreciate the flavors of your bake.
-
Sushi Rolls: Serve with a side of classic sushi rolls for a diverse spread; the combination of flavors will enchant sushi lovers at your table.
-
Green Tea: Refreshing and slightly bitter, hot green tea pairs perfectly with your sushi bake, enhancing the overall experience with its soothing qualities.
-
Chocolate Mousse: For dessert, treat yourself to a light and airy chocolate mousse; its rich decadence wraps up the meal on a sweet note.
Sushi Bake Variations to Try
Feel free to make this sushi bake your own—it’s bursting with possibilities that cater to your cravings and pantry!
-
Protein Swap: Experiment with shrimp or different types of fish for a flavorful protein boost that can elevate your dish.
-
Vegetarian Delight: Replace all proteins with a medley of sautéed mushrooms, peppers, and zucchini for a delightful plant-based option. The earthy flavors will add depth and satisfaction.
-
Creamy Twist: Substitute Greek yogurt in the sauce for a lighter option that pairs beautifully with the sushi rice and keeps things deliciously creamy. It’s a healthy tweak without compromising taste.
-
Heat Level: Spice things up by swirling in some wasabi or adding jalapeños for a fiery kick. Your taste buds will thank you for that exciting twist!
-
Fresh Crunch: Toss in diced avocado or cucumber into the filling for extra freshness. The coolness of these veggies beautifully complements the warm rice and savory nori.
-
Flavor Boost: Switch out mayonnaise for spicy mayo, or drizzle teriyaki sauce on top before baking for an irresistible sweet-savory element. It adds that extra punch!
-
Seaweed Variety: Use flavored nori sheets—like sesame or wasabi—for an extra layer of deliciousness that brings a unique touch to your sushi bake.
-
Garnish Galore: Top with toasted sesame seeds or furikake after baking for delightful crunch and enhanced umami. It’s the little details that can change everything!
Feel inspired? You can also check out ideas from my delightful Cookie Butter Icebox for dessert or whip up a savory dish like Pepperoni Tortellini Bake.
Make Ahead Options
These Easy Sushi Bake preparations are perfect for busy home cooks looking to save time during hectic weeknights! You can prepare the sushi rice up to 24 hours in advance; simply cook it as directed, let it cool, and then refrigerate it in an airtight container to maintain its sticky texture. Additionally, you can pre-mix the fillings with the creamy sauce and store them in the fridge for up to 3 days. When you’re ready to bake, layer the chilled rice with nori and top it with your fillings, then pop it in the oven! This way, you’ll enjoy restaurant-quality results with minimal effort, all while keeping the flavors vibrant and delicious.
Expert Tips for Your Sushi Bake
• Prep Ahead: Make sushi rice in advance and keep it covered in the fridge for up to 2 days. This saves time on busy nights!
• Vinegar Balance: Be cautious with the amount of rice vinegar—too much can make the rice dry. Start with 1/4 cup for the perfect moisture.
• Layering Matters: Ensure even layering of rice and fillings to achieve a balanced flavor. Uneven layers can lead to dry spots in your sushi bake.
• Bake Wisely: Avoid using an air fryer, as it’s not suitable for this recipe. Bake in a conventional oven for that delightful crispy texture.
• Crowd-Ready: This sushi bake recipe is easily scalable; simply double or triple the ingredients for larger gatherings, ensuring everyone gets a taste.
How to Store and Freeze Sushi Bake
Fridge: Store leftovers in an airtight container for up to 3 days. This keeps the flavors intact while preventing the rice from drying out.
Reheating: When ready to enjoy again, reheat individual portions in the oven at 350°F (175°C) for about 10-15 minutes, or until warmed through.
Freezer: It’s not recommended to freeze the sushi bake, as the rice and nori may lose their texture and flavor upon defrosting.
Assembling Ahead: For convenience, prepare your sushi rice and fillings in advance, so you can easily assemble and bake when ready to serve.
Sushi Bake Recipe FAQs
What type of sushi rice is best for this recipe?
I recommend using short-grain sushi rice, as it offers the perfect sticky texture that holds together well in the bake. Aim for a variety designed specifically for sushi, as it absorbs water better and provides the classic sushi experience we’re after!
How should I store leftovers from the Sushi Bake?
Absolutely! Store your leftovers in an airtight container in the fridge for up to 3 days. This keeps the flavors fresh without drying out the rice. When you’re ready to dig in again, reheat individual portions in the oven at 350°F (175°C) for about 10-15 minutes, or until warmed through.
Can I freeze my Sushi Bake?
While it’s tempting to freeze, I recommend against it. Freezing can alter the texture of both the rice and nori, making them less enjoyable once thawed. It’s best to enjoy your Sushi Bake fresh, but you can prepare the rice and fillings ahead of time and assemble just before baking!
What if my Sushi Bake looks dry or doesn’t hold together?
If you find your bake to be dry, it’s likely a result of using too much rice vinegar or not enough creamy sauce. For future bakes, ensure you mix your rice thoroughly with the creamy sauce, and don’t skimp on moisture. For a beautiful balance, make sure the rice is sticky but not mushy, and always layer it evenly.
Are there any dietary considerations I should keep in mind?
Very! If you’re cooking for someone with seafood allergies, feel free to substitute the crab sticks or tuna with cooked chicken or vegetables. For a vegetarian option, consider stuffing the bake with a medley of your favorite vegetables! Just be inventive and customize based on dietary preferences.
How can I adapt the Sushi Bake for large gatherings?
For bigger crowds, scaling up this recipe is super easy! Simply double or triple the ingredients based on your needs. Use a larger baking dish to accommodate the additional servings. Just be sure to adjust the baking time if the layers are thicker, starting with 5-minute increments until it’s golden and bubbly. The more the merrier!
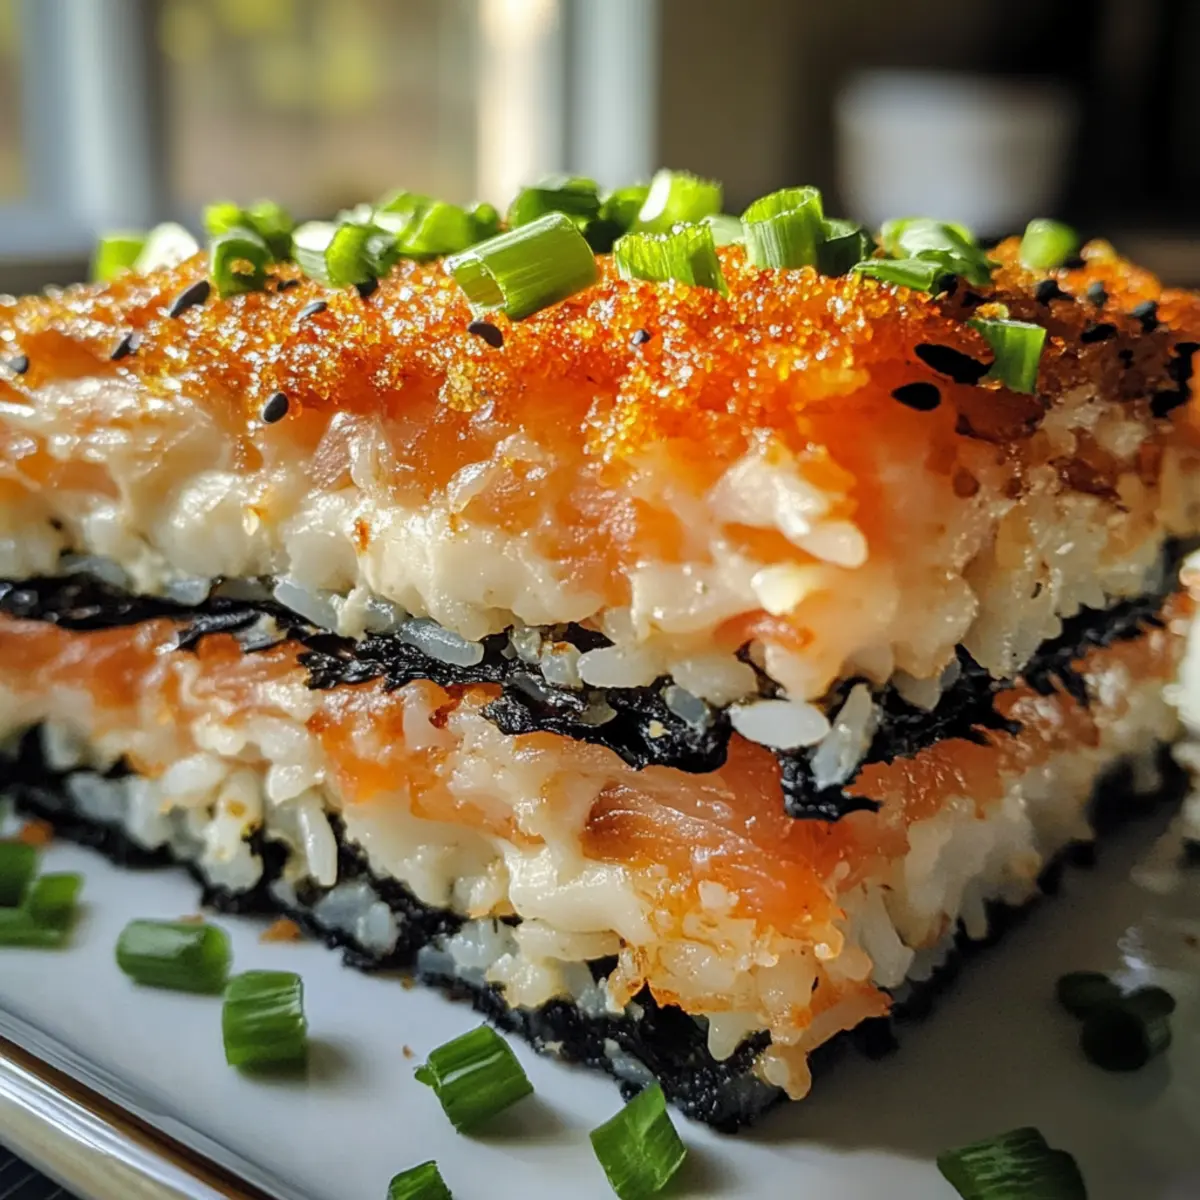
Sushi Bake Delight – Comfort Food You Can Customize
Ingredients
Equipment
Method
- Preheat your oven to 350°F (175°C). Gather your baking dish and utensils.
- Cook the sushi rice according to the package instructions, about 15-20 minutes. Let cool slightly for 5-10 minutes and fold in rice vinegar.
- In a mixing bowl, combine cooled sushi rice with fillings and creamy sauce. Stir gently for 2-3 minutes until well incorporated.
- Layer half of the sushi rice mixture in your baking dish evenly.
- Place nori sheets over the rice layer, then spread the remaining sushi rice mixture on top followed by fillings.
- Bake for about 20-25 minutes, until the top is golden brown and crispy.
- Remove from oven, let rest for 5 minutes, then garnish with green onions and serve warm.