


The aroma of baking cake mix wafted through my kitchen, and suddenly, I was transported back to my childhood, where sweet treats and family gatherings filled every corner. That’s the delightful essence of these Salted Peanut Marshmallow Bars—a quick and easy treat that captures the perfect harmony of sweet and salty. With just a few simple ingredients and a box mix, you can whip up a batch of these chewy, crunchy bars that will please young and old alike. Not only are they great for packing in lunchboxes, but they also make for an indulgent afternoon snack that satisfies those sweet cravings. Ready to dive into this nostalgic dessert adventure? Let’s get started!
Why are these bars a must-try?
Quick and Easy: With just a few ingredients and a box mix, you can whip up these delicious Salted Peanut Marshmallow Bars in no time. Perfect for busy weeknights or surprise guests!
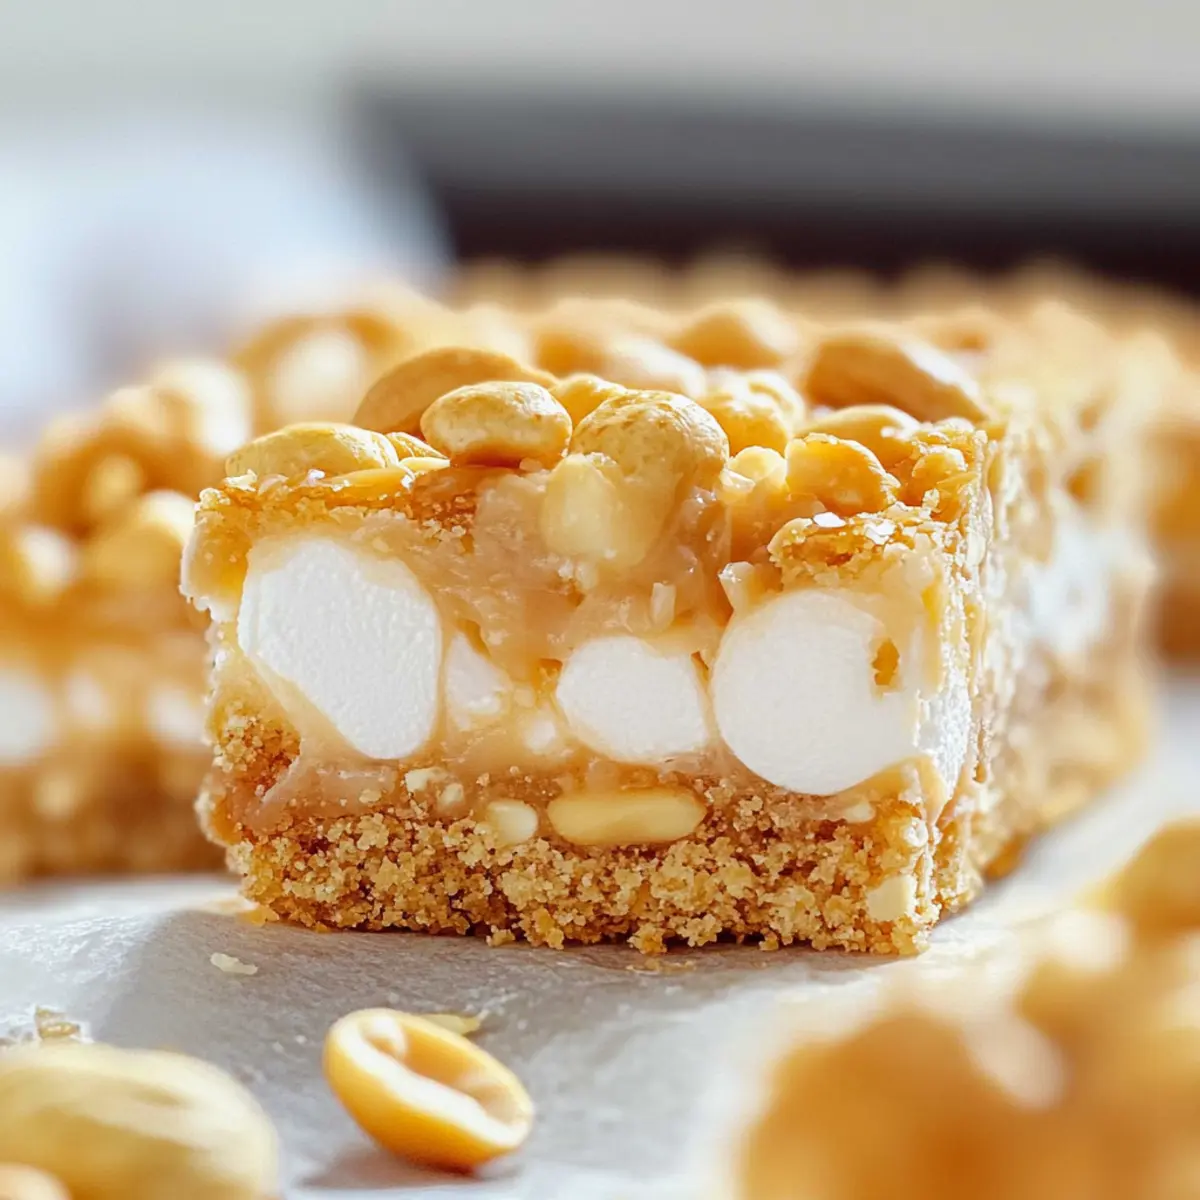
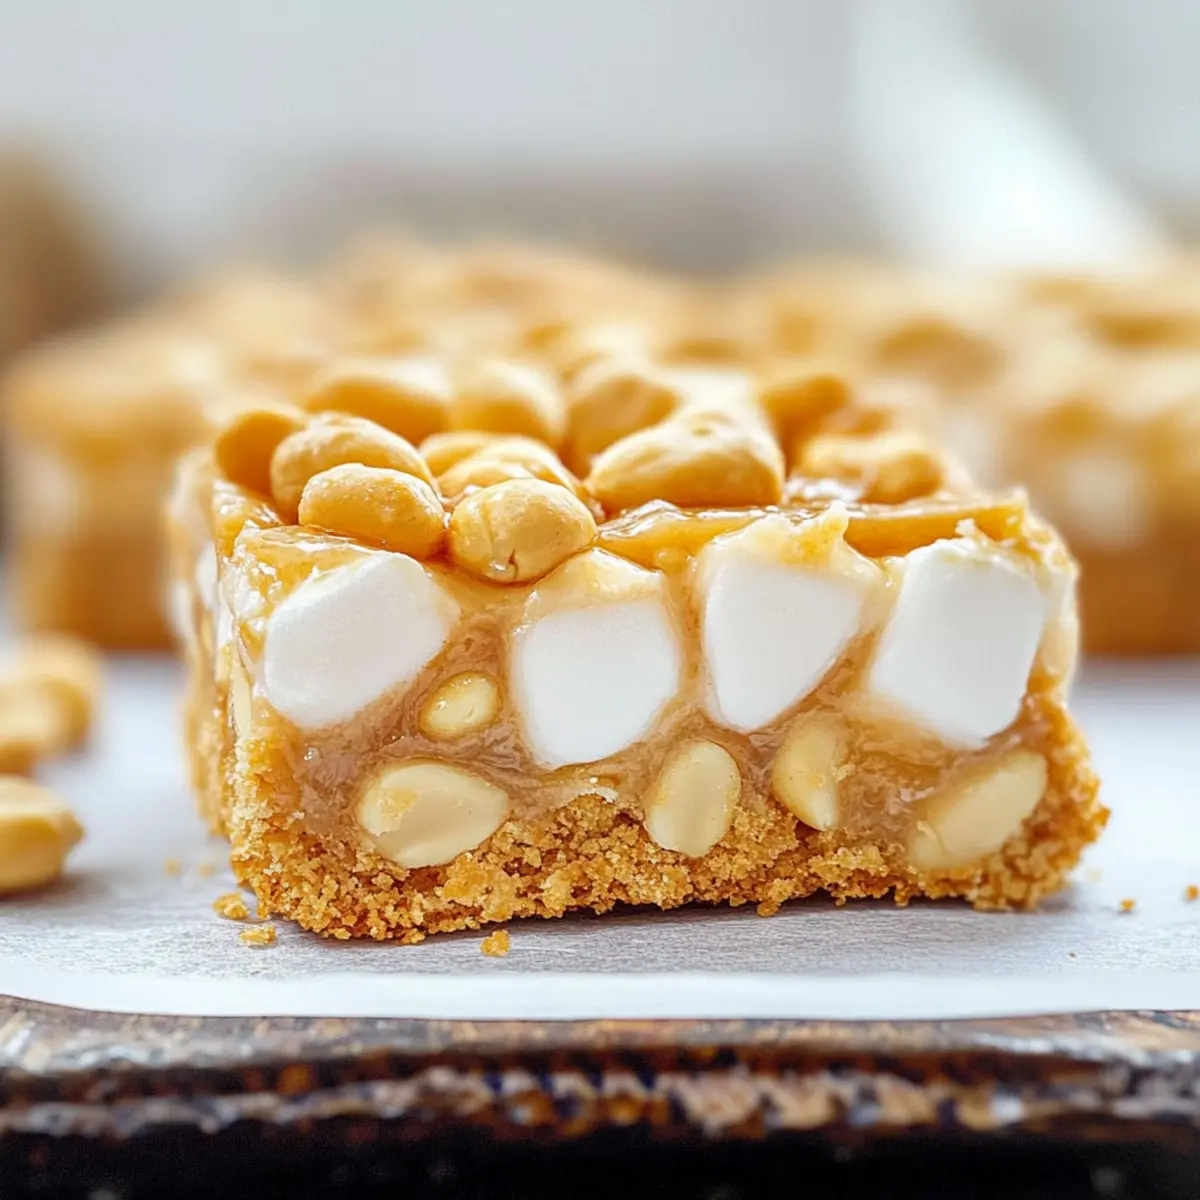
Chewy and Crunchy: The delightful combination of gooey marshmallows and crispy rice cereal creates a texture that will have everyone coming back for seconds.
Crowd Pleaser: Kids and adults alike will adore these sweet treats, making them ideal for parties, potlucks, or school snacks.
Versatile Variations: Feel free to switch up the flavors by using chocolate chips instead of peanut butter or adding in dried fruit for an extra twist! For another sweet treat, check out these Shamrock Sugar Cookie bars.
Nostalgic Flavor: These bars bring back fond memories of childhood desserts, reminding us of the sweet moments shared with family and friends. Get ready for a bite of nostalgia that packs a punch!
Salted Peanut Marshmallow Bars Ingredients
For the Crust
• Yellow Cake Mix – Provides the base structure and sweetness for the bars; other flavors can also work, but may alter the taste.
• Salted Butter (1/3 cup) – Adds richness and moisture; ensure it’s softened for easy mixing.
• Large Egg – Acts as a binder in the crust for added structure.
For the Topping
• Miniature Marshmallows (3 cups) – Contributes a delightful chewy texture; be sure to add them immediately after baking for the best melt.
• Light Corn Syrup (2/3 cup) – Adds sweetness and helps bind the topping together.
• Vanilla Extract (1 teaspoon) – Enhances the flavor; using pure vanilla will give the best taste.
• Peanut Butter Baking Chips (10 ounces) – Infuses a nutty flavor into the bars; can be substituted with chocolate chips for a different twist.
• Crispy Rice Cereal (1.5 cups) – Adds a satisfying crunch and texture; try puffed quinoa for a unique variation.
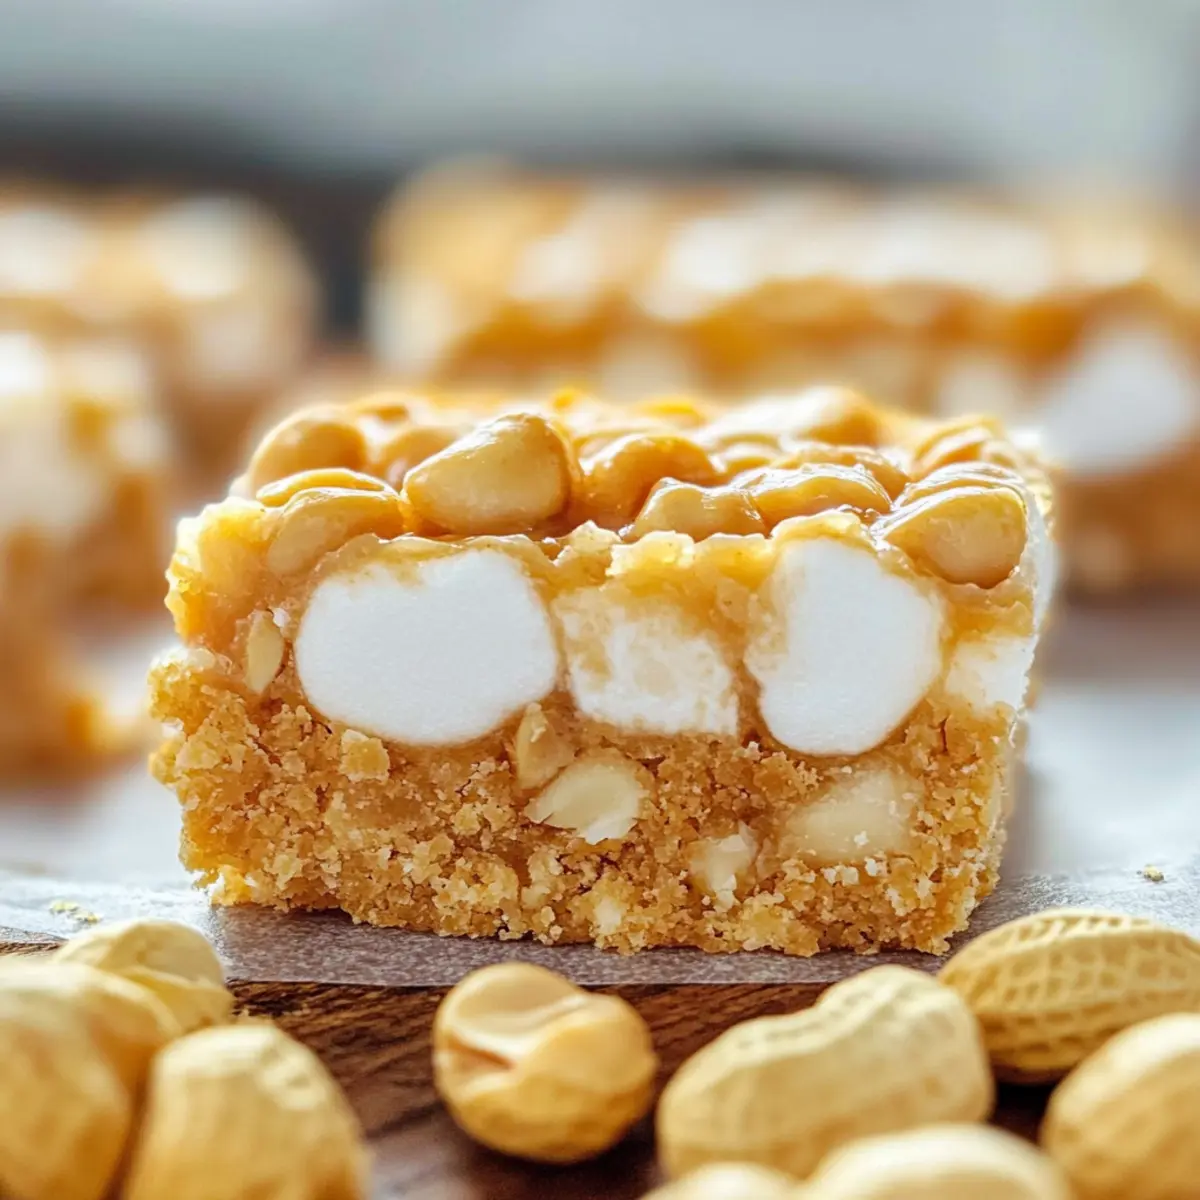
• Dry Roasted Salted Peanuts (1.5 cups) – Provides a salty contrast and delightful texture; feel free to swap with unsalted nuts or almond slices.
Get ready to savor those delicious Salted Peanut Marshmallow Bars!
Step‑by‑Step Instructions for Salted Peanut Marshmallow Bars
Step 1: Preheat the Oven
Begin by preheating your oven to 350°F (175°C) while you prepare your baking pan. Line a 9×13 inch baking pan with parchment paper, leaving some overhang for easy removal later, and spray it lightly with baking spray for extra non-stick assurance.
Step 2: Make the Crust
In a large mixing bowl, combine the yellow cake mix, 1/3 cup of softened salted butter, and 1 large egg. Use your hands or a spatula to mix these ingredients until a soft dough forms. Once ready, evenly press the dough into the bottom of your prepared baking pan, making sure the layer is smooth and covers the entire base.
Step 3: Bake the Crust
Place the crust in the preheated oven and bake for 15 to 18 minutes or until it turns a lovely light golden brown. Keep an eye on it to prevent overbaking. Once it’s ready, take it out of the oven and immediately scatter 3 cups of miniature marshmallows evenly over the hot crust so they can begin to melt.
Step 4: Melt the Marshmallows
If the marshmallows aren’t melting enough, return the pan to the oven for an additional 3 to 5 minutes. Look for the marshmallows to puff up and soften; this means they are ready to be topped. Once melted, remove the pan and gently spread the marshmallows with a spatula to cover the crust.
Step 5: Prepare the Topping
For the topping, grab a saucepan and melt 1/4 cup of butter alongside 2/3 cup of light corn syrup over medium-low heat. Stir frequently until the butter is fully melted, and then mix in the vanilla extract and 10 ounces of peanut butter baking chips. Continue stirring until the mixture is smooth and cohesive.
Step 6: Combine Layers
Once the topping is ready, remove it from heat and quickly fold in 1.5 cups of crispy rice cereal and 1.5 cups of dry roasted salted peanuts. Mix well, ensuring the cereal and nuts are evenly coated. Spoon this delicious mixture over the melted marshmallows, spreading it out to cover the entire surface, pushing the peanuts into any gaps for even distribution.
Step 7: Cooling
Finally, let your Salted Peanut Marshmallow Bars cool at room temperature for about 15 minutes. After they’ve cooled slightly, use the overhanging parchment paper to lift the whole bar out of the pan. Transfer it to a wire rack and allow to cool completely before cutting into 24 bars for the perfect sweet snack.
How to Store and Freeze Salted Peanut Marshmallow Bars
- Room Temperature: Keep your Salted Peanut Marshmallow Bars in an airtight container for up to 7 days. Placing them in a cool, dry spot prevents them from becoming stale.
- Fridge: For longer freshness, you can refrigerate the bars. They’ll stay good for up to 2 weeks in an airtight container, but expect a firmer texture.
- Freezer: Wrap the bars tightly in plastic wrap and then in foil to freeze. They can be stored in the freezer for up to 3 months. Thaw them in the fridge overnight before enjoying.
- Reheating: If you prefer warm bars, pop them in the microwave for 10-15 seconds. This will bring back their gooey texture and delightful aroma!
Make Ahead Options
These Salted Peanut Marshmallow Bars are perfect for meal prep, allowing you to save time on busy weeknights! You can prepare the crust (steps 1-3) up to 24 hours in advance. Just cool it completely, cover tightly with plastic wrap, and refrigerate to maintain freshness. You can also mix the topping (steps 5-6) and store it in an airtight container at room temperature for up to 3 days. When ready to finish the recipe, simply melt the marshmallows over the prepared crust (step 4), layer the topping on, and let cool. These bars remain just as delicious when made ahead, making them a go-to treat for any occasion!
Salted Peanut Marshmallow Bars Variations
Feel free to unleash your creativity and tweak these bars to suit your taste or dietary needs!
-
Chocolate Lovers: Substitute peanut butter chips with your favorite chocolate chips for a decadent twist.
-
Nut-Free Options: Use sunflower seed butter instead of peanut butter for a nut-free yet rich alternative. This swap opens the doors for inclusion in school lunches!
-
Fruity Twist: Add 1 cup of dried cranberries or raisins into the topping mix for a sweet surprise and extra texture.
-
Cinnamon Spice: Sprinkle in a teaspoon of cinnamon to the crust mixture for a warm, cozy flavor that’s especially delightful during chilly months.
-
Crunchy Texture: Instead of crispy rice cereal, opt for granola for an added nutty crunch and fiber boost.
-
Savory Kick: A dash of sea salt or flaky salt over the top right before serving can enhance the sweet and salty balance beautifully!
-
Healthier Version: Swap out the light corn syrup for pure maple syrup; it brings a unique flavor while cutting some refined sugar.
-
Layered Delight: For a delicious contrast, try adding a layer of melted chocolate under the marshmallows for an extra indulgent experience.
Pair these variations with a classic treat like Shamrock Sugar Cookie bars for a delightful dessert spread!
What to Serve with Salted Peanut Marshmallow Bars
Satisfy your sweet tooth and elevate your dessert experience with delightful pairings that perfectly complement these gooey bars.
-
Cold Glass of Milk:
The classic duo! A cold glass of milk balances the sweetness of the bars and enhances their rich flavors. -
Vanilla Ice Cream:
Creamy vanilla ice cream creates a delightful contrast with the chewy bars, making each bite decadently smooth. -
Fresh Berries:
Adding bright, tart berries like strawberries or raspberries provides a refreshing burst of flavor that cuts through the sweetness. -
Chocolate Drizzle:
A warm drizzle of chocolate sauce brings an irresistible indulgence; the rich taste pairs beautifully with the peanut and marshmallow. -
Coffee or Espresso:
An earthy cup of coffee or espresso brings out the nutty flavors of the bars, making it the perfect pick-me-up treat. -
Coconut Whipped Cream:
Light and airy coconut whipped cream adds an exotic flair while enhancing the chewy texture of the marshmallow bars. -
Salted Caramel Sauce:
Drizzling salted caramel over the bars amplifies their salty-sweet flavor profile, creating a decadent dessert experience. -
Nutty Granola:
A sprinkle of crunchy nut granola adds extra texture and complements the peanut flavor beautifully, perfect for a mid-day snack.
Expert Tips for Salted Peanut Marshmallow Bars
-
Parchment Perfection: Ensure the parchment paper is securely adhered to the sides of the pan to prevent any sticking when removing the bars.
-
Marshmallow Melting: Add the miniature marshmallows immediately after baking the crust for optimal melt. If needed, return them to the oven briefly for even distribution.
-
Cooling Time: Allow the bars to cool completely before cutting for the cleanest edges and to help the layers set properly.
-
Flavor Flexibility: Feel free to swap out peanut butter baking chips for chocolate chips to customize your Salted Peanut Marshmallow Bars to your taste!
-
Storage Tips: Keep remaining bars in an airtight container at room temperature for up to a week—a perfect treat for that mid-afternoon craving!

Salted Peanut Marshmallow Bars Recipe FAQs
How do I select the best ingredients for these bars?
Absolutely! When choosing your yellow cake mix, look for options without artificial flavors to ensure a rich taste. For the peanuts, pick fresh dry roasted salted ones without dark spots; they’ll give the bars that perfect crunch. And for the butter, make sure it’s at room temperature—softened and easy to mix ensures a smooth crust.
What’s the best way to store Salted Peanut Marshmallow Bars?
I recommend keeping them in an airtight container at room temperature for up to 7 days. This keeps them soft and chewy. If you prefer them to last a bit longer, refrigerate them; they should stay fresh for about 2 weeks, but they may become a tad firmer.
Can I freeze these bars? If so, how?
Absolutely! To freeze your Salted Peanut Marshmallow Bars, start by wrapping each bar tightly in plastic wrap and then in foil to prevent freezer burn. They can be stored in the freezer for up to 3 months. When you’re ready to enjoy, simply thaw them overnight in the fridge, or let them sit at room temperature for about an hour and enjoy those gooey bites again!
What should I do if the marshmallows aren’t melting properly?
If you notice that the marshmallows are not melting sufficiently after the initial bake, don’t worry! Just return the pan to the oven for an additional 3 to 5 minutes. Keep a close eye on them; you’re looking for that lovely puffed-up look signaling they’re ready to be gently spread across. This will ensure you get that delightful gooey layer atop your bars!
Are there any allergy concerns with this recipe?
Definitely! The Salted Peanut Marshmallow Bars contain peanuts and gluten from the cake mix, so if you have nut allergies or require gluten-free options, you can easily swap out peanut butter baking chips with chocolate chips and use a gluten-free cake mix. Just be sure to check labels for any hidden allergens since various brands can vary in ingredients.
Can I add other ingredients to customize my bars?
Very! Feel free to mix things up by adding dried fruits like cranberries or raisins for added sweetness and nutrition. You could also swap the crispy rice cereal for puffed quinoa or coconut for a delightful twist—after all, the more, the merrier!
Salted Peanut Marshmallow Bars - Sweet, Salty Bliss in Every Bite
Ingredients
Equipment
Method
- Preheat your oven to 350°F (175°C) and line a 9x13 inch baking pan with parchment paper, leaving some overhang.
- In a large mixing bowl, combine the yellow cake mix, 1/3 cup of softened salted butter, and 1 large egg. Mix until a soft dough forms and press into the bottom of the baking pan.
- Bake the crust for 15 to 18 minutes or until light golden brown, then scatter the miniature marshmallows over the hot crust to melt.
- If needed, return the pan to the oven for an additional 3 to 5 minutes until marshmallows are puffed and softened.
- In a saucepan, melt 1/4 cup of butter and 2/3 cup of light corn syrup together. Stir in the vanilla extract and peanut butter baking chips until smooth.
- Fold in the crispy rice cereal and dry roasted salted peanuts, ensuring they are evenly coated, then spoon this mixture over the melted marshmallows.
- Allow to cool at room temperature for about 15 minutes, then transfer to a wire rack and cool completely before cutting into 24 bars.