


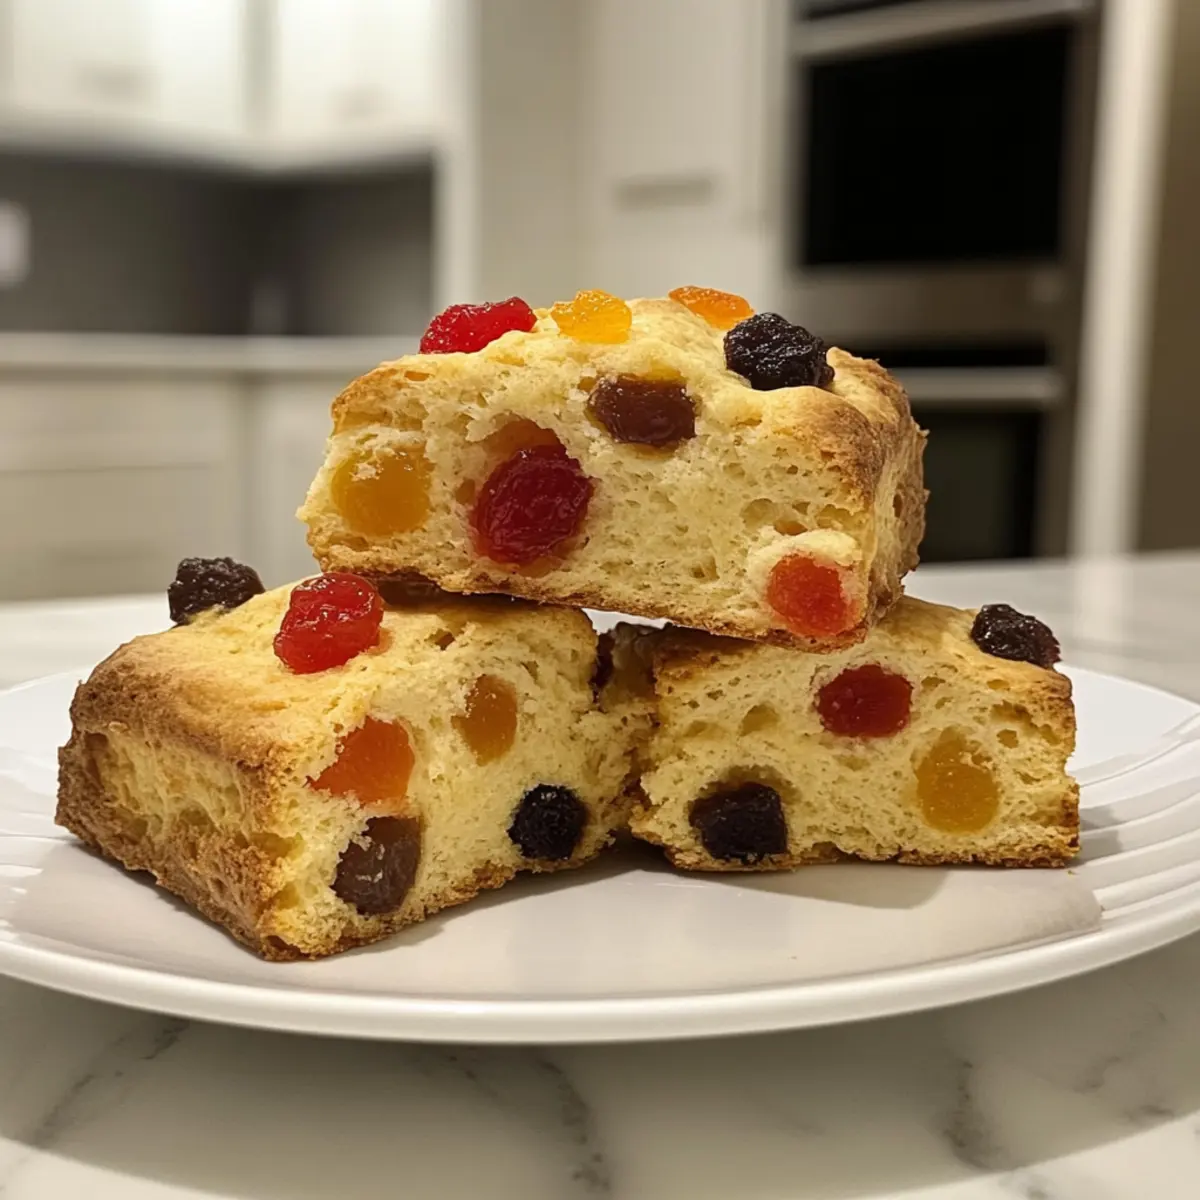
As I rummaged through my pantry last week, I stumbled upon a bag of candied fruit that sparked a delicious idea. Why not blend the heavenly essence of an Italian Panettone with the satisfying crumbly goodness of a warm scone? Enter the PANESCONE, a delightful fusion that’s both quick and easy to whip up! Perfect for cozy afternoons or festive gatherings, these scones encapsulate all the joy of traditional holiday baking without the fuss. Plus, they’re a fantastic way to impress guests while keeping your prep time in check. Are you ready to elevate your baking game and treat your taste buds to this mouthwatering fusion? Let’s dive into the recipe!
Why try making a PANESCONE?
Unique Fusion: The PANESCONE perfectly marries Italian Panettone flavors with the comforting texture of a scone, offering a delightful treat that’s sure to impress.
Quick & Easy: With straightforward steps, you can have these scones ready in no time, making it perfect for busy bakers or last-minute gatherings.
Crowd-Pleasing Flavor: The blend of sweet candied fruit ensures every bite is bursting with festive charm, appealing to both scone and Panettone lovers alike.
Versatile Options: Feel free to play around with different fruits or spices to create your own signature version of this delightful treat!
Ideal for Any Occasion: Whether it’s a cozy family brunch or an elegant holiday party, the PANESCONE fits perfectly into any setting, elevating your culinary offerings.
Storage Friendly: Bake a batch ahead of time and enjoy them fresh for days; these scones stay delicious whether served warm or at room temperature.
PaneScone Ingredients
For the Scone Base
• Flour – Provides structure to the scone; you can use whole wheat flour for a nuttier flavor.
• Sugar – Adds sweetness; substitute with honey or maple syrup for a natural alternative.
• Butter – Contributes to the flaky texture; consider using vegan butter for a dairy-free version.
• Eggs – Help bind the ingredients together; flaxseed meal or applesauce serve as great vegan substitutes.
• Baking Powder – Acts as a leavening agent for a light and airy scone; always check that it’s fresh for the best results.
• Milk – Adds moisture and richness; swap in almond milk or oat milk for a dairy-free option.
For the Flavor Boost
• Candied Fruit – Enhances flavor with festive elements; dried cranberries or cherries can create a different taste profile.
Bring the joy of a holiday feast to your kitchen with these essential ingredients for making your very own PaneScone!
Step‑by‑Step Instructions for PANESCONE
Step 1: Preheat the Oven
Begin by preheating your oven to 200°C (400°F). This ensures that your PANESCONE bakes evenly and develops a lovely golden-brown crust. Prepare a baking sheet by lining it with parchment paper, allowing for easy cleanup once your delightful scones are ready.
Step 2: Mix the Dry Ingredients
In a large mixing bowl, combine the flour, sugar, and baking powder. Use a whisk to thoroughly mix these dry ingredients, ensuring there are no lumps. This step is crucial to create a light and airy texture in your PANESCONE, setting the stage for a delightful baking experience.
Step 3: Cut in the Butter
Take cold butter and cut it into small cubes, then add it to the flour mixture. Using a pastry cutter or your fingers, work the butter into the dry ingredients until the mixture resembles coarse crumbs. This technique creates that flaky texture you crave in your PANESCONE, so be gentle and avoid overmixing.
Step 4: Combine Wet Ingredients
In a separate bowl, whisk together the eggs and milk until well combined. Pour this mixture into the dry ingredients and stir gently until just combined; it’s essential to handle the dough lightly at this stage to maintain its tenderness. The wet ingredients act as a binding agent, bringing your PANESCONE dough together beautifully.
Step 5: Fold in the Candied Fruit
Now it’s time to add your chosen candied fruit into the dough. Gently fold the fruit into the mixture, ensuring even distribution without overmixing. The candied fruit will infuse your PANESCONE with sweetness and festive charm, making every bite a delightful surprise.
Step 6: Knead the Dough
Turn the dough out onto a lightly floured surface and gently knead it just until it becomes smooth. This should only take about 1-2 minutes, as over-kneading can lead to tough scones. Form the dough into a cohesive ball, ready to be shaped into rounds.
Step 7: Shape and Place on Baking Sheet
Divide the dough into equal portions and shape them into rounds about 1 inch thick. Place these scones on your prepared baking sheet, giving them some space to puff up while baking. Their appealing round shape is a classic touch, making your PANESCONE visually stunning.
Step 8: Bake to Perfection
Bake the scones in your preheated oven for about 15 minutes, or until they are golden brown and a toothpick inserted in the center comes out clean. Keep an eye on them, and you should see a beautifully risen scone with a slightly crisp top, signaling that they are ready.
Step 9: Cool Before Serving
Once baked, remove the PANESCONE from the oven and allow them to cool slightly on a wire rack. This step helps set their texture, making them perfect for serving. As they cool, the delightful aroma will waft through your kitchen, tempting everyone nearby to enjoy a warm scone.
Make Ahead Options
These delightful PaneScones are perfect for meal prep and can save you precious time during busy days! You can prepare the scone dough up to 24 hours in advance and store it in the refrigerator, ensuring it stays fresh and ready for baking. If you want to take it even further, shape the scones into rounds and place them on a baking sheet, then cover and refrigerate. When you’re ready to serve, simply preheat your oven and bake the chilled scones for about 15 minutes. This way, you’ll enjoy freshly baked PaneScones that taste just as delicious as if they were made on the spot, all with minimal effort!
Expert Tips for Making the Best PANESCONE
Cold Butter: Keep your butter chilled for a flaky texture. Room temperature butter will lead to a denser scone.
Don’t Overmix: Gently combine wet and dry ingredients. Overmixing will result in tough PANESCONE instead of the light, airy texture you desire.
Check Baking Time: Start checking your scones a few minutes early. Every oven is different, and you want them golden brown, not overcooked.
Use Fresh Baking Powder: Old leavening agents can hinder the rise, affecting your scone’s fluffiness. Always double-check for freshness!
Experiment with Flavors: Feel free to swap out candied fruits or infuse with spices for a unique twist. This versatility adds a personal touch to your PANESCONE!
PANESCONE Variations & Substitutions
Feel free to get creative and make this PANESCONE your own with these fun variations and substitutions!
- Whole Wheat: Swap regular flour for whole wheat flour for a nuttier, heartier scone.
- Natural Sweeteners: Replace sugar with honey or maple syrup for a touch of natural sweetness that complements the fruit beautifully.
- Dairy-Free: Use vegan butter and your favorite plant-based milk to enjoy a dairy-free PANESCONE without sacrificing flavor or texture.
- Fruit Twists: Instead of candied fruit, consider using dried cranberries or figs for a delightful new take that’s equally festive.
- Nutty Crunch: Add chopped nuts like walnuts or pecans to elevate the texture and introduce a delightful crunch.
- Spice it Up: Infuse the dough with cinnamon or nutmeg for an extra layer of warmth and depth. This twist pairs perfectly with the sweetness of the candied fruit.
- Savory Touch: Get adventurous! Try adding cheese such as grated Parmesan for a savory twist that’s perfect for brunch or as a pairing with soup.
- Zesty Lemon: Add lemon zest to the batter for a fresh burst of citrus that brightens the flavor profile of your scones.
By exploring these variations, you can craft a PANESCONE that suits your taste and the occasion perfectly. If you love trying out new twists, you might also enjoy incorporating some seasonal spices or experimenting with different fillings. Happy baking!
Storage Tips for PANESCONE
Room Temperature: Store your cooled PANESCONE in an airtight container for up to 3 days. This keeps the scones fresh and fluffy, perfect for a quick snack.
Freezer: If you want to enjoy your PANESCONE later, wrap individual scones in plastic wrap and place them in a freezer bag. They can be frozen for up to a month.
Reheating: To enjoy them warm again, simply preheat your oven to 180°C (350°F) and bake the scones for about 5-7 minutes. This revives the delightful texture and flavor.
Make-Ahead: Prepping your scone dough a day in advance? Store it wrapped tightly in the fridge and bake fresh PANESCONE when you’re ready for a cozy treat!
What to Serve with PaneScone?
Imagine a cozy gathering where warm, delightful treats are complemented by the perfect sides that elevate your culinary experience.
-
Fresh Berries: Juicy strawberries or raspberries add a fresh burst of flavor, making for a beautiful contrast against the sweet scone. Their vibrant colors also brighten up the table!
-
Whipped Cream: A dollop of lightly sweetened whipped cream brings a luscious creaminess that balances the flavor of the PaneScone, inviting you to indulge in a heavenly bite.
-
Herbal Tea: A steaming cup of chamomile or raspberry tea elevates the experience, providing a calming complement to the scone’s fruity sweetness. The warm aroma is simply irresistible!
-
Honey Butter: Blend butter with honey for a rich, sweet spread that’s perfect for complementing the scone’s texture and enhancing its flavors. A taste sensation!
-
Citrus Salad: A refreshing salad featuring grapefruit and orange slices offers a zesty counterpoint to the sweetness, cleansing the palate between bites. It’s a revitalizing choice!
-
Sparkling Water: Infused with a slice of lemon or lime, fizzy water provides a refreshing contrast to the richness of the scone, making each bite even more delightful.
-
Dark Chocolate: Small squares of dark chocolate add a touch of decadence, perfectly balancing the sweetness of the PaneScone with its rich and slightly bitter notes. It’s a match made in heaven!
-
Chai Latte: The warming spices of chai perfectly echo the flavors of the PaneScone, creating an aromatic experience that enchants your taste buds in every sip and bite.
-
Almond Milk: This creamy dairy alternative pairs beautifully, bringing subtle nutty flavor and smoothness that enhance the overall indulgence of your treat.
-
Cinnamon Sugar: A sprinkle of cinnamon sugar on your PaneScone adds a warm, cozy flavor that heightens the festive spirit of this delightful treat!

PaneScone Recipe FAQs
What kind of flour should I use for my PaneScone?
You can use all-purpose flour for a classic texture, but I often recommend whole wheat flour for a nuttier flavor and added nutrients. It provides a firmer structure that beautifully complements the sweetness of the candied fruit.
How should I store PaneScone once baked?
Store your cooled PaneScone in an airtight container at room temperature for up to 3 days. This will maintain their fresh and fluffy texture. For longer storage, you can wrap them individually in plastic wrap and place them in a freezer bag, where they will stay delicious for up to a month.
Can I freeze PaneScone?
Absolutely! To freeze, ensure the scones are completely cooled, then wrap each one tightly in plastic wrap and place them in a freezer-safe bag. When you’re ready to enjoy, simply preheat your oven to 180°C (350°F) and bake from frozen for about 5-7 minutes to bring back their delightful texture and warmth.
What if my PaneScone dough is too sticky?
If your dough is too sticky, it may need a little extra flour during the kneading process. Sprinkle a light dusting of flour on your surface and gently incorporate more flour into the dough until it’s manageable. Just remember, don’t overwork it; too much handling can lead to tough scones.
Are there any dietary restrictions I should consider?
If you have allergies or dietary preferences, you can easily modify the PaneScone! For a dairy-free version, use vegan butter and almond milk. For gluten-free scones, opt for a gluten-free all-purpose flour blend. Always double-check the ingredients in your candied fruit to ensure they meet your dietary needs.
How do I know if my baking powder is fresh?
To check if your baking powder is fresh, drop a teaspoon of it into a small bowl of hot water. If it bubbles vigorously, it’s good to go! If there’s little to no reaction, it’s time to replace it for the best rise in your PaneScone.
Delightful PANESCONE: Your New Favorite Holiday Treat
Ingredients
Equipment
Method
- Preheat your oven to 200°C (400°F) and line a baking sheet with parchment paper.
- In a large mixing bowl, combine the flour, sugar, and baking powder and whisk until there are no lumps.
- Cut cold butter into small cubes and add it to the flour mixture. Mix until it resembles coarse crumbs.
- In a separate bowl, whisk together the eggs and milk, then pour into the dry ingredients, stirring gently.
- Fold in the candied fruit, ensuring even distribution without overmixing.
- Turn the dough onto a lightly floured surface and knead gently until smooth, about 1-2 minutes.
- Divide the dough into equal portions and shape them into rounds about 1 inch thick on the baking sheet.
- Bake for about 15 minutes, or until golden brown and a toothpick comes out clean.
- Allow the PANESCONE to cool slightly on a wire rack before serving.