


The aroma of freshly brewed coffee lingers in the air, a gentle invitation to indulge in something sweet. If you’re a dessert lover, you’ll be thrilled to whip up these Mini Coffee Cheesecakes, where rich, creamy goodness dances with the deep notes of coffee. They offer the perfect balance between a crunchy graham cracker crust and a velvety filling that melts in your mouth—ideal for when you crave a quick and rewarding treat or want to impress guests at your next gathering. Plus, this dessert is surprisingly easy to prepare, making it a go-to choice for any occasion. Ready to dive into a little coffee-infused bliss? Let’s bring those cheesecake dreams to life!
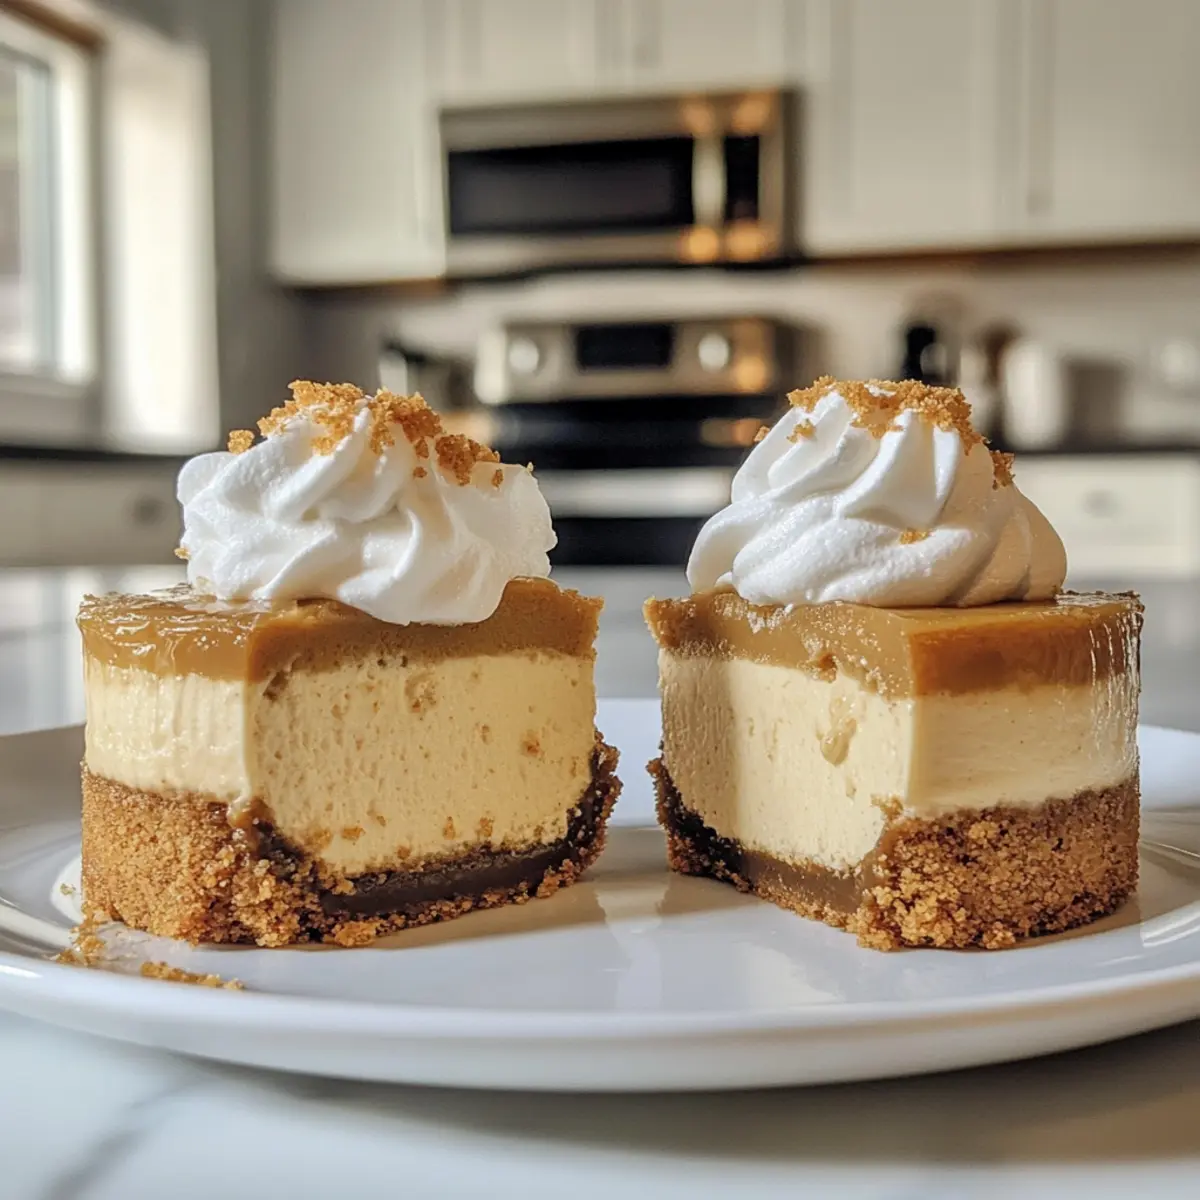
Why Will You Love Mini Coffee Cheesecakes?
Irresistible Flavor: Each bite delivers a perfect harmony of rich coffee and creamy cheesecake, ensuring a delightful dessert experience.
Quick to Make: Even novice bakers can whip these up effortlessly, making them perfect for spontaneous cravings or gatherings.
Customizable Delight: Tailor these cheesecakes by adding your favorite toppings or flavors, such as chocolate chips or caramel drizzle, to suit any palate.
Perfect Portions: Mini sizes allow you to enjoy just the right amount of sweetness without the guilt, making it easy to savor every mouthful.
Crowd-Pleasing Appeal: Whether for a cozy dinner party or a casual get-together, these cheesecakes are sure to impress and satisfy your guests.
Make Ahead Convenience: Prepare in advance and store them in the fridge, ensuring a delicious dessert is always within reach. For design ideas, check out how to use custom toppings to elevate your cheesecakes.
Mini Coffee Cheesecakes Ingredients
For the Crust
• Graham Cracker Crumbs – Provides a crunchy base; substitute with gluten-free crumbs or crushed nuts for a gluten-free option.
• Sugar – Sweetens the crust and filling; adjust to taste based on preferences.
• Melted Butter – Binds the crust ingredients; can replace with coconut oil for a dairy-free version.
For the Filling
• Cream Cheese (softened) – The main filling that contributes creaminess; ensure cream cheese is at room temperature to avoid lumps.
• Vanilla Extract – Enhances flavor; use pure vanilla for a more pronounced taste.
• Eggs – Provides structure and richness; beat until pale for best results.
• Brewed Coffee (cooled) – Infuses the cheesecake with coffee flavor; use decaf if preferred.
• Optional Coffee Liqueur – Enhances coffee flavor; omit for a non-alcoholic version.
For the Topping
• Whipped Cream – Adds lightness and contrasts with the dense cheesecake; a perfect finishing touch for these Mini Coffee Cheesecakes.
Step‑by‑Step Instructions for Mini Coffee Cheesecakes
Step 1: Preheat the Oven
Begin by preheating your oven to 325°F (160°C). This step is crucial as it ensures that your Mini Coffee Cheesecakes bake evenly and thoroughly. While the oven heats, you can prepare your crust mixture, setting the stage for the deliciousness to come.
Step 2: Prepare the Crust
In a mixing bowl, combine graham cracker crumbs, sugar, and melted butter. Use a fork or your hands to blend the ingredients until they resemble wet sand. Press this mixture firmly into the bottom of mini cheesecake pans or muffin tins lined with paper liners, creating a sturdy base. Aim for an even layer to guarantee a satisfying crunch.
Step 3: Make the Filling
In a large bowl, use an electric mixer to beat the softened cream cheese until it is smooth and creamy, free of lumps. Gradually add in sugar and vanilla extract, mixing until well combined. This step is important for achieving that luscious texture in your Mini Coffee Cheesecakes, so take your time to blend thoroughly.
Step 4: Incorporate Eggs
Add eggs to the cream cheese mixture one at a time, mixing well after each addition. This technique ensures that each egg is fully incorporated, enhancing the richness of your filling. Beat the mixture until it becomes pale and fluffy—a sign that your filling will be wonderfully decadent.
Step 5: Add Coffee
Now, stir in the cooled brewed coffee and optional coffee liqueur until everything is uniformly blended. This step infuses your Mini Coffee Cheesecakes with delightful coffee flavor, perfect for coffee lovers. Take a moment to enjoy the rich aroma wafting from your mixing bowl!
Step 6: Fill Pans
Carefully pour the cheesecake filling over the prepared crusts, filling each pan to about ¾ full. This allows some space for rising as they bake. Make sure the filling is evenly distributed to ensure uniform baking and consistent texture in your Mini Coffee Cheesecakes.
Step 7: Bake
Place the filled pans in your preheated oven and bake for 18-20 minutes. Keep an eye on them; they should have slightly jiggly centers when done, which indicates a soft, creamy texture inside. The edges should look set, and a beautiful golden hue may develop.
Step 8: Cool and Chill
Once baked, remove your Mini Coffee Cheesecakes from the oven and let them cool at room temperature. After about 30 minutes, transfer them to the refrigerator and chill for at least 4 hours, or until fully set. This chilling time is key to achieving that perfect cheesecake consistency.
Step 9: Serve
Before serving, top each Mini Coffee Cheesecake with a dollop of whipped cream for a light, airy contrast. Arrange them on a platter or serve them directly from the pans. Your guests will be delighted by these mini treats; they offer the comforting charm of coffee cheesecake in a perfectly portioned bite!
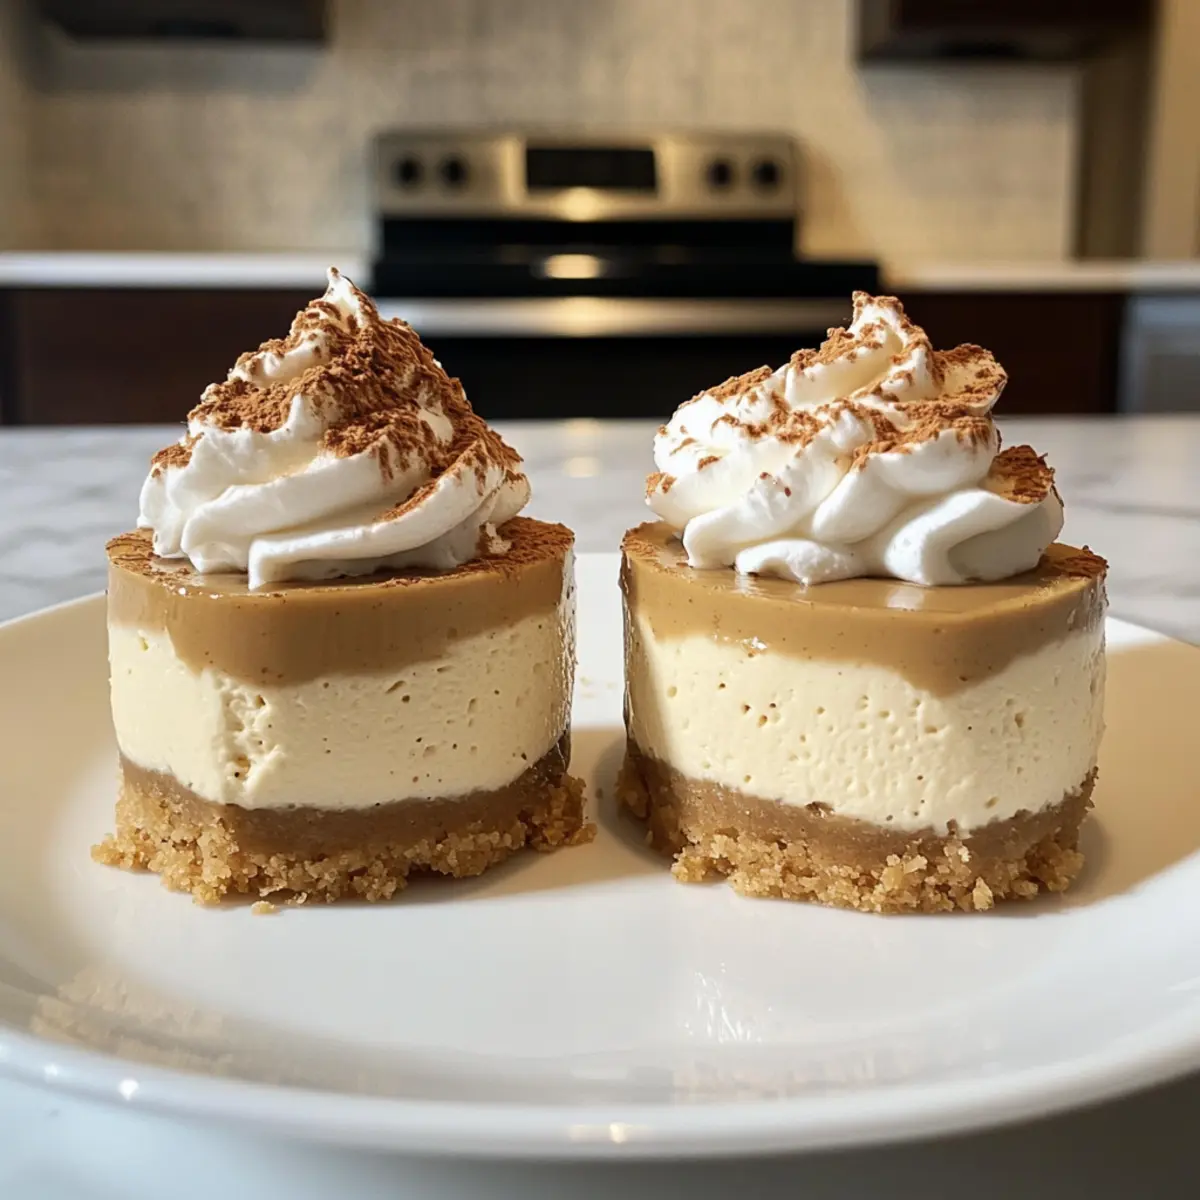
Mini Coffee Cheesecakes Variations & Substitutions
Feel free to explore your creativity and tailor the recipe to your unique tastes with these delightful twists!
-
Gluten-Free: Substitute graham cracker crumbs with finely crushed gluten-free cookies or almond flour for a crunchy base that everyone can enjoy.
-
Dairy-Free: Use coconut cream or a vegan cream cheese alternative for a luscious filling without dairy. This swap ensures everyone can savor the indulgence.
-
Chocolate Lovers: Fold in mini chocolate chips into the filling for extra richness. Consider drizzling melted chocolate on top for a visually stunning finish.
-
Nutty Variation: Incorporate crushed nuts like pecans or walnuts into the crust for a delightful texture boost. They add a nice crunch and earthy flavor.
-
Caramel Swirl: After pouring in the filling, gently swirl in some caramel sauce before baking. This enhances the flavor profile, making every bite sweet and sticky.
-
Decaffeinated Delight: Substitute regular brewed coffee with decaf to enjoy the same delicious taste without any caffeine jitters. Perfect for nighttime indulgence!
-
Spicy Kick: Add a pinch of cinnamon or a dash of cayenne pepper to the filling for a warming spice element that complements the coffee beautifully.
-
Syrup Topping: Instead of whipped cream, top with flavored syrups such as vanilla or hazelnut. This allows for even more flavor exploration while serving.
Each of these variations opens a world of flavor possibilities for your Mini Coffee Cheesecakes, ensuring they remain a favorite in your dessert repertoire. Don’t forget to check out how to use custom toppings to elevate your cheesecakes!
What to Serve with Mini Coffee Cheesecakes?
Indulge in these delightful treats paired with flavors and textures that elevate your dessert experience.
- Rich Espresso: The deep, bold flavors of espresso perfectly complement the coffee-infused cheesecakes, creating a luxurious tasting experience.
- Vanilla Ice Cream: A scoop of creamy vanilla ice cream adds a delightful contrast and enriches the dessert’s depth, offering a cool balance to the warm flavors.
- Chocolate-Dipped Strawberries: The sweetness and tartness of fresh strawberries, drizzled in chocolate, bring a refreshing burst that enhances your coffee moment.
- Salted Caramel Sauce: Drizzling warm salted caramel over each cheesecake adds a sweet and salty contrast that perfectly complements the rich coffee flavor.
- Nutty Biscotti: A crunchy, nutty biscotti not only adds texture but also a charming Italian flair, ideal for dipping alongside your coffee dessert.
- Minty Whipped Cream: Whip up some mint-flavored cream to top your cheesecakes, bringing a refreshing twist that enlivens the rich coffee taste.
- Toasted Nuts: Sprinkle some toasted almonds or walnuts on top, adding a delightful crunch that enhances the cheesecakes’ creamy texture.
- Berry Compote: A berry compote adds a tart and sweet note, creating a vibrant contrast that brightens up every bite of cheesecake.
- Sparkling Water: Serve with a glass of sparkling water to cleanse the palate, making every bite of your dessert as delightful as the first.
Storage Tips for Mini Coffee Cheesecakes
Fridge: Store Mini Coffee Cheesecakes in an airtight container in the refrigerator for up to one week. This helps maintain their creamy texture and flavor.
Freezer: For longer storage, freeze the cheesecakes for up to three months. Wrap each cheesecake individually in plastic wrap and place them in a freezer-safe bag.
Thawing: When ready to enjoy, thaw your cheesecakes overnight in the refrigerator for a perfectly creamy treat.
Reheating: If desired, serve delicately warmed—just pop them in the microwave for about 10-15 seconds to soften without losing their delightful flavor.
Make Ahead Options
These Mini Coffee Cheesecakes are a fantastic treat for busy home cooks looking to save time during hectic weeks! You can prepare the crust and filling up to 24 hours in advance. Simply press the crust into the mini cheesecake pans or muffin tins and make the filling, then store both layers separately in airtight containers in the refrigerator. This way, you’ll maintain their quality and freshness. When you’re ready to bake, simply pour the filling over the prepared crust and follow the recipe’s baking instructions. Enjoy the convenience of having a delightful dessert ready with minimal effort when it’s time to impress your guests or satisfy your sweet cravings!
Expert Tips for Mini Coffee Cheesecakes
• Softened Cream Cheese: Ensure your cream cheese is at room temperature to avoid lumps in the filling. This step is crucial for a smooth texture in your Mini Coffee Cheesecakes.
• Even Mixing: Use a rubber spatula to scrape down the sides of the bowl while mixing your filling. This ensures all ingredients are well combined, leading to a consistent flavor and texture.
• Chill Properly: Allow ample cooling time after baking, then refrigerate for at least 4 hours. This crucial step ensures your cheesecakes set perfectly and enhance the flavors.
• Watch Your Bake Time: Keep an eye on the baking time; they should have slightly jiggly centers when done. Overbaking can lead to dry texture, so rely on sight and feel.
• Experiment with Add-ins: Get creative by adding chocolate chips or flavored extracts. These variations can elevate your Mini Coffee Cheesecakes and make them uniquely yours!
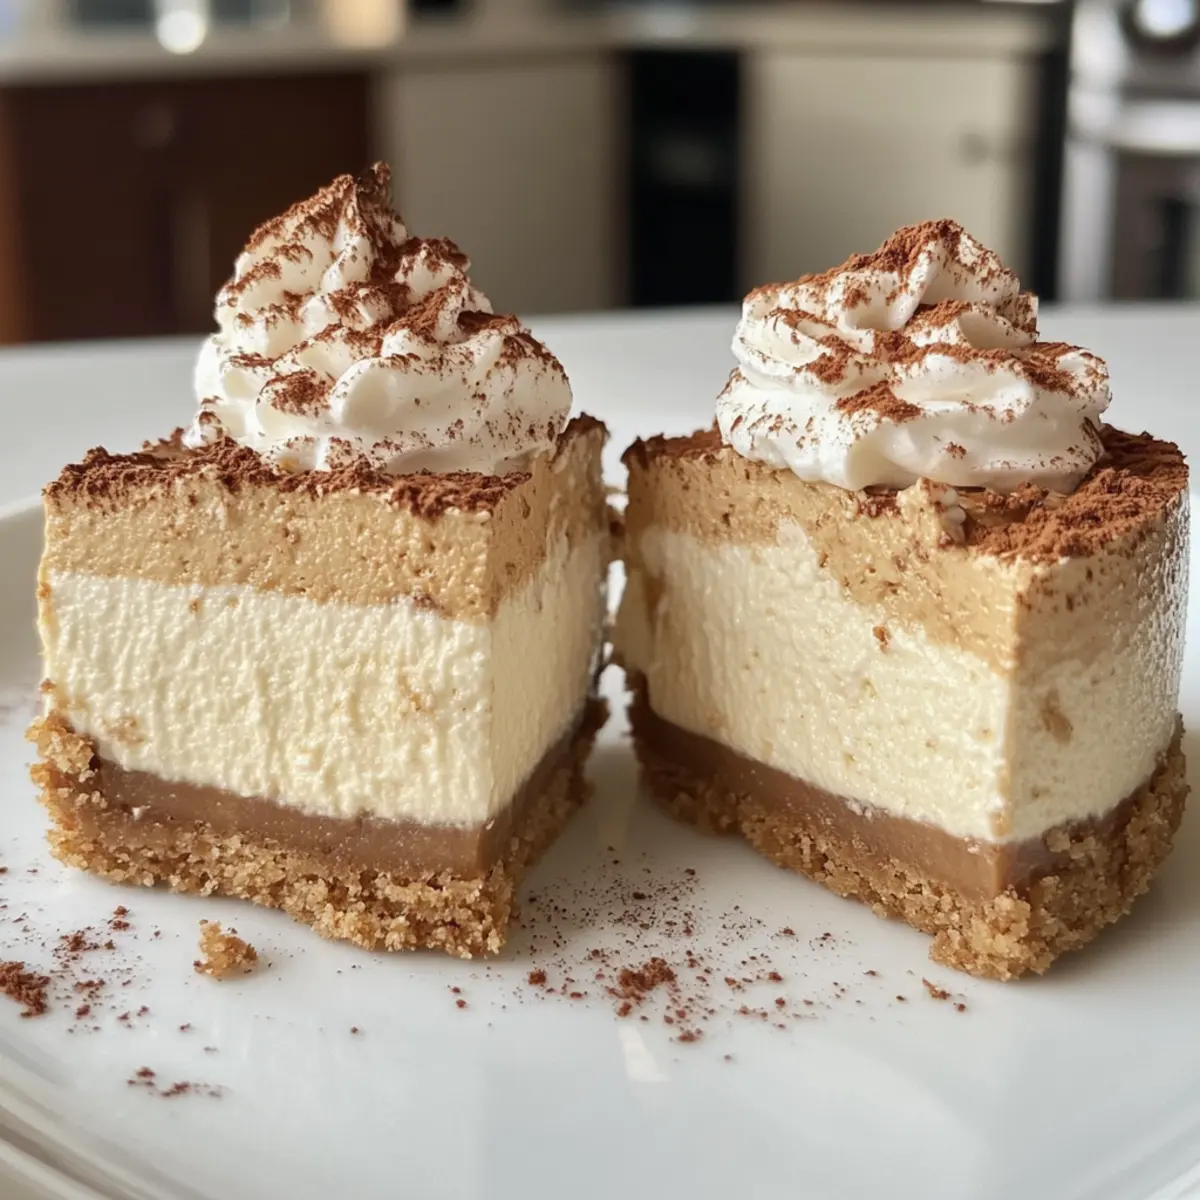
Mini Coffee Cheesecakes Recipe FAQs
How do I select the best ingredients for my Mini Coffee Cheesecakes?
Absolutely! When choosing your ingredients, always look for cream cheese that is fresh and at room temperature to ensure a smooth filling. For the graham cracker crumbs, check for varieties without artificial additives, or opt for gluten-free crumbs made from whole ingredients if you need a gluten-free option. Also, ensure your eggs are fresh and your brewed coffee is high-quality; use decaf if you prefer a milder flavor.
How should I store Mini Coffee Cheesecakes, and how long do they last?
You can store your Mini Coffee Cheesecakes in an airtight container in the refrigerator for up to a week. Just ensure they are well covered so they maintain their creamy consistency. If you’re making them ahead of time, they can be stored in the fridge a day in advance. For longer-term storage, freeze them for up to three months. Don’t forget to place them in a freezer-safe bag and wrap each cheesecake individually with plastic wrap for the best results!
Can I freeze Mini Coffee Cheesecakes? If so, how?
Absolutely! Freezing is a great way to preserve your Mini Coffee Cheesecakes. To freeze, carefully wrap each cheesecake in plastic wrap and then place them in a freezer-safe bag. This will keep them fresh and protect them from freezer burn. When you’re ready to enjoy them, simply thaw the cheesecake overnight in the refrigerator. They should remain deliciously creamy!
What are common troubleshooting tips for making Mini Coffee Cheesecakes?
Very important! If your cheesecakes have cracks on the surface after baking, this often indicates they were baked too long. Aim for a slightly jiggly center when you remove them from the oven. If the filling is lumpy before baking, ensure your cream cheese is softened and well-mixed. Lastly, if they puff up in the oven, they might’ve been overmixed; mix until just combined to avoid excess air in the filling.
Are there any dietary considerations I should keep in mind when making these cheesecakes?
Great question! If you’re concerned about allergies, ensure you’re using dairy-free substitutes like coconut oil instead of butter and a dairy-free cream cheese alternative. Additionally, those avoiding gluten can easily substitute graham cracker crumbs with gluten-free alternatives, or even crushed nuts for a grain-free option. As for pets, remember that chocolate and caffeine can be harmful to them, so keep these cheesecakes out of their reach!
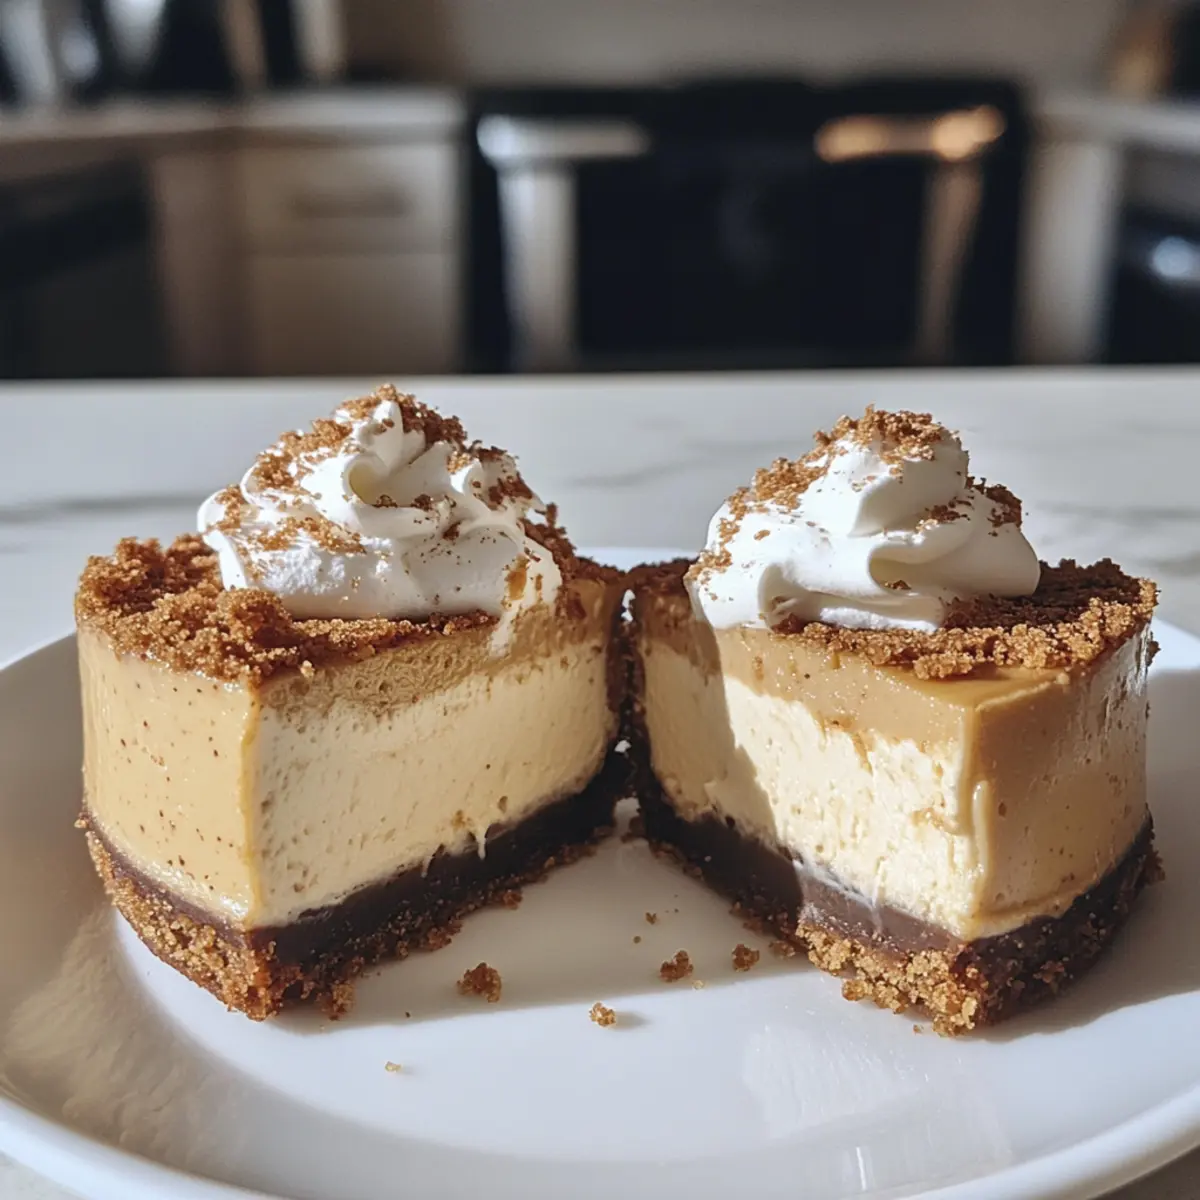
Mini Coffee Cheesecakes That Will Make You Smile
Ingredients
Equipment
Method
- Preheat your oven to 325°F (160°C).
- In a mixing bowl, combine graham cracker crumbs, sugar, and melted butter until resembling wet sand. Press into the bottom of mini cheesecake pans.
- Beat the softened cream cheese until smooth, then mix in sugar and vanilla extract until well combined.
- Add eggs one at a time, mixing well after each addition until pale and fluffy.
- Stir in the cooled brewed coffee and optional coffee liqueur until blended.
- Pour the cheesecake filling over the prepared crusts, filling each pan to about ¾ full.
- Bake for 18-20 minutes until slightly jiggly in the center and set at the edges.
- Cool at room temperature for 30 minutes, then refrigerate for at least 4 hours to set.
- Top each cheesecake with whipped cream before serving and enjoy!