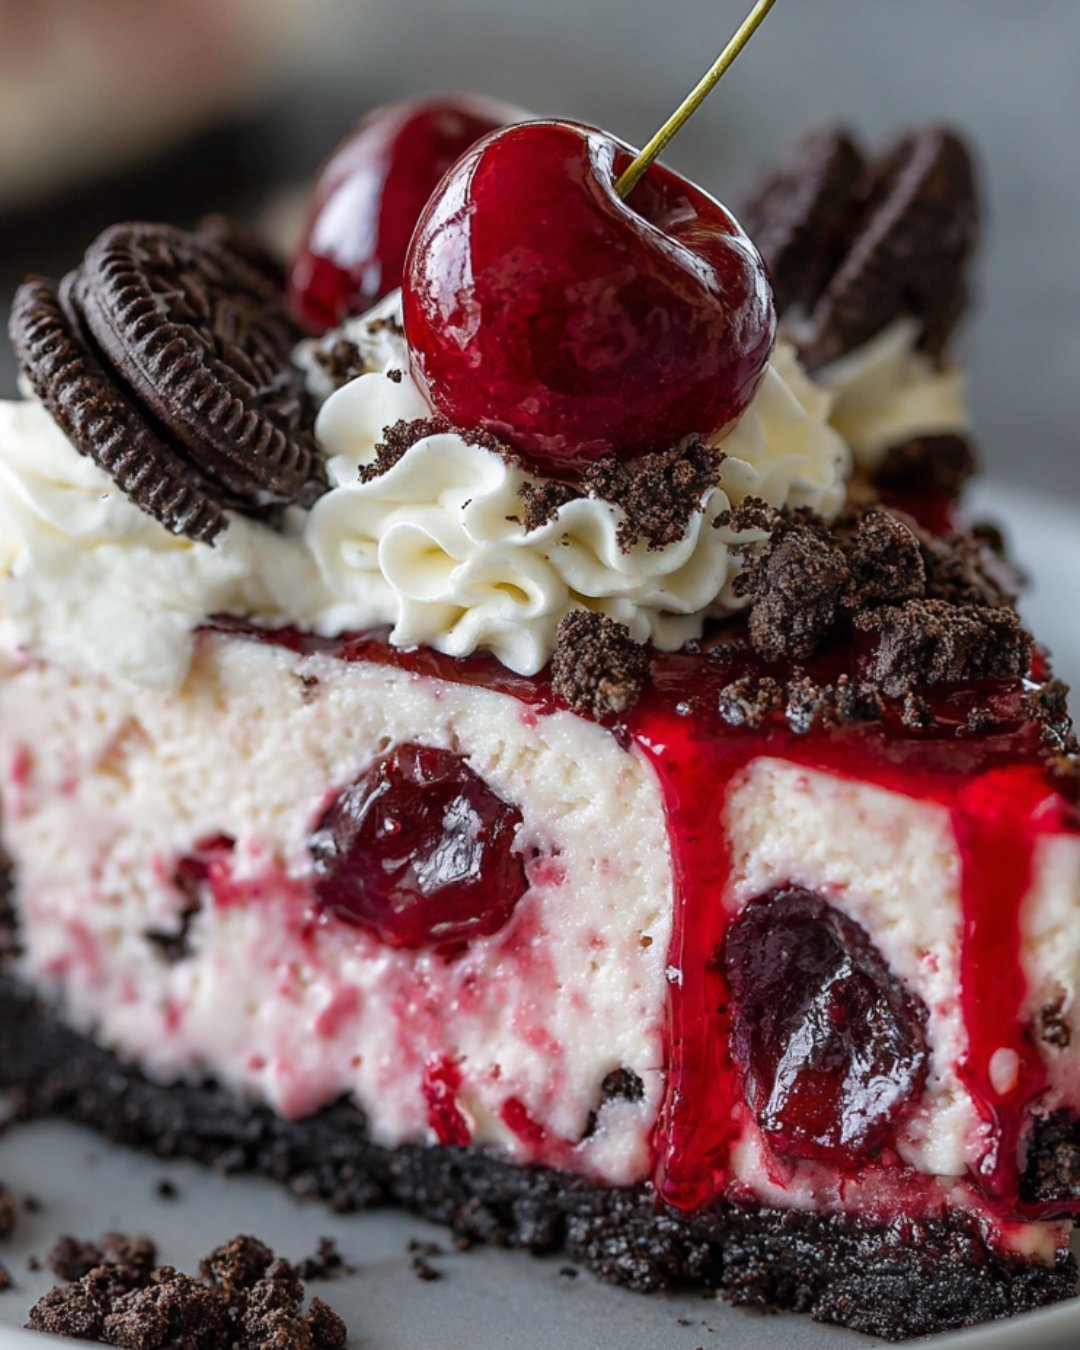
There’s something magical about desserts that bring back memories. My first taste of Cherry Oreo Cheesecake was at a family gathering, where laughter and sweet aromas filled the air. This delightful treat combines the rich, creamy goodness of cheesecake with the crunch of Oreo cookies and the tartness of cherries. It’s the perfect solution for a busy day or a special occasion. Whether you’re looking to impress your loved ones or simply indulge in a sweet escape, this Cherry Oreo Cheesecake is sure to become a favorite in your kitchen.
Why You’ll Love This Cherry Oreo Cheesecake
This Cherry Oreo Cheesecake is a game-changer for dessert lovers. It’s incredibly easy to whip up, making it perfect for those busy weeknights or last-minute gatherings. The combination of creamy cheesecake and crunchy Oreo crust is simply irresistible. Plus, the vibrant cherry topping adds a pop of color and flavor that will impress anyone at your table. Trust me, once you try it, you’ll be hooked!
Ingredients for Cherry Oreo Cheesecake
Gathering the right ingredients is the first step to creating your Cherry Oreo Cheesecake masterpiece. Here’s what you’ll need:
Oreo cookie crumbs: These form the crunchy base of your cheesecake, adding a rich chocolate flavor.
Unsalted butter: Melted butter binds the cookie crumbs together, ensuring a firm crust.
Cream cheese: The star of the show! Softened cream cheese gives the cheesecake its creamy texture.
Granulated sugar: This sweetens the filling, balancing the tartness of the cherries.
Vanilla extract: A splash of vanilla enhances the overall flavor, making it even more delicious.
Eggs: They help set the cheesecake, giving it that perfect, smooth consistency.
Sour cream: Adds richness and a slight tang, elevating the cheesecake’s flavor profile.
Cherry pie filling: This is the cherry on top—literally! It adds sweetness and a burst of fruity flavor.
Chocolate syrup (optional): Drizzle this on top for an extra touch of indulgence.
For those looking to mix things up, consider substituting the cherry pie filling with blueberry or strawberry for a different twist. You can find all the exact measurements for these ingredients at the bottom of the article, ready for printing!
How to Make Cherry Oreo Cheesecake
Creating your Cherry Oreo Cheesecake is a delightful journey. Follow these simple steps, and you’ll be on your way to a dessert that will wow your friends and family. Let’s dive in!
Step 1: Preheat the Oven
Start by preheating your oven to 325°F (163°C). This step is crucial because it ensures that your cheesecake bakes evenly. A properly preheated oven helps set the cheesecake’s texture, preventing it from becoming too dense or undercooked. Trust me, you don’t want to skip this part!
Step 2: Prepare the Crust
In a medium bowl, combine your Oreo cookie crumbs with the melted butter. Mix them until they’re well blended. The butter acts like glue, holding the crumbs together. Now, press this mixture firmly into the bottom of a 9-inch springform pan. Make sure it’s compact; a well-pressed crust will give you that satisfying crunch when you slice into the cheesecake.
Step 3: Make the Cheesecake Filling
In a large mixing bowl, beat the softened cream cheese with an electric mixer until it’s smooth and creamy. Gradually add in the granulated sugar and vanilla extract, mixing until everything is well combined. Next, add the eggs one at a time, mixing well after each addition. Finally, stir in the sour cream until the batter is silky smooth. This step is key; a smooth filling means a creamy cheesecake!
Step 4: Layer the Cheesecake
Now it’s time to assemble! Pour half of the cheesecake batter over your cooled crust. Then, spoon half of the cherry pie filling on top, spreading it evenly. Pour the remaining cheesecake batter over this layer, followed by the rest of the cherry filling. This layering technique not only looks beautiful but also ensures that every bite is packed with flavor.
Step 5: Bake the Cheesecake
Place your cheesecake in the preheated oven and bake for 55-60 minutes. Keep an eye on it; the center should be set but still slightly jiggly. This is a good sign! If you overbake, you risk a dry cheesecake. A gentle jiggle means it will firm up perfectly as it cools.
Step 6: Cool and Refrigerate
Once baked, turn off the oven and crack the door open. Let the cheesecake cool in the oven for about an hour. This gradual cooling helps prevent cracks on the surface. After that, refrigerate the cheesecake for at least 4 hours, or overnight for the best results. This chilling time allows the flavors to meld beautifully and gives you that perfect slice when you’re ready to serve.
Tips for Success
Use room temperature cream cheese for a smoother filling.
Don’t skip the cooling step; it’s essential for preventing cracks.
For a cleaner slice, use a hot knife to cut the cheesecake.
Experiment with different fruit fillings for a unique twist.
Store leftovers in an airtight container in the fridge for up to five days.
Equipment Needed
9-inch springform pan: Essential for easy removal; a regular cake pan works too, but slicing will be trickier.
Mixing bowls: Use medium and large bowls for mixing crust and filling.
Electric mixer: A hand mixer is perfect; a whisk can work, but it’ll take longer.
Spatula: Great for spreading the filling evenly.
Measuring cups and spoons: Accurate measurements ensure the best results.
Variations
Fruit Fillings: Swap out the cherry pie filling for blueberry, strawberry, or even raspberry for a fresh twist.
Chocolate Lovers: Mix in chocolate chips into the cheesecake batter for an extra chocolatey experience.
Nutty Crunch: Add crushed nuts like pecans or walnuts to the crust for added texture and flavor.
Gluten-Free Option: Use gluten-free Oreo cookies to make the crust suitable for gluten-sensitive friends.
Vegan Version: Substitute cream cheese with a vegan alternative and use flax eggs for a plant-based delight.
Serving Suggestions
Fresh Berries: Serve with a side of fresh strawberries or blueberries for a refreshing contrast.
Whipped Cream: A dollop of whipped cream on top adds a light, airy touch.
Coffee or Tea: Pair with a strong cup of coffee or herbal tea to balance the sweetness.
Chocolate Garnish: Drizzle extra chocolate syrup on the plate for an elegant presentation.
FAQs about Cherry Oreo Cheesecake
As you embark on your Cherry Oreo Cheesecake adventure, you might have a few questions. Here are some common queries that can help you along the way:
Can I use a different type of cookie for the crust?
Absolutely! While Oreos are a classic choice, you can experiment with other cookies like chocolate wafers or even graham crackers for a different flavor profile.
How do I know when the cheesecake is done baking?
The cheesecake is done when the edges are set, but the center still has a slight jiggle. It will firm up as it cools, so don’t worry if it looks a bit wobbly!
Can I make this cheesecake ahead of time?
Yes! This Cherry Oreo Cheesecake is perfect for making ahead. Just store it in the refrigerator for up to five days, and it will taste even better as the flavors meld.
What can I do if my cheesecake cracks?
Cracks can happen, but they don’t ruin the taste! If it does crack, you can cover it with cherry pie filling or whipped cream for a delicious disguise.
Is it possible to freeze Cherry Oreo Cheesecake?
Yes, you can freeze it! Wrap it tightly in plastic wrap and foil, and it will keep for up to three months. Just thaw it in the fridge before serving.
Final Thoughts
Creating this Cherry Oreo Cheesecake is more than just baking; it’s about crafting memories. Each slice tells a story, from the first crunch of the Oreo crust to the creamy filling bursting with cherry goodness. Whether you’re celebrating a special occasion or simply treating yourself, this dessert brings joy to the table. The smiles and satisfied sighs from family and friends make every effort worthwhile. So, roll up your sleeves, embrace the process, and enjoy the sweet rewards of your culinary adventure. Trust me, this cheesecake will become a cherished favorite in your home!
A delicious and easy-to-make Cherry Oreo Cheesecake that combines the rich flavors of cream cheese and cherry pie filling with a crunchy Oreo crust.
Ingredients
Scale
2 cups Oreo cookie crumbs
1/2 cup unsalted butter, melted
2 (8-ounce) packages cream cheese, softened
1 cup granulated sugar
1 teaspoon vanilla extract
2 large eggs
1 cup sour cream
1 cup cherry pie filling
1/4 cup chocolate syrup (optional for drizzling)
Instructions
Preheat your oven to 325°F (163°C).
In a medium bowl, combine the Oreo cookie crumbs and melted butter. Mix until well combined. Press the mixture firmly into the bottom of a 9-inch springform pan to form the crust. Bake for 10 minutes, then remove from the oven and let cool.
In a large mixing bowl, beat the softened cream cheese with an electric mixer until smooth and creamy. Gradually add in the granulated sugar and vanilla extract, mixing until well combined.
Add the eggs one at a time, mixing well after each addition. Then, mix in the sour cream until the batter is smooth.
Pour half of the cheesecake batter over the cooled crust. Spoon half of the cherry pie filling over the batter, then pour the remaining cheesecake batter on top. Finally, add the rest of the cherry pie filling on top of the cheesecake.
Bake in the preheated oven for 55-60 minutes, or until the center is set but still slightly jiggly.
Turn off the oven and crack the oven door, allowing the cheesecake to cool in the oven for 1 hour. This helps prevent cracking.
Once cooled, refrigerate the cheesecake for at least 4 hours, or overnight for best results.
Before serving, drizzle with chocolate syrup if desired.
Notes
For a richer flavor, try adding a teaspoon of almond extract to the cheesecake batter.
You can also substitute the cherry pie filling with other fruit fillings like blueberry or strawberry for a different twist.