


As I strolled through the farmer’s market, the vibrant colors of fresh fruits caught my eye, sparking a delicious idea for a warm afternoon treat. These No-Bake Cheesecake Fruit Salad Roll Ups are the perfect way to blend creamy cheesecake delight with a medley of fruity goodness, all wrapped in soft tortillas. Not only are they a breeze to whip up—making it easy to enjoy homemade dessert without turning on the oven—but they also transform into a portable snack that’s ideal for picnics or summer gatherings. Say goodbye to complicated baking and hello to this cheerful, elegant dessert that’s sure to brighten any occasion! Ready to indulge in this delightful fusion of flavors? Let’s dive into the recipe!

Why are Cheesecake Fruit Salad Roll Ups amazing?
Easy to Assemble: With no baking required, these roll ups can be prepared in just a few minutes, making them perfect for busy days.
Fruity Explosion: Each bite bursts with fresh, vibrant flavors, thanks to the mix of seasonal fruits layered with creamy cheesecake.
Portable Dessert: Great for picnics or parties, you can easily take these delightful treats anywhere you go.
Crowd-Pleasing Appeal: Whether you’re serving friends or family, these roll ups are guaranteed to impress and satisfy even the pickiest eaters.
Simple Substitutions: Feel free to swap out fruits or use flavored cream cheeses to cater to your taste and dietary needs! Check out Grinder Salad Bold for more inventive ideas.
Cheesecake Fruit Salad Roll Ups Ingredients
• Get ready for a fruity delight!
For the Cream Cheese Filling
- Cream Cheese – Provides the rich and creamy base for the cheesecake filling; low-fat options work well too.
- Powdered Sugar – Adds sweetness and smoothness to the filling; no direct substitute is recommended.
- Vanilla Extract – Enhances flavor; almond extract is a great substitute for a different taste.
For the Roll Ups
- Tortillas – Act as the delicious wrapping for the filling; choose regular, whole wheat, or gluten-free according to your needs.
- Fresh Fruit – Brings vibrant flavors; strawberries and kiwi are recommended, but feel free to use seasonal fruits like blueberries or sliced apples based on availability.
Optional Add-Ins
- Chopped Nuts – Adds a delightful crunch; substitute with almonds or pecans or omit for a nut-free version.
Step‑by‑Step Instructions for Cheesecake Fruit Salad Roll Ups
Step 1: Prepare the Cheesecake Filling
In a mixing bowl, beat 8 ounces of cream cheese, 1 cup of powdered sugar, and 1 teaspoon of vanilla extract using an electric mixer on medium speed. Continue mixing until the mixture is smooth and creamy, which should take about 2-3 minutes. You want a luscious texture that spreads easily, perfect for your Cheesecake Fruit Salad Roll Ups.
Step 2: Assemble the Tortillas
Lay out your tortillas on a clean surface, using regular, whole wheat, or gluten-free options based on your preference. Spread 2-3 tablespoons of the creamy cheesecake filling evenly over each tortilla, leaving about a half-inch border at the edges for easy rolling. The filling should be thick enough to hold the toppings but not overflow—this will help keep the roll-ups intact.
Step 3: Add Fresh Fruits
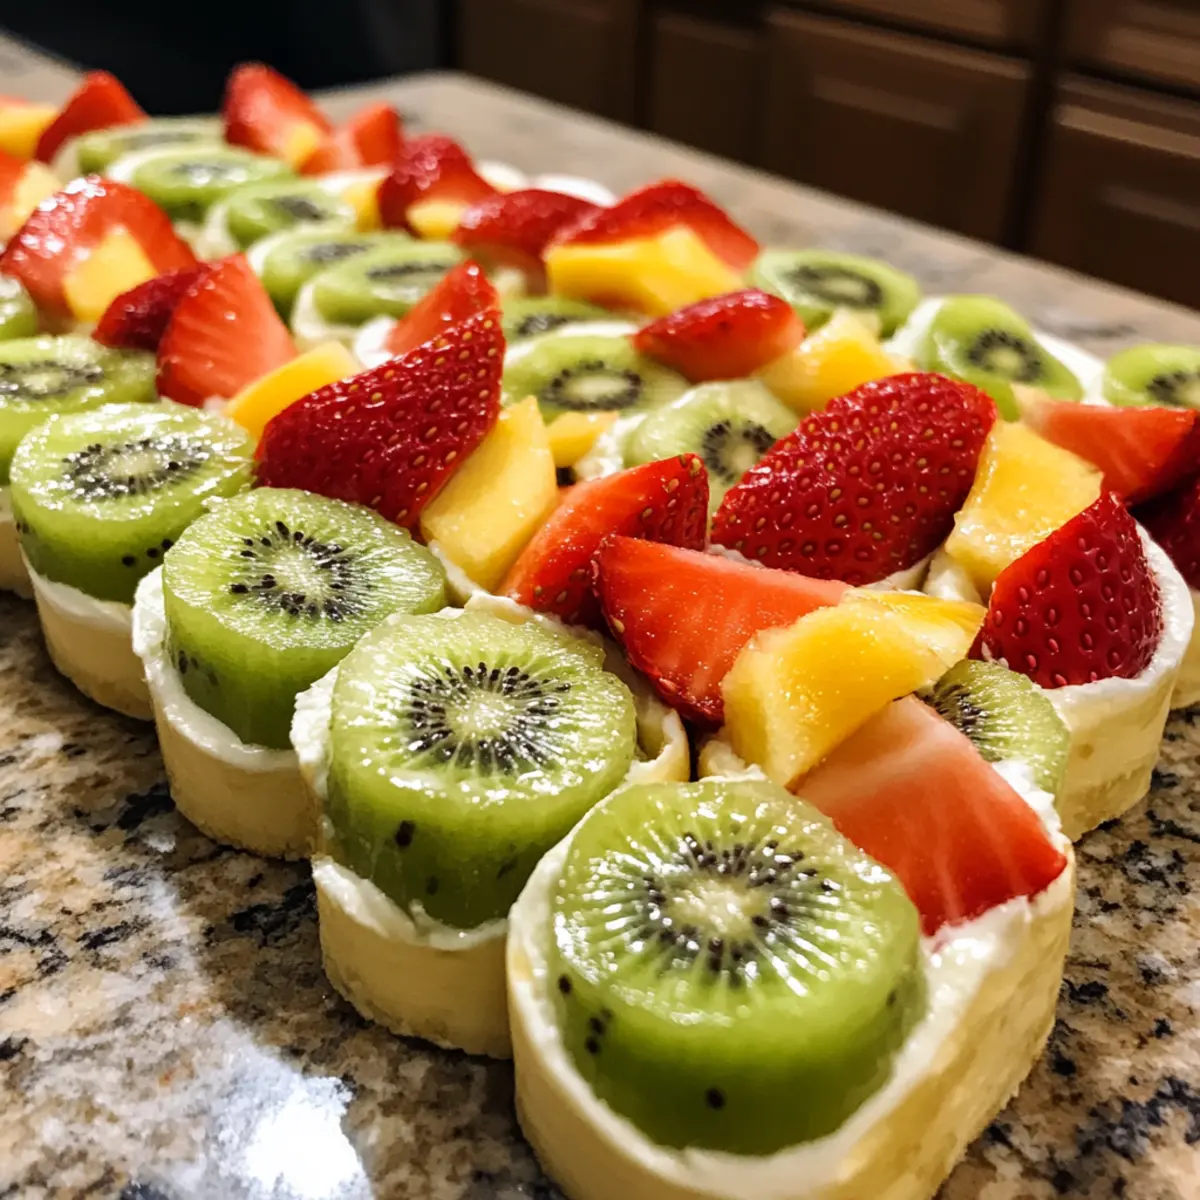
Now, wash and thinly slice 1-2 cups of fresh fruits, such as strawberries and kiwi, ensuring even distribution across the cheesecake spread. Place the fruit slices in a single layer on top of the cream cheese, and sprinkle with optional chopped nuts if desired. This colorful arrangement not only enhances flavor but also makes your Cheesecake Fruit Salad Roll Ups visually appealing.
Step 4: Roll It Up
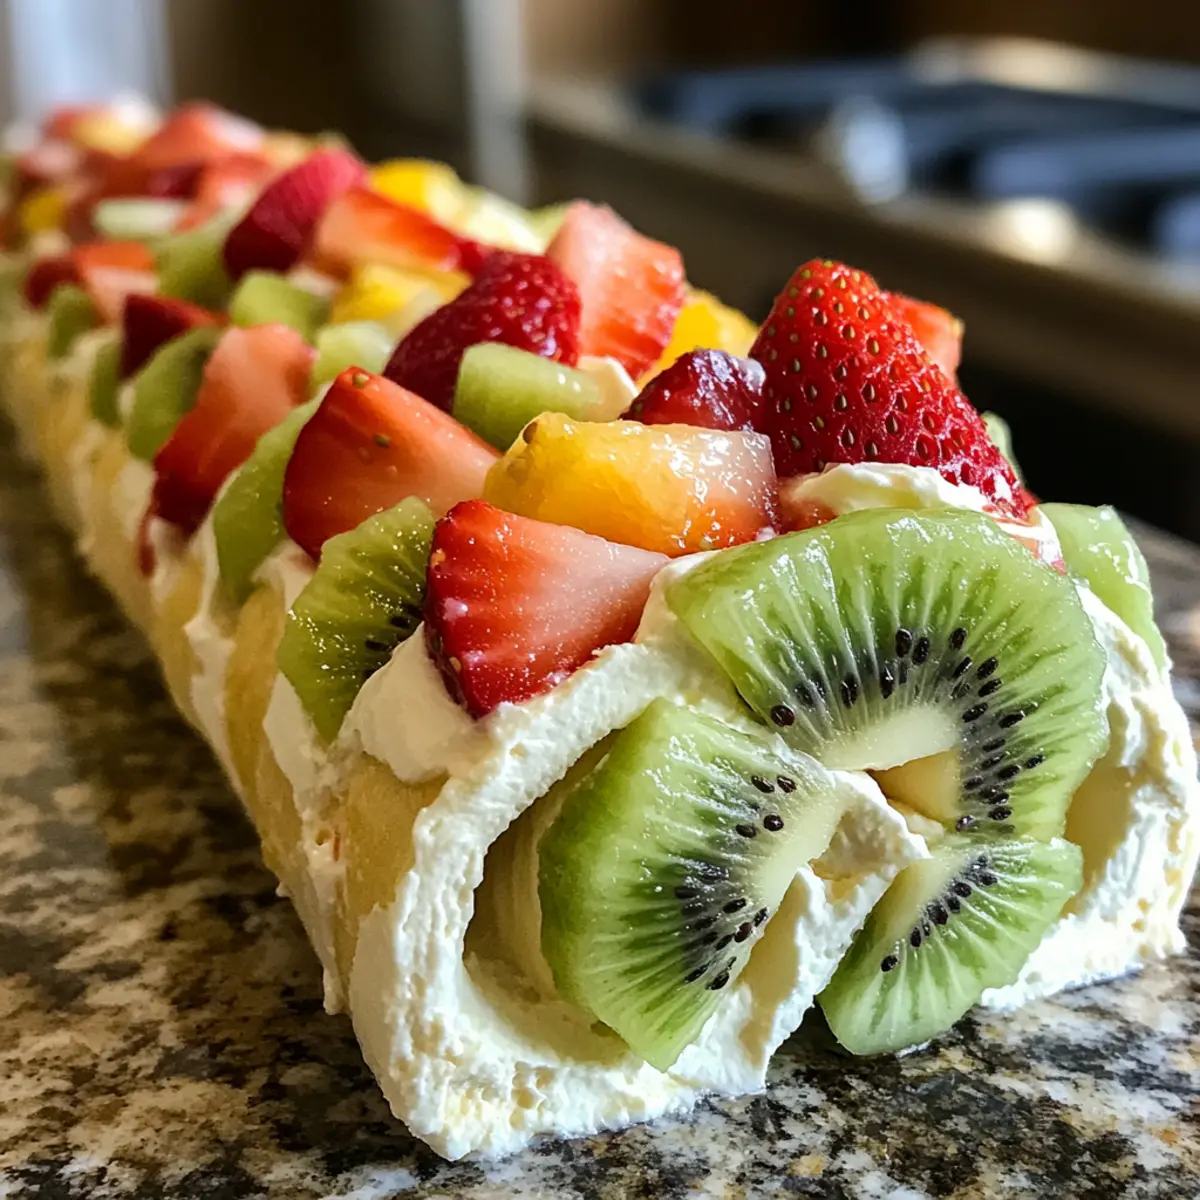
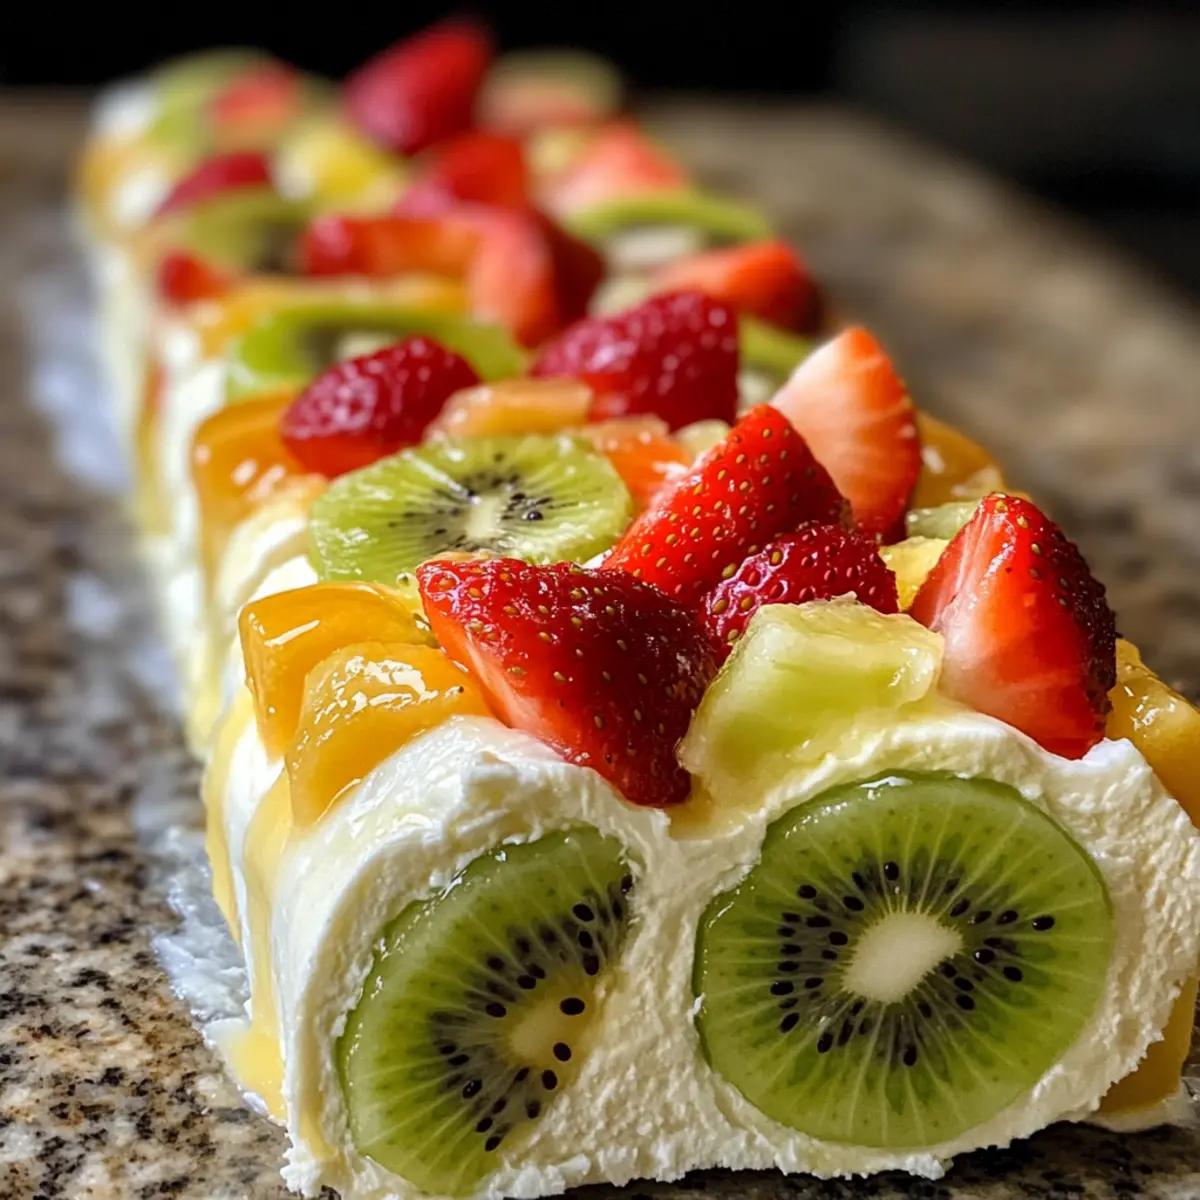
Carefully roll each tortilla tightly from one edge to the other, making sure to encase the filling completely. Apply gentle pressure as you roll to maintain a tight form, which will help keep the ingredients secure. Avoid overfilling, as this could lead to messy roll-ups. Once rolled, each tortilla should look like a neat log filled with vibrant ingredients.
Step 5: Slice and Serve
Using a sharp knife, slice the rolled tortillas into 1 to 1.5-inch pieces for bite-sized treats, or leave them whole if you prefer. If desired, you can sprinkle a little cinnamon sugar on top for added sweetness and flavor. These Cheesecake Fruit Salad Roll Ups can be served immediately, or chill them in the refrigerator for 10-20 minutes to firm up the filling before indulging.
Step 6: Store Leftovers Properly
If you have any leftover roll-ups, store them in an airtight container in the refrigerator for up to 1-2 days. While they’re best enjoyed fresh to maintain fruit texture, a brief chill can make for a delightful treat later. Make sure to keep them tightly sealed to avoid the tortillas becoming soggy or dry.
What to Serve with Cheesecake Fruit Salad Roll Ups
Delightfully fresh and creamy, these roll ups create the perfect foundation for a beautiful summer meal spread.
-
Creamy Mashed Potatoes: Their smooth richness provides a comforting contrast to the fruity freshness of the roll ups, making for a balanced meal.
-
Crispy Green Salad: A light salad with tangy vinaigrette adds crispness and acidity, elevating the flavor profile of your dessert. Toss in seasonal greens for a burst of color.
-
Grilled Chicken Skewers: Juicy, marinated chicken skewers pair perfectly with the sweetness of the roll ups, offering protein and heartiness to the meal. Ideal for barbecues!
-
Fresh Fruit Platter: Mix of seasonal fruits enhances the flavor experience, creating a refreshing connection to the roll ups while showcasing their fruity inspiration.
-
Sparkling Lemonade: A fizzy, citrusy drink will invigorate your palate and cleanse your taste buds, leaving a bright finish alongside the creamy dessert.
-
Chocolate Drizzle: Drizzling melted chocolate on top of the roll ups adds an indulgent layer of sweetness that perfects the overall flavor composition.
-
Minty Yogurt Dip: A light mint-infused yogurt dip offers a cooling element, balancing sweetness while enhancing each bite with fresh flavor.
-
Vanilla Ice Cream: A scoop of creamy vanilla ice cream provides a decadent touch and wonderfully contrasts with the fruity roll ups.
Cheesecake Fruit Salad Roll Ups Variations
Customize your Cheesecake Fruit Salad Roll Ups to suit your taste and elevate your dessert experience!
- Dairy-Free: Use a vegan cream cheese alternative to make these roll ups suitable for dairy-free lifestyles. They’ll still be deliciously creamy!
- Gluten-Free: Opt for gluten-free tortillas to enjoy these tasty treats without any gluten! This way, everyone can indulge.
- Flavor Infusion: Try swapping regular vanilla extract for flavored extracts like almond or coconut to elevate the sweetness and aroma. These subtle changes can lead to delightful surprises!
- Seasonal Fruit Mix: Embrace the seasons by using fruits like peaches, mangoes, or raspberries for a fresh twist. Each season brings a new flavor palette to explore!
- Nutty Delight: Add a sprinkle of toasted coconut along with or instead of nuts for an extra texture boost and tropical vibe. This variation can really take your roll ups to a whole new level!
- Low-Sugar Option: Sweeten your filling with a sugar substitute or honey instead of powdered sugar for a lighter dessert that’s still satisfying. The flavor remains rich while being mindful of sugar intake.
- Spiced Up: Mix a dash of cinnamon or nutmeg into the cream cheese filling for an unexpected warmth! This simple tweak brings out a cozy feel that’s perfect for cooler days.
- Chocolate Lover’s Treat: Drizzle melted dark chocolate over the roll ups before slicing or mix cocoa powder into the cream cheese filling for a chocolatey twist that chocolate lovers will adore!
For creative serving suggestions, consider pairing these treats with a refreshing salad like Italian Grinder Salad, or if you crave something savory, how about a quick Egg Roll Stir too? There’s just something about the balance of flavors that can truly enhance your meal!
Storage Tips for Cheesecake Fruit Salad Roll Ups
- Fridge: Store leftover roll-ups in an airtight container in the refrigerator for up to 1-2 days to keep them fresh.
- Freezer: For longer storage, freeze the rolled tortillas but note that the texture may change once thawed; best consumed fresh.
- Reheating: These dessert roll-ups are best enjoyed cold; simply take them out of the fridge and enjoy without reheating.
- Serving Suggestion: If stored, chill slightly before serving to enhance the delightful creamy texture of the cheesecake filling.
Make Ahead Options
These Cheesecake Fruit Salad Roll Ups are perfect for meal prep, making your busy days a little easier! You can prepare the cheesecake filling up to 24 hours in advance; simply beat the cream cheese, powdered sugar, and vanilla together, then store it in an airtight container in the refrigerator. You can also slice your fresh fruits and keep them refrigerated for up to 3 days, but be sure to opt for firmer varieties to avoid excess moisture. When you’re ready to assemble, just spread the filling on the tortillas, add the fruit, roll them up, and slice. This way, you’ll have a delightful treat ready with minimal effort, ensuring they are just as delicious when served!
Expert Tips for Cheesecake Fruit Salad Roll Ups
- Mind the Filling: Avoid overfilling your tortillas; too much filling can cause them to rip or unravel, making for a messy bite.
- Chill for Firmness: Refrigerate roll-ups for 10-20 minutes before slicing to ensure the cheesecake filling firms up and holds together beautifully.
- Choose the Right Fruits: Opt for firmer fruits like strawberries and kiwi to prevent excess moisture, which can make the roll-ups soggy.
- Roll Tightly: Ensure to roll the tortillas tightly to keep the filling contained and prevent it from spilling out.
- Customize Flavor: Feel free to swap in flavored cream cheeses or seasonal fruits to personalize your Cheesecake Fruit Salad Roll Ups!
Cheesecake Fruit Salad Roll Ups Recipe FAQs
What fruits work best for Cheesecake Fruit Salad Roll Ups?
Absolutely! I recommend using firmer fruits like strawberries, kiwi, and apples to maintain the roll-up’s structure and prevent sogginess. You can also try seasonal options like blueberries or even peaches for a fresh twist!
How should I store Cheesecake Fruit Salad Roll Ups?
To keep them fresh, store any leftover roll-ups in an airtight container in the refrigerator for up to 1-2 days. This helps maintain their fruity texture and delicious creaminess. Just remember, they’re best enjoyed fresh for the ultimate flavor!
Can I freeze Cheesecake Fruit Salad Roll Ups?
Yes, you can freeze them for later enjoyment! Wrap each roll-up tightly in plastic wrap and place them in a freezer-safe bag. They can be stored in the freezer for up to 3 months. When you’re ready to enjoy, let them thaw in the refrigerator overnight for the best consistency.
What should I do if my roll-ups are falling apart?
No worries! If your roll-ups aren’t holding together, it might be due to overfilling or insufficient chilling. Make sure you’re only adding a thin layer of cheesecake filling, and chill them in the fridge for 10-20 minutes before slicing, as this helps them firm up.
Are there any allergen considerations for Cheesecake Fruit Salad Roll Ups?
Great question! These roll-ups are naturally vegetarian, but if you’re concerned about allergens, especially nuts, simply omit the chopped nuts or use nut-free alternatives. Additionally, check labels for gluten if using standard tortillas to accommodate any gluten sensitivities.
Could I make a dairy-free version of Cheesecake Fruit Salad Roll Ups?
Definitely! For a dairy-free version, substitute the cream cheese with a non-dairy cream cheese alternative and swap powdered sugar with a suitable sweetener. You can use coconut whipped cream for a deliciously creamy filling that pairs beautifully with fruits!
Cheesecake Fruit Salad Roll Ups: A No-Bake Delight You’ll Love
Ingredients
Equipment
Method
- In a mixing bowl, beat cream cheese, powdered sugar, and vanilla extract until smooth and creamy for about 2-3 minutes.
- Lay out tortillas and spread cheesecake filling evenly over each, leaving a half-inch border.
- Wash and slice fresh fruits, placing them in a single layer on the cheesecake spread.
- Roll each tortilla tightly from one edge to the other, encasing the filling completely.
- Slice the rolled tortillas into 1 to 1.5-inch pieces, or leave them whole. Chill if desired.
- Store leftovers in an airtight container in the refrigerator for up to 1-2 days.