


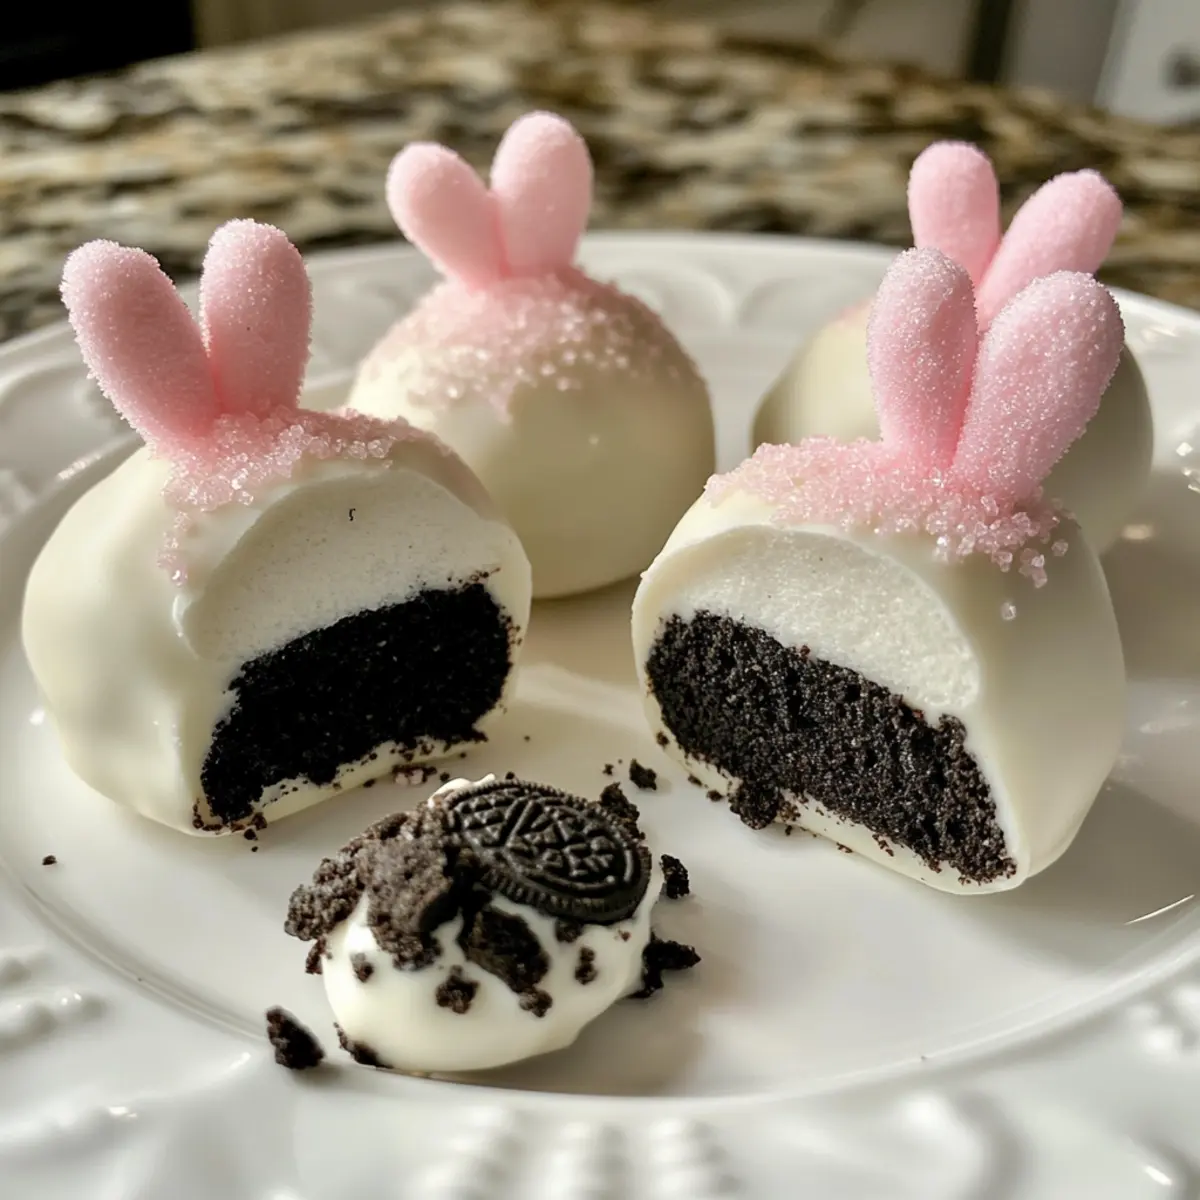
As I watched the spring blooms unfold, a delightful memory sprang to mind: the joy of making Bunny Oreo Balls with my family. These adorable, no-bake treats are a whimsical way to celebrate Easter, merging crushed Oreos and cream cheese into a creamy dream, all encased in a luscious chocolate shell. What’s even better? They’re incredibly easy to whip up, making them the perfect project for both avid bakers and little hands eager to help. Not only do these Bunny Oreo Balls satisfy your sweet tooth with their rich flavors, but their customizable nature means you can adapt them to fit any festive occasion. Are you ready to create some delightful bunny bites that will have everyone hopping for joy? Let’s dive in!
Why are Bunny Oreo Balls a Must-Try?
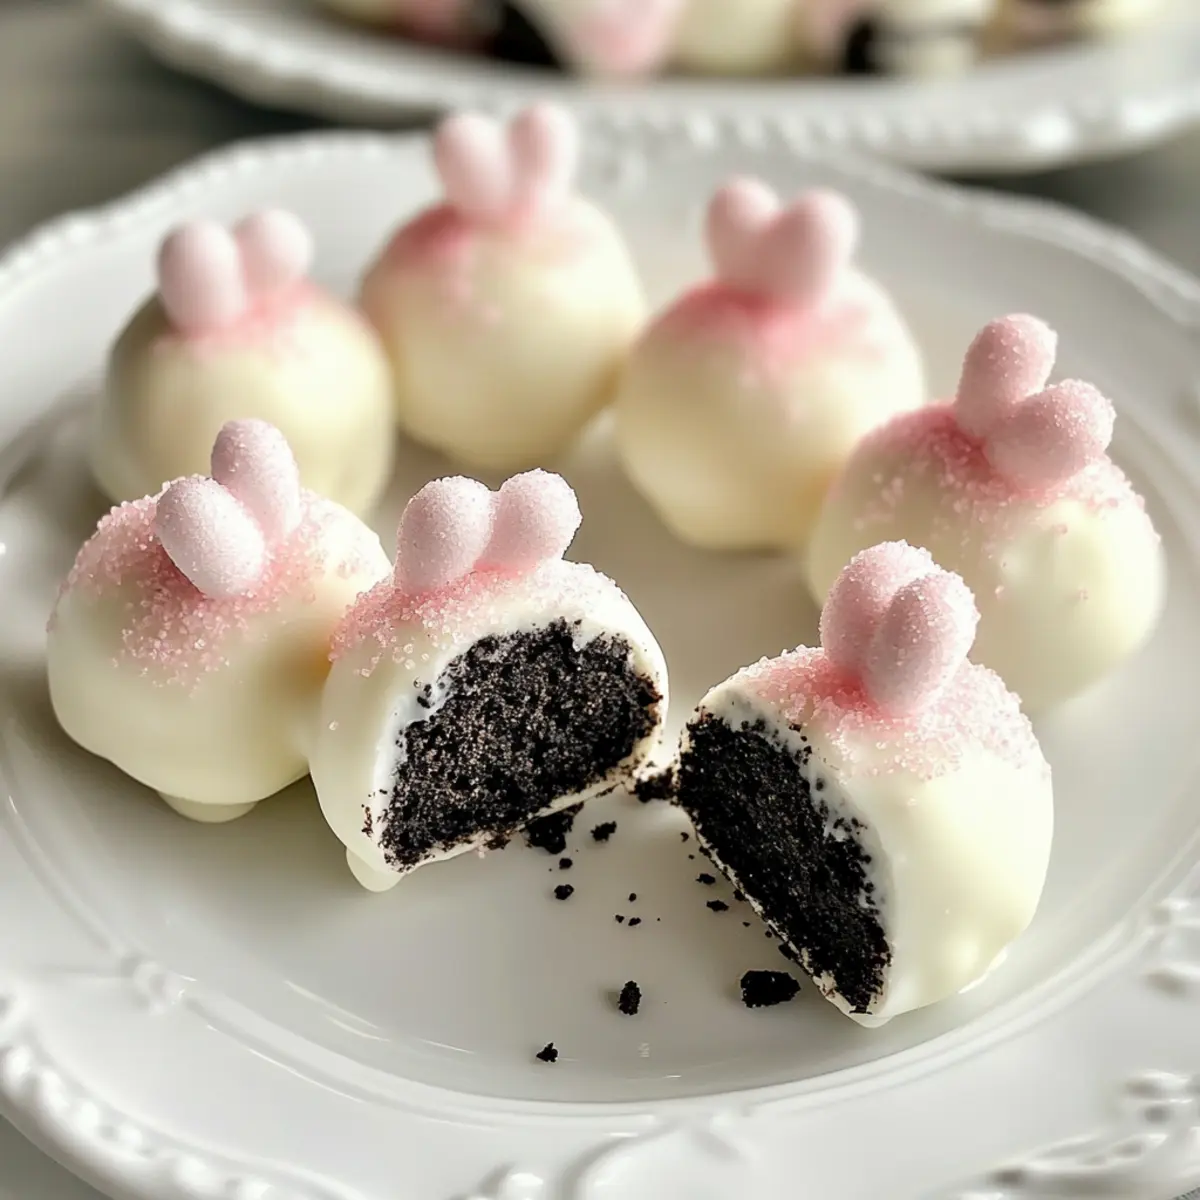
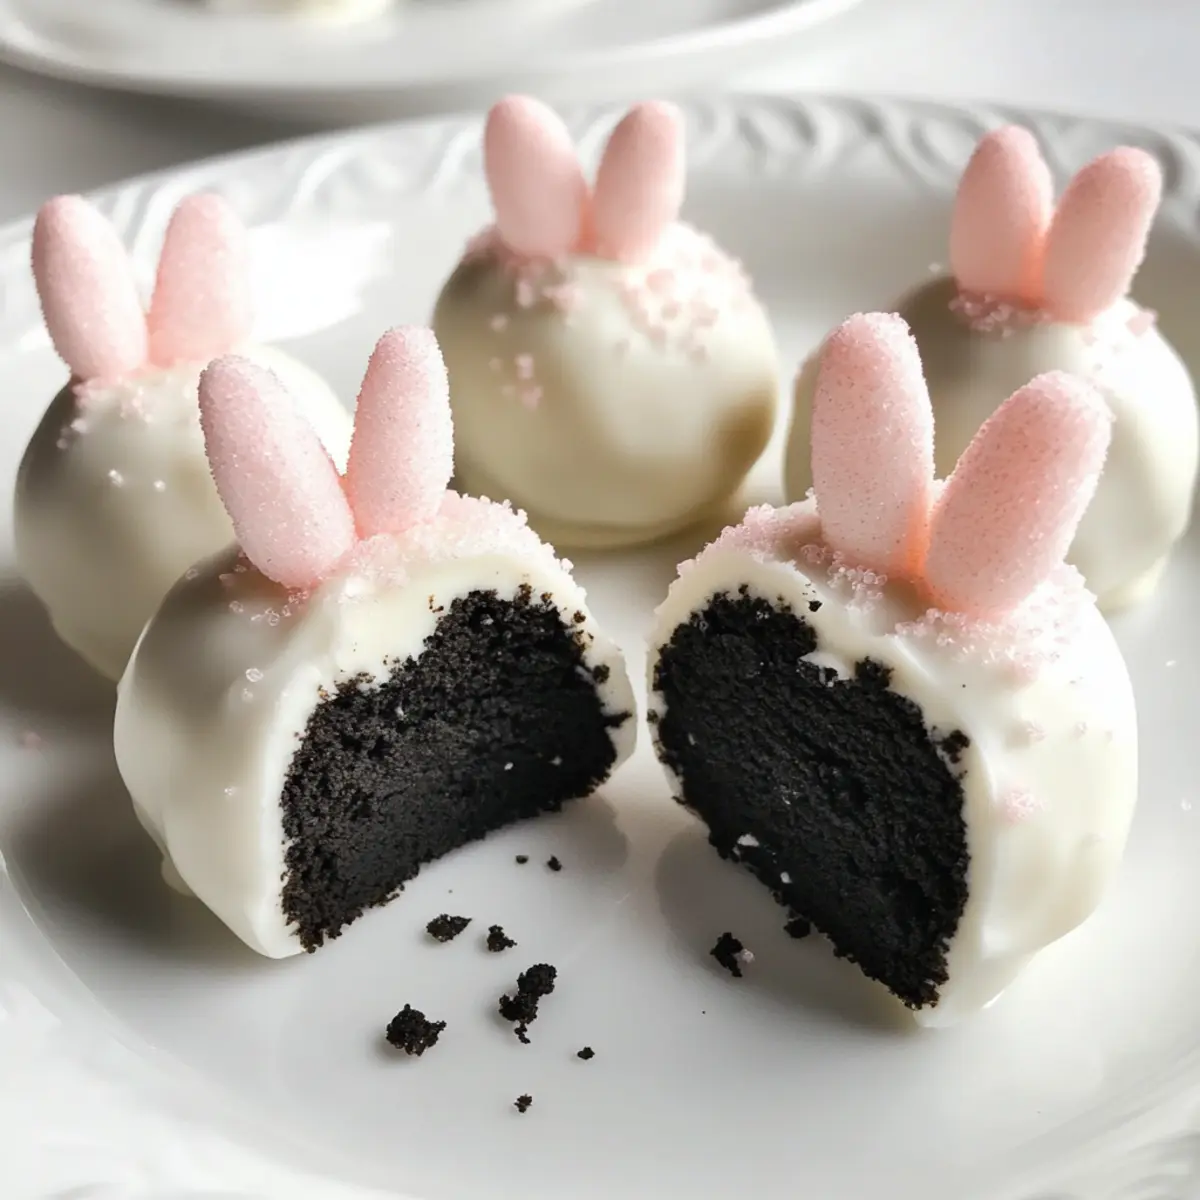
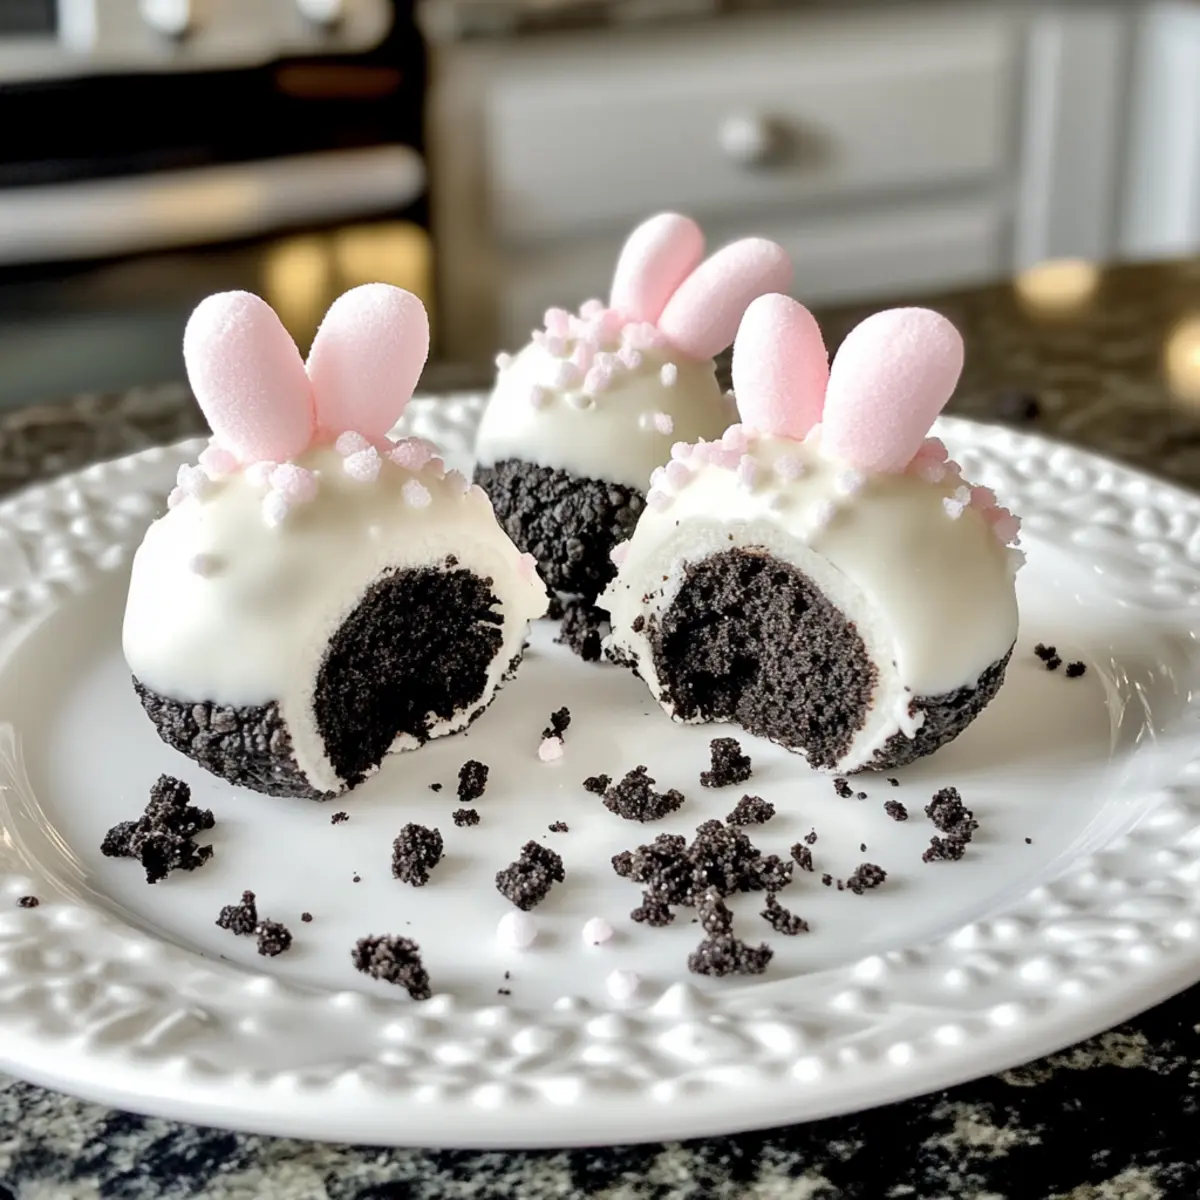
Delightful and perfect for springtime gatherings, these Bunny Oreo Balls are destined to be a hit! Kid-Friendly and easy to make, they’re a great way for little chefs to get hands-on in the kitchen. Visually Appealing, their adorable bunny design adds a festive touch to any celebration. Versatile enough for numerous occasions, simply switch up the decorations to match birthdays or holidays, ensuring endless fun. Irresistible with their creamy, chocolatey goodness, these treats are bound to leave your guests hopping back for more! Plus, if you have a sweet tooth for other delightful desserts, check out our Mint Oreo Parfaits or Bunny Cupcakes Whimsical for additional inspiration!
Bunny Oreo Balls Ingredients
• Dive into the deliciousness!
For the Filling
- Oreo Cookies – The foundation of these Bunny Oreo Balls, providing that sweet cookies-and-cream flavor. Substitutions: Try using any sandwich chocolate cookie for a twist!
- Cream Cheese – Adds a dreamy creaminess to the filling, making each bite melt-in-your-mouth. Substitutions: Use Neufchâtel cheese for a lighter option.
For the Coating
- White Chocolate or Candy Melts – Envelops the truffle in a glossy, sweet shell to complement the filling. Substitutions: Dark or milk chocolate can also work beautifully for a rich flavor.
For Decoration
- Mini Marshmallows – Cute ears for your bunny – simply cut them diagonally! Prep Note: Create an adorable ear shape by slicing each marshmallow.
- Pink Sugar Sprinkles – Perfect for adding a dash of cuteness to the bunny ears. Notes: Feel free to use colored sprinkles that fit your theme!
- Pink and Black Candy Melts – Used for bunny faces, these add a fun pop of color. Alternate: Melt some chocolate if you prefer a less sweet option.
- Edible Food Markers – Useful for drawing adorable faces on your bunnies. Note: Optional if you choose to pipe features using melted chocolate.
Step‑by‑Step Instructions for Bunny Oreo Balls
Step 1: Prepare the Mixture
Start by crushing the Oreo cookies in a food processor until they turn into fine crumbs. If you don’t have a processor, place them in a sealed bag and use a rolling pin. In a mixing bowl, combine the crushed Oreos with softened cream cheese, blending until you achieve a smooth, dough-like consistency. This mixture will form the delightful filling for your Bunny Oreo Balls.
Step 2: Shape the Balls
Once your mixture is well-combined, take small portions and roll them into 1-inch balls using the palms of your hands. Place these formed balls onto a parchment-lined baking sheet, ensuring they don’t touch. After shaping all the balls, refrigerate them for 30 minutes to firm up. This step is crucial for achieving a sturdy structure when you coat them.
Step 3: Coat with Chocolate
In a microwave-safe bowl, melt the white chocolate or candy melts in 30-second intervals, stirring in between until smooth and fully melted. Carefully dip each chilled Bunny Oreo Ball into the melted chocolate, ensuring they are completely coated. Let the excess chocolate drip off before placing the coated balls back onto the parchment sheet. Allow the chocolate to set at room temperature or in the refrigerator until firm.
Step 4: Decorate as Bunnies
While the chocolate coating is setting, prepare the bunny decorations. Cut mini marshmallows diagonally to create ears and dip the cut sides into pink sugar sprinkles for a touch of color. Once the chocolate is firm, gently press the marshmallow ears into the top of each Bunny Oreo Ball.
Step 5: Final Touches
Melt the pink and black candy melts as needed to pipe on cute bunny faces. Use a piping bag or a small squeeze bottle to create noses and whiskers on each treat, while you can draw eyes with an edible food marker or additional melted chocolate. Allow the decorations to set completely before serving, ensuring these Bunny Oreo Balls are both adorable and delicious.
Step 6: Store Your Treats
After all decorations are completed and set, store the Bunny Oreo Balls in an airtight container in the refrigerator. These delightful treats can be enjoyed for up to 5 days, making them a perfect make-ahead snack for any celebration!
What to Serve with Bunny Oreo Balls?
Create a memorable dessert spread that complements these adorable treats with delightful flavors and textures.
- Fluffy Vanilla Ice Cream: The creamy sweetness of vanilla ice cream pairs perfectly with the rich chocolate of the Bunny Oreo Balls, creating a heavenly combination.
- Fresh Fruit Salad: A vibrant mix of berries and citrus adds a refreshing and tangy contrast to the sweetness of your treats, making each bite feel lighter.
- Chocolate Dipped Strawberries: Intensify the chocolate theme with strawberries dipped in chocolate, providing a juicy, fruity balance that’s utterly satisfying.
- Mini Cupcakes: Create an assortment of mini cupcakes, from classic vanilla to vibrant lemon, offering a variety of flavors to enhance the festive mood.
- Carrot Sticks and Hummus: For a refreshing crunch, serve crisp carrot sticks with creamy hummus, grounding the sweetness of the Bunny Oreo Balls with a savory touch.
- Sparkling Lemonade: A bubbly, zesty lemonade is perfect for washing down the richness of the dessert, adding a refreshing fizz that brightens the palate.
- Creamy Milkshake: A chocolate or vanilla milkshake smoothens the whole experience while complementing the Oreo flavors beautifully, making for a fun combination.
- Easter-Themed Cookies: Consider baking decorated sugar cookies shaped like eggs or flowers to create a cohesive festive theme alongside the Bunny Oreo Balls.
Expert Tips for Bunny Oreo Balls
-
Softened Cream Cheese: Ensure the cream cheese is fully softened to make mixing effortless and achieve a smooth filling.
-
Temperature Control: Avoid overheating your chocolate coating; this prevents it from being too hot, which can melt the Oreo filling during dipping.
-
Use Tools: A toothpick or dipping tool can help achieve more precision when coating and decorating your Bunny Oreo Balls, making them look extra special.
-
Chill Before Coating: Always refrigerate the shaped balls before coating; this helps them maintain their form and creates a cleaner finish when dipped in chocolate.
-
Creative Decorations: Feel free to get creative! Customize your Bunny Oreo Balls with different colored sprinkles and decorations to match various themes beyond Easter.
Make Ahead Options
Bunny Oreo Balls are perfect for busy home cooks looking to simplify their celebrations! You can prepare the filling—crushed Oreos mixed with cream cheese—up to 24 hours in advance by rolling them into balls and storing them in the refrigerator. When you’re ready to serve, just melt your coating and dip the refrigerated balls; they’ll maintain their freshness and taste just as delicious as when freshly made. To ensure the chocolate coating sets properly, avoid using hot chocolate, as it can melt the filling. With this make-ahead strategy, you’ll save time on the day of your festivities and enjoy more moments with family and friends!
How to Store and Freeze Bunny Oreo Balls
- Room Temperature: These treats are best stored in the refrigerator to maintain freshness and texture, but they can last up to 2 hours at room temperature during gatherings.
- Fridge: Store Bunny Oreo Balls in an airtight container in the refrigerator for up to 5 days. This keeps them creamy and delicious, ready for any sweet craving!
- Freezer: If you want to store them longer, wrap Bunny Oreo Balls individually and place them in a freezer-safe bag or container. They can be frozen for up to 3 months.
- Reheating: When ready to enjoy, let the frozen balls thaw in the fridge overnight. Avoid reheating in the microwave, as this can melt the chocolate coating.
Bunny Oreo Balls: Fun Variations & Substitutions
Feel free to unleash your inner creative chef and customize these delightful Bunny Oreo Balls to suit your taste and occasion!
-
Dairy-Free: Use a dairy-free cream cheese alternative for a completely vegan option, ensuring everyone can join in on the tasty fun!
-
Gluten-Free: Swap out regular Oreos for gluten-free sandwich cookies, so everyone can enjoy these festive treats without worry.
-
Flavor Boost: Experiment with flavored cream cheese like strawberry or chocolate for a fun twist on the classic filling. Think of the joy a strawberry cream filling can bring!
-
Nutty Crunch: Mix in crushed nuts like almonds or walnuts into the Oreo mixture for added texture and flavor. The crunchiness adds an exciting element!
-
Spicy Kick: If you’re feeling adventurous, try adding a pinch of cinnamon or cayenne pepper to the chocolate coating for a surprising kick!
-
Colorful Sprinkles: Substitute traditional pink sugar sprinkles for vibrant seasonal ones—think pastel yellow or green— to brighten up your Bunny Oreo Balls.
-
Chocolate Variety: Play with different types of chocolate for coating: try dark or milk chocolate for a richer taste that complements the creaminess beautifully.
-
Fancy Faces: Instead of the typical bunny faces, let your imagination run wild! Create different animal designs or seasonal characters using your melted chocolate. Perhaps a chick for Easter?
These variations are only the beginning of your Bunny Oreo Balls journey. Enjoy them at family gatherings, parties, or even cozy nights in. And if you’re in the mood for more delightful desserts, check out our Bunny Cupcakes Whimsical or Bunny Butt Cake for extra festive inspiration!
Bunny Oreo Balls Recipe FAQs
What should I look for when selecting Oreo cookies?
Absolutely! When choosing Oreo cookies for Bunny Oreo Balls, make sure they are fresh—check the expiration date to ensure they’re not stale. Look for cookies without any visible cracks or damage, as these can affect the texture of your filling. You can use any sandwich chocolate cookies to switch it up, but classic Oreos always offer that perfect sweet flavor!
How should I store Bunny Oreo Balls, and how long do they last?
Bunny Oreo Balls can be stored in an airtight container in the refrigerator for up to 5 days. This keeps them creamy and fresh, perfect for satisfying sweet cravings. For gatherings, they can sit out at room temperature for about 2 hours. If you want to keep them longer, consider freezing them!
Can Bunny Oreo Balls be frozen? If so, how?
Very! To freeze Bunny Oreo Balls, wrap each one individually in plastic wrap or place them in a freezer-safe container. Make sure to label the container with the date to track their freshness. They can be frozen for up to 3 months. When you’re ready to enjoy them, just let them thaw in the fridge overnight. It’s such an easy way to keep treats on hand!
What if I encounter issues with the chocolate coating?
No worries! If your chocolate is too hot when dipping, it may melt the filling. Ensure your chocolate is completely melted but slightly cooled; you should be able to handle it comfortably. If it gets clumpy, it may have overheated—try adding a teaspoon of vegetable oil to re-smooth it. For cleaner dips, use a toothpick to help maneuver the Bunny Oreo Balls in the chocolate.
Are Bunny Oreo Balls safe for everyone, including kids and pets?
Yes, these treats are delicious for kids, but keep in mind they contain cream cheese and chocolate, which should be enjoyed in moderation! However, they are not suitable for pets, especially dogs, as chocolate is toxic to them. Be cautious when serving to children if there are allergies to dairy or gluten; consider checking if your ingredients are safe for your dietary needs.
Can I customize decorations for Bunny Oreo Balls?
Absolutely! You can switch up the holiday theme using colored sprinkles or candy melts to match different occasions. If you’re feeling adventurous, try flavored cream cheese, like strawberry or chocolate, to change the filling, creating a fun surprise in each bite!
Delicious Bunny Oreo Balls for Joyful No-Bake Celebrations
Ingredients
Equipment
Method
- Start by crushing the Oreo cookies in a food processor until they turn into fine crumbs. Combine the crushed Oreos with softened cream cheese in a mixing bowl until smooth.
- Roll the mixture into 1-inch balls and place on a parchment-lined baking sheet. Refrigerate for 30 minutes to firm up.
- Melt the white chocolate or candy melts in a microwave-safe bowl in 30-second intervals. Dip each chilled Bunny Oreo Ball into the melted chocolate and let excess chocolate drip off.
- Cut mini marshmallows diagonally for bunny ears and dip cut sides in pink sugar sprinkles. Press ears into the tops of each Bunny Oreo Ball.
- Melt pink and black candy melts and use a piping bag to decorate bunny faces. Allow decorations to set completely before serving.
- Store the Bunny Oreo Balls in an airtight container in the refrigerator for up to 5 days.