


As I stood at the kitchen counter, the soft aroma of ripe bananas and sweet coconut flakes filled the air, transporting me straight to a sunlit market in Japan. Today, we’re diving into the delightful world of Banana Mochi, a magical dessert that’s not just a feast for the senses but also super simple to whip up. This recipe combines a chewy exterior with the creamy sweetness of bananas, making it a perfect crowd-pleaser and a fun, gluten-free option for any gathering. Each bite delivers a playful twist, whether you’re enjoying them solo or impressing your friends at your next dessert party. Curious about how to create this blissful treat? Let’s get started!
Why is Banana Mochi a Must-Try?
Irresistible texture: The chewy exterior paired with a sweet banana center offers a delightful mouthfeel that keeps you coming back for more.
Quick and Easy: With just a few ingredients and simple steps, you can create this impressive dessert in no time, perfect for busy bakers!
Healthier Option: A gluten-free dessert that satisfies your sweet tooth while being kinder to your diet.
Versatile: Whether you choose to stick with bananas or explore with seasonal fruits, the possibilities are endless, just like in my Butter Mochi Perfectly post!
Crowd pleaser: This delightful dessert is sure to be a hit at parties, bringing a fun and cultural twist that’s perfect for sharing with friends and family.
Banana Mochi Ingredients
For the Mochi
- Glutinous Rice Flour – This is essential for creating the chewy texture that defines mochi. Note: Regular rice flour won’t achieve the same result.
- Cornstarch – Helps the dough maintain elasticity while preventing it from sticking together.
- Granulated Sugar – Sweetens the mochi, balancing the flavors beautifully.
- Milk – Hydrates the flour for a smooth and creamy batter. Substitution: Non-dairy milk works well for a vegan option.
- Oil (or melted butter) – Adds richness to the mochi dough, enhancing its flavor. Tip: Use a neutral-flavored oil for the best results.
- Dragon Fruit Juice (optional) – A splash brings a lovely color and fruity undertone to the mochi. Substitution: Any natural food coloring can visually enhance your dessert.
- Bananas – The star of the show, delivering a sweet, creamy filling that complements the mochi perfectly.
- Coconut Flakes – These provide a crunchy texture and flavor contrast when rolled over the mochi. Tip: Opt for unsweetened coconut to keep it balanced and less sugary.
Step‑by‑Step Instructions for Banana Mochi
Step 1: Combine Dry Ingredients
In a large mixing bowl, whisk together 1 cup of glutinous rice flour, ¼ cup of cornstarch, and ¼ cup of granulated sugar. Mix until there are no lumps remaining, ensuring an even blend. Gradually pour in 1 cup of milk while stirring continuously to create a smooth batter. The mixture should have a flowing consistency, comparable to pancake batter, ready for the next step.
Step 2: Steam the Batter
Pour the prepared batter into a shallow, heatproof dish and cover it tightly with parchment paper or plastic wrap. Place the dish in a steamer and steam over medium heat for about 20 minutes. You’ll know the mochi is ready when it becomes firm and translucent. Carefully remove it from the steamer, allowing it to cool slightly before handling, as it will be hot.
Step 3: Incorporate Oil and Color
Once the dough is warm to the touch, add 2 tablespoons of oil or melted butter and, if using, 1 tablespoon of dragon fruit juice for color. Knead the dough gently with your hands for about 5 minutes until it is smooth and pliable. As you knead, the texture will become more elastic, essential for the chewy consistency that defines this Banana Mochi.
Step 4: Shape the Dough
Dust your hands with cornstarch to prevent sticking, then pinch off small pieces of the dough, about a tablespoonful each. Flatten each piece into a thin circle on a surface lightly sprinkled with cornstarch. Aim for a diameter of roughly 3–4 inches. This step is where the classic mochi shape takes form, creating a cozy pocket for the banana filling.
Step 5: Fill and Seal the Dumplings
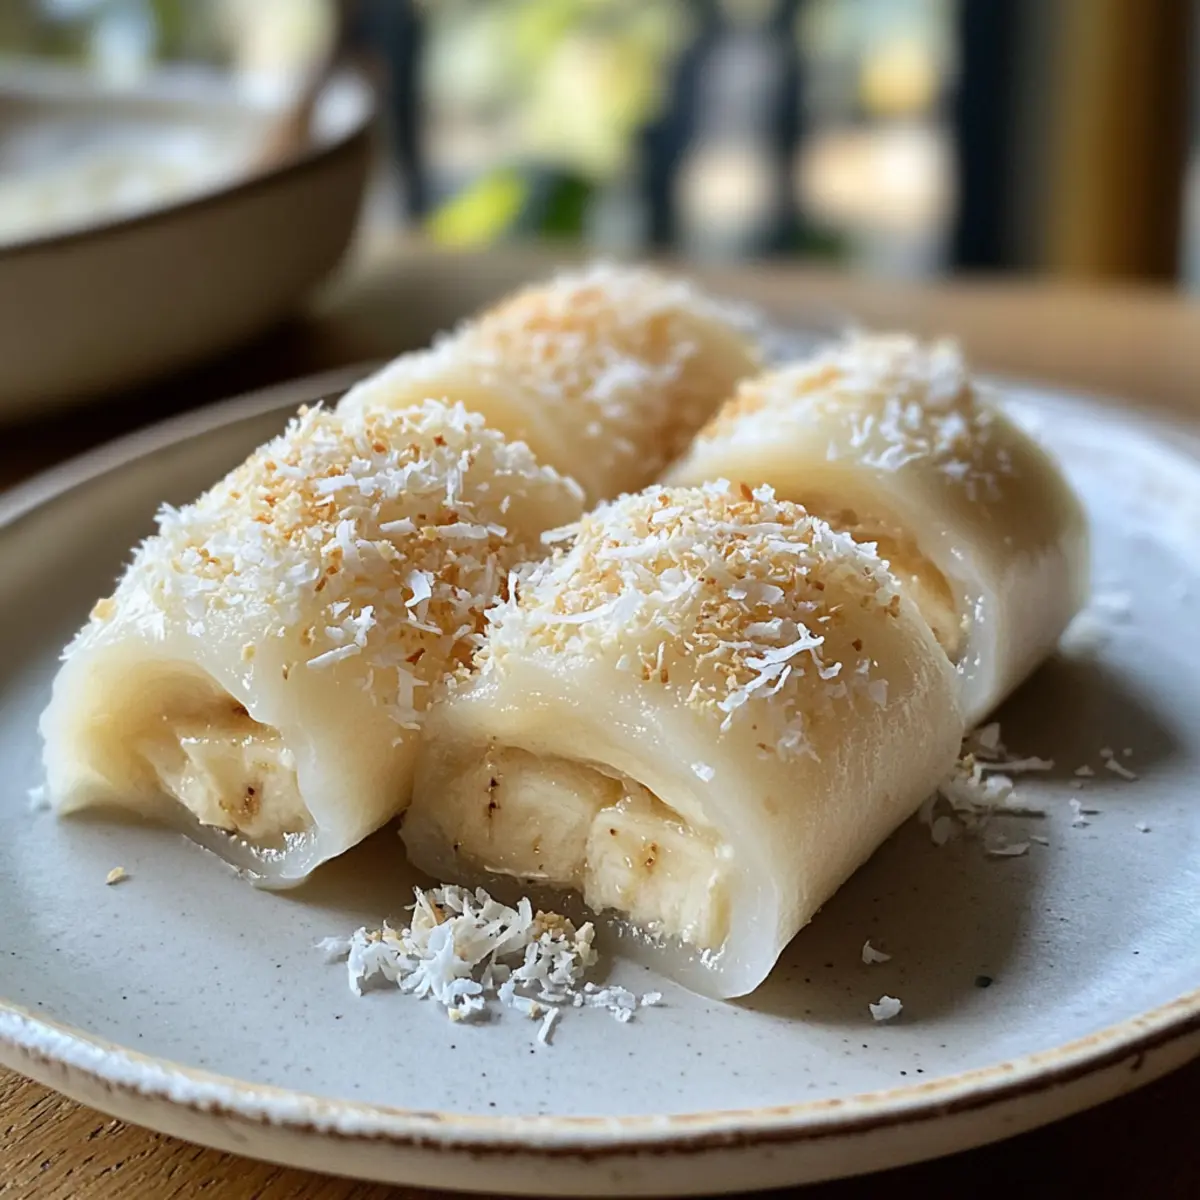
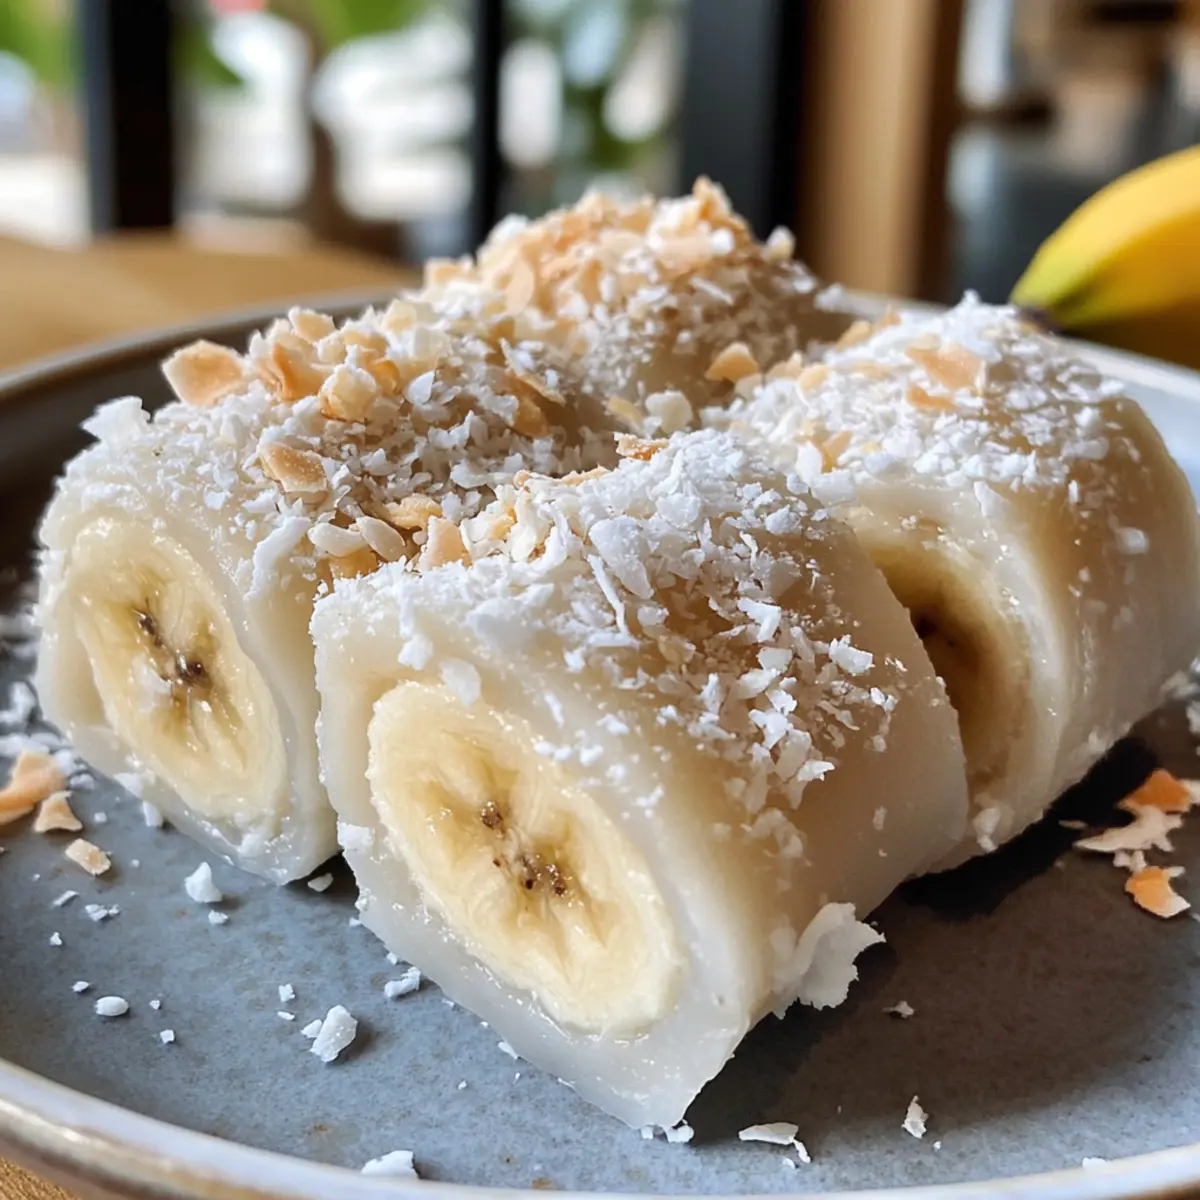
Place a piece of banana in the center of each circle. Carefully fold and seal the edges by pinching them together, forming a dumpling shape. Ensure there are no openings, as this will keep the filling intact. You’ll see the vibrant banana peeking through, ready to bring a burst of flavor as you enjoy your homemade Banana Mochi.
Step 6: Coat with Coconut
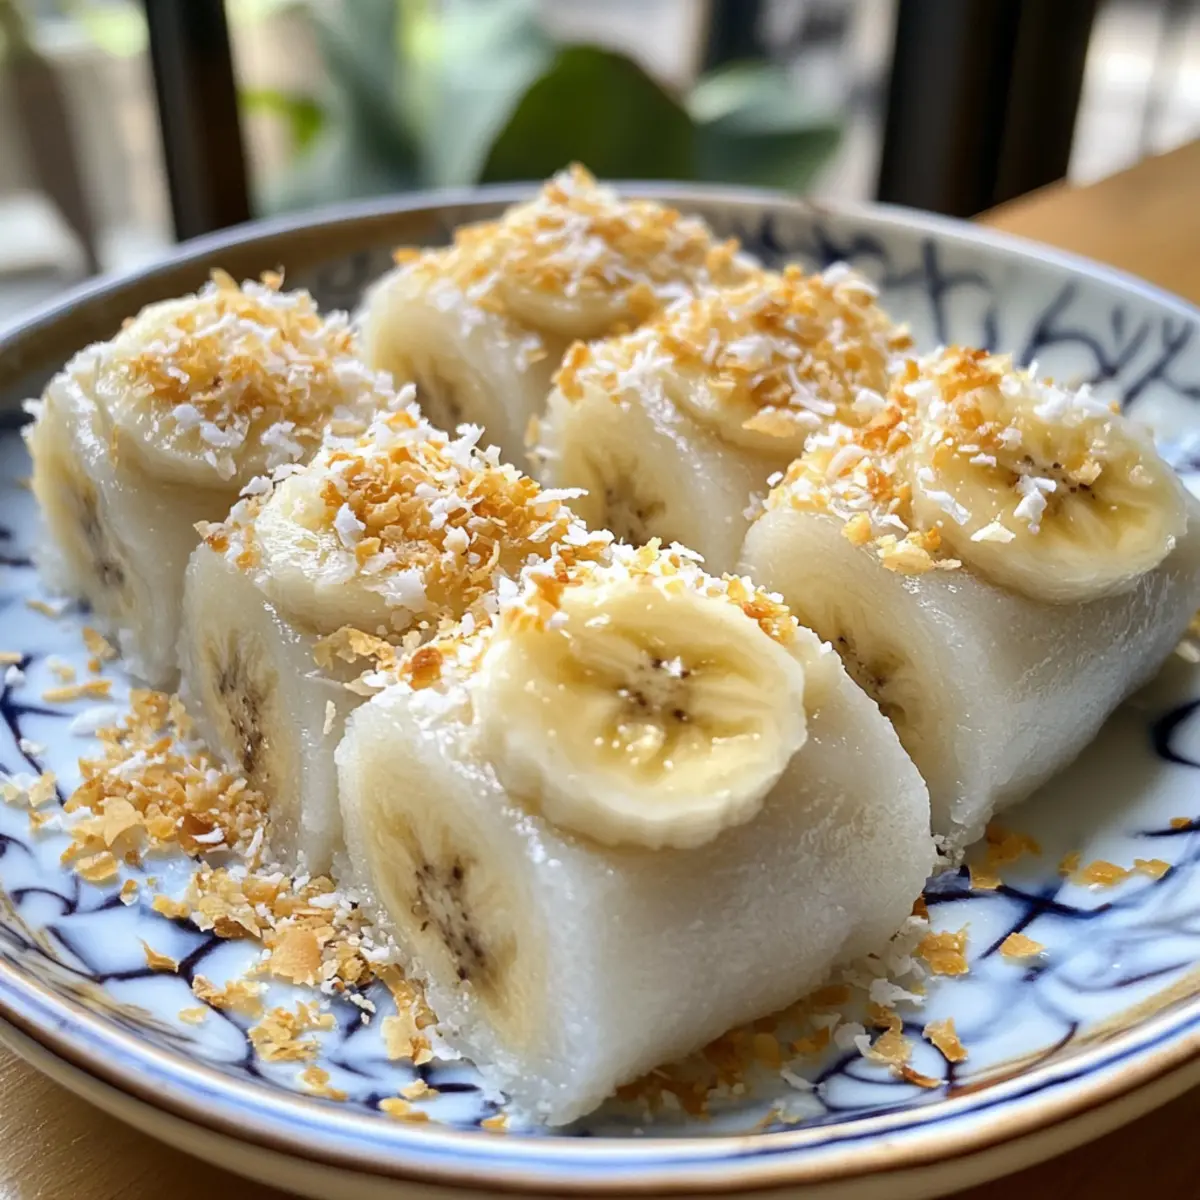
Once all dumplings are shaped and sealed, roll each mochi in unsweetened coconut flakes for a delightful crunch. Make sure they are well-coated for a beautiful finish and added texture. The contrast of the chewy mochi with the crunchy coconut makes each bite a delightful experience you won’t want to miss.
Step 7: Serve and Enjoy
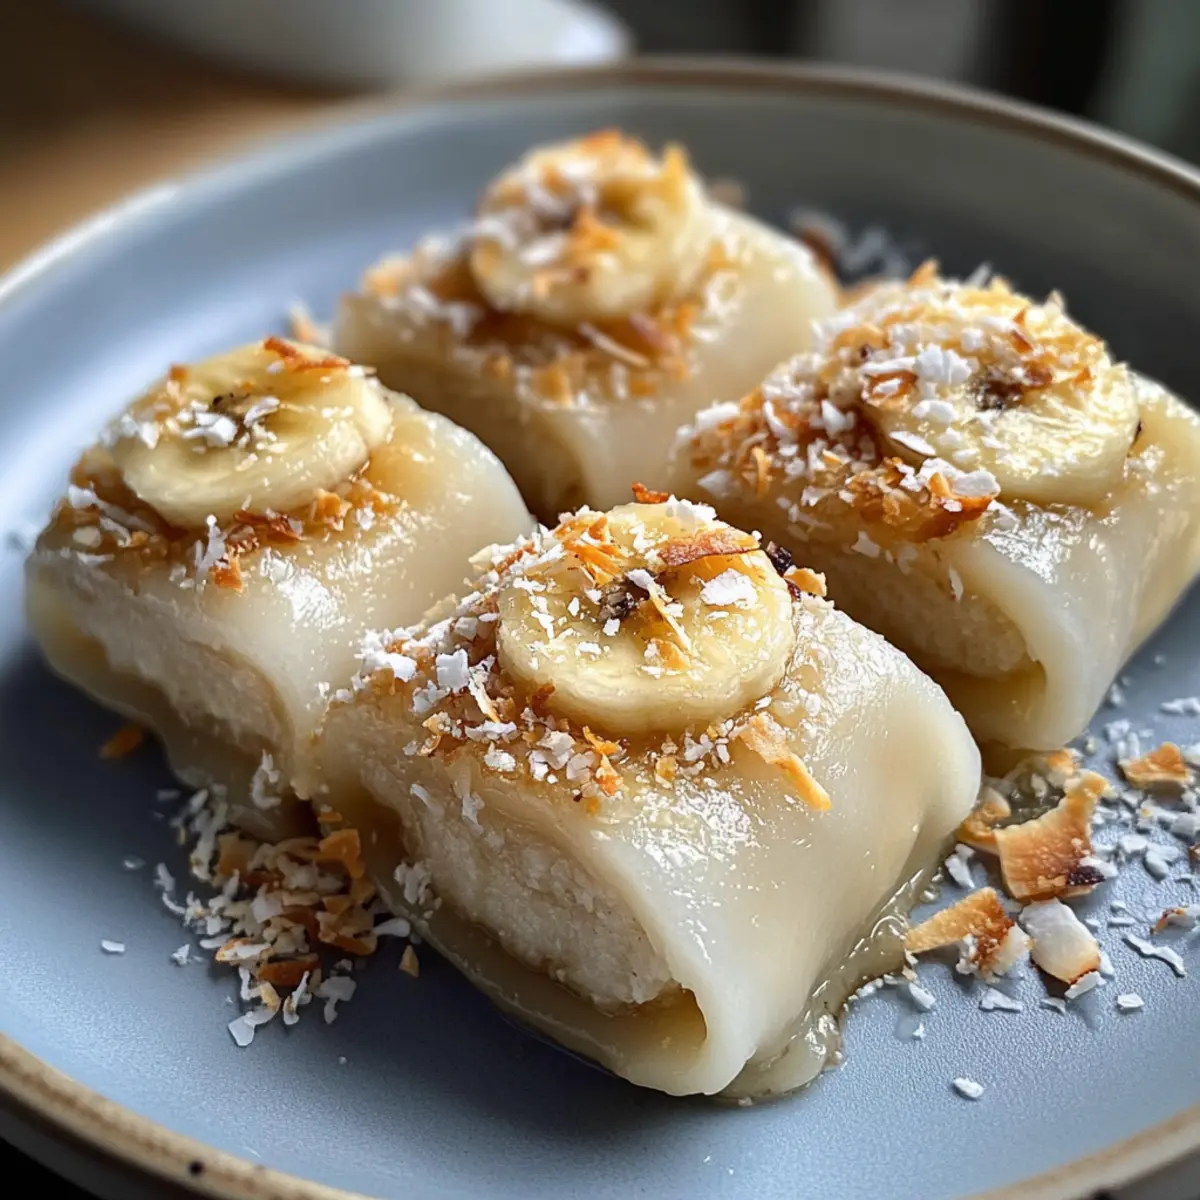
Transfer your finished Banana Mochi rolls to a serving platter. Optionally, dust them with powdered sugar or drizzle melted dark chocolate for an extra treat. Whether enjoyed solo or with friends, these vibrant snacks promise to delight every palate, bringing a piece of joy and a bit of cultural charm to your dessert table.
Expert Tips for Banana Mochi
-
Mochi Flour Matters: Always use glutinous rice flour for the proper chewy texture; regular rice flour will yield a different consistency.
-
Dust for Ease: Lightly dust your hands and work surface with cornstarch or coconut flakes to prevent sticking during the shaping process.
-
Steaming Time Alert: Ensure you steam the mochi just until firm and translucent to avoid an overly gooey texture; usually around 20 minutes is perfect.
-
Seal Carefully: To keep the banana filling intact, make sure to seal the dumplings thoroughly with no gaps; this will prevent them from leaking during cooking.
-
Storing Leftovers: Keep any unfinished Banana Mochi in an airtight container at room temperature for up to 24 hours; refrigerating will make them firmer, so enjoy fresh for the best experience.
Banana Mochi Variations & Substitutions
Feel free to get creative with your Banana Mochi recipe! Here are some fun ways to customize this delightful treat.
-
Fruit Swap: Replace bananas with ripe mango, strawberries, or peaches for a refreshing twist. Each fruit will lend its unique sweetness!
-
Nutty Crunch: Add chopped nuts, like almonds or pistachios, to the filling for an extra crunch and rich flavor. You’ll love the added texture that enhances every bite.
-
Vegan Delight: Use non-dairy milk and coconut oil instead of regular milk and butter for a fully vegan option. This way, everyone can indulge in the deliciousness!
-
Cocoa Twist: Incorporate 1-2 tablespoons of cocoa powder into the dough for a chocolatey version that pairs wonderfully with bananas. A chocolate lover’s dream!
-
Rainbow Mochi: Experiment with different fruit juices to create a colorful assortment. Each mochi could be a different shade, adding to the visual joy, just like in my Butter Mochi Perfectly recipe!
-
Spicy Kick: Add a pinch of cayenne or chili powder to the sugar coating for a surprising heat. The combination of sweet and spicy will enchant your taste buds!
-
Honey Drizzle: Instead of powdered sugar, drizzle honey on top for a natural sweetness boost. This will add a lovely shine and flavor complexity!
-
Fillings Galore: Swap out bananas for a dollop of Nutella or your favorite fruit preserves for a surprise gooey center. Each bite will be an adventure!
Make Ahead Options
These Banana Mochi are perfect for busy home cooks looking to save time during hectic weeknights! You can prepare the mochi dough up to 24 hours in advance; simply follow Steps 1 through 3 and let the dough cool completely before wrapping it tightly in plastic wrap and refrigerating. You can also fill and shape the mochi with banana up to 3 days in advance—just store the finished dumplings in an airtight container between layers of parchment paper to prevent sticking. When you’re ready to serve, roll them in coconut flakes, and enjoy the delightful, chewy texture just as delicious as when they were first made. With these make ahead options, you’ll have a sweet treat ready to impress at a moment’s notice!
What to Serve with Chewy Banana Mochi Rolls with Coconut Flakes
Imagine a dessert spread that bursts with colors and flavors, perfectly complementing your delightful Banana Mochi.
-
Fresh Mango Slices: Their gentle sweetness and juiciness create a bright contrast, enhancing the tropical vibe.
-
Green Tea: The earthy notes of matcha or a soothing cup of steamed green tea balance the sweetness beautifully.
-
Vanilla Ice Cream: A scoop of rich vanilla ice cream adds creaminess, creating a delightful temperature and texture contrast.
-
Coconut Milk Pudding: This luscious dessert echoes the coconut flakes on the mochi while adding a creamy, smooth texture that guests will love.
-
Fruit Salad: A vibrant mix of seasonal fruits provides freshness and acidity, making each bite of mochi even more enjoyable.
-
Cold Brew Coffee: The rich notes of coffee pair beautifully, offering a sophisticated finish to the sweet experience.
-
Dark Chocolate Drizzle: A simple drizzle enhances the mochi’s sweetness while providing a hint of luxurious indulgence to each bite.
-
Almond Cookies: Crunchy, nutty flavors from almond cookies beautifully contrast with the chewy texture of the mochi, creating a joyous bite.
-
Chilled Citrus Spritzer: A refreshing beverage with a splash of lemon or lime cuts through the richness, keeping your palate refreshed.
How to Store and Freeze Banana Mochi
Room Temperature: Store Banana Mochi in an airtight container at room temperature for up to 24 hours to retain their delightful chewy texture.
Fridge: For longer storage, you can refrigerate the mochi, but be aware that they may become firmer and lose some of their initial softness; consume within 3 days for the best taste.
Freezer: If you want to keep them for an extended period, freeze your Banana Mochi by placing them in a single layer on a baking sheet until frozen solid, then transfer to a freezer bag. They will last up to 2 months in the freezer.
Reheating: To enjoy frozen mochi, simply thaw them in the fridge overnight, or enjoy them straight from the freezer for a firmer texture; you can also steam them for a few minutes to regain their original softness.
Banana Mochi Recipe FAQs
What type of bananas should I use for Banana Mochi?
Absolutely! For the best flavor, use ripe bananas that are yellow with a few brown spots. This indicates that they are sweet and perfectly soft, making them ideal for filling your mochi.
How should I store leftover Banana Mochi?
To retain their delicious chewy texture, store Banana Mochi in an airtight container at room temperature for up to 24 hours. If you need to keep them longer, you can refrigerate them for up to 3 days, but be aware that they may become a bit firmer.
Can I freeze Banana Mochi?
Very! To freeze your Banana Mochi, start by placing them in a single layer on a baking sheet. Freeze until solid, then transfer them to a freezer bag. They can be kept for up to 2 months. When you’re ready to enjoy, simply thaw in the fridge overnight, or steam them right from the freezer for a warm treat.
What can I do if my mochi dough is too sticky?
No worries! If your mochi dough feels too sticky when you’re shaping it, lightly dust your hands and the work surface with cornstarch. This will prevent sticking and make it much easier to shape your mochi. If needed, add a little more cornstarch to the dough during kneading until it reaches the right consistency.
Are there any dietary considerations for making Banana Mochi?
Great question! This Banana Mochi recipe is already vegetarian and gluten-free due to the use of glutinous rice flour. If you’re looking for a vegan option, simply substitute regular milk with a non-dairy milk like almond or coconut milk. However, always double-check ingredients for potential allergens, especially if you’re serving others.
Can I use other fruits instead of bananas?
Absolutely, the sky’s the limit! Feel free to swap out bananas for ripe mangoes, strawberries, or even a spoonful of Nutella for a rich and decadent twist. Just ensure the fruit is soft enough to fit into the mochi without breaking apart during sealing.
Irresistibly Chewy Banana Mochi with Coconut Crunch
Ingredients
Equipment
Method
- Combine dry ingredients in a bowl and whisk until smooth.
- Steam the batter for about 20 minutes.
- Incorporate oil and optional dragon fruit juice.
- Shape the dough into circles.
- Fill and seal the dumplings with banana.
- Coat the dumplings with coconut flakes.
- Serve and enjoy with optional toppings.