


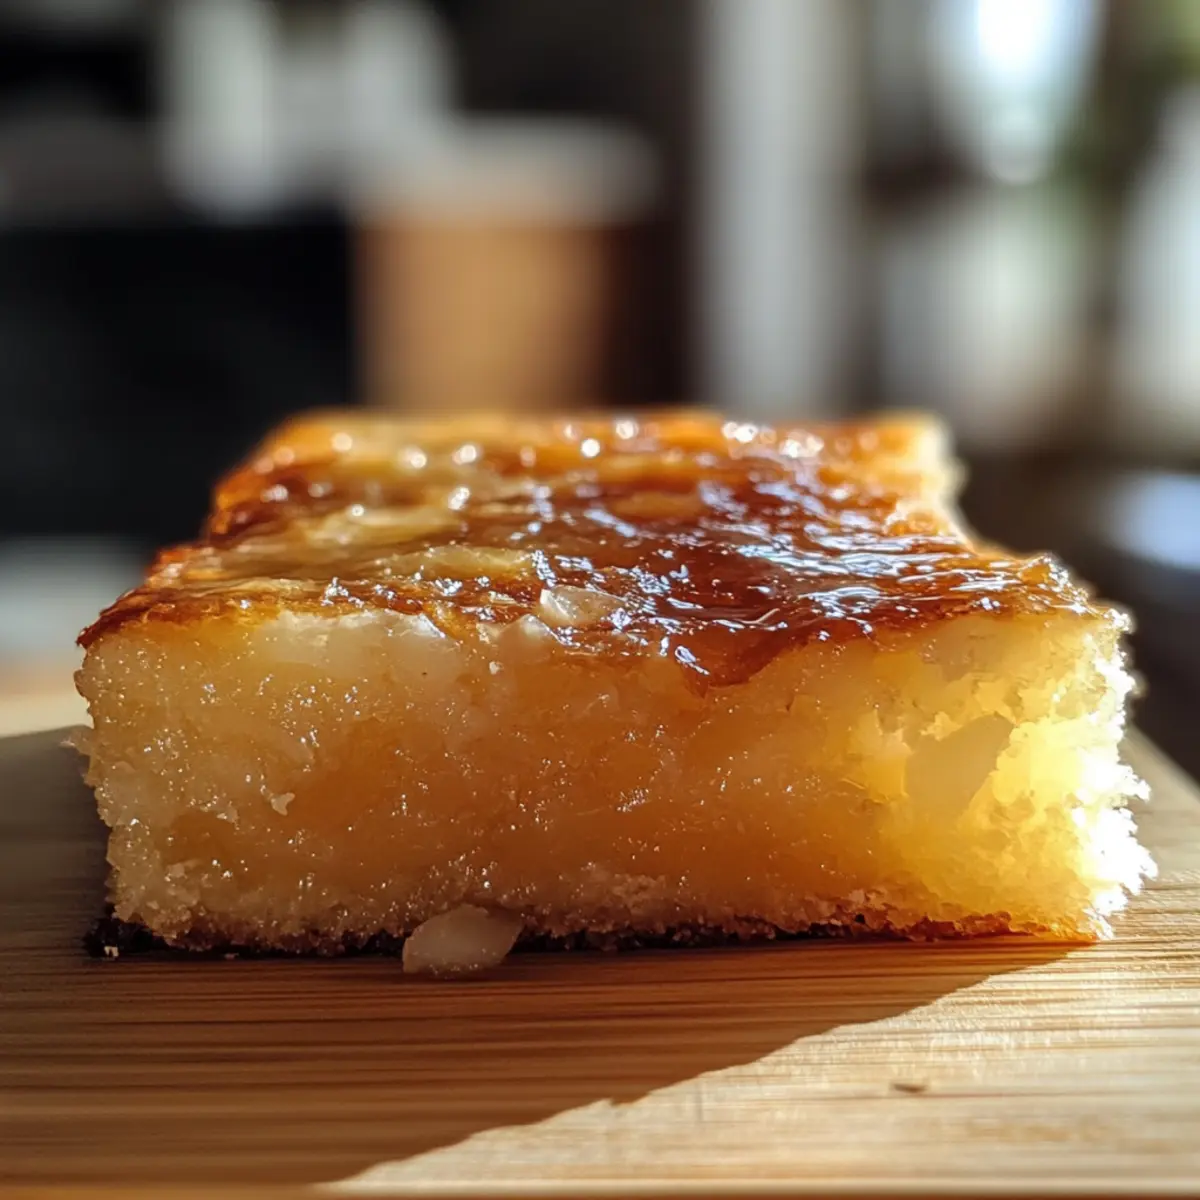
As I whisked together the sweet rice flour and the creamy coconut, I was instantly transported to the vibrant streets of the Philippines, bustling with holiday cheer. Today’s recipe, Bibingka – a traditional Filipino coconut cake, is a delightful twist on dessert that promises to warm your heart and tantalize your taste buds. With its uniquely soft, sticky texture and charming sponginess, this cake embodies the essence of tropical flavors, making it a standout at any gathering. Plus, it’s easy to make and gluten-free, which means everyone can enjoy this delicious treat without compromise. Whether you’re sharing it with family or savoring it solo, this Bibingka will surely bring the joy of Filipino culture into your kitchen. Curious to discover how to create this delightful cake? Let’s dive right in!
Why is Bibingka a Must-Try?
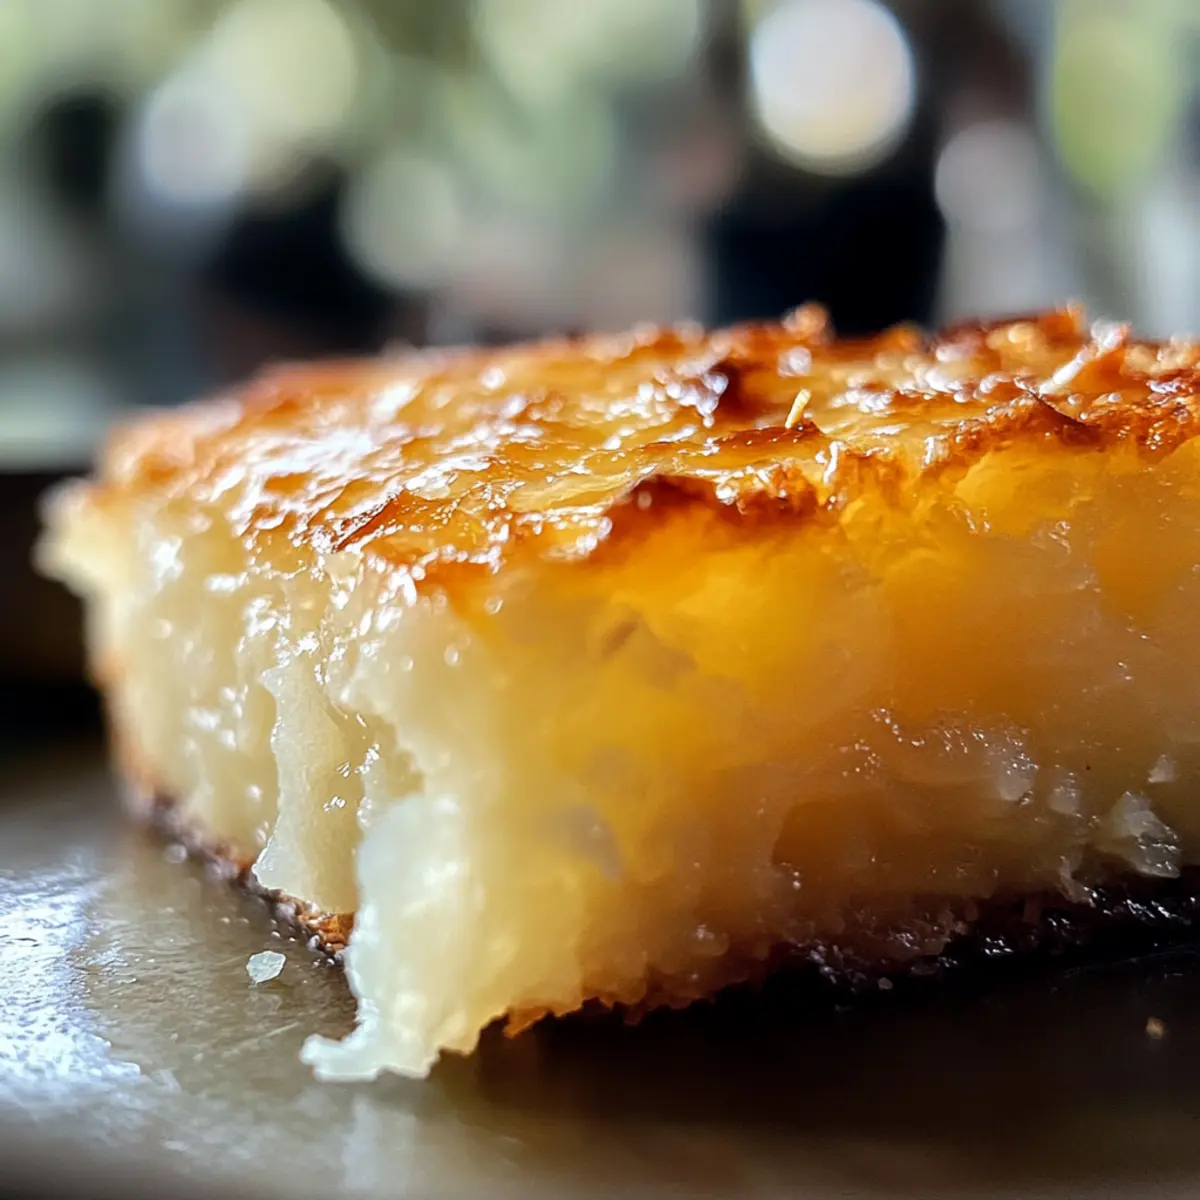
Unique Textures: This cake offers a soft, sticky delight that feels like a warm hug. Each bite guarantees a delightful chewiness reminiscent of Jell-O bars combined with pudding.
Tropical Bliss: With cream of coconut and crushed pineapple, each square bursts with vibrant flavors that instantly transport you to the tropics.
Easy to Make: The recipe is straightforward, making it accessible even for baking novices. Follow the simple steps, and you’ll impress friends and family alike!
Health-Friendly: Gluten-free enthusiasts, rejoice! Using sweet rice flour, Bibingka caters to diverse dietary needs without sacrificing flavor.
Crowd Pleaser: Perfect for gatherings, this tropical cake doubles as a sweet snack with coffee or tea, making it an instant favorite at every table. If you’re looking to elevate your dessert game, you might also enjoy a slice of Moist Carrot Cake or treat your guests to Pistachio Raspberry Cake!
Bibingka – Filipino Coconut Cake Ingredients
• Dive right into the tropical delight with these simple ingredients!
For the Batter
- Cream Cheese – Provides a rich, creamy texture; substitute with mascarpone for a different flavor profile.
- Granulated Sugar – Adds sweetness and enhances caramelization on the cake’s surface.
- Eggs – Acts as a binder and adds moisture; essential for holding everything together.
- Sweet Rice Flour (Gluten-Free) – Contributes a unique chewy texture; substitute with gluten-free all-purpose flour if needed, but texture may vary.
- Baking Powder – Adds leavening for cake rise, ensuring a light and fluffy outcome.
- Melted Butter – Enhances the flavor and moisture for that luscious finish.
- Vanilla Extract – Infuses an aromatic flavor that beautifully complements the coconut.
- Cream of Coconut – Brings a rich coconut flavor with added sweetness; replace coconut milk with cream for better results.
- Milk – Adds moisture to the batter; opt for coconut milk for an even more intense coconut flavor.
- Crushed Pineapple (with juice) – Adds natural sweetness and moisture; optionally drain for a less wet texture.
For the Topping
- Brown Sugar – Creates a caramelized top layer; can replace with coconut sugar for a deeper flavor.
- Granulated Sugar (for topping) – Provides sweetness and extra crunch, completing the cake’s delightful texture.
Step‑by‑Step Instructions for Bibingka – Filipino Coconut Cake
Step 1: Preheat the Oven
Begin by preheating your oven to 350°F (175°C). This is a crucial step, as having the oven at the right temperature ensures that your Bibingka bakes evenly, leading to that delightful soft and sticky texture. While the oven heats up, you can prepare your baking pan.
Step 2: Prepare the Baking Pan
Grease a 13×9 inch baking pan with butter or non-stick spray to prevent the cake from sticking. Make sure to cover the sides well for easy removal later. This step is essential because the buttery finish enhances the cake’s flavor while helping it achieve a beautiful golden-brown crust.
Step 3: Cream the Cheese and Sugar
In a large mixing bowl, combine cream cheese and granulated sugar using a hand mixer or a stand mixer. Beat the mixture until it’s smooth and fluffy, which takes about 3-5 minutes. This step helps aerate the mixture, creating a light texture that complements the Bibingka’s chewy consistency.
Step 4: Incorporate the Eggs
Add the eggs to the creamy mixture one at a time, beating well after each addition. This ensures that each egg is fully incorporated before adding the next. Continue this process for about 3-4 minutes until the mixture is smooth and glossy, crucial for binding the Bibingka together.
Step 5: Mix in Dry Ingredients
Gradually add the sweet rice flour and baking powder to the wet mixture, mixing on low speed until just combined. Be careful not to overmix, as this helps maintain the unique chewy texture of the Bibingka – Filipino Coconut Cake. The batter should be thick and slightly lumpy.
Step 6: Add the Wet Ingredients
Now, gently fold in the melted butter, vanilla extract, cream of coconut, milk, and crushed pineapple. Combine these ingredients until just mixed; this step is vital as it adds moisture and enhances the coconut flavor. The batter should have a fragrant, tropical aroma.
Step 7: Transfer to the Pan
Pour the batter into your prepared baking pan, spreading it evenly with a spatula. This creates a uniform layer that ensures even baking. Smooth the top to help achieve that irresistible caramelized finish on the surface of your Bibingka.
Step 8: Add the Sweet Topping
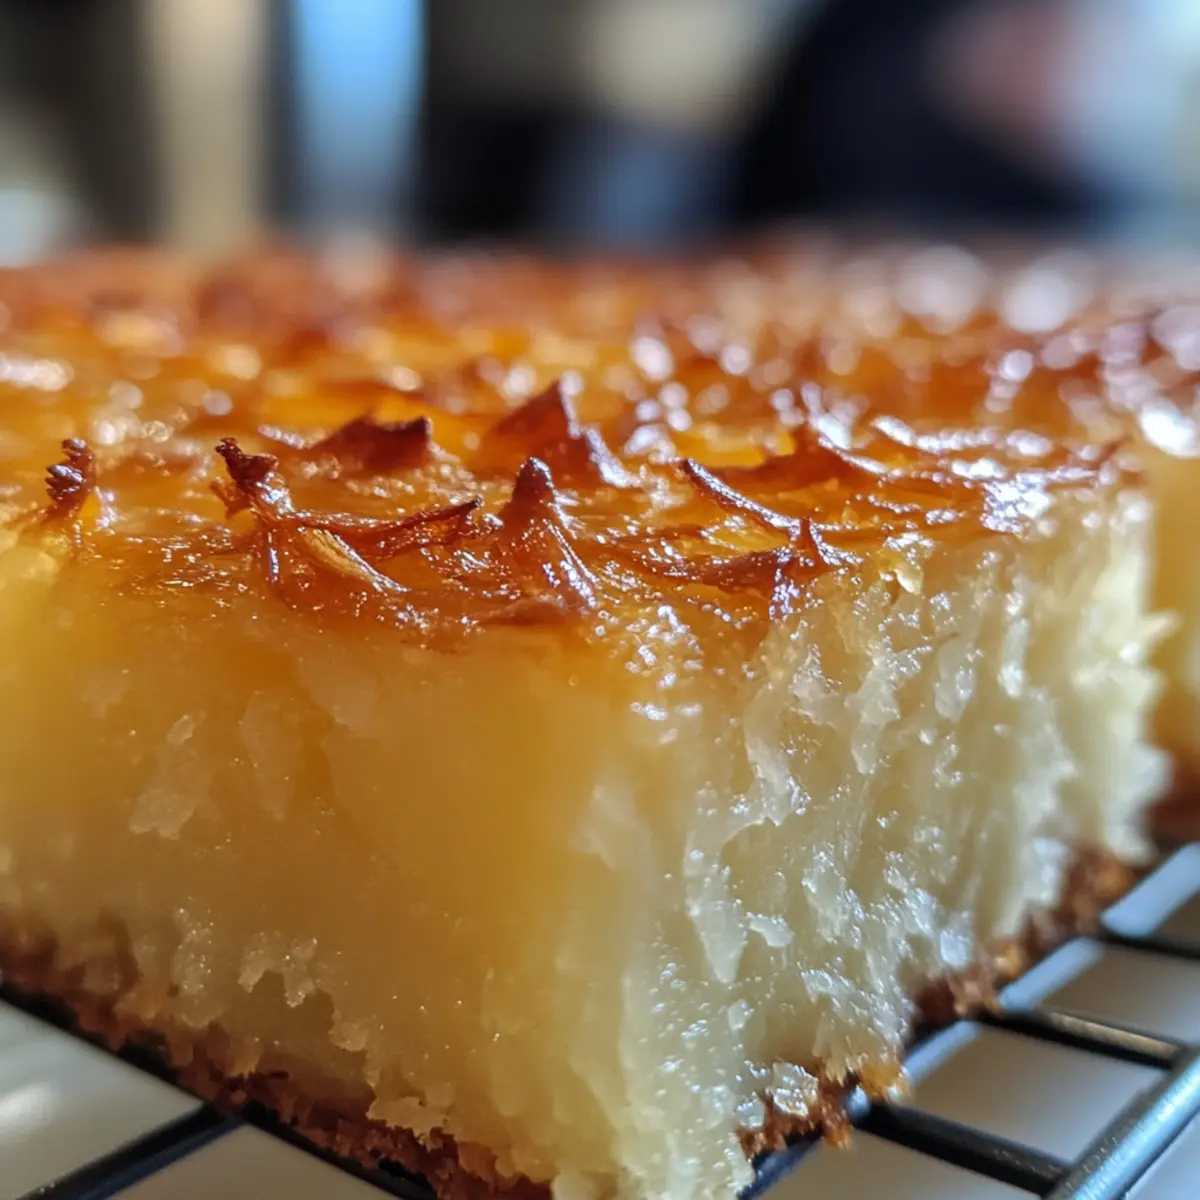
Sprinkle a mixture of brown sugar and granulated sugar on top of the batter. This sweet layer will caramelize as it bakes, creating a delightful crust that perfectly complements the soft interior of your Bibingka – Filipino Coconut Cake. Make sure to distribute the sugar evenly.
Step 9: Bake the Cake
Place the baking pan in the preheated oven and bake for about 1 hour, or until a toothpick inserted in the center comes out clean. You’ll know it’s done when the top is golden and the edges start to pull away from the pan slightly. The aroma of coconut will fill your kitchen!
Step 10: Cool the Cake
Once baked, remove the cake from the oven and allow it to cool in the pan for at least 15-20 minutes. This cooling period helps set the texture further, making it easier to cut into squares. The transition from hot to room temperature enhances the delightful flavor of the Bibingka.
Step 11: Serve and Enjoy
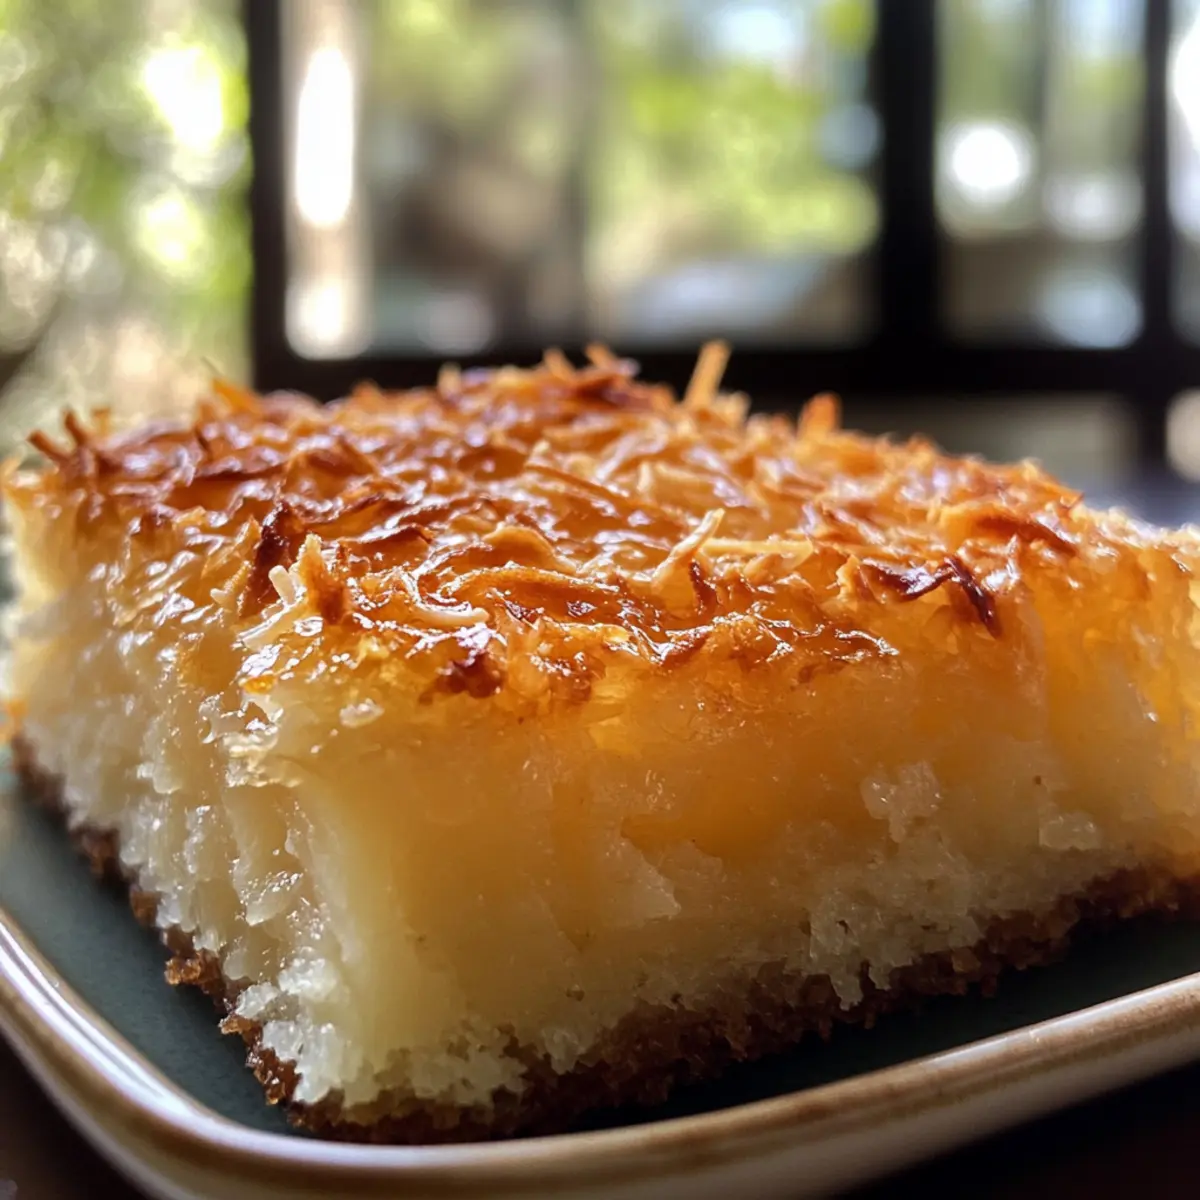
After cooling, cut the Bibingka into squares and serve warm. This traditional Filipino coconut cake is perfect paired with coffee or tea. Each bite encapsulates the tropical flavors, making it an ideal treat for gatherings or a cozy indulgence for yourself.
Bibingka – Filipino Coconut Cake Variations
Feel free to unleash your creativity and customize this delightful Bibingka recipe to suit your taste and dietary needs!
-
Dairy-Free: Substitute cream cheese with a dairy-free alternative like cashew cream for a creamy vegan option.
-
Tropical Twist: Incorporate shredded coconut or chopped mango into the batter for an extra burst of flavor and texture. The tropical twist adds a delightful crunch that pairs beautifully with the soft cake.
-
Lower Sugar: Reduce the granulated sugar and replace it with a natural sweetener like honey or maple syrup for a healthier option. This subtle change will allow the rich coconut flavor to shine through without overpowering sweetness.
-
Nutty Delight: Add finely chopped nuts, such as almonds or cashews, for a delightful crunch. The combination of textures is simply wonderful, enhancing your experience with every bite.
-
Add Spices: Incorporate a pinch of cinnamon or nutmeg into the batter for a warm, aromatic flavor profile. These spices bring an inviting warmth that adds depth to the traditional coconut taste.
-
Fruity Variation: Swap out crushed pineapple for mashed ripe bananas or even passionfruit for a unique fruity twist. Each variation brings a different tropical vibe, creating a cake that feels fresh and new every time!
-
Coconut Cream Topping: Instead of brown sugar, top with whipped coconut cream before serving for an indulgent finishing touch. The creaminess elevates the sweetness and adds a luxurious element to your Bibingka experience.
If you’re feeling inspired, why not try pairing your Bibingka with a refreshing drink or serve it alongside some classic Blackberry Pineapple Coconut pops for an unforgettable tropical dessert spread?
Expert Tips for Bibingka
-
Room Temperature Ingredients: Ensure all ingredients are at room temperature before starting. This helps create a smoother batter for your Bibingka and ensures even mixing.
-
Avoid Overmixing: Once you add the sweet rice flour, mix just until combined. Overmixing can lead to a dense texture instead of the delicate chewiness this cake is known for.
-
Check Oven Temperature: Invest in an oven thermometer to ensure accuracy. An oven that’s too hot can burn the top before the insides are fully baked, disrupting the delightful texture.
-
Cooling Time: Allow the cake to cool in the pan before cutting. This helps set its shape and gives you cleaner squares for serving.
-
Experiment with Toppings: Before baking, feel free to sprinkle shredded coconut or chopped nuts on top for added texture and flavor. Just be mindful of the cake’s stability!
How to Store and Freeze Bibingka
Room Temperature: Keep leftover Bibingka in an airtight container at room temperature for up to 2 days to maintain its soft, sticky texture.
Fridge: Store in the refrigerator for up to 5 days in an airtight container; this helps prolong freshness while enhancing flavors as they meld together.
Freezer: For longer storage, freeze individual squares wrapped tightly in plastic wrap or aluminum foil for up to 3 months. Thaw overnight in the fridge before enjoying.
Reheating: Reheat in the microwave for 15-20 seconds or in the oven at 350°F (175°C) for a few minutes. Enjoy your Bibingka warm for the best experience!
What to Serve with Bibingka – Filipino Coconut Cake
Indulging in the warm, tropical flavors of this delightful cake invites the chance to create a complete, cozy meal.
-
Sweet Coconut Milk Drink: The creamy sweetness of coconut milk enhances the cake’s flavors while offering a refreshing contrast to its warm texture.
-
Savory Pancit: This classic Filipino noodle dish adds a savory element to your meal, balancing out the sweetness of Bibingka perfectly.
-
Tropical Fruit Salad: A vibrant mix of mango, pineapple, and banana brings a fresh flair while echoing the cake’s tropical essence.
-
Café Latte: A warm, frothy latte pairs beautifully, its rich, creamy tones complementing the cake’s soft sweetness.
-
Tapioca Pudding: Choose a simple tapioca pudding topped with fresh fruit for a delightful finish that harmonizes with each bite of Bibingka.
-
Buko Pandan Salad: This colorful, textured dessert with creamy coconut flavors not only complements the Bibingka but also adds an entertaining visual appeal.
-
Brewed Tea: A light herbal tea can cleanse the palate and provide a soothing contrast to the rich dessert while enhancing the dining experience.
-
Chocolate Slices: For the chocolate lovers, a thin slice of dark chocolate cake heightens the treat factor, creating a harmonious mixture of flavors.
Make Ahead Options
These Bibingka – Filipino Coconut Cakes are perfect for meal prep lovers, allowing you to enjoy tropical flavors with minimal fuss! You can prepare the batter up to 24 hours in advance; just refrigerate it in an airtight container to keep it fresh and prevent browning. Additionally, the cake can be baked and stored for up to 3 days in an airtight container at room temperature. When you’re ready to serve, simply reheat the squares in the microwave for a few seconds to restore that delightful softness. This way, you can savor the joy of homemade desserts even on your busiest days!
Bibingka – Filipino Coconut Cake Recipe FAQs
What should I look for when selecting sweet rice flour?
When choosing sweet rice flour, look for a package labeled “sweet rice flour” or “glutinous rice flour” in your local Asian grocery or health food store. Ensure it has a fine texture with no clumps, and check the expiration date for freshness. This flour is key to achieving that beloved chewy texture in your Bibingka.
How should I store leftover Bibingka?
Store any leftover Bibingka in an airtight container at room temperature for up to 2 days for the best texture. If you prefer, you can also refrigerate it in an airtight container for up to 5 days, which can enhance the flavors as they meld together.
Can I freeze Bibingka? How?
Absolutely! To freeze your Bibingka, wrap individual squares tightly in plastic wrap or aluminum foil and place them in a freezer-safe bag. It can be stored this way for up to 3 months. To thaw, simply move a square to the fridge overnight, then enjoy! For a quick reheat, microwave for 15-20 seconds or warm in the oven at 350°F (175°C).
What should I do if my Bibingka doesn’t rise properly?
If your Bibingka doesn’t rise as expected, it could be due to expired baking powder or overmixing your batter, which can lead to a dense texture. Always make sure to mix your ingredients just until combined and check that your baking powder is fresh. If you suspect your oven temperature is off, consider using an oven thermometer for accuracy.
Can I substitute any ingredients for dietary reasons?
Yes! For those who need to avoid dairy, you can replace cream cheese with a dairy-free alternative such as cashew cream or coconut yogurt. If you are looking to avoid sugar, consider using natural sweeteners like agave or coconut sugar. Additionally, if you’re allergic to pineapple, feel free to substitute it with mashed banana or applesauce for moisture and sweetness in your Bibingka.
Bibingka – Filipino Coconut Cake with Tropical Delights
Ingredients
Equipment
Method
- Preheat your oven to 350°F (175°C).
- Grease a 13x9 inch baking pan with butter or non-stick spray.
- In a large mixing bowl, combine cream cheese and granulated sugar. Beat until smooth and fluffy, about 3-5 minutes.
- Add eggs one at a time, beating well after each addition until the mixture is smooth and glossy.
- Gradually mix in sweet rice flour and baking powder until just combined. Do not overmix.
- Gently fold in melted butter, vanilla extract, cream of coconut, milk, and crushed pineapple until just mixed.
- Pour the batter into the prepared baking pan and spread evenly.
- Sprinkle a mixture of brown sugar and granulated sugar on top of the batter.
- Bake for about 1 hour, or until a toothpick inserted in the center comes out clean.
- Allow the cake to cool in the pan for at least 15-20 minutes.
- Cut into squares and serve warm.