


As I rummaged through my pantry one lazy afternoon, I stumbled upon a treasure trove of ingredients just waiting to be transformed into something delicious. It struck me how easy it could be to create my own homemade Snickers Cups with just four simple ingredients. These delightful treats combine rich milk chocolate, creamy Biscoff spread, crunchy peanuts, and gooey caramel, making them a perfect no-bake dessert for anyone craving a sweet yet satisfying indulgence. Not only are they quick to put together, but they also bring that familiar sweet-salty flavor we all love without the fuss of traditional candy-making. So, why not treat yourself and whip up a batch? What if you could have your favorite candy bar ready to enjoy at home?
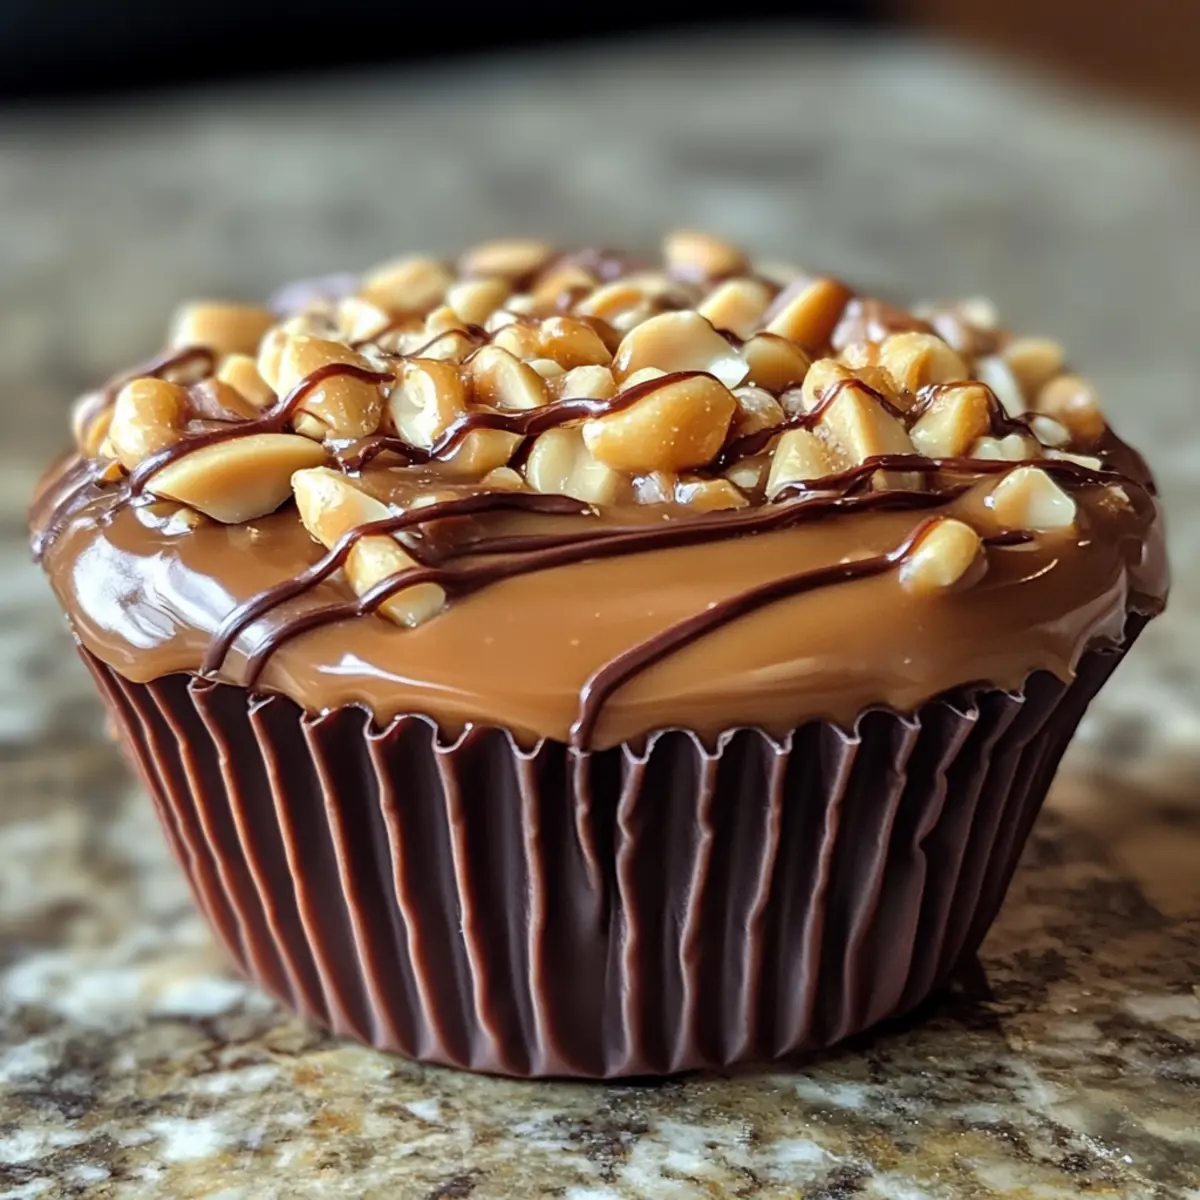
Why are Homemade Snickers Cups so Special?
Simplicity: This recipe uses just four ingredients, making it accessible for everyone, from novice cooks to experienced chefs.
No-Bake: There’s no need for an oven here! Just a few simple steps and you’ve whipped up a sweet treat without the heat.
Rich Flavor: The combination of milk chocolate, Biscoff spread, and crunchy peanuts creates a rich, mouthwatering experience that rivals any candy bar.
Crowd-Pleasing: Whether for a family gathering or a fun dinner party, these Snickers Cups are sure to impress and satisfy everyone’s sweet tooth.
Quick to Make: With minimal prep time, you can have these delights ready in under an hour, giving you a mouthwatering dessert at a moment’s notice.
Why not explore other sweet favorites that are easy to make at home? Check out my post on no-bake desserts to find more delightful treats!
Snickers Cups Ingredients
• Discover the magic behind these easy Snickers Cups!
For the Chocolate Layer
- Milk Chocolate – Use high-quality melting chocolate for a smooth and rich outer shell.
For the Filling
- Biscoff Spread – Acts as a nougat-like layer, delivering a delightful caramel flavor; feel free to substitute with any cookie butter if desired.
- Peanuts – Adds that crucial crunch and a salty contrast; opt for roasted, unsalted peanuts for the best taste.
- Caramel – Provides an ooey-gooey texture; melted caramel bits are recommended for a firmer bite as opposed to softer syrup, which can ooze out.
With just these four ingredients, you can create irresistible Snickers Cups that are a sweet nod to your favorite candy—without any of the fuss!
Step‑by‑Step Instructions for Snickers Cups
Step 1: Melt the Chocolate
Begin by chopping high-quality milk chocolate into small pieces and placing it in a microwave-safe bowl. Heat the chocolate in the microwave for 30 seconds at a time, stirring in between, until it’s fully melted and smooth—about 1 to 1.5 minutes total. This melted chocolate will form the delicious outer layer of your Snickers Cups.
Step 2: Prepare the Chocolate Layer
Once the chocolate is melted, take silicone cupcake liners and carefully pour a thin layer of chocolate into each liner, ensuring the bottoms are completely covered. Use a spoon or a spatula to spread the chocolate up the sides slightly. Let it cool for about 10-15 minutes at room temperature until it begins to set.
Step 3: Add Biscoff Spread
With the chocolate layer slightly set but still soft, spoon a generous dollop of Biscoff spread into each cup. Spread it evenly over the chocolate, creating a smooth layer that covers the entire surface. The Biscoff adds a unique flavor reminiscent of nougat, elevating your Snickers Cups to a delightful treat.
Step 4: Sprinkle the Peanuts
Next, sprinkle a layer of roasted and unsalted peanuts evenly over the Biscoff spread, pressing them down gently for better adherence. The peanuts should be distributed well to ensure a satisfying crunch in every bite of your Snickers Cups. This layer provides the perfect salty contrast to the sweetness above.
Step 5: Drizzle with Caramel
Melt the caramel bits in a microwave-safe bowl for about 30 seconds or until gooey. Carefully drizzle the melted caramel over the peanuts, covering them generously. This step adds that essential gooey texture and a rich flavor, making your Snickers Cups irresistibly delicious.
Step 6: Seal with Chocolate
After the caramel layer is applied, finish your Snickers Cups by pouring another layer of melted chocolate over the top. Ensure all ingredients are sealed inside by spreading the chocolate to the edges of the cups. This final layer will create a beautiful shell and gives a polished look to your treats.
Step 7: Freeze Until Solid
Place the filled silicone liners into the freezer and allow the Snickers Cups to solidify for about 60 minutes. This freezing time will ensure all layers are firm and hold together nicely when you remove them. You’ll know they’re ready when they feel solid to the touch.
Step 8: Enjoy Your Snickers Cups
Once fully frozen, gently remove the Snickers Cups from the silicone liners. They can be enjoyed straight from the freezer for the best texture and flavor experience. Savor the delightful combination of flavors and crunch in each bite of your homemade Snickers Cups!
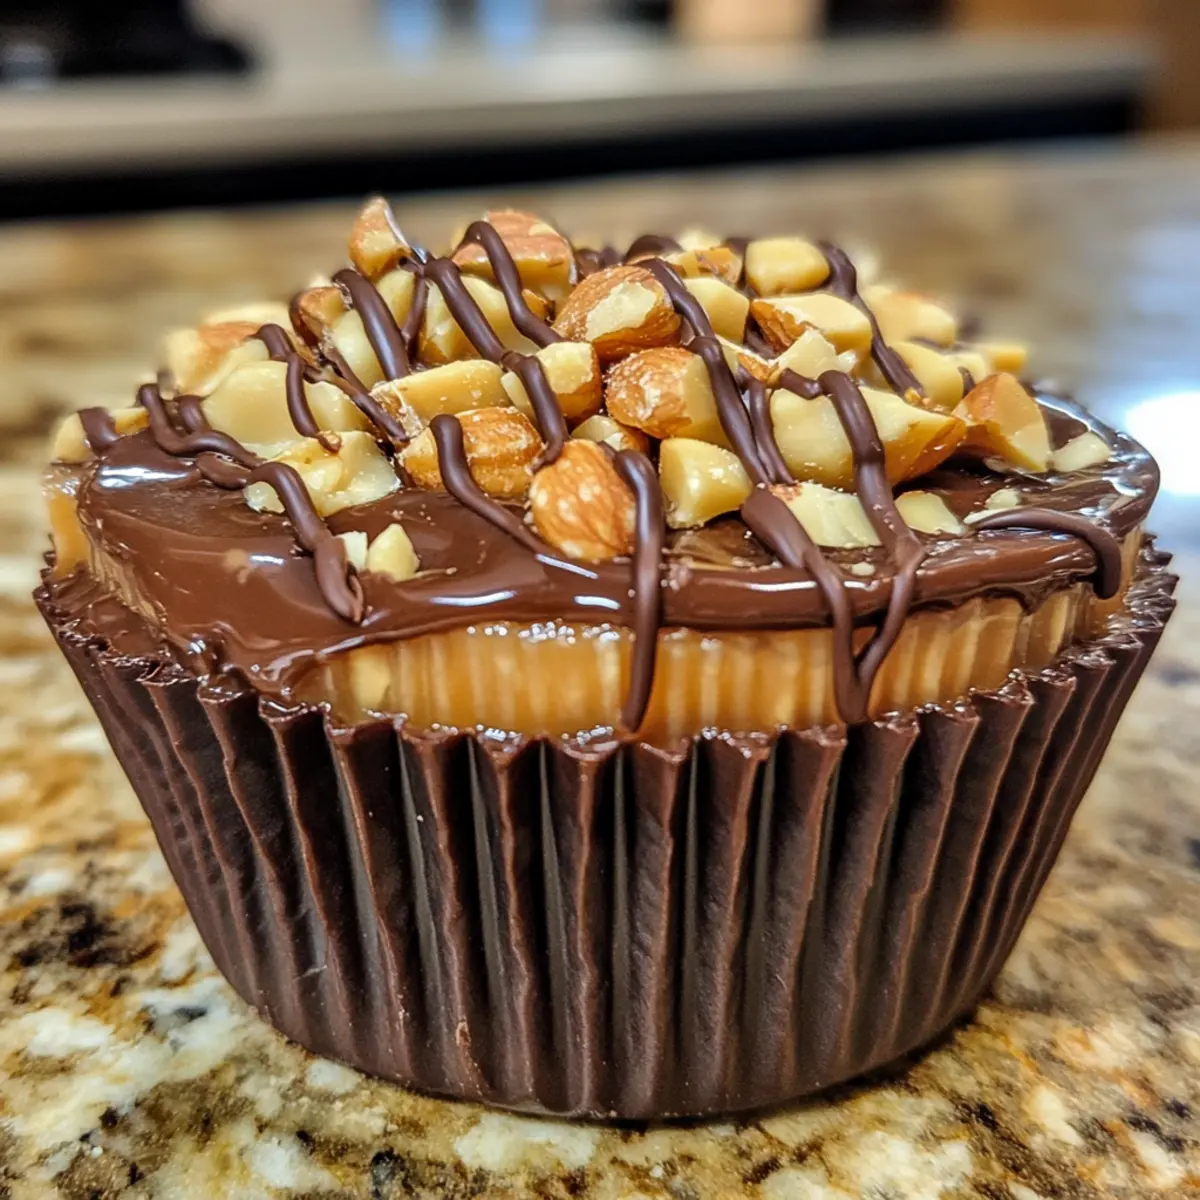
What to Serve with Homemade Snickers Cups?
Indulge in your sweet cravings by building a delightful spread alongside these irresistible treats, perfect for sharing.
-
Creamy Vanilla Ice Cream: A scoop of creamy vanilla ice cream adds a cool and refreshing contrast to the rich flavors of the Snickers Cups.
-
Salted Caramel Sauce: Drizzle warmed salted caramel sauce over your Snickers Cups for an extra burst of gooey sweetness that complements the candy perfectly.
-
Milk Chocolate Dipped Strawberries: Juicy strawberries dipped in chocolate offer a fresh, fruity bite to balance the sweetness of the cups, creating a delightful harmony on the plate.
-
Nutty Dark Chocolate Biscotti: The crunchiness of these biscotti echoes the peanut texture in the Snickers Cups while adding a sophisticated, chocolatey delight to your dessert table.
-
Fresh Fruit Platter: A vibrant mix of fresh fruits, like bananas and apples, provides a refreshing balance, cleansing the palate between bites of the rich Snickers Cups.
-
Minty Herbal Tea: Sip on a cup of mint tea as a refreshing beverage option, which cuts through the sweetness and adds a calming finish to your treat experience.
-
Caramel Popcorn: As a fun twist, serve some caramel popcorn that mirrors the Snickers flavor profile, offering a playful and crunchy sidekick to your candy creations.
-
Chocolate Milkshake: The thick and creamy texture of a chocolate milkshake enhances the dessert experience with a nostalgic feel, making every bite even more indulgent.
Expert Tips for Snickers Cups
-
Quality Chocolate: Use high-quality milk chocolate for the best flavor and melting texture. Cheap chocolate may not melt smoothly or taste as rich.
-
Proper Cooling: Allow the chocolate layers to cool slightly but stay soft enough to adhere well. If they cool too much, layers won’t stick properly.
-
Layering Technique: Make sure each layer is evenly distributed and tightly packed. This will help the Snickers Cups hold their shape and cuts down on messy bites.
-
Caramel Consistency: Opt for melted caramel bits over syrup for a firmer texture in your Snickers Cups. Syrup can make the filling too soft and oozy.
-
Gentle Handling: When removing the cups from silicone liners, do so gently to maintain their shape. A little thawing with your hands can help release them if they’re stuck.
How to Store and Freeze Snickers Cups
Fridge: Store leftovers in an airtight container in the refrigerator for up to 3 days to maintain freshness, though freezing is recommended for longer storage.
Freezer: Keep your Snickers Cups in an airtight container in the freezer for up to a month, ensuring they remain deliciously firm and ready to enjoy anytime.
Reheating: There’s no need to reheat these sweet treats! Enjoy them straight from the freezer for the best texture and flavor experience, allowing you to relish every indulgent bite of your homemade Snickers Cups.
Make Ahead Options
These Homemade Snickers Cups are a fantastic option for meal prep enthusiasts! You can prepare the chocolate layer and the filling components up to 48 hours in advance. Start by melting the chocolate and pouring it into the cupcake liners; allow it to set, then cover tightly with plastic wrap. Additionally, you can pre-mix the Biscoff spread and peanuts for easy assembly. When you’re ready to enjoy your treats, simply complete the assembly by adding the caramel and sealing them with the top layer of chocolate. Pop them into the freezer until solid. This way, you’ll have delicious, indulgent Snickers Cups ready in no time, perfect for busy weeknights or sweet cravings!
Snickers Cups Variations & Substitutions
Feel free to get creative and customize your Snickers Cups to match your cravings or dietary needs!
-
Nut-Free: Use sunflower seeds or pumpkin seeds instead of peanuts for a nut-free option that still adds a satisfying crunch. These seeds will bring a delightful texture without compromising flavor.
-
Vegan: Substitute milk chocolate with dark chocolate and use a vegan caramel alternative to make these cups completely plant-based. The rich chocolate flavor paired with the vegan caramel will create a scrumptious treat!
-
Spicy Twist: Add a pinch of cayenne pepper to your melted chocolate for a surprising kick that elevates the flavor profile. This spicy addition will contrast beautifully with the sweetness of the caramel, creating a delightful tension.
-
Texture Variation: Incorporate crispy rice cereal into the chocolate layer for added crunch. This twist enhances the texture and adds an exciting element to your Santas Cups, making them even more fun to eat!
-
Almond Joy: Swap Biscoff spread for almond butter and use sliced almonds instead of peanuts. This transforms your cups into a treat reminiscent of an Almond Joy bar that’s both nourishing and indulgent.
-
Caramel Lovers: For extra gooeyness, layer in a spoonful of soft caramel bits in addition to your usual caramel drizzling. This extra indulgence provides a delightful experience that caramel lovers simply won’t resist!
-
Chocolate Layer Swap: Experiment with white chocolate as an alternative to milk chocolate for a sweeter, creamier version. The change to white chocolate creates a different flavor profile that can be delightful for those with a sweet tooth.
For more delicious no-bake options, explore my post on easy homemade desserts—there’s always room for another sweet creation in your kitchen!
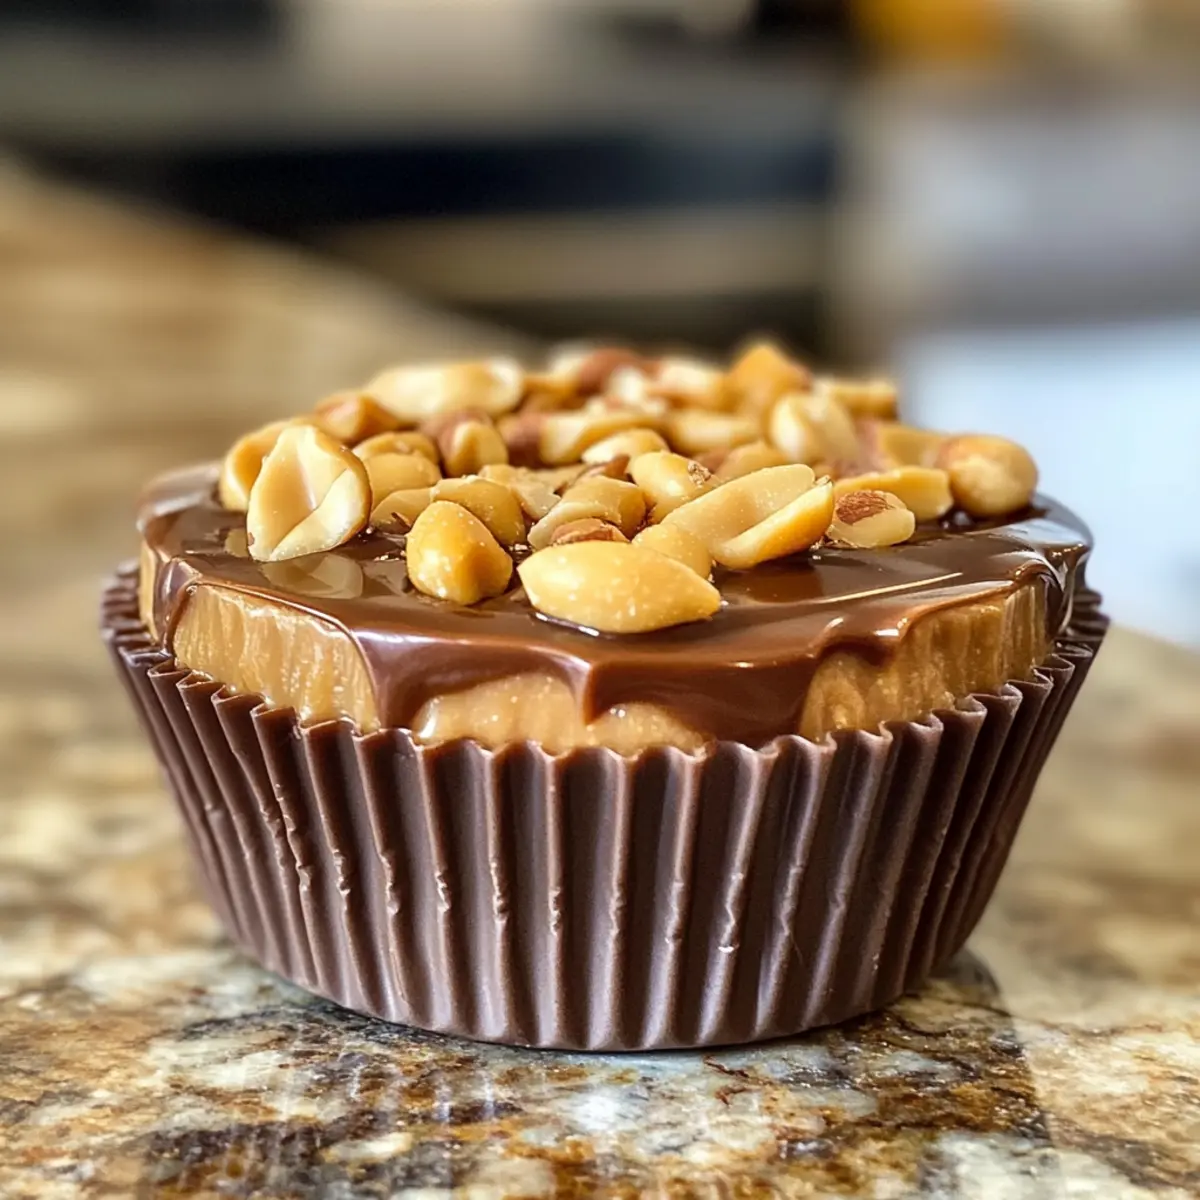
Snickers Cups Recipe FAQs
How do I select the best milk chocolate for Snickers Cups?
Absolutely! Look for high-quality melting chocolate, ideally labeled as couverture chocolate, for a rich flavor and smooth texture. Brands like Ghirardelli or Baker’s are excellent choices. Avoid chocolate chips, as they often contain stabilizers that prevent even melting.
How should I store my homemade Snickers Cups?
For storage, keep your Snickers Cups in an airtight container. Refrigerate them for up to 3 days if you’d like to enjoy them slightly softer, or opt for freezing them for up to a month to maintain their firmness. If freezing, ensure they are individually separated with wax paper to prevent sticking.
Can I freeze Snickers Cups, and how?
Definitely! To freeze your Snickers Cups for later enjoyment, place them in an airtight container with layers of parchment paper in between to avoid them sticking together. They will stay deliciously firm for up to a month. When ready to eat, simply take them out and enjoy straight from the freezer for the best texture.
What should I do if my layers aren’t sticking together?
If you’re finding that your layers aren’t sticking, ensure that the chocolate is still slightly warm when adding subsequent layers—this helps bond the ingredients. If your chocolate has cooled too much, a quick melt in the microwave can help it re-adhere.
Are there any allergenic ingredients in Snickers Cups?
Yes, the recipe contains peanuts and milk chocolate, which may trigger allergies. If making for someone with nut allergies, consider using sunflower seeds or removing the nut layer entirely. For dairy allergies, substitute milk chocolate with a dairy-free chocolate alternative such as dark chocolate, ensuring they are also nut-free if necessary.
Can pets eat any part of the Snickers Cups?
No, it’s important to keep these Snickers Cups away from pets! Ingredients like chocolate, caramel, and nuts can be harmful to cats and dogs, so ensure they don’t have access to these treats. Always store them securely out of pets’ reach.
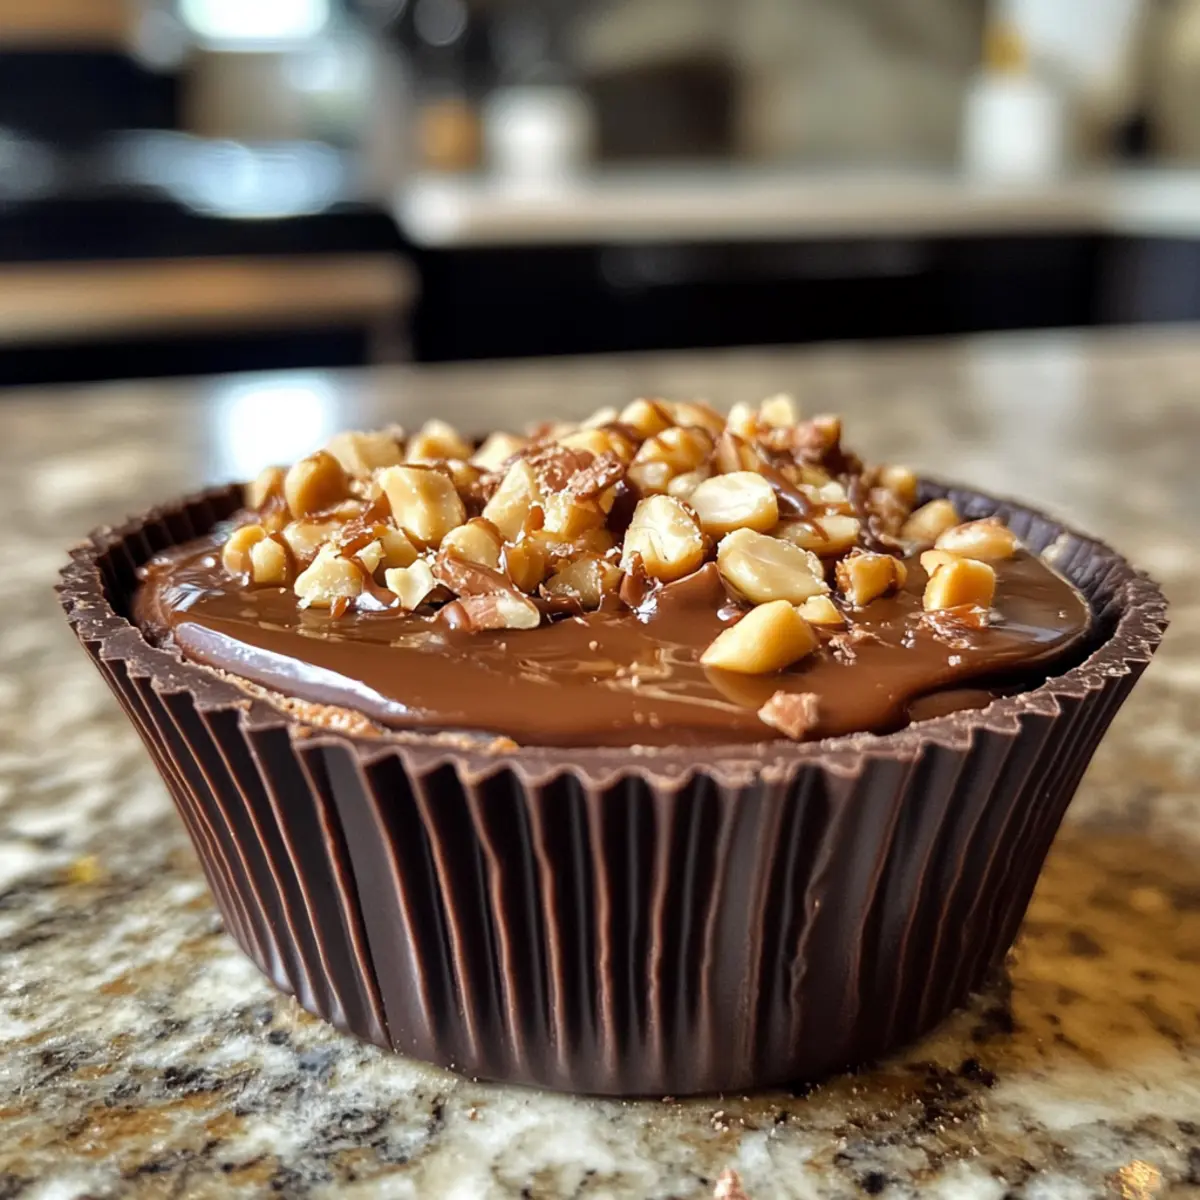
Irresistible Snickers Cups Made Easy with Just 4 Ingredients
Ingredients
Equipment
Method
- Begin by chopping high-quality milk chocolate into small pieces and placing it in a microwave-safe bowl. Heat the chocolate in the microwave for 30 seconds at a time, stirring in between, until it’s fully melted and smooth—about 1 to 1.5 minutes total.
- Once the chocolate is melted, take silicone cupcake liners and carefully pour a thin layer of chocolate into each liner, ensuring the bottoms are completely covered. Use a spoon or a spatula to spread the chocolate up the sides slightly. Let it cool for about 10-15 minutes at room temperature until it begins to set.
- With the chocolate layer slightly set but still soft, spoon a generous dollop of Biscoff spread into each cup. Spread it evenly over the chocolate, covering the entire surface.
- Next, sprinkle a layer of roasted and unsalted peanuts evenly over the Biscoff spread, pressing them down gently for better adherence.
- Melt the caramel bits in a microwave-safe bowl for about 30 seconds or until gooey. Carefully drizzle the melted caramel over the peanuts.
- After the caramel layer is applied, finish your Snickers Cups by pouring another layer of melted chocolate over the top, ensuring all ingredients are sealed inside.
- Place the filled silicone liners into the freezer and allow the Snickers Cups to solidify for about 60 minutes. They should feel solid to the touch when ready.
- Once fully frozen, gently remove the Snickers Cups from the silicone liners and enjoy straight from the freezer.