


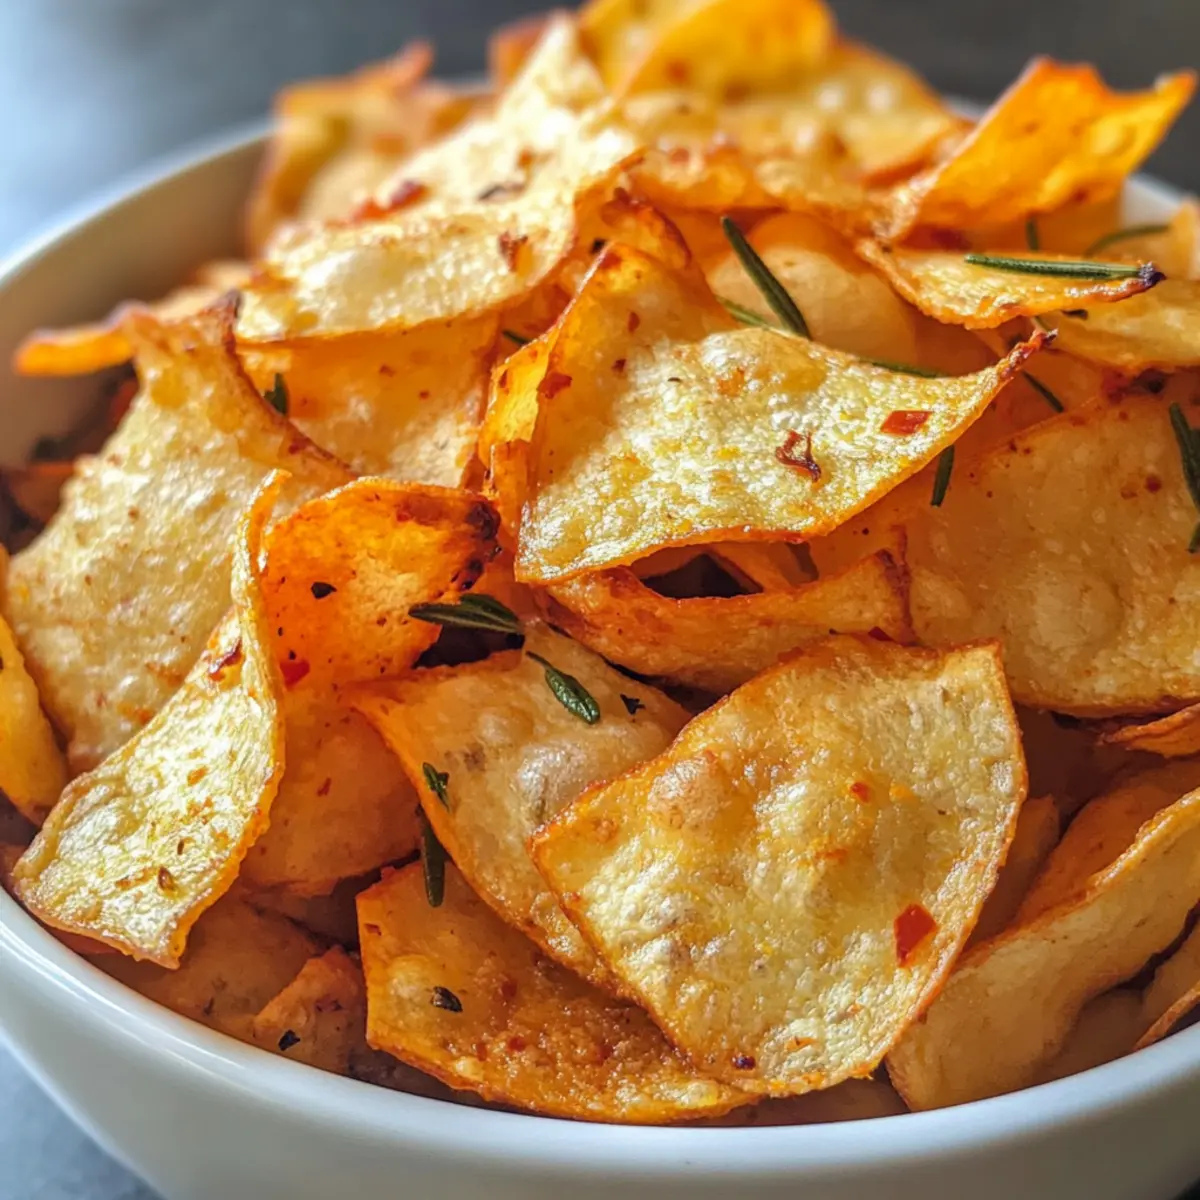
A whiff of warm, crunchy goodness wafted through my kitchen, instantly brightening my mood. If you’re like me and often find yourself reaching for a snack, these Baked Chickpea Chips will be an exciting game-changer in your home-cooking arsenal. With a lovely nutty flavor and a satisfying crunch, they’re not just a vegan delight; they’re a wholesome alternative to those greasy chips we often regret later. Plus, they offer a quick prep time that’s perfect for busy days! What I love most is how you can easily customize them with your favorite herbs and spices, making each batch uniquely yours. Ready to impress family and friends with this healthy and fun snack? Let’s dive into making these irresistible chickpea chips!
Why Are Chickpea Chips So Amazing?
Healthy Snack Option: These baked chickpea chips provide an irresistible guilt-free alternative to your traditional snacks. Packed with plant-based protein, they fuel your body while satisfying those crunchy cravings.
Customization Galore: With endless possibilities to experiment with herbs and spices, every batch can have its own unique flavor profile. From smoky paprika to zesty herbs, the choice is yours!
Quick and Easy: The simple preparation takes only minutes, making it perfect for busy weeknights or impromptu gatherings. No more using the oven for hours—just quick baking and you’re good to go!
Crowd-Pleaser: Whether you’re hosting a party or enjoying a movie night, these chips are sure to be a hit. Serve them with your favorite dips, like hummus or guacamole, to impress your guests!
Ready to give this recipe a try? Check out our nutritional notes and elevate your snack game today!
Chickpea Chips Ingredients
• Get ready to create a deliciously crunchy snack!
For the Batter
- Chickpea Flour – Provides structure and plant-based protein. Essential for this recipe; rice flour is a fun substitution if desired.
- Water – Binds the flour into a smooth batter. Use room temperature water for optimal mixing.
- Salt – Enhances the overall flavor. Adjust to taste; try garlic salt for a delightful twist.
For Flavoring (optional)
- Herbs/Spices – Elevate the flavor profile. Consider using smoked paprika, chili flakes, or rosemary for extra zing.
Dive into these chickpea chips and embrace a healthy, flavorful snack option!
Step‑by‑Step Instructions for Baked Chickpea Chips
Step 1: Preheat the Oven
Begin by preheating your oven to 400°F (200°C). While the oven heats, line two baking sheets with parchment paper to prevent the chickpea chips from sticking. This will ensure a quick release once baked, allowing you to easily lift the chips later.
Step 2: Make the Batter
In a mixing bowl, whisk together chickpea flour, room temperature water, and salt until the mixture is smooth and free of lumps. This should take about 2–3 minutes of vigorous whisking. The batter should have a pourable consistency, reminiscent of pancake batter, ensuring your baked chickpea chips turn out crispy and delightful.
Step 3: Shape the Chips
Spoon small amounts of the chickpea batter onto the prepared parchment-lined baking sheets. Use the back of a spoon or a spatula to spread each spoonful into thin circles, about ¼ inch thick, for optimal crispiness. Aim to leave space between each chip to allow for even baking and air circulation.
Step 4: Season to Taste
Sprinkle your chosen herbs or spices over the batter rounds to enhance the flavor of the chickpea chips. Consider using smoked paprika, garlic salt, or chili flakes for a zesty kick. Make sure the seasoning is evenly distributed to create a uniform taste in every bite.
Step 5: Bake the Chips
Place the trays in the preheated oven and bake for 10 minutes. Keep an eye on the chips, as you want the edges to turn lightly golden and crisp. When they lift easily from the parchment paper, you know they are ready to come out of the oven.
Step 6: Cool for Crispness
Once baked, allow the chickpea chips to cool on the baking sheets for about 15–20 minutes. This cooling period is crucial for achieving that irresistible crunch. As they cool, the chips will firm up, making them perfect for snacking later.
Step 7: Store Properly
Once completely cooled, transfer any leftover chickpea chips to an airtight container. Store them at room temperature for up to four days. If they happen to soften, simply re-bake them at 350°F (175°C) for a few minutes to restore their crispy texture, leading to perfect snacking every time.
How to Store and Freeze Chickpea Chips
-
Room Temperature: Store your chickpea chips in an airtight container at room temperature for up to 4 days. This keeps them fresh and crunchy.
-
Reheating: If you notice the chips have softened, re-bake them at 350°F (175°C) for a few minutes to restore that desirable crispiness.
-
Freezer: For longer storage, you can freeze your chickpea chips. Place them in a freezer-safe bag, ensuring as much air is removed as possible, and store for up to 2 months.
-
Thawing: When ready to enjoy, thaw at room temperature and reheat briefly in the oven for a crunchy snack that tastes freshly baked!
What to Serve with Baked Chickpea Chips
These delightful crunchy snacks are perfect for creating a well-rounded meal that charms every palate.
-
Creamy Hummus: A classic dip, hummus is rich in flavor and pairs beautifully with crunchy chickpea chips. The creaminess complements their texture perfectly.
-
Guacamole: This fresh, avocado-based dip bursts with flavor, making it a vibrant companion for your chips. The creamy avocado and zesty lime will elevate your snacking experience.
-
Salsa: Add a zingy punch with a homemade or store-bought salsa. The freshness of tomatoes and spices contrasts wonderfully with the nutty chickpea chips, creating a delightful explosion of flavors.
-
Zesty Greek Yogurt Dip: For a tangy twist, whip up a yogurt dip with herbs and lemon. The coolness of the yogurt balances the crunchy warmth of the chickpea chips beautifully.
-
Salad Toppers: Crumble your baked chickpea chips over a fresh salad for added crunch and flavor. They bring a satisfying texture to leafy greens and veggies.
-
Sparkling Water: For a refreshing sip, a glass of sparkling water with a splash of citrus complements the light snack perfectly. The bubbles cleanse the palate, keeping your snack-time invigorating.
-
Fresh Fruit: Serve with slices of crisp apples or sweet berries for a fruity contrast. The sweetness of the fruit balances the savory taste of the chickpea chips, making it a wholesome treat.
-
Cheese Plate: Pair with a selection of cheeses for a gourmet touch. Soft cheeses with herbs or a sharp cheddar make a delightful contrast to the chickpea chips’ crispiness.
Indulge in these delicious pairings to create a memorable snacking experience that’s perfect for gatherings or quiet evenings at home!
Make Ahead Options
These baked chickpea chips are perfect for meal prep enthusiasts! You can prepare the chickpea batter up to 24 hours in advance; simply mix the chickpea flour, water, and salt in a bowl and store it in the refrigerator. For added convenience, consider shaping the chips and pre-baking them for about 5-7 minutes. Once cooled, let them sit at room temperature for up to 3 days in an airtight container. To maintain their crispiness, avoid stacking them directly on top of each other. When you’re ready to serve, just finish baking them for an additional 5 minutes at 400°F (200°C) until golden brown, ensuring a crunchy, delightful snack that’s just as delicious as fresh!
Chickpea Chips: Explore Delicious Variations
Feel free to dive into the world of flavors and get creative with these chickpea chips!
-
Spicy Kick: Add a pinch of cayenne pepper or chili flakes for a fiery touch. Enjoy the heat with every satisfying crunch!
-
Garlic Lovers: Mix in minced garlic or garlic powder for a zesty, savory chip. It’s like having garlic bread but in chip form—absolutely irresistible!
-
Herb Infusion: Toss in freshly chopped herbs like rosemary or thyme for a fragrant burst of flavor. These aromatic notes elevate your chips to gourmet status.
-
Cheesy Flavor: Stir in nutritional yeast to create a cheesy, nutty flavor without using dairy. It’s perfect for satisfying those cheese cravings while staying vegan!
-
Savory Sun-Dried Tomatoes: Fold in finely chopped sun-dried tomatoes for a tangy twist. They add depth to each bite, making your chips taste incredibly rich.
-
Sweet Delight: For a unique twist, sprinkle some cinnamon and a touch of sugar. These make for a surprising sweet snack that pairs well with tea!
-
Nutty Variation: Substitute half of the chickpea flour with almond flour for a different texture. This combination adds a lovely nut flavor while remaining gluten-free.
-
Citrus Zing: Add a bit of lemon zest to the batter for a bright, citrusy note. This refreshing touch will uplift your snack experience!
These variations can transform your chickpea chips from a simple snack into an exciting culinary adventure! And, for more ideas on serving or pairing, check out our suggestions for what to serve with these delightful chips.
Expert Tips for Chickpea Chips
-
Whisk Well: Thoroughly whisk the batter to ensure no lumps remain, which can lead to uneven baking and affect the crispiness of your chickpea chips.
-
Thin is Best: Aim for thinner batter circles when shaping your chips—this guarantees a crunchier finish. Thick chips may turn out chewy.
-
Cool for Crunch: Allow the baked chips to cool completely. This crucial step enhances their crispiness, making them more enjoyable to snack on.
-
Flavor Boost: Don’t shy away from experimenting with unique spices and herbs in your chickpea chips. A little nutritional yeast can add a delightful cheesy flavor!
-
Storage Secrets: Keep your chips in an airtight container at room temperature. If they soften over time, a quick re-bake will restore their delightful crunchiness.
Baked Chickpea Chips Recipe FAQs
How do I choose the right chickpea flour?
Absolutely! When selecting chickpea flour, look for a fine, smooth texture without lumps. I recommend checking for freshness and ensuring there are no dark spots on the packaging, indicating it might be past its prime. Also, organic options often provide a richer flavor, so if you can find it, give it a try!
How should I store leftover chickpea chips?
Very simply! Once cooled, place your chickpea chips in an airtight container at room temperature for up to 4 days. This helps maintain their crunch. If they soften a bit, don’t worry—just preheat your oven to 350°F (175°C) and re-bake for a few minutes to regain that satisfying crispness.
Can I freeze chickpea chips?
Definitely! To freeze your chickpea chips, let them cool completely and then layer them between sheets of parchment paper in a freezer-safe bag, removing as much air as possible. They can last up to 2 months in the freezer. When you’re ready to enjoy them, simply thaw them at room temperature, then spread them out on a baking sheet and reheat in the oven for that freshly baked crunch.
What if my chickpea chips come out chewy?
Oh no! Chewy chickpea chips can happen if the batter is too thick or they are not baked long enough. To remedy this next time, aim to spread the batter thinner, around ¼ inch, and keep an eye on them while baking. If they’re done but still chewy, allowing them to cool completely is crucial, as they’ll crisp up during this time, so be patient!
Are these chickpea chips safe for pets or people with allergies?
Yes, and it’s worth checking! These chickpea chips are naturally vegan and gluten-free, making them suitable for various dietary preferences. However, if you have a chickpea allergy, it’s best to avoid them. Always check with your loved ones about any specific allergies, especially if you’re adding herbs and spices. I often make them without additional spices for the kids, just to be safe!
Crispy Chickpea Chips: A Guilt-Free Snack Delight
Ingredients
Equipment
Method
- Preheat your oven to 400°F (200°C) and line two baking sheets with parchment paper.
- In a mixing bowl, whisk together chickpea flour, room temperature water, and salt until smooth.
- Spoon the batter onto the prepared baking sheets, spreading into thin circles, about ¼ inch thick.
- Sprinkle your chosen herbs or spices over the batter rounds.
- Bake for 10 minutes, keeping an eye on them until edges are lightly golden and crisp.
- Allow the chips to cool on the baking sheets for about 15–20 minutes for optimal crispness.
- Transfer any leftover chips to an airtight container and store at room temperature for up to four days.