


As I stood with a bustling potluck crowd, I couldn’t help but notice the magnetic pull of a Layered Dublin Salad, drawing everyone in with its vibrant color and inviting crunch. This vegetarian delight is more than just a pretty face; it’s packed with fresh ingredients that not only make it a visual masterpiece but also a guaranteed crowd-pleaser. With the ease of preparation and the ability to assemble it ahead of time, it’s the perfect dish to bring along to gatherings—whether for spring lunches or weekend barbecues. And let’s not forget that creamy dressing, which effortlessly ties all those delightful layers together. Are you ready to bring a burst of flavor and color to your next event with this irresistible salad?
Why Is Layered Dublin Salad a Must-Try?
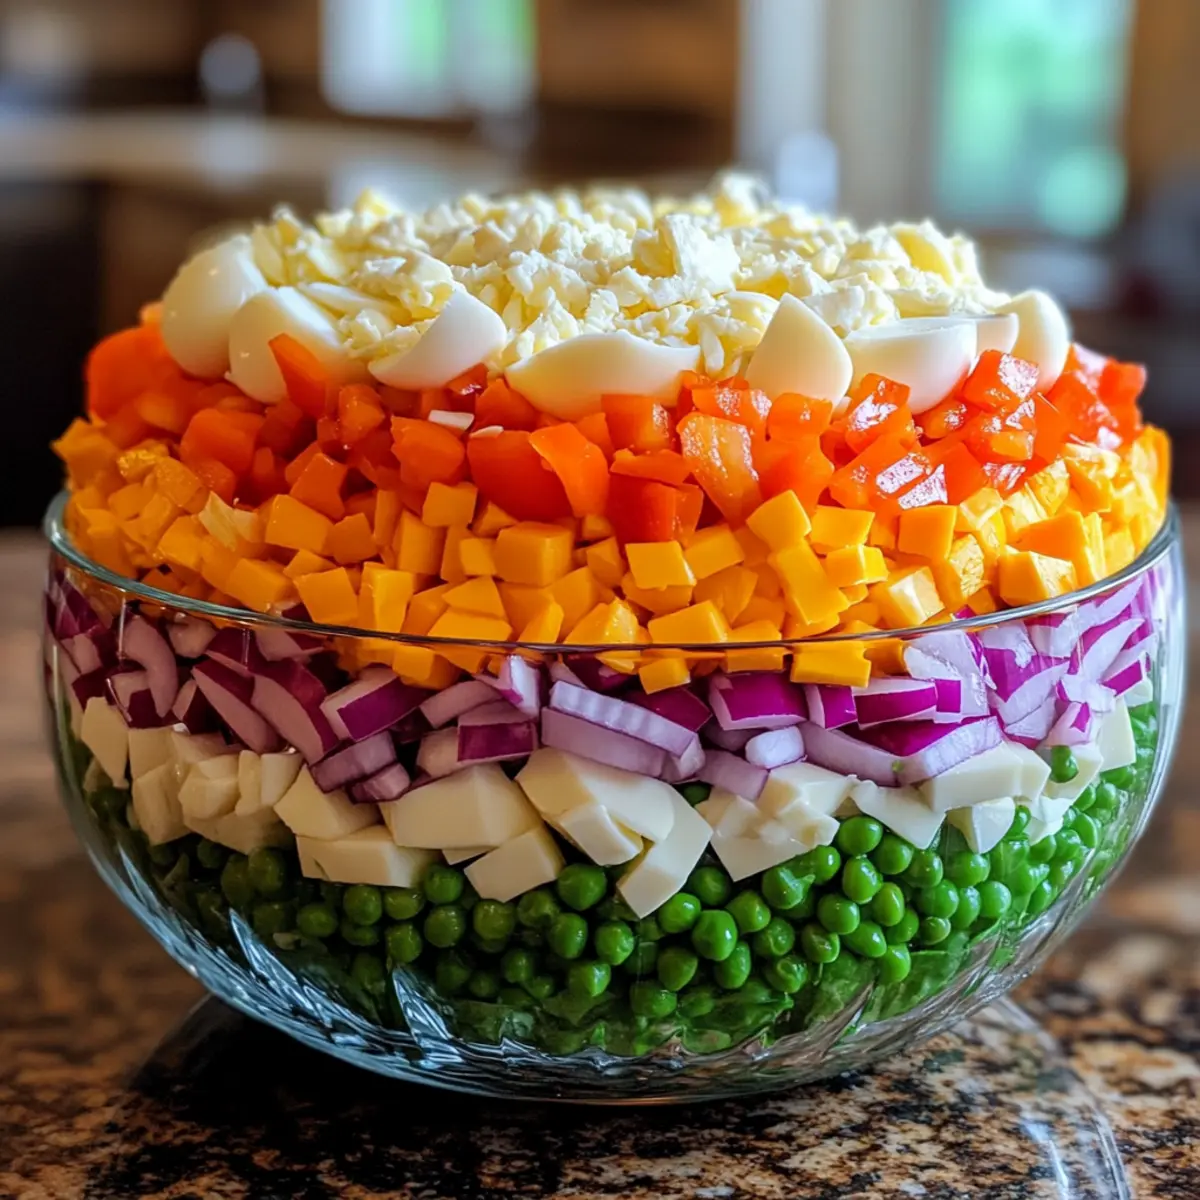
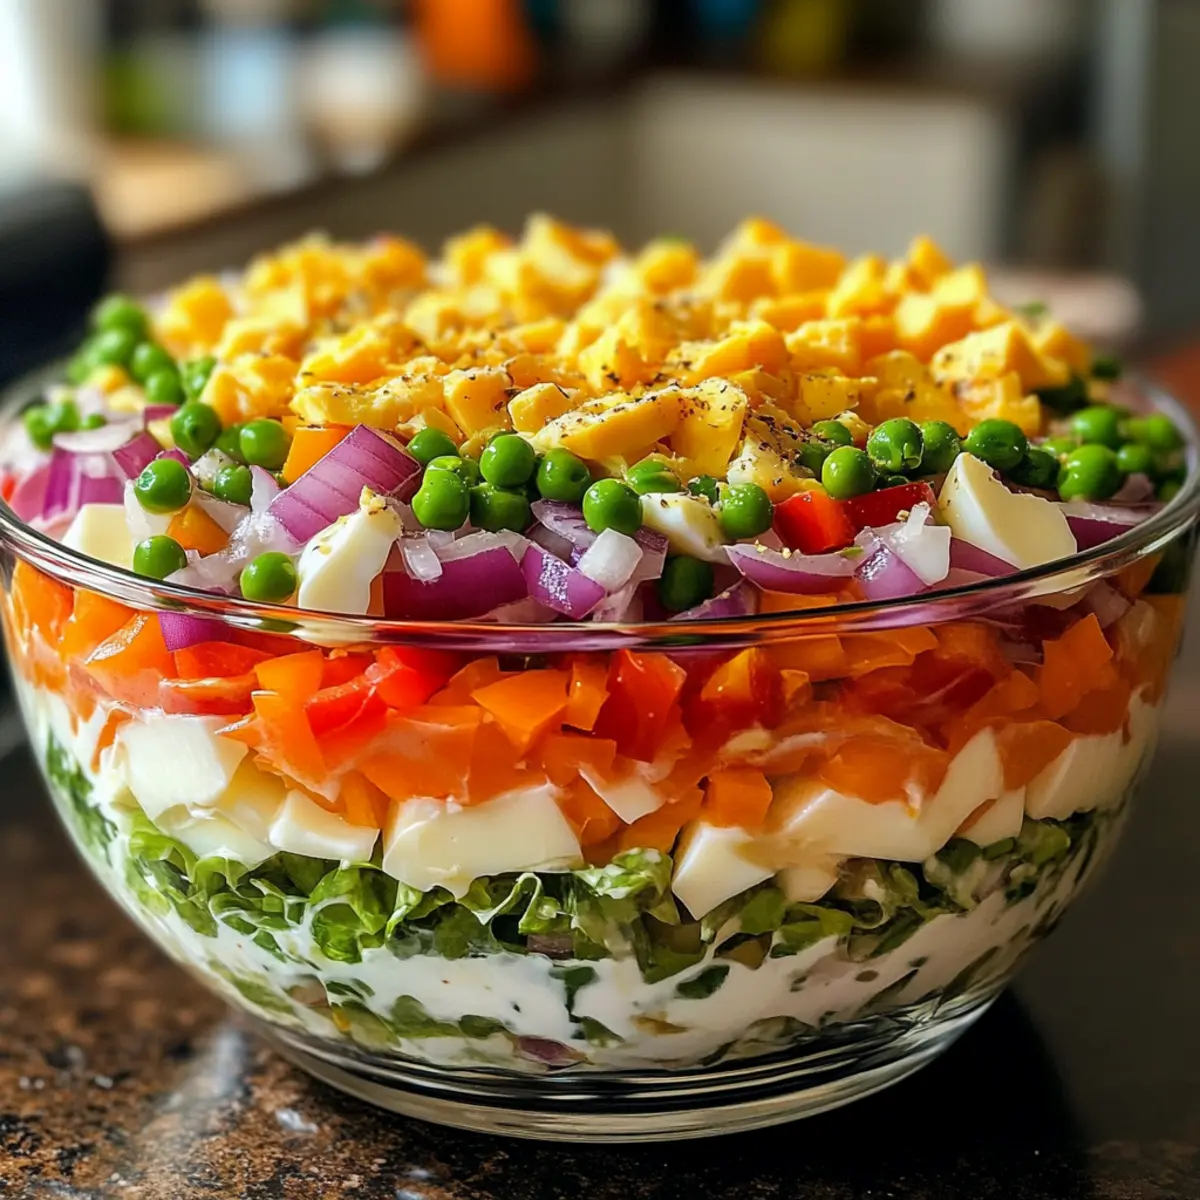
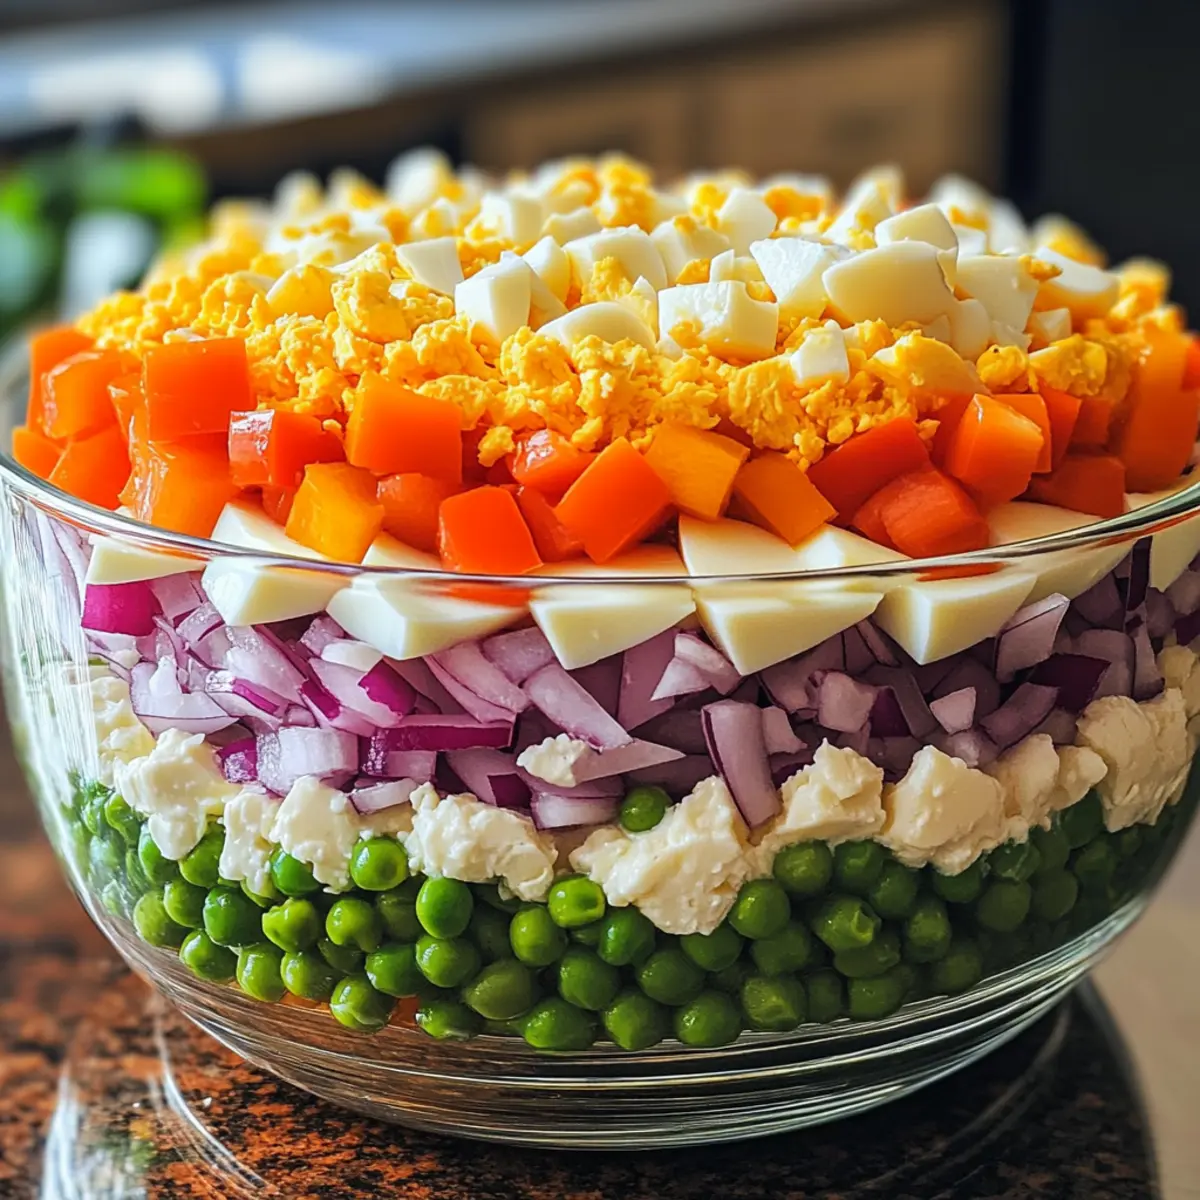
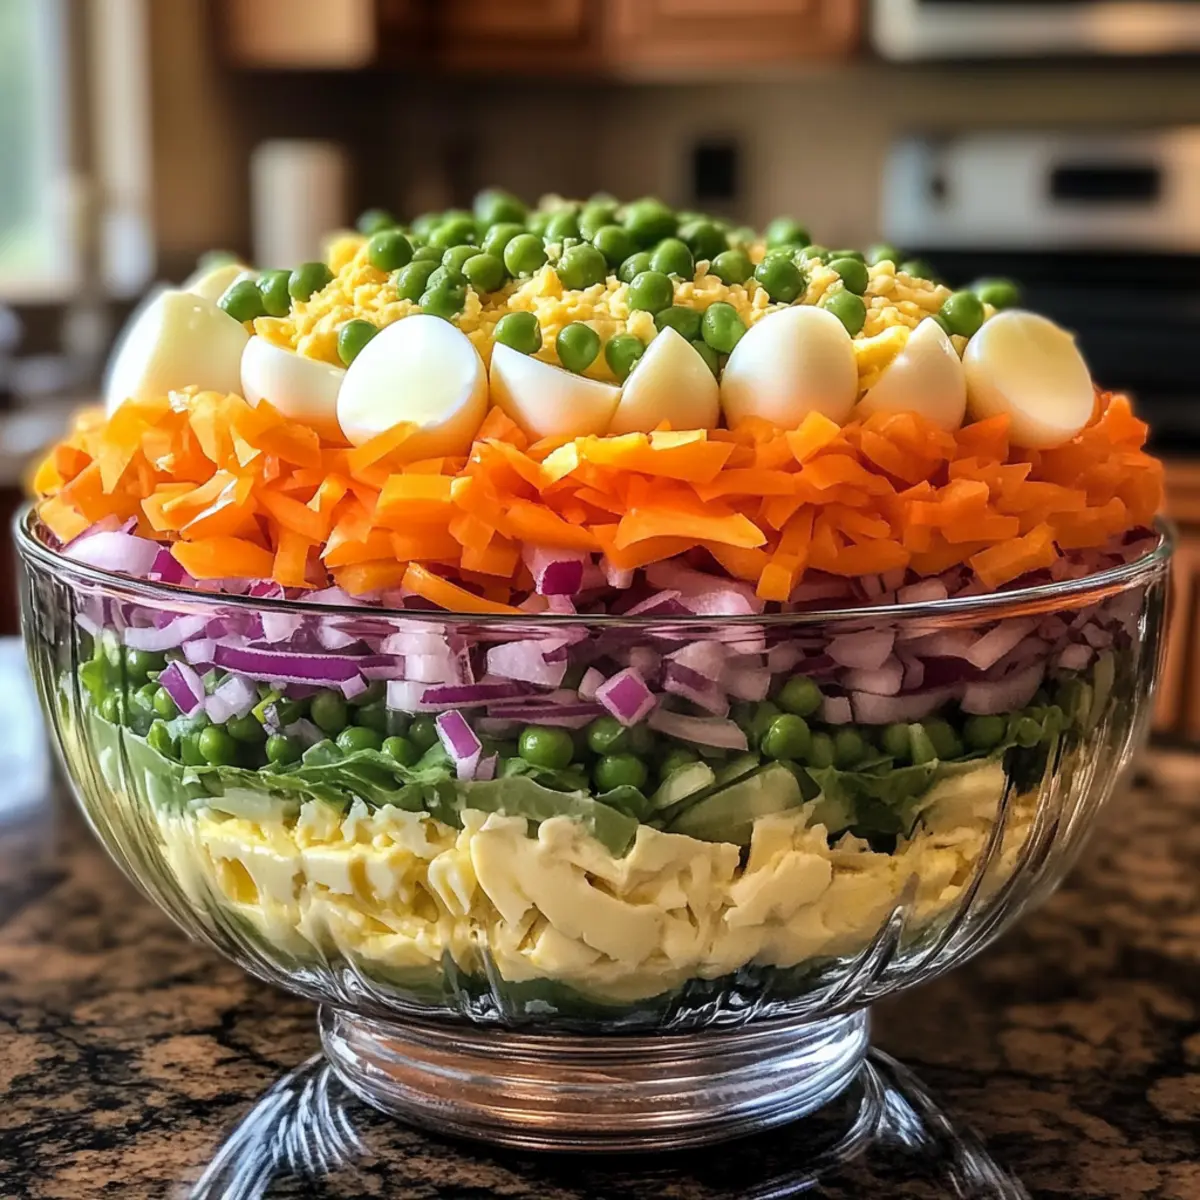
Vibrant Colors: This salad is a feast for the eyes with its striking layers of fresh produce, making it a stunning addition to any table.
Versatile Ingredients: Feel free to experiment with veggies or cheeses; try swapping iceberg for mixed greens or feta for a tangy twist.
Perfect for Potlucks: It’s a crowd-pleaser that stands out at gatherings, pairing beautifully with grilled meats or as a light stand-alone dish.
Make-Ahead Convenience: Easily assembled hours in advance, just hold off on adding the dressing until serving time for optimal freshness.
Delicious Creamy Dressing: The combination of mayo, relish, and spices creates a mouthwatering creamy layer that will have everyone coming back for seconds. Dive into this colorful dish and impress your guests!
Layered Dublin Salad Ingredients
For the Base
• Iceberg Lettuce – Provides a crunchy base for the salad. Note: Use Romaine for a different texture.
• Red Onion – Adds a zesty kick to balance the creaminess. Substitution: Sweet onion for a milder flavor.
• Hard Boiled Eggs – Contributes protein and richness. Preparation Tip: Use eggs that are at least a week old for easier peeling.
For the Vegetables
• Sweet Peppers – Brings sweetness and color. Note: Any color pepper can be used; yellow or orange add extra sweetness.
• Frozen Peas – Ensure a sweet, bright flavor; thawed before use. Note: Fresh peas can be used for added crispness.
For the Cheese
• Aged Irish Cheese – Adds a nutty depth. Substitution: Cheddar cheese or a sharp gouda can be alternatives.
For the Dressing
• Mayo – Acts as the base for the creamy dressing. Note: Can substitute with Greek yogurt for a lighter version.
• Sweet Relish – Contributes a hint of sweetness and tang. Preparation Note: Adjust quantity to taste.
• Spicy Mustard – Enhances the dressing with some heat. Substitution: Mild mustard for those who prefer less spice.
• Dried Thyme – Offers a subtle herbal note that complements the other ingredients. Note: Fresh thyme can be used if available.
• Salt – Enhances flavors; adjust to taste.
This Layered Dublin Salad is sure to bring joy and vibrancy to your next gathering!
Step‑by‑Step Instructions for Layered Dublin Salad
Step 1: Prepare the Dressing
In a small bowl, combine 1 cup of mayo, ¼ cup of sweet relish, 2 tablespoons of spicy mustard, 1 teaspoon of dried thyme, and a pinch of salt. Whisk the ingredients together until the mixture is smooth and well-blended. Set this flavorful dressing aside while you work on the layers of your Layered Dublin Salad.
Step 2: Chop the Base
Take a head of crisp iceberg lettuce and chop it into bite-sized pieces, adding about 4 cups to a large glass bowl or trifle dish. The lettuce creates the refreshing base that will support all the other tasty layers. You want it to be vibrant and fresh to ensure a crunchy texture throughout the salad.
Step 3: Add Onions and Eggs
Next, finely slice half a red onion and sprinkle it evenly over the lettuce layer for a zesty kick. Now, peel and slice four hard-boiled eggs, arranging them on top of the onion layer. The creamy richness of the eggs will balance the onion’s sharpness beautifully in your Layered Dublin Salad.
Step 4: Layer Sweet Peppers
Chop 1-2 sweet peppers of your choice (red, yellow, or orange work great) into small pieces and scatter them over the eggs. This bright layer adds not just sweetness but also a pop of color. Visualize the layers coming together as you create a feast for the eyes in this delightful salad.
Step 5: Incorporate the Peas and Cheese
Spread 1-2 cups of thawed frozen peas over the peppers, making sure they are spread out evenly for a burst of flavor in each bite. Then, grate about 1 cup of aged Irish cheese and sprinkle it on top. This finishing touch adds a nutty depth to your Layered Dublin Salad, tying all the flavors together.
Step 6: Add the Dressing
Using a spatula, pour the prepared dressing evenly over the top of the layered ingredients. Spread it gently without mixing the layers. This process keeps the visual appeal intact while ensuring that each bite of the Layered Dublin Salad is rich with flavor thanks to the creamy dressing.
Step 7: Let It Sit
Finally, cover the salad with plastic wrap and allow it to rest in the refrigerator for at least 30 minutes, or up to 2 hours if you have time. This waiting period lets all the flavors meld together and ensures the layers remain distinct when you’re ready to serve your beautiful Layered Dublin Salad.
Step 8: Serve and Toss
When you’re ready to serve, give the salad a gentle toss to mix the layers slightly, then scoop it into bowls. The colorful, vibrant layers of your Layered Dublin Salad will create an impressive presentation that’s sure to delight your guests at any potluck or gathering!
Storage Tips for Layered Dublin Salad
Fridge: Store leftover Layered Dublin Salad in an airtight container for up to 3 days to maintain freshness and prevent sogginess.
Make-Ahead: You can assemble the salad a few hours in advance but keep the dressing separate until just before serving to preserve the crunch and visual appeal.
Freezer: While this salad is best enjoyed fresh, you can freeze individual portions without the dressing for up to 2 months. Thaw completely before serving and add fresh dressing.
Reheating: For best results, enjoy the salad cold. If you added proteins like turkey or chickpeas, you may reheat them gently in the microwave before mixing with the salad.
Make Ahead Options
These Layered Dublin Salad is perfect for busy home cooks looking to save time! You can prepare all the colorful layers—lettuce, onions, eggs, peppers, peas, and cheese—up to 24 hours in advance; just store them separately to maintain their freshness and crunch. Prepare the creamy dressing a day ahead to let the flavors meld, but hold off on adding it until just before serving to avoid soggy layers. Simply assemble the salad in a clear bowl or trifle dish, cover it tightly with plastic wrap, and refrigerate. When you’re ready to serve, toss the salad gently, and you’ll have a stunning, delicious dish ready with minimal effort!
Expert Tips for Layered Dublin Salad
-
Choose the Right Bowl: Use a clear glass bowl to showcase the beautiful layers, enhancing the visual appeal of your Layered Dublin Salad.
-
Prep Ahead: Make the dressing a day in advance for the best flavor. However, add it just before serving to keep the salad’s crunch intact.
-
Fresh Ingredients Matter: Always opt for the freshest vegetables, as they significantly contribute to the taste and texture of your Layered Dublin Salad.
-
Alternate Flavor Combinations: Don’t hesitate to experiment with different vegetables or cheese varieties. You can use mixed greens instead of iceberg for added flavor!
-
Mind the Peas: If using frozen peas, be sure to thaw them completely before mixing; fresh peas offer extra crunch and flavor!
-
Add Protein for Heartiness: Consider incorporating chickpeas or diced turkey if you want to transform this salad into a heartier meal option.
What to Serve with Layered Dublin Salad?
This delightful dish can easily brighten up any meal, offering a pop of freshness and color alongside heartier favorites.
-
Grilled Chicken Breasts: The smoky flavor of grilled chicken complements the salad’s creamy textures, adding a satisfying protein kick to your plate.
-
Quinoa Pilaf: With its nutty taste and tender texture, quinoa pilaf balances the salad while providing a wholesome, fibrous element that enhances your meal.
-
Herb-Infused Flatbread: Warm, soft flatbreads infused with fresh herbs create a perfect vehicle to scoop up the vibrant salad layers, enhancing the overall dining experience.
-
Crispy Roasted Potatoes: The crispy, golden exterior of roasted potatoes contrasts beautifully with the salad’s creamy layers, creating a harmonious blend of textures on your palate.
-
Fruit Salad: A light, refreshing fruit salad adds a sweet contrast that brightens the meal, providing a burst of juiciness and a delightful cleanse for your palate.
-
Lemonade or Iced Tea: Pair your meal with a cold glass of lemonade or iced tea, both of which will refresh your taste buds and complement the layered salad’s flavors perfectly.
Just envision the flavors coming together on your table; it’s a feast for the senses that is sure to impress!
Layered Dublin Salad Variations & Substitutions
Feel free to make this Layered Dublin Salad your own with these delightful twists and swaps!
- Greens Swap: Replace iceberg lettuce with spinach or mixed greens for a fresher green base.
- Protein Boost: Add protein by incorporating chickpeas or diced turkey, transforming the salad into a heartier meal.
- Cheese Choices: Swap aged Irish cheese for feta or omit cheese altogether for a vegan version that’s still packed with flavor.
- Creamy Alternative: Use Greek yogurt instead of mayo for a lighter, tangy dressing. It adds a refreshing twist!
- Herb Infusion: Try fresh thyme instead of dried for a vibrant herbal note that brightens the overall flavor.
- Vegetable Variety: Experiment with additional veggies like cucumbers or cherry tomatoes for extra crunch and freshness.
- Spice Level Adjust: If you love heat, add a splash of hot sauce or diced jalapeños to the dressing for an exciting kick.
- Dressing Customization: Mix in a squeeze of lemon juice or a splash of vinegar to brighten and enhance the dressing’s flavor even more.
This layered masterpiece can be adjusted in any way that fits your taste! For more delicious salad ideas, check out our Grinder Salad Bold or the Tzatziki Chicken Salad. Happy cooking!
Layered Dublin Salad Recipe FAQs
What type of lettuce is best for Layered Dublin Salad?
Absolutely! Iceberg lettuce provides a wonderful crunch, but you can also use Romaine for a different texture. If you’re seeking something more flavorful, mixed greens or spinach can add a delightful twist!
How should I store leftover Layered Dublin Salad?
Store any leftovers in an airtight container in the refrigerator for up to 3 days. This helps maintain freshness while also keeping the layers intact. If it starts showing dark spots, that’s a sign it’s time to let it go!
Can I make Layered Dublin Salad ahead of time?
Yes, you can assemble the salad a few hours in advance. To preserve the freshness and crunchiness, just keep the dressing separate until you’re ready to serve. This way, you can enjoy all that crispness when it’s time to dig in!
How do I freeze Layered Dublin Salad?
While it’s best enjoyed fresh, if you have to freeze it, you can portion out the salad without the dressing and store it in an airtight container for up to 2 months. When you’re ready to enjoy it, just thaw it completely in the fridge and add fresh dressing right before serving.
Is there a way to adjust this salad for dietary restrictions?
Very! If you’re catering to dietary needs, substitute the mayo with Greek yogurt for a lighter option. To make it vegan, omit the eggs and cheese, and add avocado or chickpeas for protein instead. Always consider your guests’ preferences and allergies for the best experience!
Layered Dublin Salad: Bright, Crunchy Delight for Potlucks
Ingredients
Equipment
Method
- In a small bowl, combine mayo, sweet relish, spicy mustard, dried thyme, and salt. Whisk until smooth.

- Chop iceberg lettuce into bite-sized pieces and add to a large bowl.
- Slice red onion and sprinkle over the lettuce, then arrange sliced hard-boiled eggs on top.
- Chop sweet peppers and scatter them over the eggs.
- Spread thawed peas over the peppers and then add grated aged Irish cheese on top.
- Pour prepared dressing over the layered ingredients.
- Cover salad and let it rest in the refrigerator for 30 minutes.
- Before serving, toss gently to mix layers slightly and serve.