


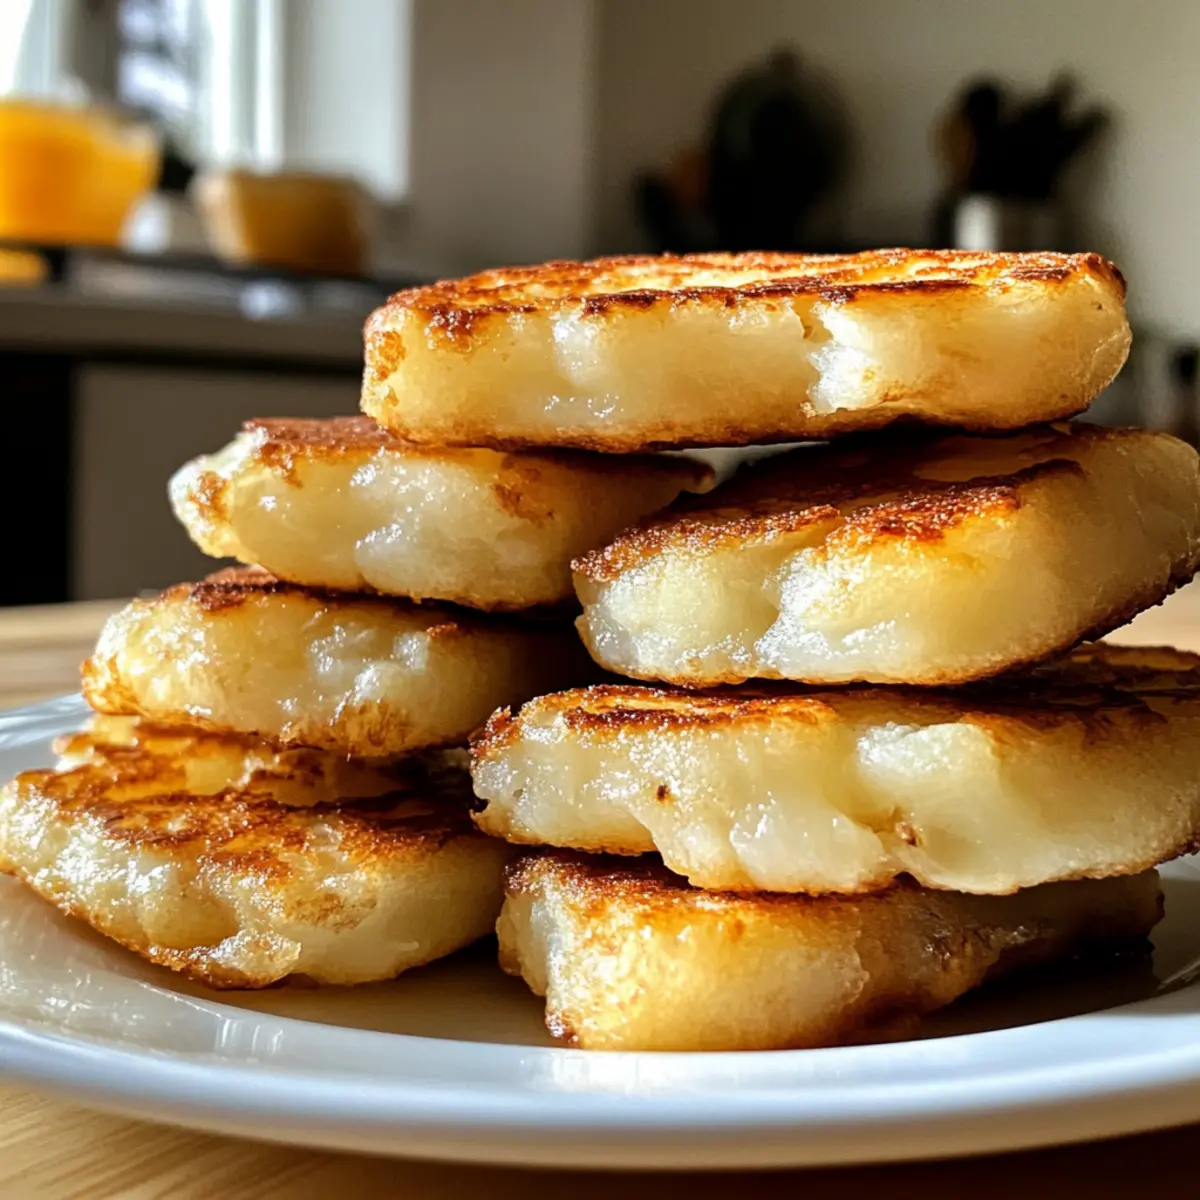
As I flipped through my grandmother’s worn recipe book, the simple handwritten note for Authentic Irish Potato Farls caught my eye, transporting me straight to the heart of Ireland. These delightful little cakes, with their perfectly crispy edges and pillowy centers, hold the essence of comfort food. Best of all, they come together in just 30 minutes with only four ingredients, making them an ideal option for busy mornings or cozy weekend brunches. Whether paired with eggs, tomatoes, and bacon or enjoyed on their own, these farls shine as a versatile addition to any breakfast table. Ready to bring a taste of Ireland to your kitchen? Let’s cook together!
Why are Irish Potato Farls so beloved?
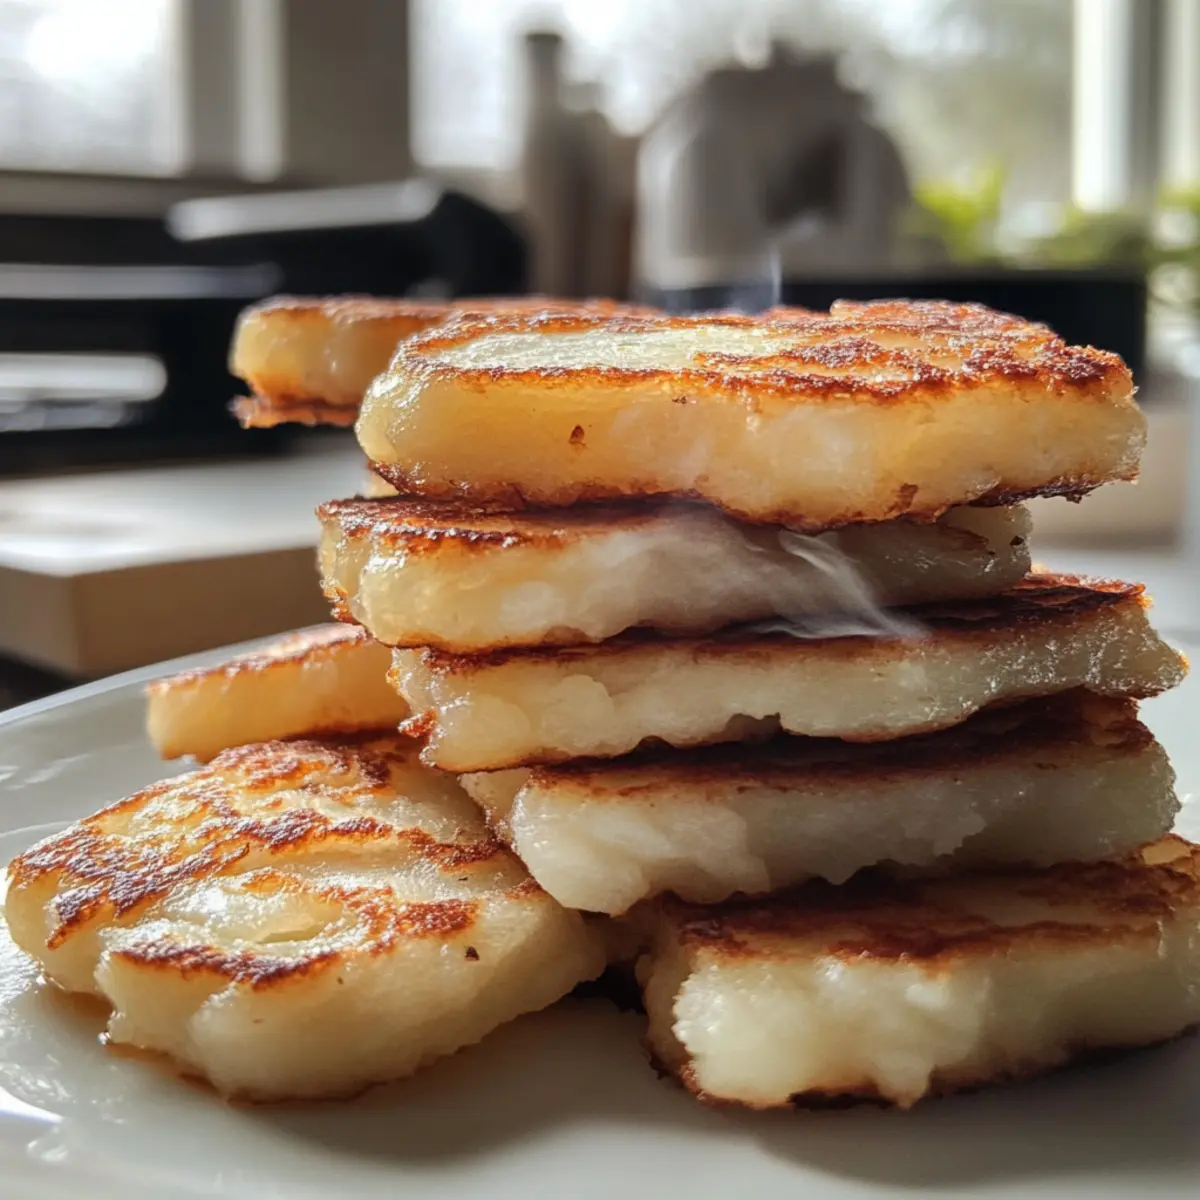
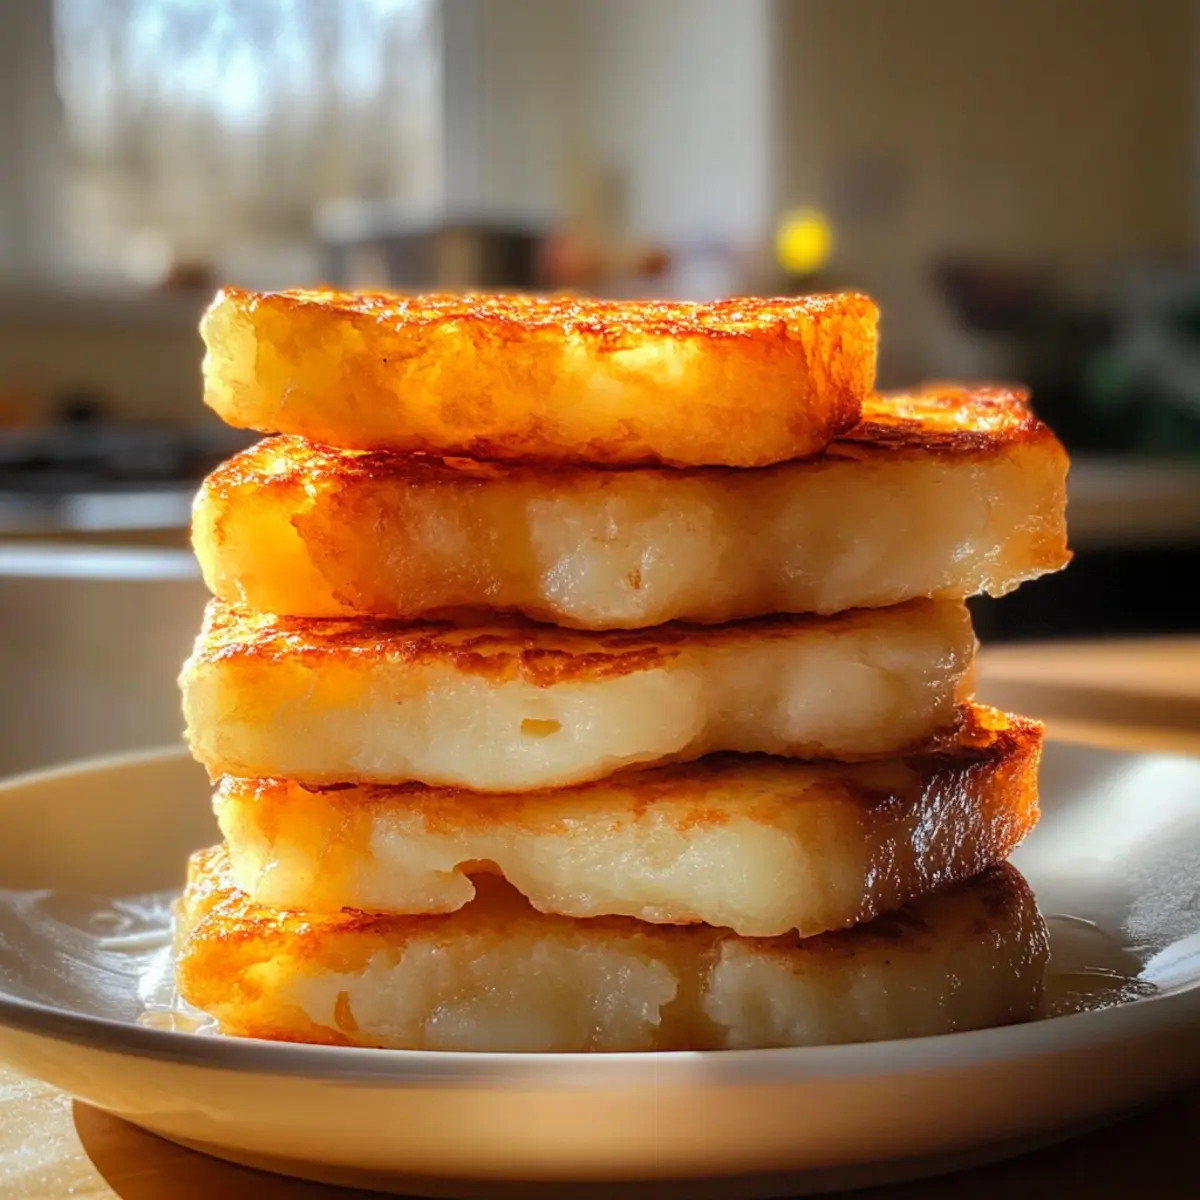
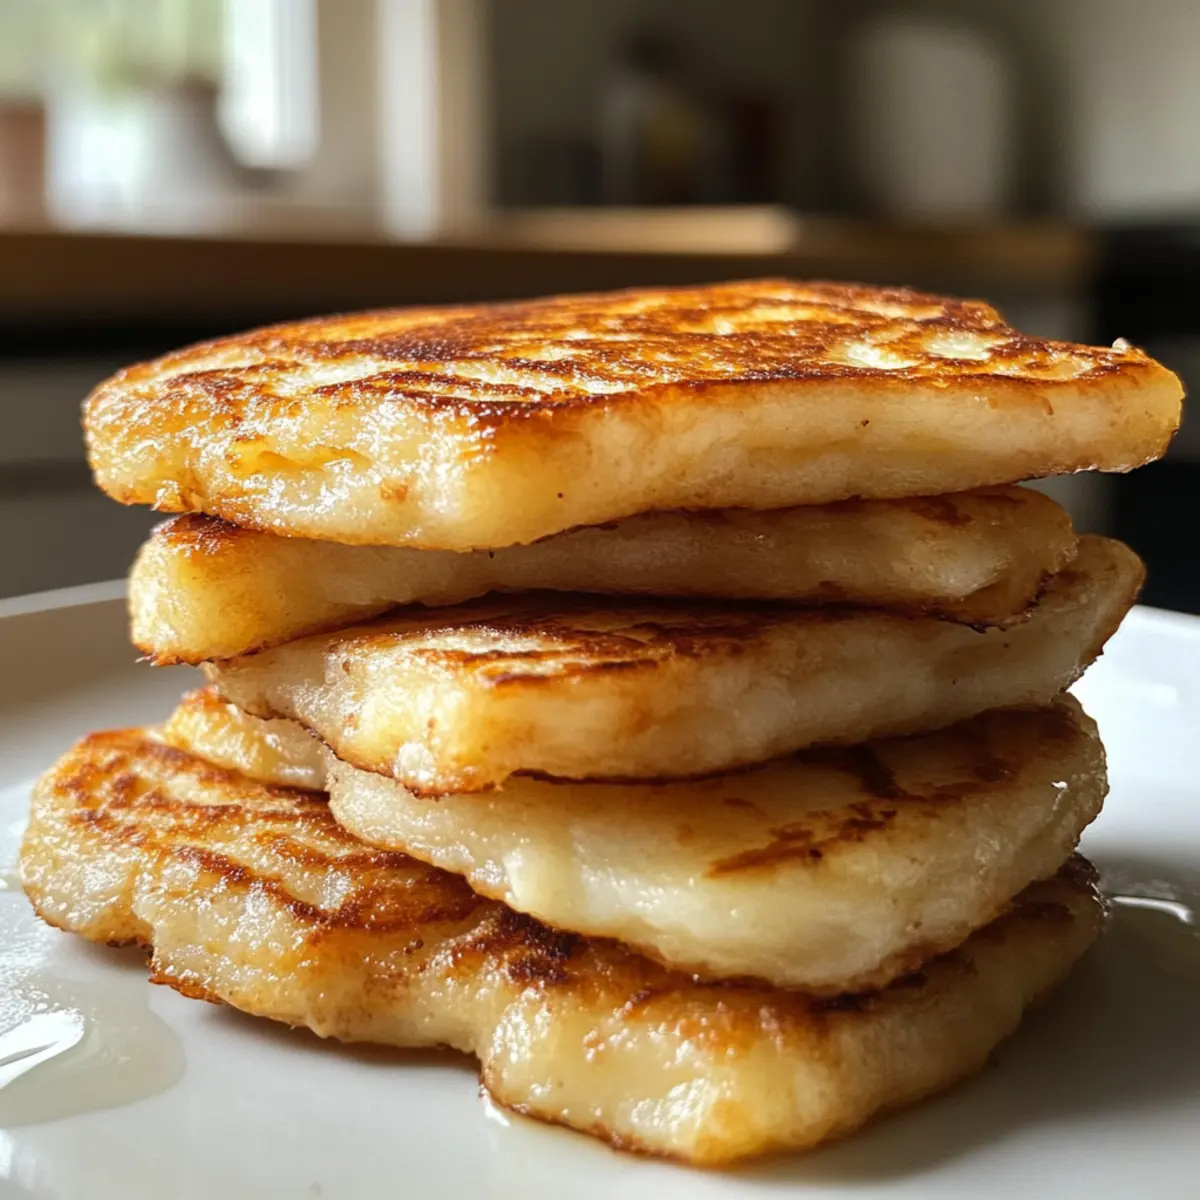
Fluffy Texture: Each bite reveals a perfect balance of a crispy outside and a light, airy inside, creating a delightful contrast you’ll crave.
Quick Preparation: With only four ingredients and a simple 30-minute process, these farls are ideal for the busy home cook looking for a speedy breakfast solution.
Versatile Pairing: Serve them alongside fried eggs or grilled tomatoes for a traditional Irish breakfast, or enjoy them solo as a savory snack.
Cultural Delight: These authentic farls highlight the resourceful nature of Irish cuisine, allowing you to enjoy a delicious dish with a rich heritage.
Crowd-Pleasing Flavor: Their savory appeal makes them a hit with family and friends alike, transforming any morning meal into a special occasion. If you love comfort food, don’t miss out on indulging in these Cajun Potato Soup or the Garlic Butter Pork for more stunning options!
Authentic Irish Potato Farls Ingredients
• To create these delicious farls, you’ll need just four simple ingredients that come together to celebrate time-honored Irish tradition.
For the Base
- Potatoes – Essential for fluffiness; opt for floury varieties like Russet or Maris Piper for the best results.
- All-Purpose Flour – Adds structure to the farls and helps bind the mixture; substitute with gluten-free flour if preferred.
For Flavor
- Sea Salt – Enhances the overall flavor of the farls, ensuring a savory bite.
- Black Pepper – Adds a touch of spice to elevate the taste profile.
For Cooking
- Butter – Provides richness and flavor; feel free to substitute with olive oil for a dairy-free version.
These Authentic Irish Potato Farls are the perfect addition to your breakfast table, bringing warmth and joy in every bite!
Step‑by‑Step Instructions for Authentic Irish Potato Farls
Step 1: Prepare the Potatoes
Begin by peeling and chopping 3 medium potatoes into even pieces. Bring a pot of water to a boil and add the potatoes, cooking for about 20-25 minutes, or until they are tender and easily pierced with a fork. Once done, drain them and allow to steam in a sieve for 5 minutes to remove excess moisture, ensuring your farls are fluffy.
Step 2: Mash
Once the potatoes have dried slightly, pass the hot potatoes through a sieve or potato ricer into a large mixing bowl. This process should yield a light and fluffy texture, essential for achieving the perfect consistency in your Authentic Irish Potato Farls. Allow the mashed potatoes to cool slightly before proceeding to the next step.
Step 3: Mix Ingredients
To the bowl with the fluffy potatoes, add all-purpose flour, sea salt, black pepper, and melted butter. Use a fork or your hands to mix the ingredients until they come together into a cohesive dough. The dough should feel slightly sticky but manageable; if needed, adjust the flour until the right consistency is achieved.
Step 4: Shape the Dough
Lightly flour a clean work surface and transfer the dough onto it. Roll the dough out gently into an 8-inch round disc, about ¾-inch thick. Using a sharp knife, cut the disc into 6 equal pie-like wedges. This shaping technique will ensure that your farls cook evenly and maintain their charming, rustic appearance.
Step 5: Fry
Heat a generous amount of butter in a skillet over medium heat until it begins to bubble. Carefully place the farls into the skillet, ensuring not to overcrowd. Fry them for about 5 minutes on one side, until they turn a lovely golden brown. Flip with a spatula and continue to cook for another 4-5 minutes on the other side, achieving a crispy, inviting surface.
Step 6: Serve
Once your farls are golden and crispy, remove them from the skillet and let them drain briefly on a paper towel. Serve these Authentic Irish Potato Farls hot, alongside traditional breakfast items like fried eggs, grilled tomatoes, and crispy bacon for a delightful morning feast. Enjoy their comforting warmth and inviting flavor right away!
Make Ahead Options
These Authentic Irish Potato Farls are ideal for meal prep enthusiasts! You can prepare the dough up to 24 hours in advance by following steps one through three. After shaping the farls, simply place them on a parchment-lined tray, cover, and refrigerate. This helps maintain their freshness and quality. When you’re ready to serve, simply heat butter in a skillet and fry them for about 5-6 minutes on each side until they’re golden and crispy. For longer storage, freeze uncooked farls for up to three months; just layer parchment between them to prevent sticking. You’ll have a delightful Irish breakfast ready to go with minimal effort!
Expert Tips for Authentic Irish Potato Farls
-
Potato Selection: Choose starchy potatoes like Russets or Maris Pipers for the best fluffiness. Avoid waxy types that can make the farls dense.
-
Cooling Time: Allow mashed potatoes to cool for a few minutes before mixing in flour and seasonings. This prevents the butter from melting too quickly and helps the mixture bind.
-
Even Cooking: When frying, make sure not to overcrowd the pan. This ensures each farl cooks evenly, achieving that desired crispy texture without steaming.
-
Flavor Boost: For an extra punch, try adding finely chopped chives or herbs to the dough. It adds a delightful aroma and enhances the flavor of your Authentic Irish Potato Farls.
-
Storage Tips: If you have leftovers, store them in the fridge for up to three days. Reheat in a skillet to retain their crispy exterior without losing their fluffy inside.
How to Store and Freeze Authentic Irish Potato Farls
Fridge: Store cooked farls in an airtight container for up to 3 days. Reheat them in a skillet over medium-low heat for the best texture.
Freezer: For longer storage, freeze uncooked farls by laying them flat on a baking tray. Once frozen, transfer to a bag with parchment between layers; they’ll keep for up to 3 months.
Reheating: To reheat frozen farls, cook directly from frozen in a skillet or oven until heated through, ensuring they remain crispy and enjoyable.
Room Temperature: Avoid leaving cooked farls at room temperature for longer than 2 hours to maintain freshness and prevent spoilage.
What to Serve with Authentic Irish Potato Farls
The perfect Scottish morning starts with these delightful potato cakes, but what should you pair them with for a truly unforgettable breakfast experience?
-
Crispy Bacon: The salty crunch of bacon brings a wonderful contrast to the fluffy farls, creating a savory harmony in every bite.
-
Fried Eggs: A runny yolk adds a creamy richness that beautifully complements the crispy texture of the farls, making for a delicious balance.
-
Grilled Tomatoes: Their juicy and slightly sweet flavor cuts through the savory elements, brightening the whole meal perfectly.
-
Baked Beans: These hearty beans offer a comforting creaminess, turning your breakfast into a classic Irish feast that warms your soul.
-
Sautéed Mushrooms: Earthy and umami-rich, sautéed mushrooms elevate the meal with a depth of flavor that pairs wonderfully with the potato cakes.
-
Fresh Herbs: Sprinkle chopped chives or parsley over the farls for a fragrant finish, boosting both visual appeal and flavor.
-
Irish Brown Bread: A slice of this dense, wholesome bread adds additional texture and is lovely for soaking up any yolks or juices on your plate.
-
Hot Tea or Coffee: A warm beverage, be it a robust Irish breakfast tea or a rich coffee, completes the experience and warms the heart.
-
Fruit Compote: For a sweet contrast, consider a berry or apple compote as a delightful topping that adds seasonality to your breakfast.
Authentic Irish Potato Farls Variations
Feel free to make these delightful cakes your own with a sprinkle of creativity and a dash of imagination!
- Dairy-Free: Substitute butter with olive oil for a lighter, dairy-free option that maintains great flavor.
- Herb-Infused: Add finely chopped herbs like parsley or chives to the dough for an aromatic twist that elevates the taste.
- Onion & Chive: Finely chop one onion and add it to the dough, giving you a deliciously savory kick with every bite.
- Gluten-Free: Swap all-purpose flour with your favorite gluten-free flour blend to enjoy a lovely alternative that everyone can savor.
- Sweet Potato Farls: Use sweet potatoes instead of regular potatoes for a naturally sweet version that pairs well with breakfast items.
- Spicy Kick: Mix in a pinch of chili flakes or paprika for an exciting heat element that adds personality to your farls.
- Cheesy Add-In: Fold in shredded cheese like cheddar or feta for a rich and cheesy delight that makes a fantastic snack.
- Savory Toppings: Top your cooked farls with a dollop of sour cream or Greek yogurt and sprinkle with fresh herbs for an elegant presentation.
Ready to explore different flavors? You might also enjoy our Cajun Potato Soup for a hearty meal, or try the Roasted Potato Salad as a refreshing side. Happy cooking!
Authentic Irish Potato Farls Recipe FAQs
What type of potatoes should I use for the best results?
Absolutely! For the fluffiest Authentic Irish Potato Farls, opt for floury potatoes such as Russet, Maris Piper, or Roosters. These varieties contain more starch, which helps achieve that desirable light and airy texture that everyone loves. Avoid waxy potatoes, as they can result in dense farls.
How should I store my cooked potato farls?
You can store your cooked farls in an airtight container in the fridge for up to 3 days. When reheating, place them in a skillet over medium-low heat, allowing them to crisp up while ensuring the inside remains fluffy. They’ll taste almost as good as when freshly made!
Can I freeze uncooked farls for later use?
Very! To freeze uncooked Authentic Irish Potato Farls, lay them flat on a baking tray, ensuring they do not touch one another. Once they are frozen solid (about 2-3 hours), transfer them to a freezer bag, placing parchment paper between layers. They can be stored in the freezer for up to 3 months. When you’re ready to cook, just fry them straight from frozen!
What should I do if my farls are turning out dense?
If your farls come out dense, it may be due to using the wrong type of potatoes or over-mixing the dough. To resolve this, ensure you’re using floury potatoes, and when mixing, combine the ingredients just until they form a cohesive ball. Overworking the dough can lead to a tough texture, so be gentle!
Are there any dietary considerations I should be aware of?
Yes! If you have dietary restrictions, you can easily make this recipe accommodating. Substitute all-purpose flour with gluten-free flour to create a gluten-free version. Additionally, for a dairy-free option, replace the butter with olive oil or a dairy-free butter substitute. It’s a wonderful way to enjoy these delicious farls while staying mindful!
Fluffy Authentic Irish Potato Farls for a Cozy Breakfast
Ingredients
Equipment
Method
- Begin by peeling and chopping 3 medium potatoes into even pieces. Bring a pot of water to a boil and add the potatoes, cooking for about 20-25 minutes, or until tender. Drain and allow to steam in a sieve for 5 minutes.
- Pass the hot potatoes through a sieve or potato ricer into a large mixing bowl to achieve a light and fluffy texture.
- Add all-purpose flour, sea salt, black pepper, and melted butter to the bowl with the fluffy potatoes. Mix until it becomes a cohesive dough.
- Lightly flour a clean work surface and roll out the dough into an 8-inch round disc, about ¾-inch thick. Cut the disc into 6 equal wedges.
- Heat butter in a skillet over medium heat until bubbling. Fry the farls for about 5 minutes on one side until golden brown. Flip and cook for another 4-5 minutes.
- Remove from skillet and let drain on a paper towel. Serve hot with traditional items like fried eggs and grilled tomatoes.