


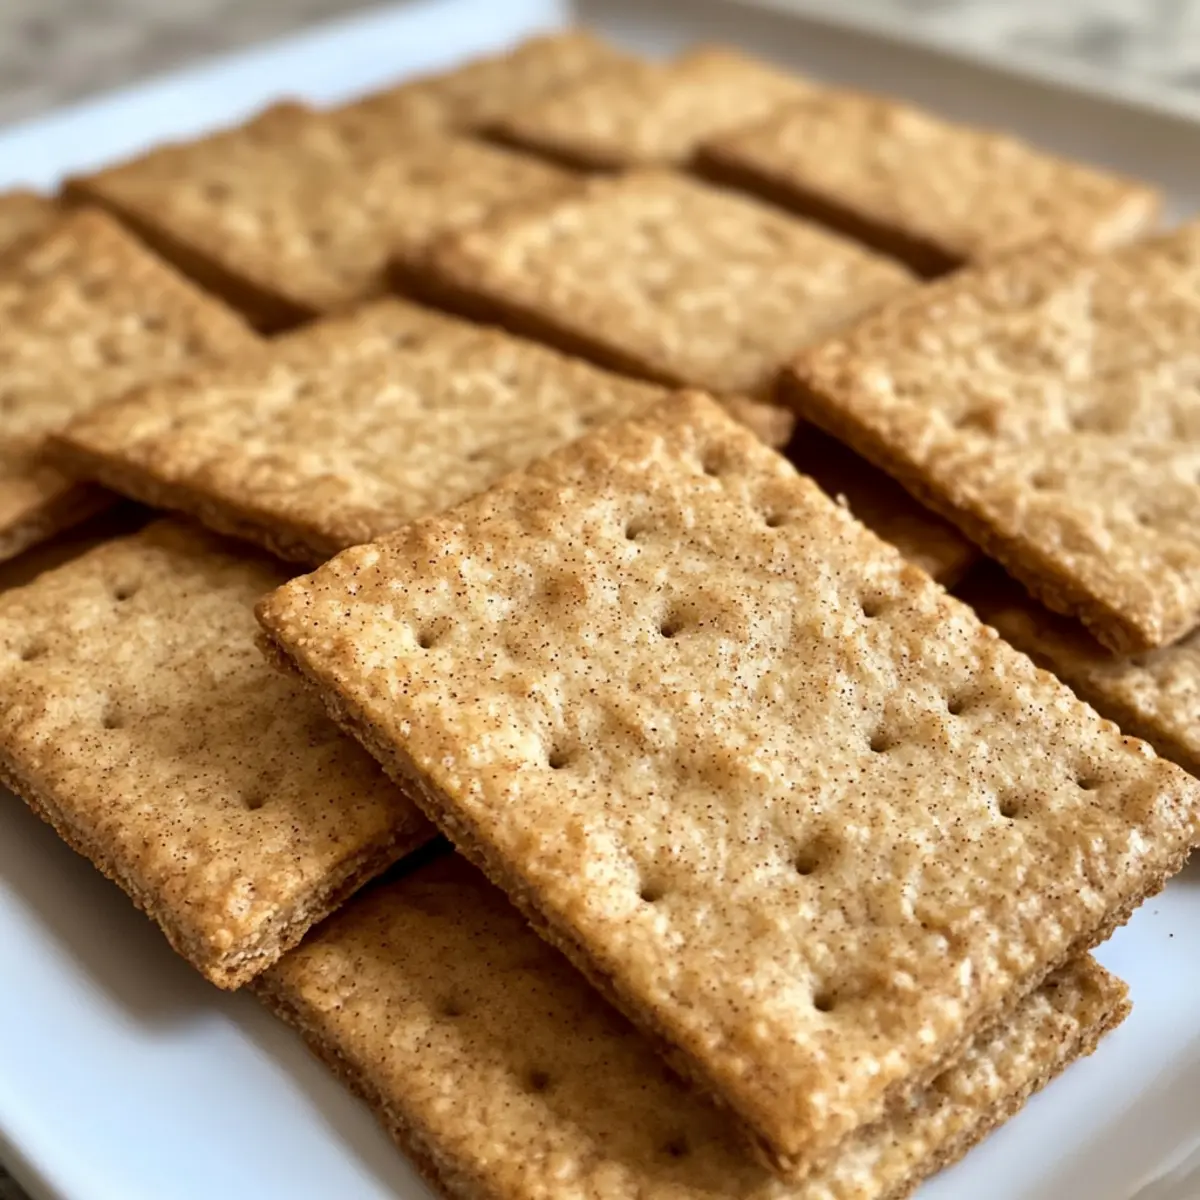
In a moment of nostalgia, I fondly recalled the first time I sank my teeth into a crisp, homemade graham cracker. There’s something profoundly satisfying about crafting your own treats, and these Homemade Graham Crackers take that joy to a whole new level. Not only do they offer a delightful crunch that’s perfect for snacking, but they also serve as the foundation for that dreamy graham cracker crust we’ve all been craving for cheesecakes and s’mores. The best part? You can whip these up in no time, making them a simple yet impressive addition to any dessert table. So, are you ready to experience the comforting magic of homemade goodness? Let’s dive in!
Why Make Homemade Graham Crackers?
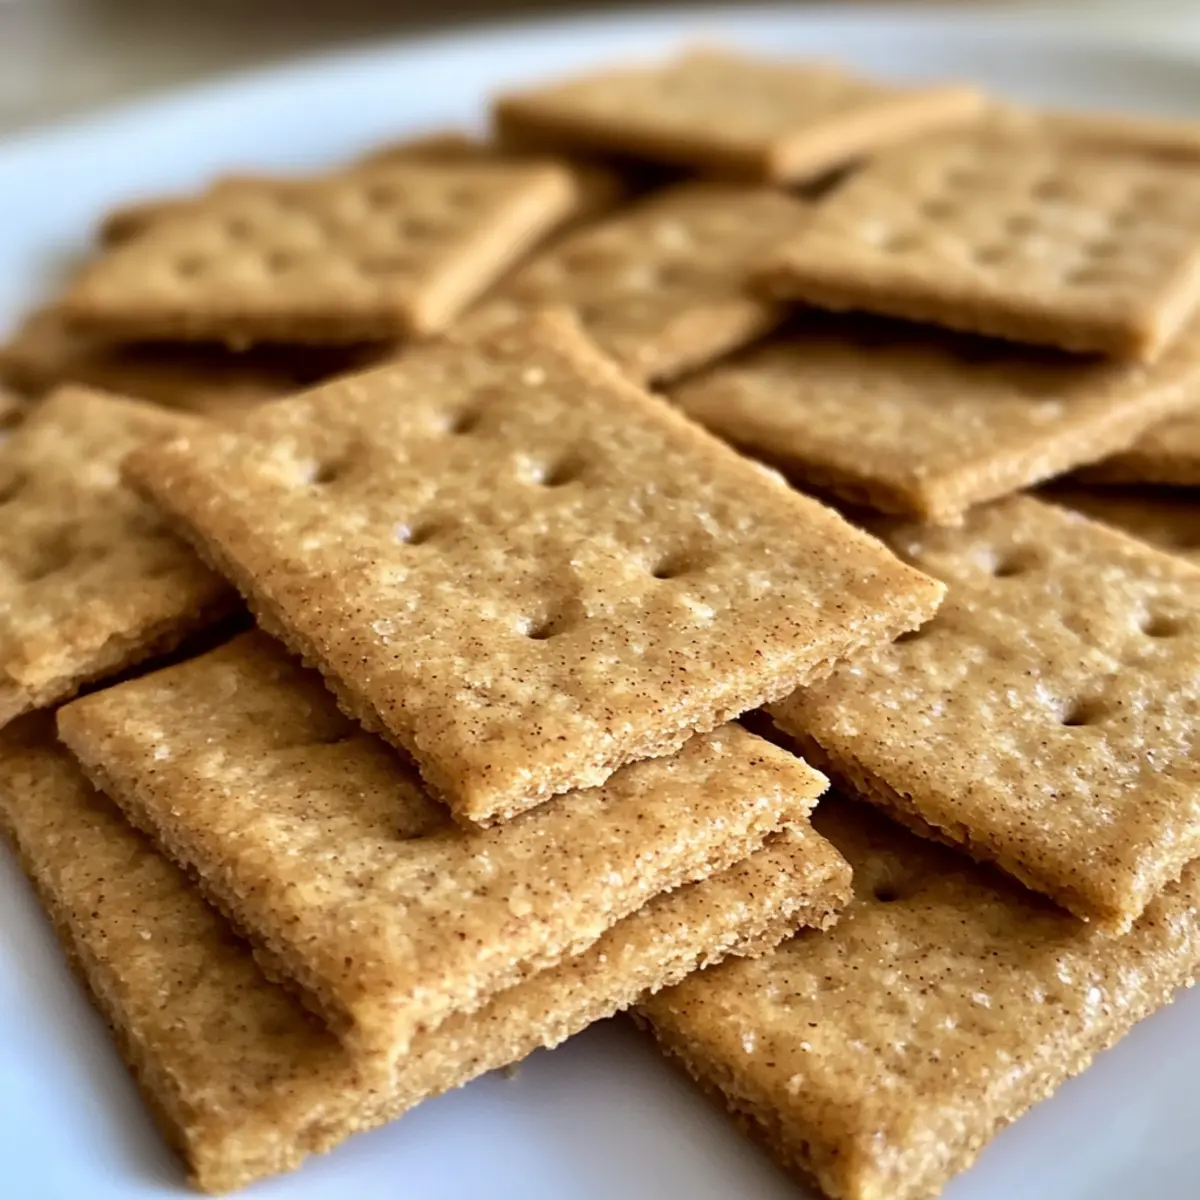
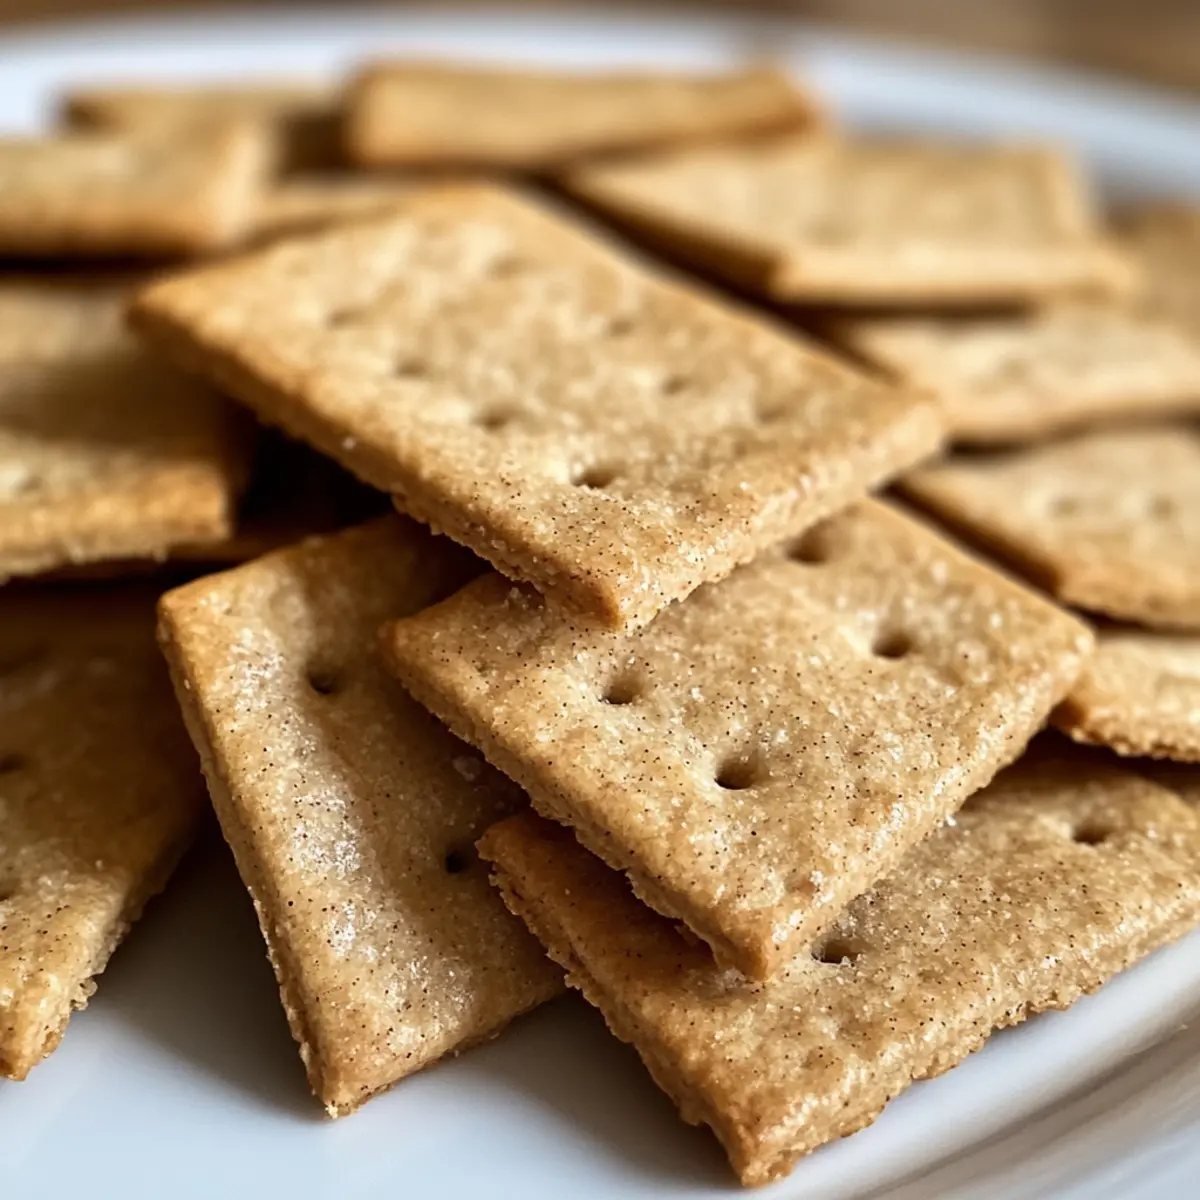
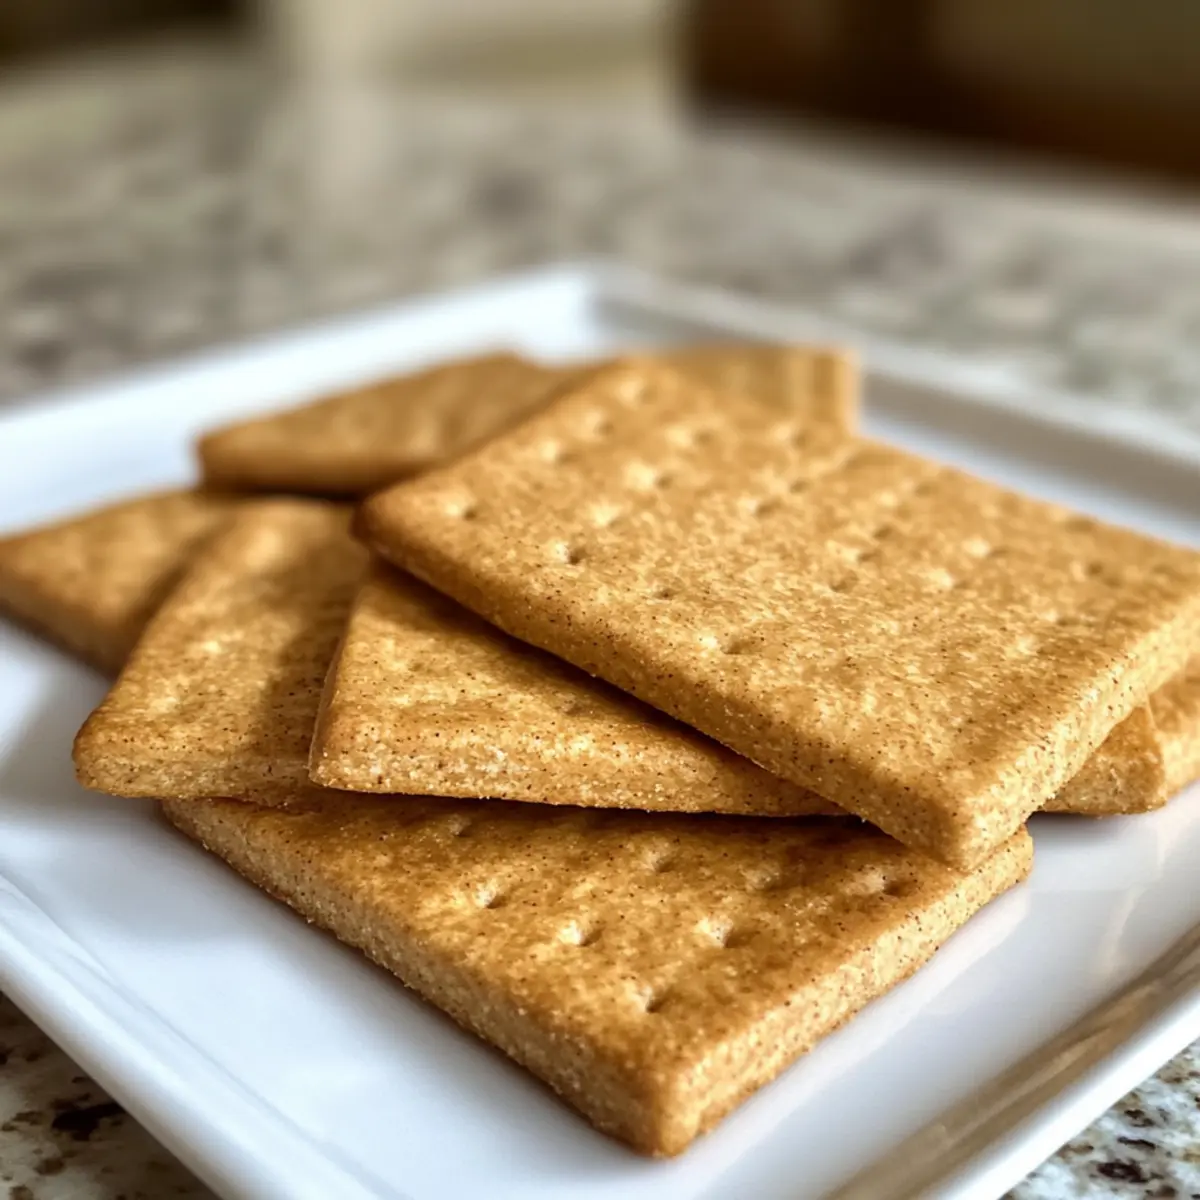
Irresistible Crunch: These homemade graham crackers boast a satisfying snap that brings joy to every bite.
Absolute Versatility: Perfect for creating crusts or simply enjoyed with a cup of coffee, these crackers can do it all!
Richly Flavorful: Enhanced with butter, honey, and a hint of cinnamon, they deliver a taste that far surpasses store-bought varieties.
Quick and Easy: With straightforward ingredients and simple steps, you’ll have fresh crackers ready in no time!
Crowd-Pleaser: Loved by kids and adults alike, they’re perfect for dessert tables or as a delightful after-school snack. Pair them with a luscious filling or a scoop of ice cream for unforgettable indulgence! If you’re eager to expand your homemade treat repertoire, check out our delightful Cottage Cheese Treat or the wonderfully easy Homemade School Cafeteria recipe!
Homemade Graham Crackers Ingredients
For the Crackers
- All-purpose flour – The foundation for structure; substituting whole wheat flour provides a nuttier flavor and texture.
- Whole wheat flour (or Graham flour) – Adds additional flavor and fiber; regular whole wheat flour can be used instead.
- Baking soda – Acts as a leavening agent to ensure the crackers have the desired texture and slight rise.
- Cinnamon – A flavor enhancer; adjust the quantity based on personal taste or omit for neutrality.
- Salt – Enhances the overall flavors; feel free to reduce for a sweeter profile.
- Butter (8 oz, 2 sticks) – Provides rich flavor and texture; if you wish to lighten it up, use less butter and add a bit of liquid.
- Dark brown sugar (5 oz) – Adds depth of sweetness from molasses; substitute with light brown sugar if preferred.
- Honey (2 tablespoons) – Introduces moisture and subtle sweetness; maple syrup can work well as a substitute.
With these simple yet satisfying ingredients, you can easily create Homemade Graham Crackers that will not only enhance your desserts but also provide a delicious snack all on their own!
Step‑by‑Step Instructions for Homemade Graham Crackers
Step 1: Prep Dry Ingredients
In a mixing bowl, whisk together 1 cup of all-purpose flour, 1 cup of whole wheat flour, 1 teaspoon of baking soda, 1 teaspoon of cinnamon, and a pinch of salt until well combined. This step is crucial for creating an even texture in your homemade graham crackers, so ensure there are no lumps. Set this mixture aside while you work on the wet ingredients.
Step 2: Cream Butter and Sugar
Using a stand mixer fitted with a paddle attachment, blend 8 ounces of softened butter, 5 ounces of dark brown sugar, and 2 tablespoons of honey on medium speed until the mixture is creamy and smooth. This should take about 2-3 minutes. You don’t need to whip it fluffy; just combine until nicely integrated for a rich flavor in your graham crackers.
Step 3: Combine
Gradually add the dry flour mixture into the creamed butter and sugar, mixing on low speed to prevent flour from flying everywhere. Continue mixing until a cohesive dough forms, roughly 2-3 minutes. If the mixture seems too crumbly, you can add a tiny splash of milk, but be cautious not to make the dough sticky.
Step 4: Chill Dough
Once your dough is ready, turn it out onto a lightly floured surface and shape it into a rectangle. Roll the dough out between two sheets of parchment paper to about 1/8-inch thickness to prevent sticking. Wrap the rolled-out dough in the parchment paper and chill in the refrigerator for at least 1 hour. This chilling time helps the flavors meld and makes the dough easier to cut.
Step 5: Bake
Preheat your oven to 350°F (175°C) and line two baking sheets with parchment paper. After chilling, remove the dough from the fridge and cut it into desired shapes using a pizza cutter or sharp knife. Place the cut pieces onto the prepared baking sheets, spacing them evenly. Bake for about 12-15 minutes, or until the edges are golden and the surfaces are firm to the touch.
Step 6: Cool
Once baked, remove the homemade graham crackers from the oven and let them cool on the baking sheets for about 10 minutes. This resting time allows them to firm up. After that, you can transfer them to a wire rack to cool completely. Once cooled, break apart or crumble as needed for desserts like cheesecakes and s’mores.
Expert Tips for Homemade Graham Crackers
-
Perfect Thickness: Measure your rolling to about 1/8-inch for that ideal crunch. Too thick and they may not bake through properly.
-
Flavor Adjustments: Don’t hesitate to play with spices like nutmeg or ginger, but use sparingly to maintain balance in flavor.
-
Watch the Bake: Keep an eye on your crackers in the oven; they can go from golden to burnt quickly, especially if they’re cut smaller.
-
Storage Smartly: Store homemade graham crackers in an airtight container to maintain crispness. If they soften, a quick refresh in the oven will help.
-
Cut Before Baking: Use a pizza cutter or knife to portion your crackers before baking—they’ll hold their shape better this way and ensure even cooking.
-
Experiment with Sweetness: Adjust the amount of dark brown sugar or honey to suit your taste; it’s all about personal preference in these homemade graham crackers!
Variations & Substitutions for Homemade Graham Crackers
Elevate your homemade graham crackers by adding personal twists that make them truly yours!
-
Whole Wheat Flour: Swap all-purpose flour for whole wheat for a nuttier flavor and extra fiber.
-
Honey Alternative: Use maple syrup instead of honey for a vegan-friendly sweetener that adds unique flavor.
-
Spice It Up: Add a pinch of nutmeg or ginger alongside cinnamon for an aromatic twist that warms the senses.
-
Nutty Crunch: Incorporate ground almonds or walnuts into the dough for an unexpected texture delight that pairs beautifully with desserts.
-
Chocolate Lovers: Mix in cocoa powder for a chocolatey version that’s perfect for those s’mores or as a standalone treat.
-
Sweetness Adjustments: Tailor the sweetness by increasing or decreasing brown sugar or honey, allowing for a balanced result based on your preference.
-
Seed Topping: Sprinkle sesame or poppy seeds on top before baking for added visual appeal and a delightful crunch.
-
Cereal Crusts: Crumble any leftover crackers on top of desserts for an irresistible crunchy topping—try it with a scoop of ice cream or as a pie crust base alongside our delightful Cottage Cheese Treat or warm, homemade Soft Oven Flatbread.
Make Ahead Options
These Homemade Graham Crackers are perfect for meal prep enthusiasts! You can prepare the dough up to 24 hours in advance by mixing and chilling it, which allows the flavors to meld beautifully while saving you time on busy days. Simply wrap the rolled-out dough in parchment paper and refrigerate. When you’re ready to bake, just slice it into your desired shapes and bake at 350°F (175°C) for 12-15 minutes. If you want them to last even longer, baked crackers can be stored in an airtight container for up to 3 days at room temperature. For a refreshing crunch, reheat them in the oven for a few minutes before serving! Enjoy the satisfaction of homemade treats with minimal effort!
How to Store and Freeze Homemade Graham Crackers
Airtight Container: Store the homemade graham crackers in an airtight container at room temperature for up to 1 week to maintain their delightful crunch.
Fridge: If you want to extend freshness, keep them in the fridge for up to 2 weeks, but be aware that they may lose some crispness.
Freezer: For longer storage, freeze the homemade graham crackers in a freezer-safe bag or container for up to 3 months. Thaw at room temperature before enjoying.
Refreshing: If your crackers lose their crunch after storage, simply pop them in a preheated oven at 300°F (150°C) for a few minutes to restore their crispiness.
What to Serve with Homemade Graham Crackers?
Elevate your dessert experience by pairing these delightful treats with complementary flavors and textures that will tantalize your taste buds.
-
Creamy Cheesecake: The smooth and rich texture of cheesecake contrasts wonderfully with the crunch of homemade graham crackers, creating a match made in dessert heaven.
-
Fruity Yogurt Parfaits: Layering yogurt with fresh berries and homemade graham crackers makes a refreshing and vibrant dish, perfect for breakfast or a light dessert.
-
Indulgent Chocolate Mousse: The airy richness of chocolate mousse pairs beautifully with the crisp crunch of graham crackers, offering a delightful play between textures.
-
Classic S’mores: Keep it simple and nostalgic with gooey marshmallows and melted chocolate sandwiched between two graham crackers for a timeless treat.
-
Rich Ice Cream Sundae: Top a scoop of your favorite ice cream with crumbled homemade graham crackers for added crunch and flavor in every spoonful.
Pairing crispy homemade graham crackers with these indulgent toppings or desserts transforms simple snacking into a gourmet experience. Enjoy discovering your favorite combinations!
Homemade Graham Crackers Recipe FAQs
What kind of flour should I use for my homemade graham crackers?
For the best results, use a combination of all-purpose flour and whole wheat flour. This blend gives your graham crackers a good structure while adding a nutty flavor and extra fiber. If you have Graham flour on hand, feel free to substitute it for the whole wheat flour!
How should I store homemade graham crackers?
Store the homemade graham crackers in an airtight container at room temperature for up to 1 week. If you’d like to keep them fresh for longer, you can refrigerate them for up to 2 weeks, although some crispness might be lost. Just remember to refresh them in a warm oven if they become a bit soft.
Can I freeze homemade graham crackers?
Absolutely! To freeze, place the cooled graham crackers in a freezer-safe bag or container and they can last for up to 3 months. For best results, ensure each layer is separated with parchment paper to prevent sticking. When you’re ready to enjoy them, simply thaw them at room temperature.
What should I do if my graham crackers are too hard after baking?
If your crackers turn out too hard, it may be due to overbaking. To prevent this next time, ensure you keep an eye on them in the oven, as all ovens can vary slightly. If you’ve already baked them and they’re too tough, you can try crumbling them into a base for cheesecake or mix them into ice cream for a delightful treat.
Are there any dietary considerations I should keep in mind for homemade graham crackers?
Yes! If you’re baking for someone with allergies, be aware that this recipe contains gluten (from the flours) and dairy (from the butter). You can easily make gluten-free graham crackers by using a gluten-free flour blend and ensure you substitute the butter with a dairy-free alternative like coconut oil or vegan butter if needed.
How can I enhance the flavor of my homemade graham crackers?
Feel free to get creative! You can add spices like nutmeg or ginger to elevate the flavor profile. Additionally, adjusting the sweetness by adding more honey or substituting with different sugars can make a delightful difference. Always taste your dough before baking to ensure it matches your preference!
Homemade Graham Crackers for Delectable Desserts
Ingredients
Equipment
Method
- In a mixing bowl, whisk together all-purpose flour, whole wheat flour, baking soda, cinnamon, and salt until well combined.
- Using a stand mixer, blend softened butter, dark brown sugar, and honey until creamy and smooth.
- Gradually add the dry mixture into the creamed mixture while mixing on low speed until a cohesive dough forms.
- Turn the dough onto a floured surface, shape it into a rectangle, and roll out to 1/8-inch thickness between two sheets of parchment paper. Chill for at least 1 hour.
- Preheat the oven to 350°F (175°C). Cut the chilled dough into desired shapes and place them on lined baking sheets. Bake for 12-15 minutes.
- Let the baked crackers cool on baking sheets for 10 minutes before transferring them to a wire rack to cool completely.