Ingredients
Equipment
Method
Step-by-Step Instructions for Chinese Coconut Buns
- In a small bowl, combine warm milk, sugar, and active dry yeast. Allow the mixture to sit for about 5-10 minutes until bubbly and frothy. Meanwhile, in a mixing bowl, combine bread flour, salt, and sugar. Create a well in the center, then pour in the yeast mixture, melted butter, and egg. Mix until a shaggy dough forms.
- Transfer the shaggy dough onto a floured surface or into a stand mixer fitted with a dough hook. Knead the dough for 15-20 minutes until it becomes smooth and elastic. If using a mixer, start on low speed and gradually increase to medium. The dough should be slightly sticky but should clear the sides of the bowl as you knead.
- Lightly oil a clean bowl and place the kneaded dough inside, turning it to coat in oil. Cover the bowl with a damp towel or plastic wrap. Allow the dough to rise in a warm, draft-free area for 45-90 minutes, or until it has doubled in size.
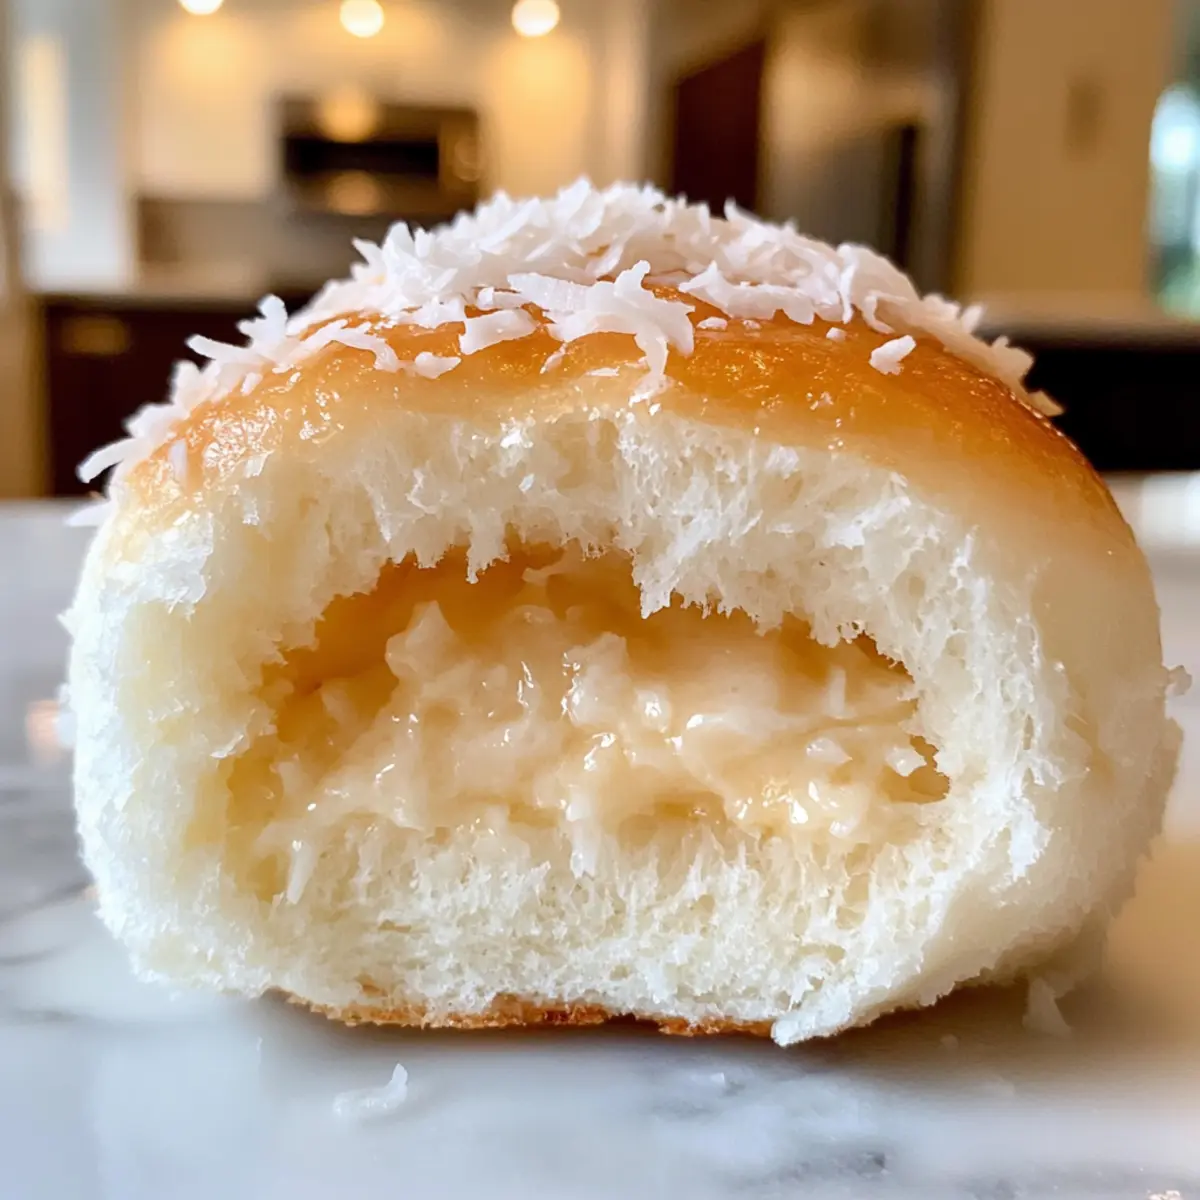
- While the dough is rising, prepare the coconut filling. In a medium bowl, mix the shredded coconut, melted butter, dry milk powder, sugar, all-purpose flour, and salt. Stir until the mixture becomes crumbly and well-combined.
- Once the dough has risen, gently punch it down to release air. Divide the dough into 12-16 equal pieces and shape each into a ball. Allow them to rest on the counter for about 10 minutes, covered with a damp towel.
- Take one dough ball and roll it into an oval shape on a lightly floured surface. Place a spoonful of the coconut filling in the center, then fold the dough over the filling and pinch to seal tightly. Place the filled bun seam-side down on a parchment-lined baking sheet and repeat with the remaining dough.
- Cover the buns with a clean kitchen towel and allow them to rise for another 30-40 minutes while preheating the oven to 350°F (176°C).
- For the topping, mix melted butter, all-purpose flour, and confectioner’s sugar until smooth. Brush the risen buns with egg wash, then pipe the topping mixture over each bun. Bake for 20 minutes until they are golden brown and fragrant.
- Remove the Chinese Coconut Buns from the oven and let them cool on a wire rack for 10 minutes before serving.
Nutrition
Notes
Ensure yeast is fresh for best results and dough rises in a warm environment for optimal fluffiness.