


The door swings open, and the warm aroma of chocolate wafts through the kitchen, instantly transporting me back to carefree summer days filled with laughter and sunshine. Today, I’m sharing my beloved No-Churn Rocky Road Ice Cream recipe, a quintessential delight that’s too easy to resist. This homemade ice cream requires no machine—just simple ingredients you probably already have in your pantry. Not only is it a fun, creative way to satisfy your sweet tooth, but it also makes the perfect summer dessert that will impress friends and family alike. With every creamy scoop, indulge in the decadent mix of chocolate, fluffy marshmallows, and crunchy almonds that create a beautiful harmony of textures. Are you ready to take your dessert game to the next level? Let’s dive into this delicious journey!
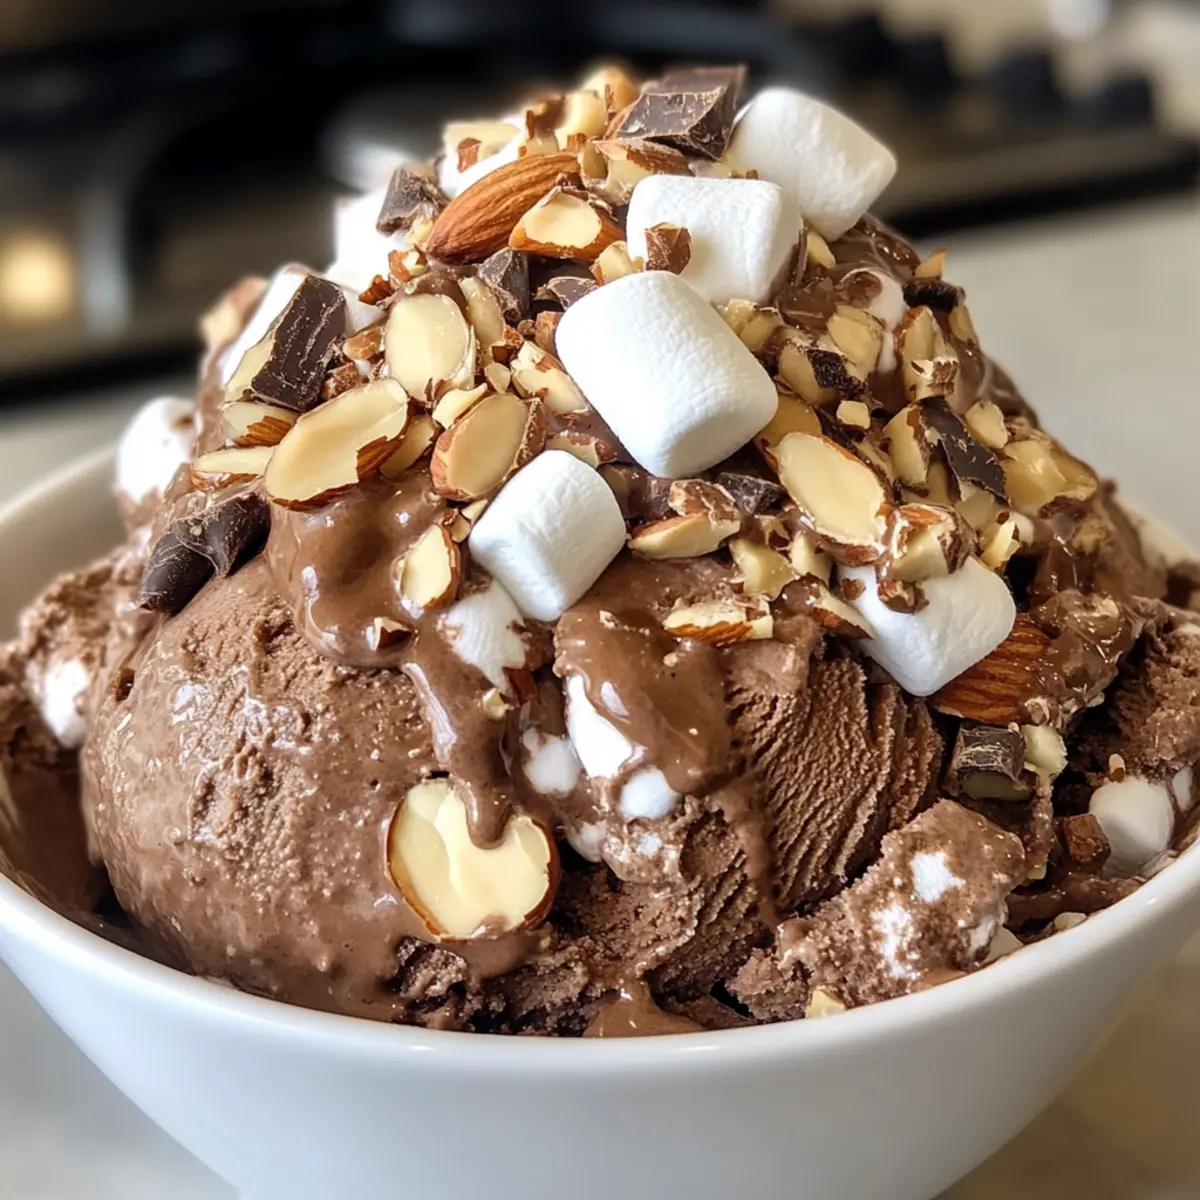
Why Make No-Churn Rocky Road Ice Cream?
Simplicity at Its Finest: This recipe is incredibly easy to whip up, requiring no ice cream maker—perfect for anyone looking to enjoy homemade decadence without the fuss!
Flavor Explosion: Rich chocolate, chewy marshmallows, and crunchy almonds come together for a delightful symphony of tastes that will have everyone asking for seconds.
Versatile Treat: You can easily swap out almonds for pecans or add caramel swirls to make it your own.
Perfect for Summer: Beat the heat with this cool, creamy dessert that’s a hit at any gathering! Impress your guests just like with Bacon White Cabbage Gratin.
Crowd-Pleaser: Whether it’s a BBQ, birthday, or just a cozy night in, this No-Churn Rocky Road Ice Cream is sure to steal the spotlight!
Rocky Road Ice Cream Ingredients
For the Base
• Sweetened Condensed Milk – Acts as a superb sweetener and creamy base for your ice cream.
• Unsweetened Cocoa Powder – Essential for enhancing that rich chocolatey flavor, no substitutions recommended.
• Chocolate Syrup – Adds layers of deep chocolate flavor; feel free to adjust the amount to suit your sweetness preference.
• Salt – A pinch helps balance the sweetness and enhances the flavors, so don’t skip it!
For the Creamy Texture
• Heavy Cream – Whipped to stiff peaks, this ingredient gives your ice cream its luxurious texture.
For the Mix-Ins
• Whole Almonds – Provides delightful crunch and nutty goodness; consider substituting with pecans or walnuts if you like.
• Mini Marshmallows – Offers chewy sweetness; swap for regular marshmallows cut into smaller bits, if desired.
• Mini Chocolate Chips – Introduces even more chocolatey delight throughout the mix; choose dark or milk chocolate based on your preference.
Step‑by‑Step Instructions for No-Churn Rocky Road Ice Cream
Step 1: Prep Almonds
Preheat your oven to 350°F (175°C) and spread the whole almonds on a baking sheet in a single layer. Roast the almonds for 6-8 minutes until they become fragrant and lightly golden; be sure to monitor them closely! Allow the almonds to cool completely on the pan while you move on to the next step.
Step 2: Mix Base
In a large mixing bowl, combine sweetened condensed milk, 3/4 cup chocolate syrup, unsweetened cocoa powder, and a small pinch of salt. Using a whisk, mix these ingredients together until the mixture is smooth and evenly combined. This rich chocolate base will be the heart of your no-churn Rocky Road ice cream!
Step 3: Whip Cream
In a separate bowl, pour in the heavy cream and whip it using a hand mixer or stand mixer until stiff peaks form, which should take about 3-5 minutes. Be careful not to overbeat, as this could create a grainy texture. The whipped cream will lend a light, airy quality to your ice cream.
Step 4: Combine Mixtures
Gently fold the whipped cream into the chocolate-condensed milk mixture using a spatula, taking care to retain the fluffy texture of the cream. Once combined, stir in 1 cup of mini marshmallows for a delightful texture contrast. Your no-churn Rocky Road ice cream mixture is now ready for layering!
Step 5: Layer in Pan
Take a 9×5-inch loaf pan and spread half of the chocolate mixture evenly across the bottom. Sprinkle on 1/4 cup of the roasted almonds and 1/4 cup of mini chocolate chips, then drizzle with 2 tablespoons of chocolate syrup. Swirl the layers gently with a knife to create a pretty marbled effect before adding the rest of the mixture.
Step 6: Add Remaining Mixture
Pour the remaining chocolate ice cream mixture over the first layer in the loaf pan. Repeat the layering process with the remaining almonds, chocolate chips, and a few more mini marshmallows on top for an appealing finish. This will create additional delightful bites in your no-churn Rocky Road ice cream.
Step 7: Freeze
Cover the loaf pan tightly with plastic wrap, ensuring no air pockets are present to prevent ice crystals from forming. Place the pan in the freezer for at least 8 hours or overnight until the ice cream is firm and ready to scoop. The longer it freezes, the better the texture will be!
Step 8: Serve
Once your no-churn Rocky Road ice cream is fully frozen, remove it from the freezer. Scoop the ice cream into cones or bowls, allowing everyone to enjoy a creamy, chocolaty treat full of marshmallows and almonds. Indulge in the delightful flavors of this homemade ice cream!
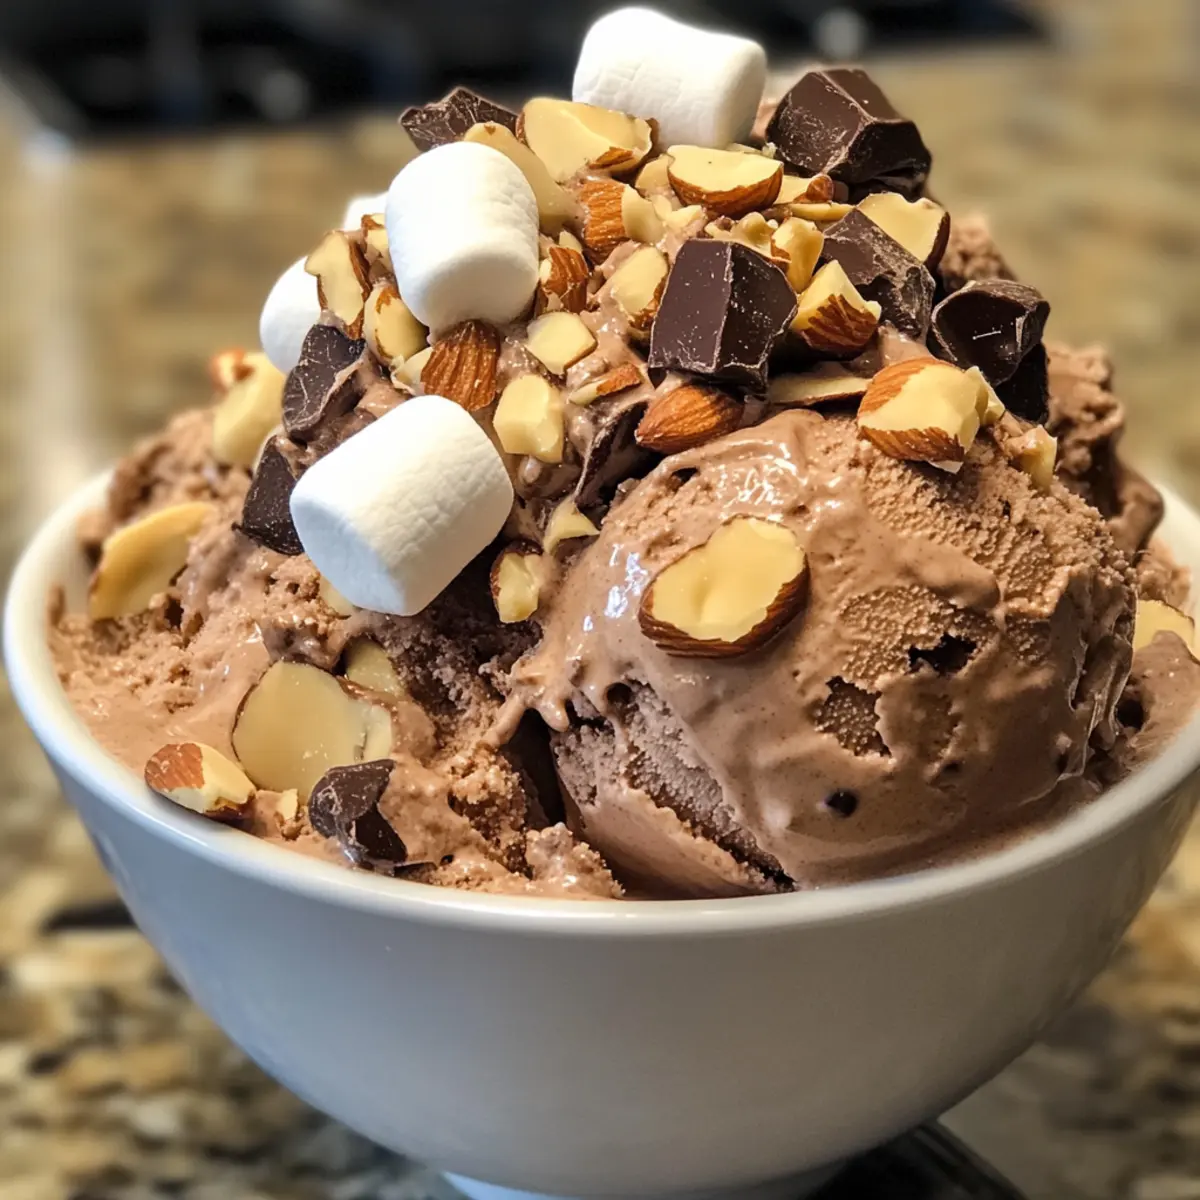
How to Store and Freeze Rocky Road Ice Cream
Fridge: Keep opened containers of homemade Rocky Road Ice Cream in the fridge for up to 3 days; though best enjoyed fresh, refrigeration helps retain some softness.
Freezer: Store your ice cream in an airtight container in the freezer for up to 2 weeks. Ensure it’s tightly covered to prevent ice crystals from forming.
Reheating: If the ice cream becomes too hard to scoop, let it sit at room temperature for about 5-10 minutes before serving for a creamy texture.
Serving Tips: Always re-cover any remaining Rocky Road Ice Cream with plastic wrap to maintain its flavor and freshness after serving.
Make Ahead Options
These No-Churn Rocky Road Ice Cream preparations are perfect for busy home cooks looking to save time! You can mix the base (sweetened condensed milk, cocoa powder, and chocolate syrup) up to 3 days ahead and store it in the refrigerator, ensuring you have everything on hand when you’re ready to whip the cream and assemble. Additionally, you can roast and cool the almonds (Step 1) and cut the mini marshmallows in advance; just keep them in airtight containers at room temperature to maintain freshness. When you’re set to enjoy your ice cream, simply whip the cream (Step 3), combine all elements, layer them in your loaf pan, and freeze for at least 8 hours or overnight. This way, you’ll have delicious, homemade Rocky Road Ice Cream ready to serve without a hefty last-minute hustle!
Rocky Road Ice Cream Variations
Feel free to get creative and customize your Rocky Road Ice Cream with these delightful twists!
- Nutty Alternative: Substitute whole almonds for pecans or walnuts for a different texture and flavor experience. You might just discover a new favorite!
- Fruit Fusion: Add fresh raspberries or strawberries for a fruity burst of flavor that complements the chocolate beautifully. It’s a refreshing addition perfect for summer!
- Caramel Swirls: Replace mini marshmallows with caramel sauce for a gooey twist that takes your dessert to the next level. The hint of sweetness is irresistibly decadent.
- Minty Fresh: Incorporate a teaspoon of mint extract for a cool, refreshing mint-chocolate version. It’s like having an ice cream parlor right at home!
- Spicy Kick: Mix in a pinch of cayenne pepper or cinnamon for a surprising heat that enhances the chocolate flavor. It’s an adventurous twist that’s sure to impress!
- Dairy-Free Delight: Use coconut cream or almond milk to create a dairy-free version. It’s a creamy alternative that still delivers on taste.
- Cookie Crumble: Add crushed cookies like Oreos or graham crackers for added texture and crunch. It’s a fun nod to other classic desserts!
- Sundae Style: Serve your ice cream in a bowl topped with whipped cream, a cherry, and additional chocolate syrup for a classic sundae look that everyone loves!
Looking for more delicious inspiration? Try out the unbelievably satisfying Bacon White Cabbage Gratin or treat yourself with the delicious flavor from Cajun Shrimp Sauce.
Expert Tips for Rocky Road Ice Cream
-
Toast the Almonds: Make sure to roast the almonds just until fragrant. This enhances their flavor and adds crunch to your no-churn ice cream.
-
Whip with Care: When whipping the cream, stop as soon as you hit stiff peaks. Overbeating can lead to a grainy texture, ruining your creamy delight.
-
Layer Smartly: For an even distribution of flavors, layer the ingredients evenly in your loaf pan. This ensures every scoop of Rocky Road Ice Cream is just as delicious!
-
Cover Properly: Use food-safe plastic wrap, pressing it directly onto the surface of the ice cream to prevent freezer air contact and avoid unsightly ice crystals.
-
Experiment with Mix-Ins: Don’t hesitate to swap in different nuts or even add caramel swirls! Personalizing your no-churn ice cream can create unique flavor combinations you’ll love.
What to Serve with No-Churn Rocky Road Ice Cream
Delight your guests with a wonderfully complete meal that brings all the best summer sensations to the table.
-
Fresh Berries: The tartness of raspberries or strawberries cuts through the sweetness, providing a refreshing contrast to the rich ice cream.
-
Warm Brownies: Pairing your ice cream with warm, fudgy brownies creates a delightful melt-in-your-mouth experience that’s pure decadence.
-
Chocolate Chip Cookies: A classic cookie complements the chocolate flavor and adds a chewy texture that everyone loves.
-
Peanut Butter Sauce: Drizzling a rich peanut butter sauce over the ice cream adds a nutty twist and enhanced creaminess, perfect for those who love a sweet and salty combo.
-
Fruit Salad: A mix of seasonal fruits brings a light, refreshing balance to the indulgence of the ice cream while adding bright colors to your dessert spread.
-
Cold Brew Coffee: The bitterness of cold brew coffee offers a delightful pairing with the creamy ice cream, creating a satisfying end to your meal.
Let your creativity flow as you find the ideal accompaniments, making every scoop of No-Churn Rocky Road Ice Cream a delightful part of your summer festivities!

No-Churn Rocky Road Ice Cream Recipe FAQs
What type of almonds should I use for this recipe?
I recommend using whole almonds for their delightful crunch and nutty flavor. However, if you prefer, you can substitute them with pecans or walnuts for a different twist. Just ensure they’re toasted to enhance the taste!
How should I store my homemade Rocky Road Ice Cream?
To maximize freshness, store your Rocky Road Ice Cream in an airtight container in the freezer for up to 2 weeks. Just make sure it is tightly covered to prevent the formation of ice crystals. If you’ve opened it, try to consume it within 3 days for the best flavor!
Can I freeze this ice cream for longer than 2 weeks?
While I wouldn’t recommend freezing it beyond 2 weeks for optimal taste, homemade Rocky Road Ice Cream can be kept in the freezer for up to 3 months. However, I suggest checking for any signs of freezer burn before indulging—ice crystals can form if it’s not well-covered.
What should I do if my whipped cream becomes grainy?
Absolutely! If your whipped cream turns grainy, it means it has been overbeaten. To avoid this, whip the cream just until stiff peaks form—approximately 3-5 minutes works well. If it happens, try folding in a bit of fresh whipped cream to restore some creaminess back into the mixture.
Are there any dietary considerations for this recipe?
Yes! Be aware that this No-Churn Rocky Road Ice Cream contains dairy and nuts, which may not be suitable for individuals with lactose intolerance or nut allergies. Always check ingredients and consider alternatives such as coconut cream for a dairy-free option or leave out nuts if allergies are a concern.
Can I use this recipe for other flavors of no-churn ice cream?
Very much so! This process can be adapted for various flavors. For example, replace chocolate with your favorite fruit puree or caramel for a unique twist. Simply adjust the mix-ins to create your own signature no-churn ice cream!
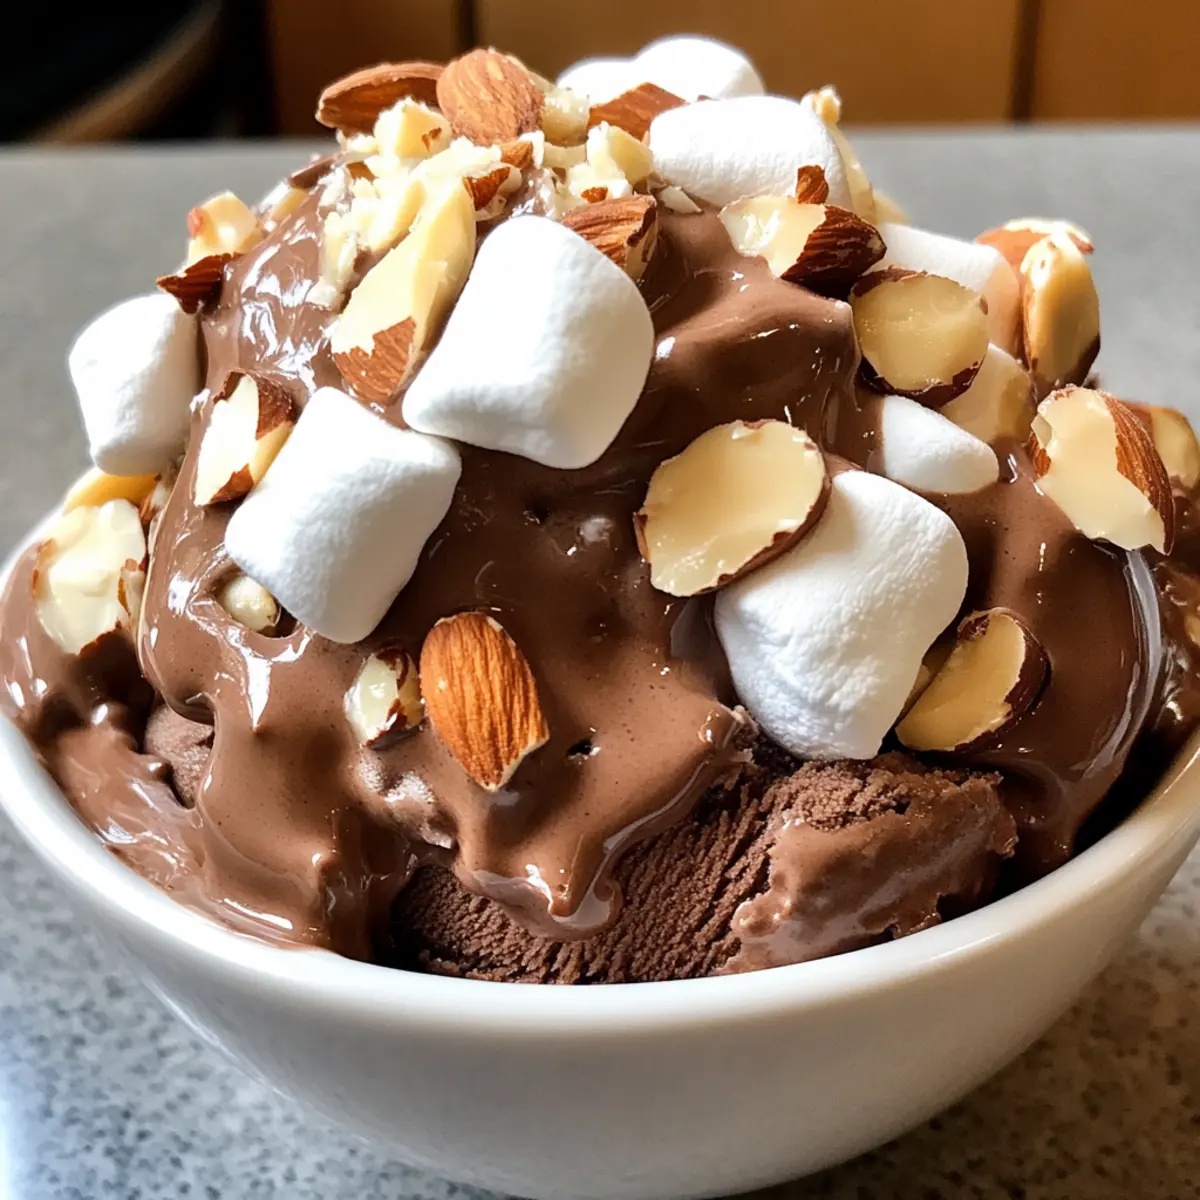
Homemade Rocky Road Ice Cream: No Churn, All Flavor!
Ingredients
Equipment
Method
- Preheat your oven to 350°F (175°C) and spread the whole almonds on a baking sheet in a single layer. Roast for 6-8 minutes until fragrant and lightly golden. Allow to cool.
- In a large mixing bowl, combine sweetened condensed milk, 3/4 cup chocolate syrup, cocoa powder, and a pinch of salt. Mix until smooth.
- In a separate bowl, whip heavy cream until stiff peaks form (about 3-5 minutes). Be careful not to overbeat.
- Gently fold the whipped cream into the chocolate mixture and stir in 1 cup of mini marshmallows.
- In a loaf pan, spread half of the chocolate mixture, sprinkle with 1/4 cup of roasted almonds and mini chocolate chips, then drizzle with 2 tablespoons of chocolate syrup. Swirl to create marbling.
- Pour the remaining chocolate mixture over the first layer. Repeat layers with remaining almonds, chocolate chips, and mini marshmallows on top.
- Cover tightly with plastic wrap and freeze for at least 8 hours or overnight until firm.
- Once frozen, scoop the ice cream into cones or bowls and enjoy!