There’s something magical about dessert that brings people together, and this Red Velvet Oreo Cheesecake is no exception. I remember the first time I tried red velvet cake at a family gathering; the rich flavor and vibrant color captivated me. This cheesecake combines that nostalgia with the beloved crunch of Oreos, making it a perfect treat for any occasion. Whether you’re looking to impress guests or simply indulge after a long day, this recipe is your go-to. It’s easy to whip up and even easier to enjoy, so let’s dive into this dreamy delight!
Why You’ll Love This Red Velvet Oreo Cheesecake
This Red Velvet Oreo Cheesecake is a game-changer for dessert lovers. It’s not just about the stunning looks; the taste is out of this world! With minimal prep time and straightforward steps, you can create a showstopper that impresses without the stress. Plus, the combination of creamy cheesecake and crunchy Oreos is a flavor explosion that will have everyone coming back for seconds. Trust me, this dessert is a crowd-pleaser!
Ingredients for Red Velvet Oreo Cheesecake
Gathering the right ingredients is the first step to creating this delightful Red Velvet Oreo Cheesecake. Here’s what you’ll need:
Oreo cookie crumbs: These form the base of your cheesecake crust, providing that signature chocolatey crunch.
Unsalted butter: Melted butter helps bind the cookie crumbs together, ensuring a firm crust.
Cream cheese: The star of the show! Softened cream cheese gives the cheesecake its rich and creamy texture.
Granulated sugar: Sweetens the filling, balancing the tanginess of the cream cheese.
Vanilla extract: A splash of vanilla adds depth and enhances the overall flavor.
Eggs: They help set the cheesecake, giving it that perfect sliceable consistency.
Sour cream: Adds creaminess and a slight tang, making the cheesecake even more luscious.
Buttermilk: This ingredient keeps the cheesecake moist and adds a subtle richness.
Red food coloring: Essential for that iconic red velvet look, giving your cheesecake its vibrant hue.
Cocoa powder: Just a touch enhances the chocolate flavor without overpowering the red velvet essence.
Chopped Oreo cookies: These are folded into the batter for delightful bites of crunch throughout the cheesecake.
For those looking to mix things up, consider adding mini chocolate chips for an extra chocolatey twist. You can find the exact measurements for each ingredient at the bottom of the article, ready for printing!
How to Make Red Velvet Oreo Cheesecake
Creating this Red Velvet Oreo Cheesecake is a delightful journey that’s easier than you might think. Follow these simple steps, and you’ll be on your way to a dessert that’s sure to impress!
Step 1: Preheat and Prepare
Start by preheating your oven to 325°F (163°C). This ensures your cheesecake bakes evenly. While the oven warms up, grab a 9-inch springform pan and grease it well. This will help your cheesecake release easily once it’s done.
Step 2: Make the Crust
In a medium bowl, combine your Oreo cookie crumbs with the melted butter. Mix them together until they resemble wet sand. Then, press this mixture firmly into the bottom of your prepared springform pan. This crust is the foundation of your cheesecake, so make sure it’s packed tightly!
Step 3: Prepare the Cheesecake Filling
In a large mixing bowl, beat the softened cream cheese with an electric mixer until it’s smooth and creamy. Gradually add in the granulated sugar, mixing until well combined. Next, add the vanilla extract, eggs (one at a time), sour cream, buttermilk, red food coloring, and cocoa powder. Mix everything until it’s perfectly smooth. This filling is where the magic happens!
Step 4: Fold in the Oreos
Now, gently fold in the chopped Oreo cookies into your cheesecake batter. This step adds delightful bits of crunch throughout the creamy filling. Be careful not to overmix; you want those Oreo pieces to stay intact!
Step 5: Bake the Cheesecake
Pour the cheesecake batter over the crust in your springform pan. Smooth the top with a spatula for an even finish. Bake in your preheated oven for 55-60 minutes. The center should be set but still slightly jiggly. This is key for that perfect creamy texture!
Step 6: Cool and Refrigerate
Once baked, turn off the oven and leave the cheesecake inside for an additional hour. This gradual cooling helps prevent cracks. After that, let it cool to room temperature before refrigerating for at least 4 hours, or overnight if you can wait. Patience is a virtue when it comes to cheesecake!
Tips for Success
Use room temperature cream cheese for a smoother filling.
Don’t skip the cooling step in the oven; it helps prevent cracks.
For a cleaner slice, use a hot knife to cut the cheesecake.
Chill the cheesecake overnight for the best flavor and texture.
Feel free to customize with toppings like whipped cream or extra Oreos!
Equipment Needed
9-inch springform pan: Essential for easy removal; a regular cake pan works in a pinch.
Mixing bowls: Use a large bowl for the filling and a medium one for the crust.
Electric mixer: A hand mixer is perfect; a whisk can work, but it’ll take longer.
Spatula: Great for smoothing the batter and folding in the Oreos.
Measuring cups and spoons: Accurate measurements ensure the best results.
Variations
Chocolate Chip Delight: Add ½ cup of mini chocolate chips to the batter for an extra chocolatey twist.
Gluten-Free Option: Substitute regular Oreo cookies with gluten-free Oreos and use gluten-free cookie crumbs for the crust.
Red Velvet Swirl: Create a marbled effect by swirling in some additional red velvet cake batter before baking.
Nutty Crunch: Fold in chopped nuts like pecans or walnuts for added texture and flavor.
Vegan Version: Use vegan cream cheese, coconut cream, and a flax egg to make this cheesecake plant-based.
Serving Suggestions
Pair your Red Velvet Oreo Cheesecake with a scoop of vanilla ice cream for a delightful contrast.
Serve with fresh berries like strawberries or raspberries for a pop of color and tartness.
Drizzle chocolate or caramel sauce on top for an extra indulgent touch.
Garnish with whipped cream and crushed Oreos for a stunning presentation.
Enjoy with a cup of coffee or a glass of milk to balance the sweetness.
FAQs about Red Velvet Oreo Cheesecake
As you embark on your journey to create this delicious Red Velvet Oreo Cheesecake, you might have a few questions. Here are some common queries that can help you along the way:
Can I make this cheesecake ahead of time?
Absolutely! This cheesecake actually tastes better after chilling overnight. Just make sure to cover it well in the fridge to keep it fresh.
What can I use instead of buttermilk?
If you don’t have buttermilk on hand, you can easily make a substitute. Just mix one tablespoon of vinegar or lemon juice with a cup of milk and let it sit for about 5 minutes.
How do I store leftovers?
Store any leftover cheesecake in an airtight container in the refrigerator. It should stay fresh for up to a week, but I doubt it will last that long!
Can I freeze Red Velvet Oreo Cheesecake?
Yes, you can freeze it! Just wrap it tightly in plastic wrap and then in aluminum foil. It can be frozen for up to three months. Thaw it in the fridge before serving.
What’s the best way to slice the cheesecake?
For clean slices, use a hot knife. Dip the knife in hot water, wipe it dry, and then cut. This helps prevent the cheesecake from sticking to the knife.
Final Thoughts
Creating this Red Velvet Oreo Cheesecake is more than just baking; it’s about crafting a moment of joy. Each slice is a celebration of flavors, blending nostalgia with a modern twist. The vibrant red hue and creamy texture make it a showstopper at any gathering. Whether you’re sharing it with friends or savoring it solo, this cheesecake brings smiles and satisfaction. So, roll up your sleeves, embrace the process, and let this dreamy delight become a cherished part of your dessert repertoire. Trust me, once you try it, you’ll be hooked!
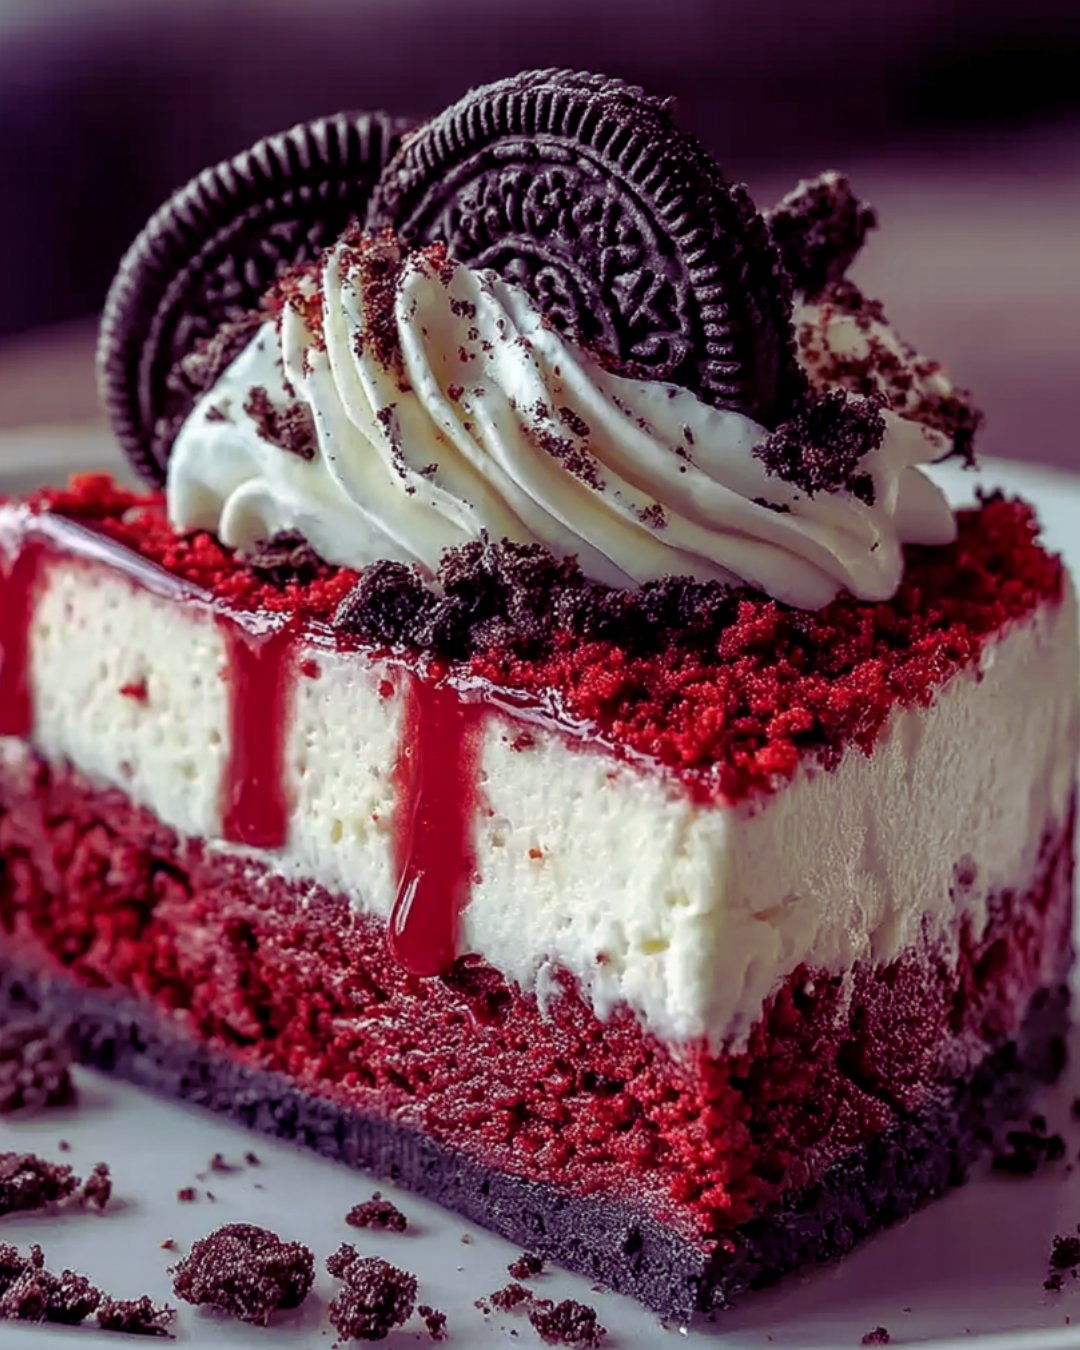
Indulge in this dreamy Red Velvet Oreo Cheesecake, a perfect blend of rich flavors and creamy texture.
Ingredients
Scale
1 ½ cups Oreo cookie crumbs
½ cup unsalted butter, melted
2 (8-ounce) packages cream cheese, softened
1 cup granulated sugar
1 teaspoon vanilla extract
2 large eggs
1 cup sour cream
½ cup buttermilk
2 tablespoons red food coloring
1 tablespoon cocoa powder
1 cup chopped Oreo cookies (about 8 cookies)
Instructions
Preheat your oven to 325°F (163°C). Grease a 9-inch springform pan.
In a medium bowl, combine Oreo cookie crumbs and melted butter. Mix until well combined. Press the mixture firmly into the bottom of the prepared springform pan to form the crust.
In a large mixing bowl, beat the softened cream cheese with an electric mixer until smooth and creamy. Gradually add the granulated sugar and continue to beat until well combined.
Add the vanilla extract, eggs (one at a time), sour cream, buttermilk, red food coloring, and cocoa powder. Mix until smooth and fully incorporated.
Gently fold in the chopped Oreo cookies until evenly distributed throughout the batter.
Pour the cheesecake batter over the prepared crust in the springform pan. Smooth the top with a spatula.
Bake in the preheated oven for 55-60 minutes, or until the center is set but slightly jiggly. Turn off the oven and leave the cheesecake inside for an additional hour to cool gradually.
Remove the cheesecake from the oven and let it cool to room temperature. Once cooled, refrigerate for at least 4 hours or overnight for best results.
Before serving, carefully remove the sides of the springform pan. Slice and enjoy!
Notes
For a chocolatey twist, add ½ cup of mini chocolate chips to the batter.
Top the cheesecake with whipped cream and additional crushed Oreos for an extra special presentation.