There’s something magical about desserts that come together with minimal effort, and that’s exactly what you get with Oreo Dump Cake. This delightful treat is perfect for those busy days when you want to impress your loved ones without spending hours in the kitchen. Just imagine layers of crushed Oreos, creamy pudding, and rich chocolate frosting all coming together in one pan. It’s a crowd-pleaser that satisfies sweet cravings and brings smiles to faces. Whether it’s a family gathering or a casual get-together, this dessert is sure to steal the show!
Why You’ll Love This Oreo Dump Cake
This Oreo Dump Cake is a game-changer for anyone who loves dessert but hates complicated recipes. It’s incredibly easy to whip up, making it perfect for last-minute gatherings or a cozy night in. The rich chocolate flavor combined with the crunch of Oreos creates a delightful texture that’s hard to resist. Plus, it’s a hit with both kids and adults, ensuring everyone leaves the table happy and satisfied!
Ingredients for Oreo Dump Cake
Gathering the right ingredients is the first step to creating this indulgent Oreo Dump Cake. Here’s what you’ll need:
Oreo cookies: The star of the show! These chocolatey delights form the base layer, providing that signature crunch.
Chocolate frosting: This adds a rich, creamy layer that complements the Oreos perfectly. You can use store-bought or homemade, depending on your time.
Evaporated milk: This ingredient helps bind the cookie layer together, giving it a moist texture that’s simply irresistible.
Instant chocolate pudding mix: A quick way to add depth and creaminess. It sets beautifully and enhances the chocolate flavor.
Cream cheese: Softened cream cheese adds a tangy richness that balances the sweetness of the frosting.
Whipped topping: This light and airy topping is the perfect finishing touch, making each bite feel indulgent.
Mini chocolate chips (optional): For those who can’t get enough chocolate, sprinkle these on top for an extra treat!
For exact measurements, check the bottom of the article where you can find everything listed for easy printing. Feel free to get creative with your ingredients; for instance, using mint-flavored Oreos can give this dessert a refreshing twist!
How to Make Oreo Dump Cake
Creating this Oreo Dump Cake is a breeze! Follow these simple steps, and you’ll have a delicious dessert that will impress everyone. Let’s dive into the process!
Step 1: Preheat and Prepare
First things first, preheat your oven to 350°F (175°C). This is crucial for getting that perfect bake. While the oven warms up, grease a 9×13 inch baking dish. A little non-stick spray or butter will do the trick, ensuring your cake comes out easily.
Step 2: Combine Cookies and Milk
In a large bowl, mix the crushed Oreo cookies with the evaporated milk. Stir until every crumb is well coated. This mixture will form the base layer of your cake, so make sure it’s evenly combined for the best texture.
Step 3: Spread the Cookie Mixture
Now, take that cookie mixture and evenly spread it in the bottom of your prepared baking dish. Use a spatula to flatten it out. This step is key for even baking, so take your time to get it nice and smooth.
Step 4: Mix Cream Cheese and Frosting
In another bowl, blend the softened cream cheese with the chocolate frosting until smooth. This rich mixture adds a creamy layer that complements the crunch of the Oreos beautifully. Don’t rush this step; a well-mixed frosting will make a big difference!
Step 5: Layer the Frosting Mixture
Spread the cream cheese and frosting mixture over the cookie layer. Use a spatula to ensure it’s evenly distributed. This layer adds a delightful creaminess that balances the dessert perfectly.
Step 6: Sprinkle Pudding Mix
Next, evenly sprinkle the instant chocolate pudding mix over the frosting layer. This adds a chocolatey depth that enhances the overall flavor. Make sure to cover the frosting completely for the best results.
Step 7: Pour Cold Milk
Pour 2 cups of cold milk over the pudding layer, ensuring it’s evenly distributed. This step is essential as it helps set the pudding, creating that luscious texture we all love.
Step 8: Bake
Now, it’s time to bake! Place your dish in the preheated oven and bake for 30-35 minutes. You’ll know it’s ready when the edges are bubbly and the center is set. This is where the magic happens, so keep an eye on it!
Step 9: Cool and Top
Once baked, remove the dish from the oven and let it cool for about 15 minutes. After cooling, top it with whipped topping and mini chocolate chips for that extra touch of indulgence. It’s the cherry on top of this delightful dessert!
Step 10: Chill Before Serving
Finally, chill the cake in the refrigerator for at least 1 hour before serving. This allows all the flavors to meld beautifully, making each bite even more delicious. Trust me, the wait is worth it!
Tips for Success
Use a food processor to crush Oreos quickly and evenly.
Let the cream cheese soften at room temperature for easier mixing.
For a richer flavor, use whole milk instead of evaporated milk.
Don’t skip the chilling step; it enhances the flavors and texture.
Experiment with toppings like crushed nuts or caramel drizzle for added flair.
Equipment Needed
9×13 inch baking dish: Essential for baking the cake. A glass or metal dish works well.
Mixing bowls: Use at least two for combining ingredients. Any size will do!
Spatula: Perfect for spreading layers evenly. A silicone spatula is great for scraping.
Food processor (optional): Makes crushing Oreos a breeze, but a zip-top bag and rolling pin work too.
Variations
Mint Oreo Dump Cake: Swap regular Oreos for mint-flavored ones and add a few drops of peppermint extract to the cream cheese mixture for a refreshing twist.
Peanut Butter Delight: Mix in some creamy peanut butter with the cream cheese and chocolate frosting for a nutty flavor that pairs perfectly with chocolate.
Gluten-Free Option: Use gluten-free Oreo cookies to make this dessert suitable for those with gluten sensitivities.
Fruit Layer: Add a layer of sliced strawberries or raspberries on top of the cream cheese mixture for a fruity contrast to the chocolate.
Vegan Version: Substitute the cream cheese with a vegan cream cheese alternative and use dairy-free whipped topping for a plant-based treat.
Serving Suggestions
Pair with a scoop of vanilla ice cream for a delightful contrast in temperature and texture.
Serve alongside fresh berries to add a pop of color and a hint of tartness.
Drizzle with chocolate or caramel sauce for an extra indulgent touch.
Present in individual cups for a fun, personal serving style.
FAQs about Oreo Dump Cake
As you dive into making this delicious Oreo Dump Cake, you might have a few questions. Here are some common queries that can help you along the way:
Can I make Oreo Dump Cake ahead of time?
Absolutely! This dessert actually tastes better after chilling in the fridge for a few hours or even overnight. Just make sure to cover it well to keep it fresh.
What can I substitute for evaporated milk?
If you don’t have evaporated milk on hand, you can use whole milk or a mixture of milk and cream. This will still give you that creamy texture.
Can I use different flavors of pudding mix?
Yes! While chocolate pudding is a classic choice, feel free to experiment with vanilla or even butterscotch pudding for a unique twist on this Oreo Dump Cake.
How should I store leftovers?
Store any leftovers in an airtight container in the refrigerator. It should stay fresh for about 3-4 days, but trust me, it won’t last that long!
Is this dessert suitable for a crowd?
Definitely! This recipe yields 12 servings, making it perfect for parties, potlucks, or family gatherings. Just be prepared for everyone to ask for seconds!
Final Thoughts
Creating this Oreo Dump Cake is more than just baking; it’s about bringing joy to those you love. The simplicity of the recipe allows you to focus on what truly matters—sharing delicious moments with family and friends. Each bite is a delightful blend of textures and flavors that evoke nostalgia and happiness. Whether it’s a casual weeknight or a special occasion, this dessert is sure to impress. So, roll up your sleeves, gather your ingredients, and let the magic of Oreo Dump Cake fill your kitchen with warmth and laughter. You won’t regret it!
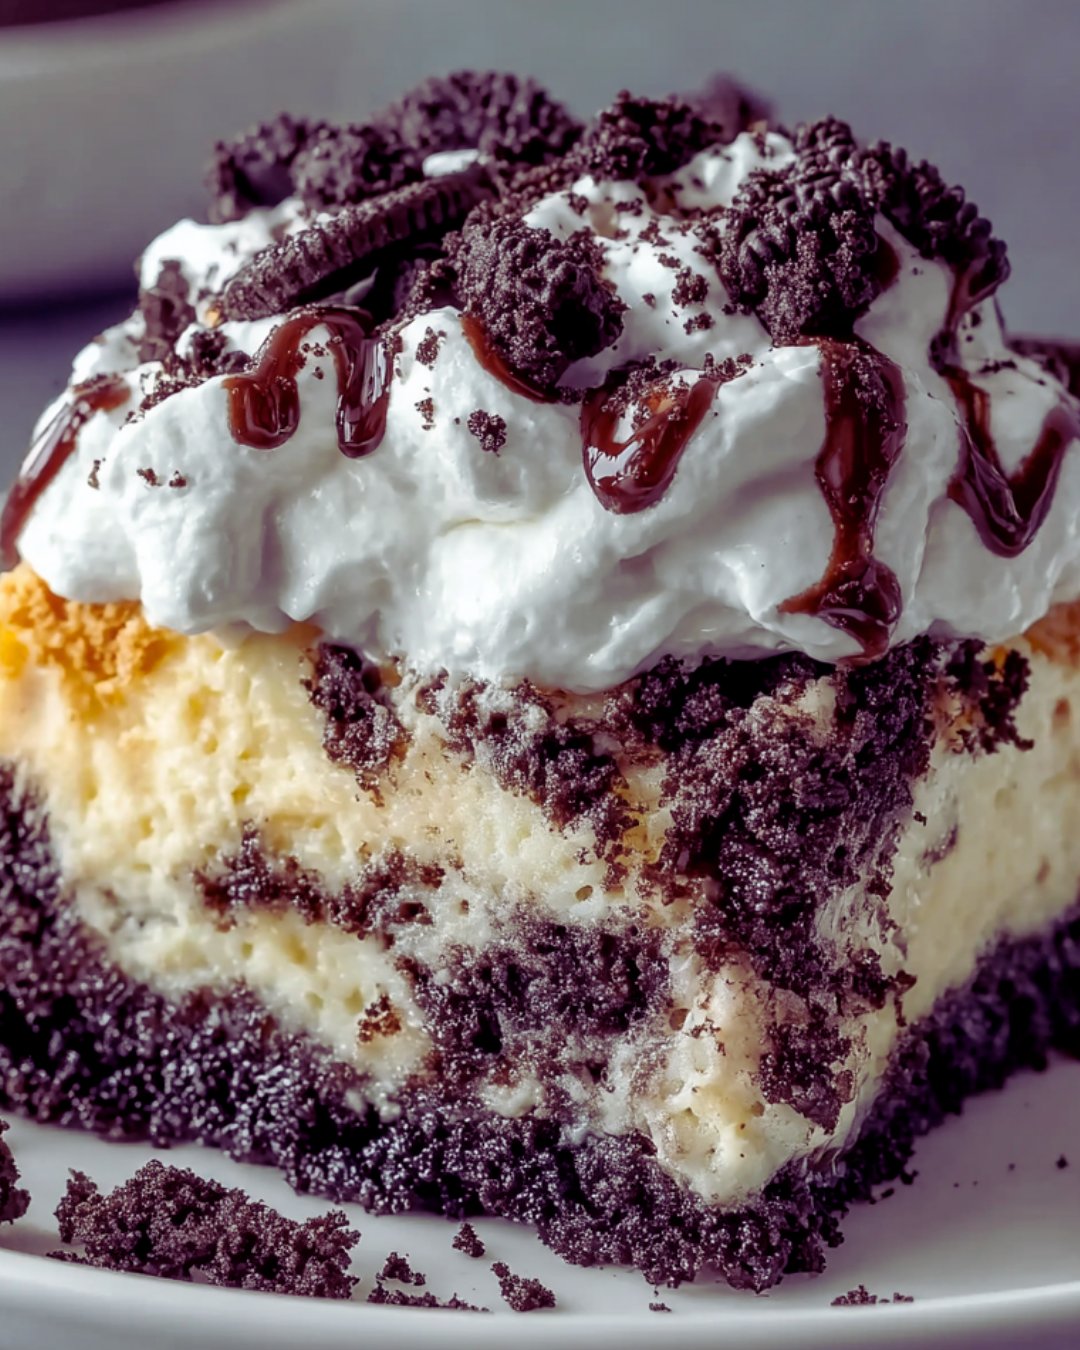
Oreo Dump Cake is a delicious and easy dessert made with layers of crushed Oreo cookies, chocolate frosting, and creamy pudding, topped with whipped topping and chocolate chips.
Ingredients
Scale
2 (15.35 oz) packages of Oreo cookies, crushed
1 (15 oz) can of chocolate frosting
1 (12 oz) can of evaporated milk
1 (1.5 oz) package of instant chocolate pudding mix
1 (8 oz) package of cream cheese, softened
1 (8 oz) tub of whipped topping, thawed
1 cup of mini chocolate chips (optional)
Instructions
Preheat your oven to 350°F (175°C). Grease a 9×13 inch baking dish.
In a large bowl, combine the crushed Oreo cookies and evaporated milk. Mix well until the cookies are evenly coated.
Spread the cookie mixture evenly in the bottom of the prepared baking dish.
In another bowl, mix the softened cream cheese and chocolate frosting until smooth. Spread this mixture over the cookie layer in the baking dish.
Sprinkle the instant chocolate pudding mix evenly over the frosting layer.
Pour 2 cups of cold milk over the pudding layer, ensuring it is evenly distributed.
Bake in the preheated oven for 30-35 minutes, or until the edges are bubbly and the center is set.
Remove from the oven and let it cool for about 15 minutes. Top with whipped topping and mini chocolate chips, if using.
Chill in the refrigerator for at least 1 hour before serving to allow the flavors to meld.
Notes
For a minty twist, use mint-flavored Oreos instead of regular Oreos and add a few drops of peppermint extract to the cream cheese mixture.
To make it even more decadent, drizzle chocolate or caramel sauce over the top before serving.