


As the sun blares down on a lazy summer afternoon, nothing quite quells the thirst for something sweet like a scoop of homemade Orange Sherbet. This bright and zesty dessert brings the essence of freshly squeezed oranges into every creamy bite, accented with a hint of vanilla for that extra twist. Whipping up this refreshing treat takes just about 30 minutes in an ice cream maker, making it a perfect choice for spontaneous summer gatherings or quiet evenings on the porch. Plus, it’s gluten-free and a delightful way to embrace the flavors of the season while steering clear of heavy, store-bought options. Ready to transform juiciness into joy? Let’s churn up some deliciousness!
Why is Homemade Orange Sherbet a Delight?
Creamy, Refreshing Goodness: This homemade Orange Sherbet transforms simple ingredients into a luxurious treat that’s both light and satisfying. Quick and Easy: With minimal effort, you can whip this up in just 30 minutes, perfect for spontaneous summer cravings! Versatile Flavor: Feel free to experiment with other citrus fruits for unique variations. Family-Friendly: Kids and adults alike will adore its vibrant taste, making it a surefire hit at any gathering! Plus, it’s gluten-free, offering a guilt-free indulgence everyone can enjoy.
Orange Sherbet Ingredients
For the Sherbet Base
• Freshly Squeezed Orange Juice – Provides the main flavor and freshness; aim for 2 cups for a zesty kick.
• Granulated Sugar – Essential for sweetness and a smooth texture; use 1 cup for ideal balance.
• Orange Zest – Enhances the citrus aroma and flavor; use 1½ tablespoons for a vibrant taste.
• Kosher Salt – Balances sweetness and enhances overall flavor; just ⅛ teaspoon does the trick.
• Vanilla Extract – Adds depth and complements the orange flavor; 1 teaspoon brings the taste to life.
For the Creaminess
• Milk – Creates a creamy texture; use 1 cup, or substitute with half and half for richness.
• Heavy Whipping Cream – Imparts extra richness and creaminess; ½ cup will elevate the dessert.
Enjoy the delightful process of making your Orange Sherbet at home!
Step‑by‑Step Instructions for Orange Sherbet
Step 1: Combine Ingredients
In a large mixing bowl, whisk together 2 cups of freshly squeezed orange juice, 1 cup of granulated sugar, 1½ tablespoons of orange zest, ⅛ teaspoon of kosher salt, and 1 teaspoon of vanilla extract. Mix until the sugar is fully dissolved, which should take about 2-3 minutes. You’ll know it’s ready when the mixture appears smooth and glossy.
Step 2: Add Creaminess
Once your sugar mixture is smooth, gently stir in 1 cup of milk and ½ cup of heavy whipping cream. Mix until everything is well blended, creating a creamy and luscious base for your homemade Orange Sherbet. This step will take about 1-2 minutes of light stirring, ensuring no lumps remain.
Step 3: Churn the Mixture
Pour the orange mixture into your ice cream maker’s bowl, making sure to follow the manufacturer’s instructions for optimal operation. Churn the mixture for approximately 20-30 minutes, or until it reaches a consistency that resembles soft serve ice cream. Keep an eye on it as it thickens to get that perfect creamy texture for your Orange Sherbet.
Step 4: Freeze for Firmness
Once the consistency is to your liking, transfer your freshly churned Orange Sherbet into a freezer-safe container. Cover it tightly with plastic wrap or wax paper to prevent ice crystals from forming. Place the container in the freezer and allow it to freeze overnight or until it is fully solid, which will give you a perfect scoopable texture.
Step 5: Serve and Enjoy
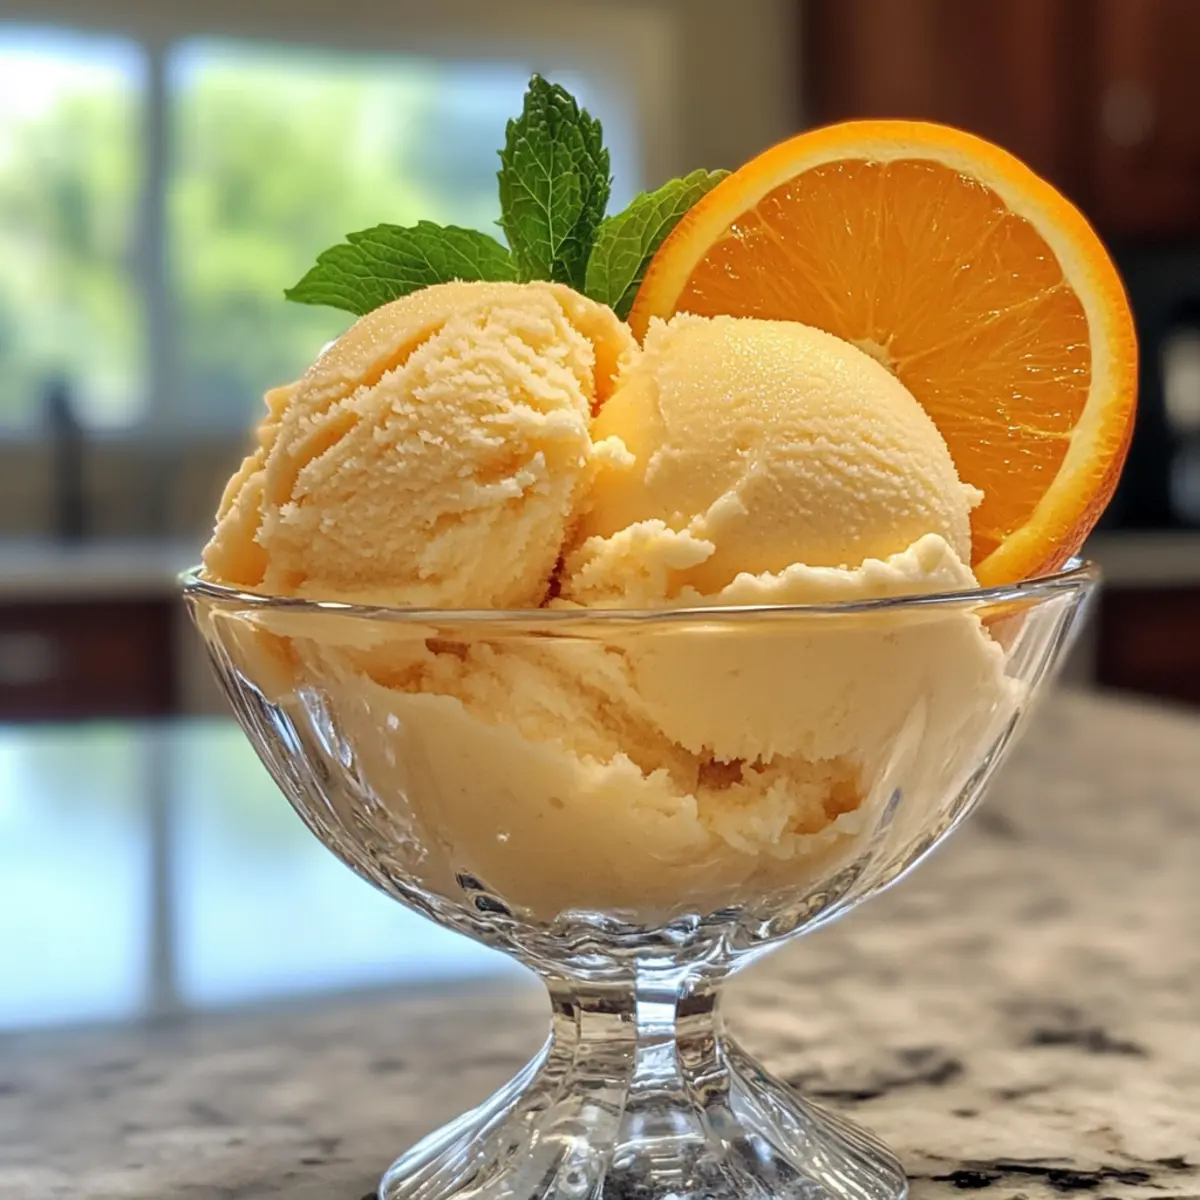
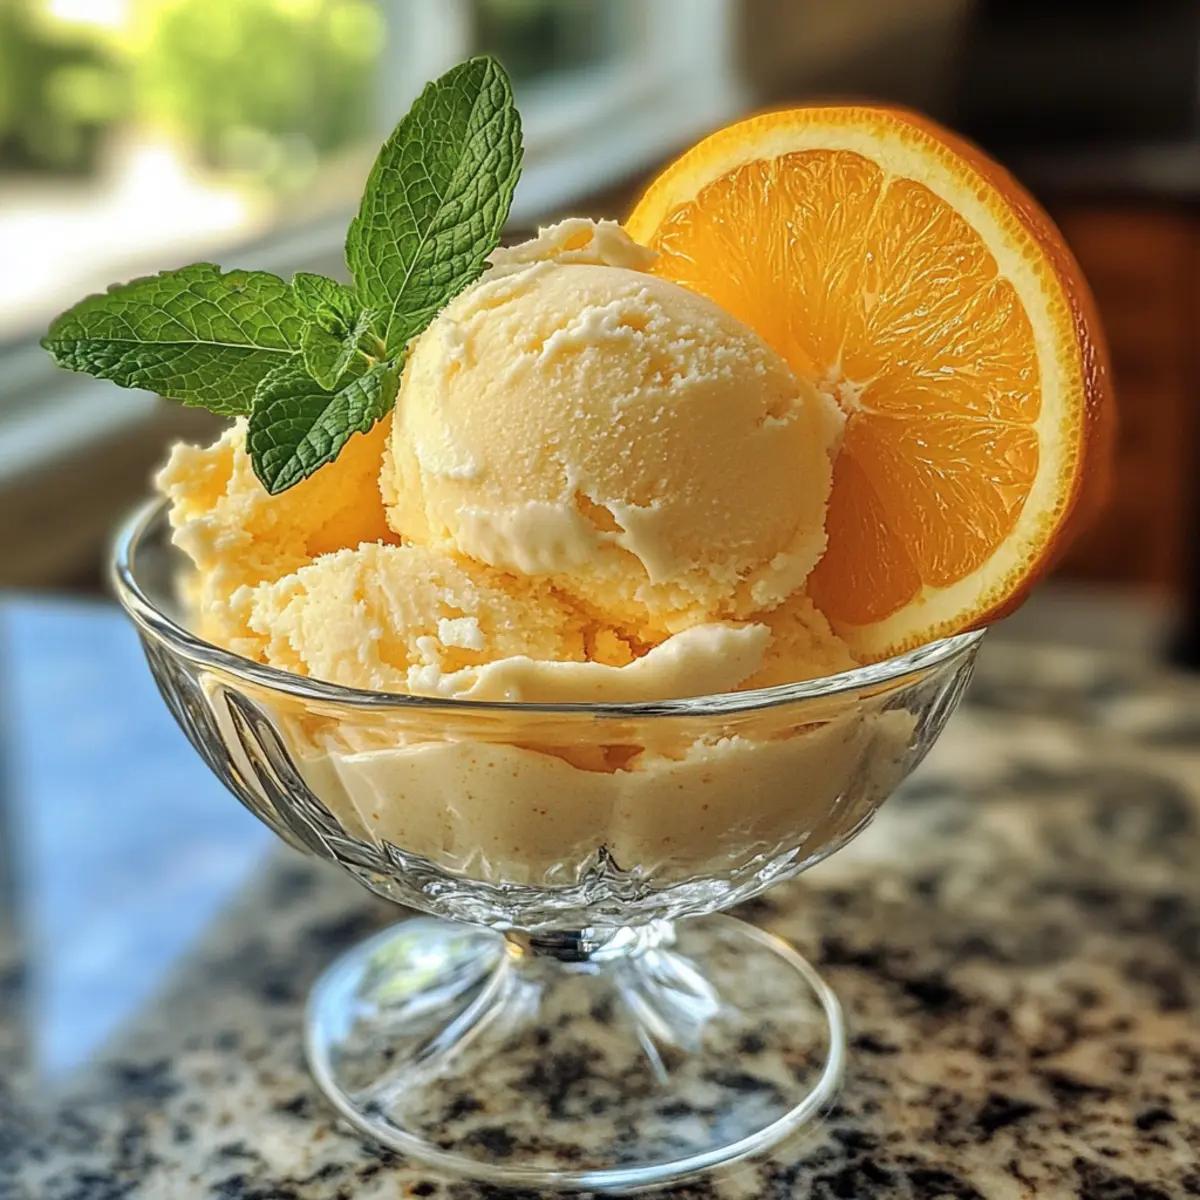
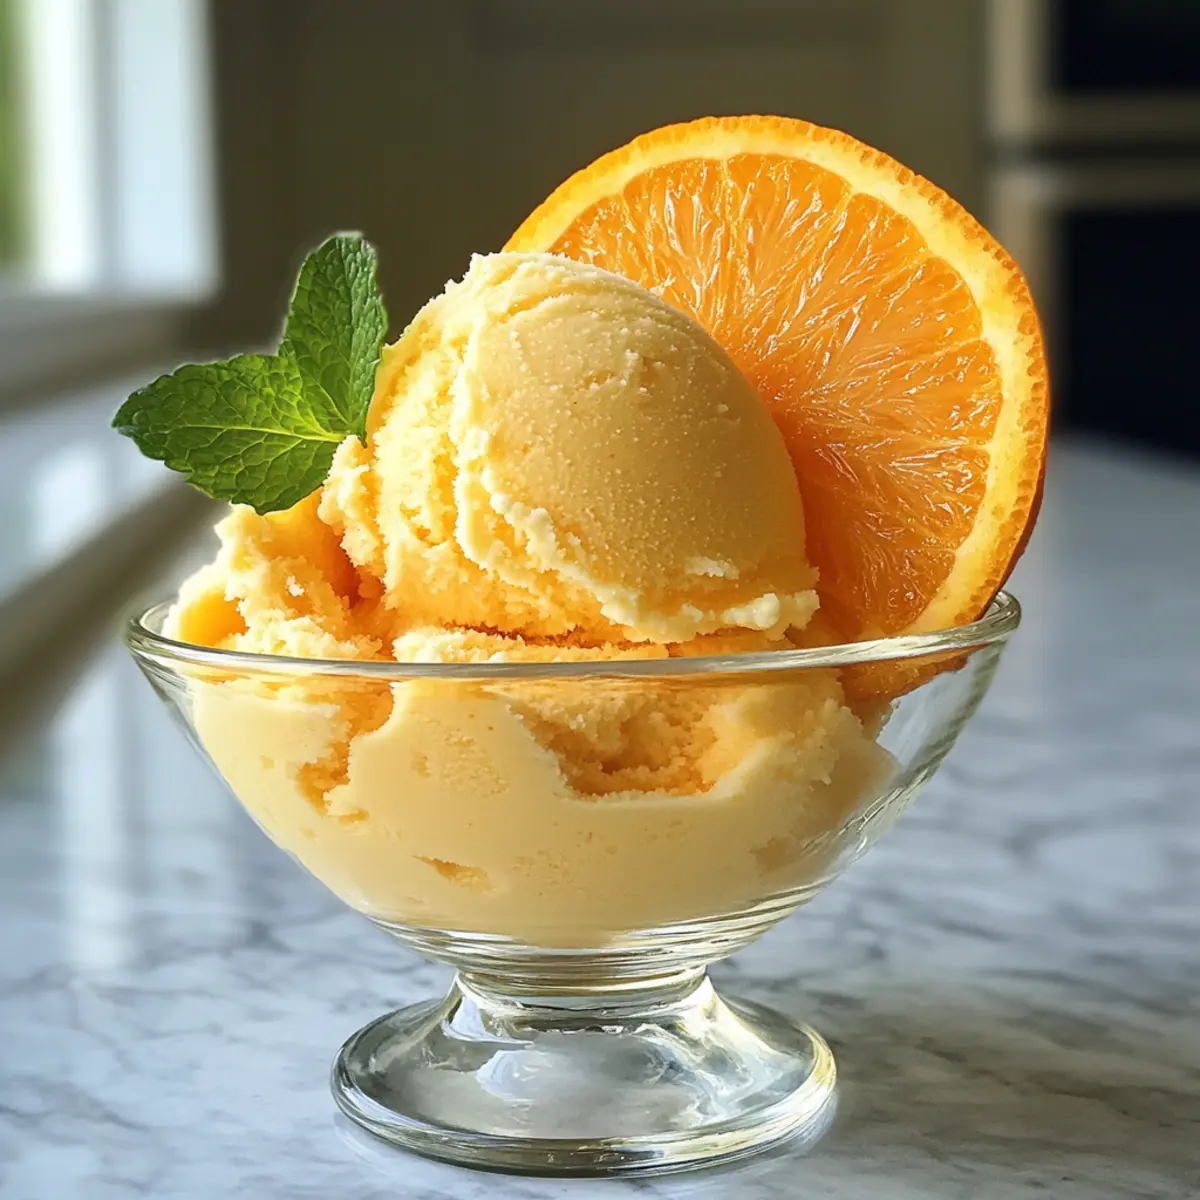
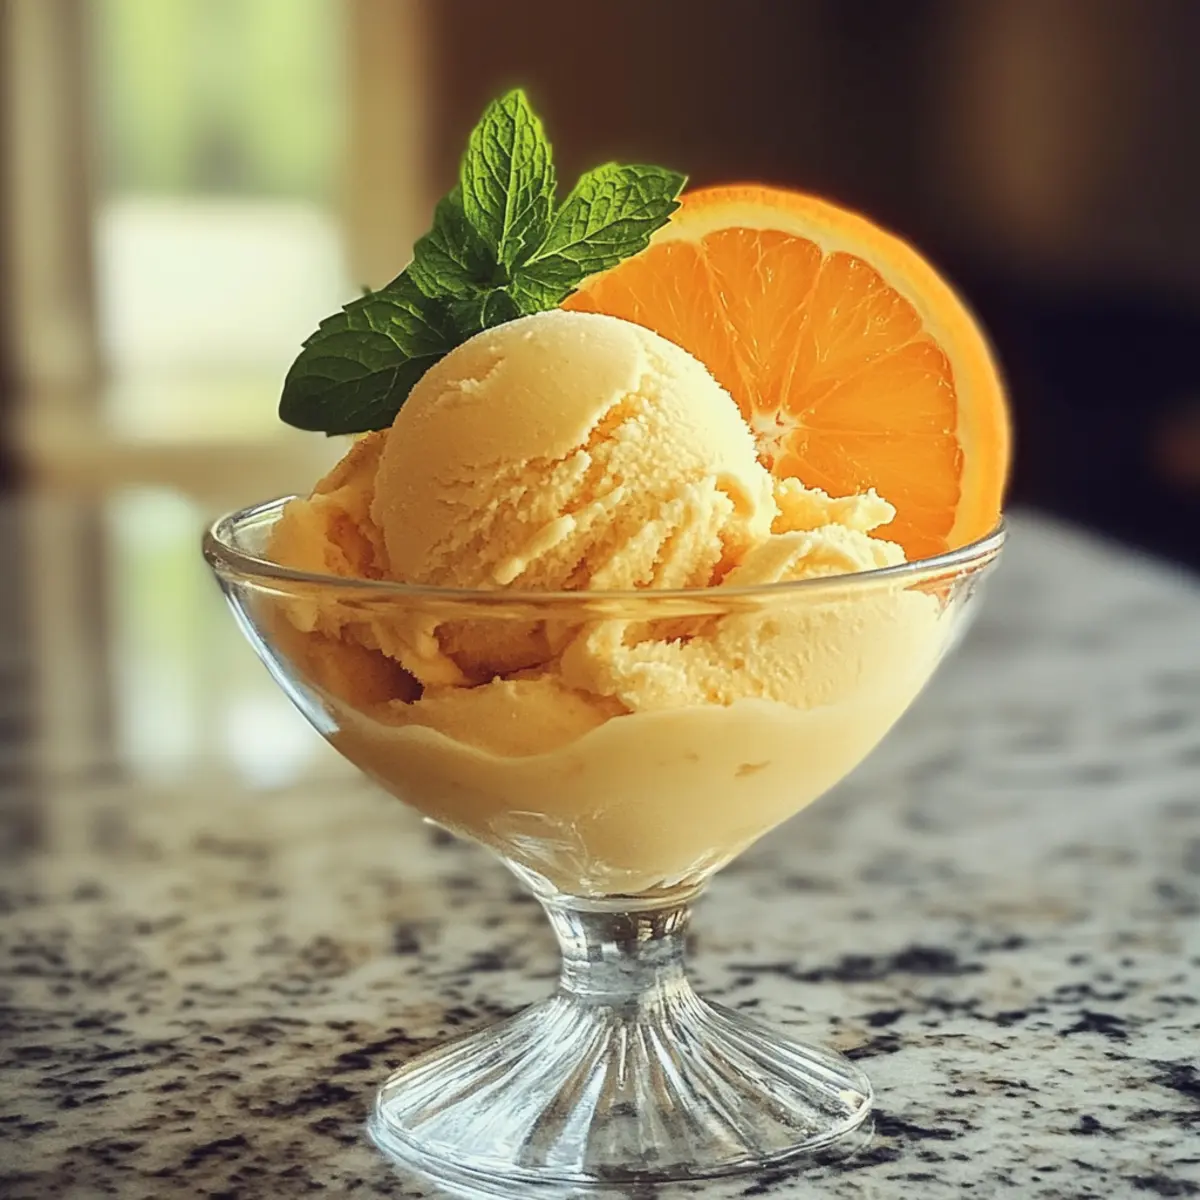
When you’re ready to serve, take the Orange Sherbet out of the freezer and let it sit for about 5-10 minutes to soften slightly for easier scooping. Use a scoop to serve it into bowls or cones, and consider garnishing with fresh fruit or mint leaves for a delightful presentation. Indulge in the refreshing taste of your homemade Orange Sherbet!
Storage Tips for Orange Sherbet
- Fridge: Store any leftover orange sherbet in the refrigerator for up to 2 days before it begins to lose its fresh taste and texture. Keep it in an airtight container to maintain flavor.
- Freezer: For long-term storage, place the orange sherbet in a freezer-safe container with a tight lid. It can last for up to 2 weeks while remaining delicious and refreshing.
- Reheating: If your sherbet becomes too hard, allow it to sit at room temperature for about 5-10 minutes before scooping for easier serving. Avoid refreezing melted portions to maintain quality.
- Airtight Coverage: Always cover the sherbet tightly with plastic wrap or wax paper before freezing to prevent ice crystals from forming, ensuring your homemade orange sherbet stays creamy and smooth.
Expert Tips for Homemade Orange Sherbet
- Use Fresh Juice: Always opt for freshly squeezed orange juice to achieve the brightest flavor in your Orange Sherbet; bottled juice just doesn’t compare!
- Churn Carefully: Follow your ice cream maker’s instructions closely, as over-churning can lead to a grainy texture instead of that smooth creaminess.
- Prevent Ice Crystals: Cover the sherbet tightly with plastic wrap or wax paper before freezing; this step is crucial for keeping it creamy without unwanted ice crystals.
- Taste Test Sweetness: Adjust the granulated sugar based on the sweetness of your oranges; if they’re particularly sweet, you might need less sugar for perfect balance.
- Experiment with Zest: Don’t be shy about using more orange zest than the recipe calls for; a bit of extra zest can elevate the flavor profile of your homemade Orange Sherbet.
Orange Sherbet Variations & Substitutions
Customize your orange sherbet experience by exploring these delightful twists that add unique flavors and textures to your refreshing treat!
-
Tropical Twist: Incorporate coconut milk for a creamy, rich flavor that evokes island vibes. You can also mix in a splash of pineapple juice for added sweetness.
-
Dairy-Free Delight: Swap out the milk and heavy cream for almond milk and coconut cream to create a luscious, dairy-free version that still feels indulgent.
-
Flavor Fusion: Enhance your sherbet with a handful of fresh mint leaves mixed in to create an invigorating minty orange sherbet. A perfect summer refreshment!
-
Citrus Medley: Don’t limit the fun to oranges! Experiment by mixing in lemon or lime juice to add a zesty punch, creating a vibrant citrus medley sure to thrill your taste buds.
-
Sweetness Level: Feel free to adjust the amount of sugar to correlate with the sweetness of your oranges; this simple tweak can make all the difference in the final flavor.
-
Chill and Spice: For those who like a little kick, add a pinch of cayenne pepper or fresh ginger to give your sherbet a refreshing, spicy twist that’ll awaken your senses!
-
Nutty Touch: For added texture, mix in toasted coconut flakes or chopped walnuts before freezing. This will give your sherbet a delightful crunch.
-
White Chocolate Swirl: Melt some white chocolate and drizzle it through the mixture before freezing. It creates a rich, creamy sweetness that pairs wonderfully with the citrus.
Feel free to dive into different storage tips and serving suggestions to enhance your homemade orange sherbet experience. Each variation is an opportunity to express your creativity in the kitchen!
What to Serve with Homemade Orange Sherbet?
As the sun sets and the taste of citrus lingers on your palate, complement your refreshing dessert with delightful pairings.
- Fluffy Waffles: Crisp and golden, they offer a delightful contrast to the smooth, sweet sherbet. A drizzle of maple syrup can create a perfect marriage of flavors.
- Fresh Fruit Salad: A mix of juicy berries and tropical fruits adds a vibrant freshness that elevates the citrus notes of the sherbet. The crunchy texture perfectly balances the creamy treat.
- Coconut Macaroons: Chewy and sweet, these cookies add a fun bite and a touch of tropical flair that pairs harmoniously with orange.
- Mint-infused Iced Tea: The cooling effect of mint complements the sherbet’s citrus flavor, making every sip refreshing and satisfying.
- Dark Chocolate Sorbet: For those who enjoy a rich, bittersweet twist, this dessert offers a delightful contrast and rounds out the fruity experience beautifully.
- Vanilla Pound Cake: Moist and buttery, the cake serves as a solid base to enhance the creamy texture of the sherbet, allowing for a luxurious dessert experience.
- Sparkling White Wine: Light and bubbly, this drink enhances the refreshing nature of the sherbet while adding a touch of sophistication to your summer gathering.
- Basil-Infused Lemonade: This herbaceous drink infuses citrus with a fresh twist, making for a unique pairing that enhances the flavors in the sherbet.
- Classic Cheesecake: Adding a rich, creamy counterpoint to the bright sherbet, the luscious cheesecake creates a stunning dessert duo.
Make Ahead Options
Preparing homemade Orange Sherbet ahead of time is a fantastic way to save time on hot summer days! You can mix the base ingredients (orange juice, sugar, zest, salt, and vanilla) and refrigerate it up to 24 hours in advance. Just blend in the milk and heavy cream before churning for the best texture. Ensuring your container is airtight when storing the mixture will help maintain its quality and prevent oxidation. Once churned, transfer the sherbet to a freezer-safe container and freeze it overnight or until solid. When ready to serve, let it sit at room temperature for about 5-10 minutes before scooping to enjoy your refreshing homemade Orange Sherbet without any last-minute efforts!
Orange Sherbet Recipe FAQs
What type of oranges should I use for the best flavor?
Absolutely, using fresh, high-quality oranges is key! Look for ripe, juicy oranges with a vibrant color. Navel oranges are a superb choice as they are sweet and have no seeds, making juice extraction easy. If you spot any dark spots or blemishes, opt for another fruit to ensure a fresh and zesty flavor in your orange sherbet.
How should I store leftover orange sherbet?
For optimal freshness, store your homemade orange sherbet in an airtight container in the freezer. It will stay delicious for up to 2 weeks. Remember to tightly cover it with plastic wrap or wax paper before sealing the lid to prevent ice crystals from forming. This will help maintain that creamy texture you love!
Can I freeze the orange sherbet for longer than 2 weeks?
While it may last a bit longer, the texture and flavor can begin to deteriorate after 2 weeks. If you plan to store it for a month or more, I recommend using a container with minimal air space to keep it as fresh as possible. Always freeze it right after churning to maintain the best possible quality and avoid ice crystal formation.
What should I do if my orange sherbet turns out icy or hard?
Very! If your orange sherbet becomes hard or icy, it could be due to not covering it tightly enough or over-churning. To fix it, simply let it sit at room temperature for 5-10 minutes before scooping. If it’s too hard initially, transfer it to the fridge and let it soften slightly. For next time, ensure to tightly cover it before placing it in the freezer!
Is this orange sherbet recipe suitable for those with dietary restrictions?
Yes! This homemade orange sherbet is gluten-free, making it a perfect dessert option for various diets. However, if you have an allergy to dairy, you might consider substituting the milk and heavy cream with non-dairy alternatives like almond milk or coconut cream. Just be mindful of added sugars, as some substitutes may alter the sweetness. If you’re making it for pets, avoid giving them any, as the sugar content isn’t suitable for their diets.
Homemade Orange Sherbet: Your Ultimate Summer Refreshment
Ingredients
Equipment
Method
- In a large mixing bowl, whisk together 2 cups of freshly squeezed orange juice, 1 cup of granulated sugar, 1½ tablespoons of orange zest, ⅛ teaspoon of kosher salt, and 1 teaspoon of vanilla extract until the sugar is fully dissolved, about 2-3 minutes.
- Gently stir in 1 cup of milk and ½ cup of heavy whipping cream until well blended, taking about 1-2 minutes.
- Pour the mixture into your ice cream maker’s bowl and churn for approximately 20-30 minutes or until it resembles soft serve ice cream.
- Transfer the Orange Sherbet into a freezer-safe container, cover tightly, and freeze overnight or until solid.
- When ready to serve, let the sherbet sit for about 5-10 minutes to soften slightly for easier scooping.