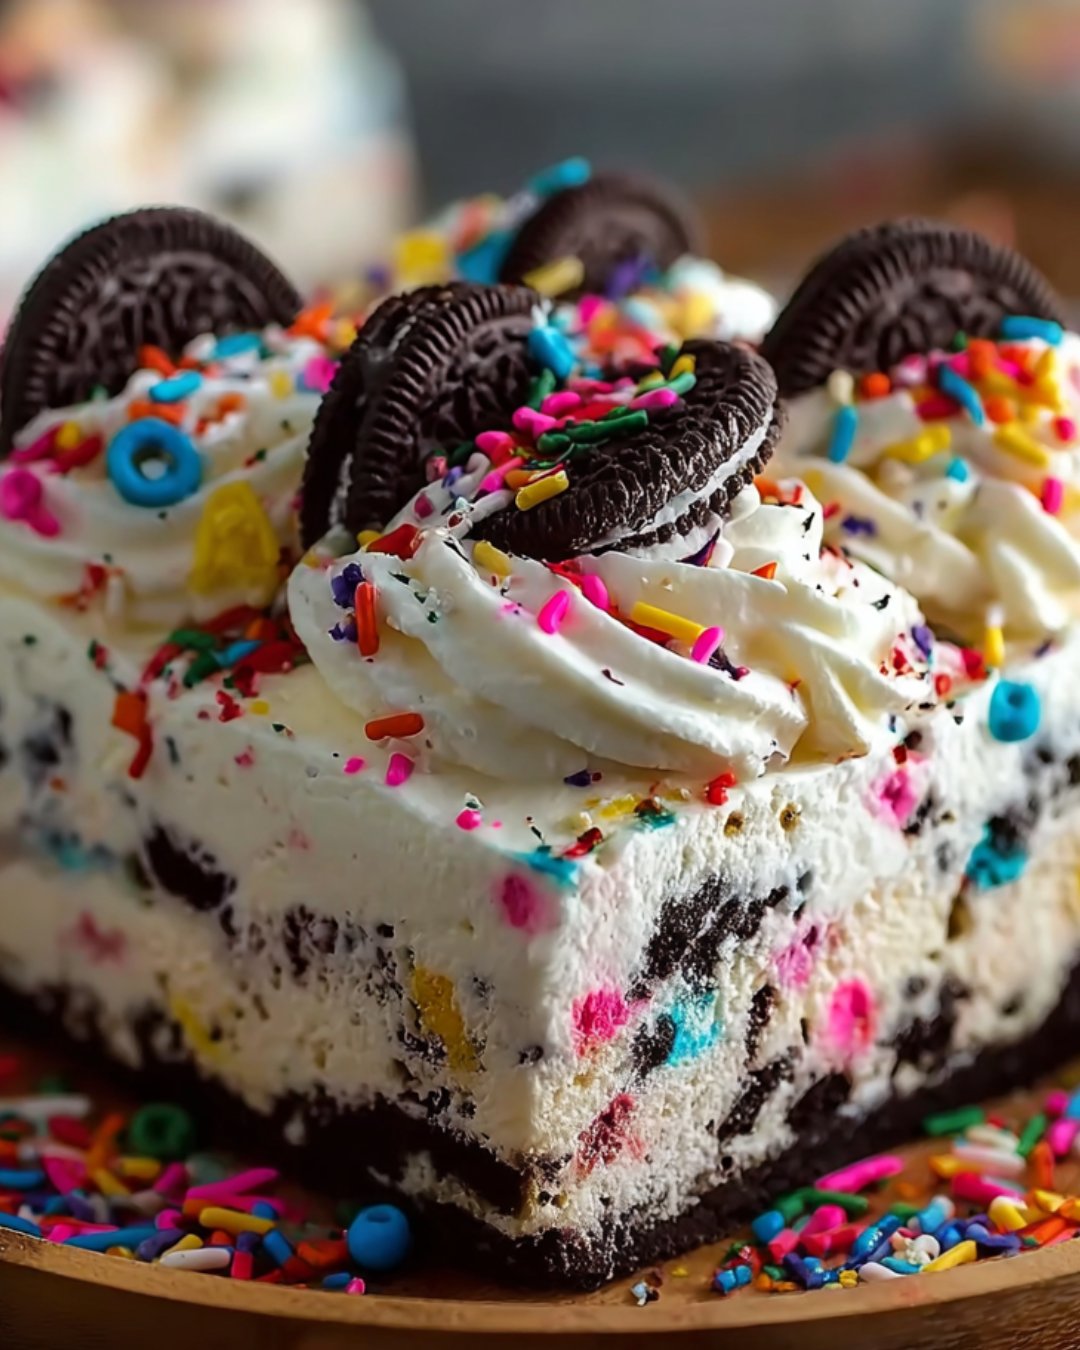
There’s something magical about desserts that require little effort but deliver big smiles. The No-Bake Funfetti Oreo Icebox Cake is just that—a delightful treat that’s perfect for any celebration. Whether it’s a birthday bash or a simple family gathering, this cake is a quick solution for a busy day. I love how it combines the nostalgia of childhood birthday parties with the ease of modern cooking. Plus, who can resist the colorful sprinkles and creamy layers? It’s a dish that not only impresses but also brings everyone together around the table.
Why You’ll Love This No-Bake Funfetti Oreo Icebox Cake
This No-Bake Funfetti Oreo Icebox Cake is a game-changer for dessert lovers. It’s incredibly easy to whip up, making it perfect for those busy weeknights or last-minute gatherings. The layers of creamy goodness and crunchy Oreos create a delightful contrast that’s hard to resist. Plus, it’s a crowd-pleaser, ensuring smiles all around. With minimal prep and no baking required, you’ll have more time to enjoy the sweet moments with loved ones.
Ingredients for No-Bake Funfetti Oreo Icebox Cake
Gathering the right ingredients is the first step to creating this delightful No-Bake Funfetti Oreo Icebox Cake. Here’s what you’ll need:
Heavy whipping cream: This is the star of the show, providing a rich and creamy texture that makes the cake luscious.
Powdered sugar: A touch of sweetness that helps stabilize the whipped cream, giving it that perfect fluffy consistency.
Vanilla extract: Adds a warm, aromatic flavor that enhances the overall taste of the cake.
Funfetti cake mix (dry): This is where the fun begins! It brings that nostalgic cake flavor and colorful sprinkles into the mix.
Oreo cookies: The classic chocolate cookies provide a crunchy layer that contrasts beautifully with the creamy filling.
Sprinkles: These little bursts of color not only make the cake visually appealing but also add a playful touch.
Milk: Used to dip the Oreos, softening them just enough to create that perfect layer.
For those looking to switch things up, consider using chocolate Oreos for a richer flavor. You can also add extra layers of whipped cream and sprinkles between the cookie layers for an even more festive touch. The exact quantities for each ingredient are listed at the bottom of the article, ready for printing!
How to Make No-Bake Funfetti Oreo Icebox Cake
Creating this No-Bake Funfetti Oreo Icebox Cake is a breeze! Follow these simple steps, and you’ll have a delightful dessert ready to impress. Let’s dive into the fun of layering and whipping!
Step 1: Whip the Cream
Start by pouring the heavy whipping cream into a large mixing bowl. Using an electric mixer, whip the cream on medium speed until soft peaks form. This usually takes about 2-3 minutes. Gradually add the powdered sugar and vanilla extract while continuing to whip. Keep going until you achieve stiff peaks. This fluffy mixture is the heart of your cake!
Step 2: Fold in Funfetti Cake Mix
Now, gently fold in the dry Funfetti cake mix into the whipped cream. Use a spatula and be careful not to deflate the whipped cream. You want everything to blend well while keeping that airy texture. This step adds a delightful cake flavor to your creamy filling.
Step 3: Prepare the Oreos
In a separate shallow dish, pour in the milk. Take each Oreo cookie and quickly dip it into the milk for about 1 second. This softens the cookies just enough to create a perfect layer without making them soggy. It’s a quick dip, so don’t linger!
Step 4: Layer the Ingredients
Grab your 9×13 inch baking dish and start layering! Begin with a single layer of dipped Oreo cookies at the bottom. Next, spread a generous layer of the whipped cream mixture over the cookies. Sprinkle a handful of colorful sprinkles on top. Repeat this layering process until you’ve used all your ingredients, finishing with a layer of whipped cream on top. It’s a colorful masterpiece in the making!
Step 5: Chill and Serve
Cover the dish with plastic wrap and pop it in the refrigerator. Let it chill for at least 4 hours, or overnight for the best results. This allows the flavors to meld beautifully. Before serving, sprinkle some extra sprinkles on top for that festive touch. Enjoy every creamy, crunchy bite!
Tips for Success
Use cold heavy cream for better whipping results; it helps achieve those stiff peaks.
Don’t over-dip the Oreos; a quick 1-second dip is all you need to keep them from getting soggy.
For a richer flavor, try using chocolate Oreos instead of regular ones.
Let the cake chill overnight for the best texture and flavor.
Feel free to get creative with sprinkles—mix different colors for a fun twist!
Equipment Needed
Mixing bowl: A large bowl is essential for whipping the cream. A stand mixer bowl works great too.
Electric mixer: This speeds up the whipping process. A whisk can work, but it’ll take longer.
9×13 inch baking dish: Perfect for layering. Any similar-sized dish will do.
Spatula: Ideal for folding in ingredients and spreading the whipped cream.
Variations
Chocolate Delight: Swap regular Oreos for chocolate Oreos for a richer, more decadent flavor.
Fruit Fusion: Add layers of fresh berries like strawberries or raspberries between the cookie layers for a fruity twist.
Nutty Crunch: Incorporate crushed nuts, like walnuts or pecans, for an added crunch and flavor contrast.
Gluten-Free Option: Use gluten-free Oreos and a gluten-free cake mix to make this dessert suitable for gluten-sensitive friends.
Vegan Version: Substitute heavy cream with coconut cream and use dairy-free Oreos for a vegan-friendly treat.
Serving Suggestions
Pair with a scoop of vanilla ice cream for an extra creamy experience.
Serve alongside fresh fruit, like strawberries or blueberries, for a refreshing contrast.
Drizzle with chocolate or caramel sauce for added indulgence.
Garnish with whipped cream and extra sprinkles for a festive presentation.
FAQs about No-Bake Funfetti Oreo Icebox Cake
Can I make this No-Bake Funfetti Oreo Icebox Cake ahead of time?
Absolutely! In fact, making it a day in advance allows the flavors to meld beautifully. Just cover it tightly with plastic wrap and store it in the refrigerator until you’re ready to serve.
How long does this cake last in the fridge?
This cake can last up to 3-4 days in the refrigerator. Just make sure to keep it covered to maintain its freshness and prevent it from absorbing any odors.
Can I use a different type of cookie?
Definitely! While Oreos are a classic choice, you can experiment with other cookies like chocolate chip or even graham crackers for a different flavor profile. Just remember to adjust the dipping time in milk accordingly.
Is this No-Bake Funfetti Oreo Icebox Cake suitable for kids?
<pYes, it’s perfect for kids! The colorful sprinkles and creamy layers make it a fun dessert for any celebration. Just keep an eye on the cookie dipping part, as it can get a bit messy!
Can I freeze the No-Bake Funfetti Oreo Icebox Cake?
Yes, you can freeze it! Just slice it into portions and wrap each piece tightly in plastic wrap. When you’re ready to enjoy, let it thaw in the fridge for a few hours before serving. It’s a great way to have a sweet treat on hand!
Final Thoughts
Creating the No-Bake Funfetti Oreo Icebox Cake is more than just whipping up a dessert; it’s about crafting joyful moments. Each layer tells a story, from the nostalgic crunch of Oreos to the vibrant sprinkles that bring smiles. This cake is a celebration in itself, perfect for any occasion, big or small. I love how it invites everyone to gather around the table, sharing laughter and sweet bites. Whether you’re a seasoned chef or a kitchen novice, this recipe is a delightful way to spread happiness. So, grab your ingredients and let the fun begin!