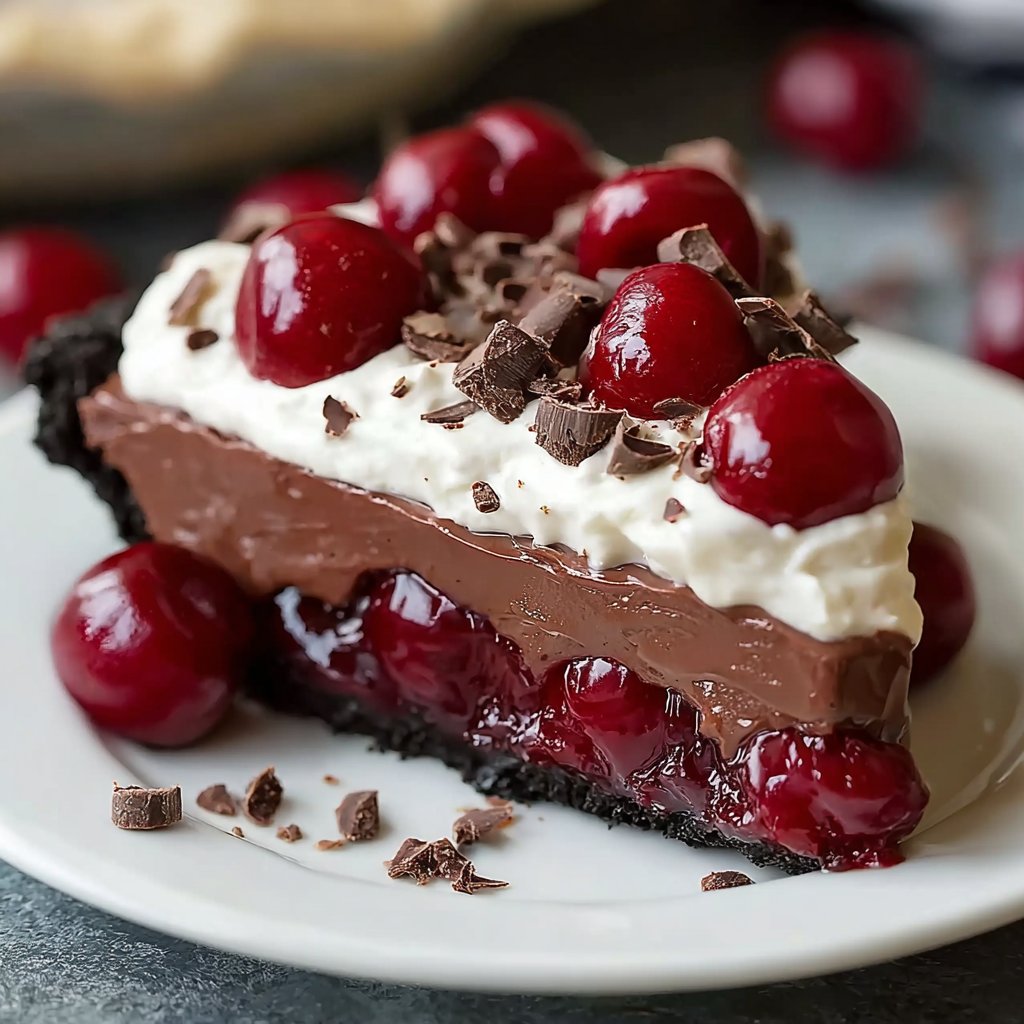
There’s something magical about desserts that require no baking. The No-Bake Chocolate Cherry Pie is a delightful treat that brings together the rich, velvety taste of chocolate and the sweet-tart burst of cherries. It’s perfect for those busy days when you want to impress your loved ones without spending hours in the kitchen. This pie is not just easy to make; it’s a showstopper that will have everyone asking for seconds. Whether it’s a family gathering or a casual get-together, this dessert is sure to steal the spotlight and warm hearts.
Why You’ll Love This No-Bake Chocolate Cherry Pie
This No-Bake Chocolate Cherry Pie is a dream come true for anyone who loves dessert but hates the hassle of baking. It’s quick to whip up, requiring just 30 minutes of prep time. The combination of creamy chocolate and juicy cherries creates a flavor explosion that’s hard to resist. Plus, it’s a fantastic way to impress guests without breaking a sweat. Who wouldn’t love a dessert that’s both easy and delicious?
Ingredients for No-Bake Chocolate Cherry Pie
Gathering the right ingredients is the first step to creating this delightful No-Bake Chocolate Cherry Pie. Here’s what you’ll need:
Chocolate graham cracker crumbs: These form the base of your pie crust, adding a rich chocolate flavor and a satisfying crunch.
Unsalted butter: Melted butter binds the crumbs together, ensuring a sturdy crust that holds up beautifully.
Pitted cherries: Fresh or frozen, these juicy gems provide the sweet-tart flavor that pairs perfectly with chocolate.
Heavy whipping cream: This is essential for creating a light and airy texture in the filling, making each bite feel indulgent.
Powdered sugar: A touch of sweetness that balances the flavors and helps stabilize the whipped cream.
Cream cheese: Softened cream cheese adds a creamy richness to the filling, making it smooth and decadent.
Vanilla extract: A splash of vanilla enhances the overall flavor, bringing warmth and depth to the pie.
Semi-sweet chocolate chips: These are melted and drizzled on top, adding an extra layer of chocolatey goodness.
Cherry juice: Use the juice from the pitted cherries to intensify the cherry flavor in the filling.
Optional garnishes: Chocolate shavings or additional cherries can be used to elevate the presentation and add a touch of elegance.
For exact measurements, check the bottom of the article where you can find everything listed for easy printing. Feel free to get creative with substitutions; for instance, dark chocolate graham crackers can enhance the chocolate flavor, or you can swap cherries for raspberries or strawberries for a fruity twist!
How to Make No-Bake Chocolate Cherry Pie
Creating this No-Bake Chocolate Cherry Pie is a breeze. Follow these simple steps, and you’ll have a stunning dessert ready to impress. Let’s dive in!
Step 1: Prepare the Crust
Start by mixing the chocolate graham cracker crumbs with melted butter in a medium bowl. The crumbs should be evenly coated. Press this mixture firmly into the bottom and up the sides of a 9-inch pie pan. This forms a sturdy crust that will hold all that delicious filling. Once done, pop it in the fridge for about 30 minutes to set.
Step 2: Make the Cherry Puree
While the crust is chilling, it’s time to make the cherry puree. Toss the pitted cherries into a blender or food processor. Blend until smooth. This puree will be the star of your filling, so make sure it’s nice and creamy. Set it aside for later.
Step 3: Whip the Cream
In a large mixing bowl, beat the heavy whipping cream and powdered sugar together. Use an electric mixer for best results. Whip until soft peaks form. This step adds a light, airy texture to your pie, making each bite feel indulgent. Set this whipped cream aside gently.
Step 4: Combine Cream Cheese and Cherry Mixture
In another bowl, beat the softened cream cheese and vanilla extract until smooth and creamy. Gradually add the cherry puree and cherry juice, mixing until everything is well combined. This mixture should be rich and flavorful, setting the stage for the pie’s filling.
Step 5: Fold in Whipped Cream
Now, it’s time to bring it all together. Gently fold the whipped cream into the cherry cream cheese mixture. Use a spatula and be careful not to deflate the whipped cream. This step is crucial for keeping the filling light and fluffy.
Step 6: Fill the Crust
Pour the luscious filling into your chilled crust. Use a spatula to smooth the top. This is where the magic happens! The vibrant cherry color will peek through, making it look irresistible.
Step 7: Drizzle with Chocolate
Melt the semi-sweet chocolate chips in a microwave-safe bowl. Do this in 30-second intervals, stirring in between until smooth. Drizzle the melted chocolate over the pie, creating a beautiful finish. This adds an extra layer of chocolatey goodness that everyone will love.
Step 8: Chill the Pie
Finally, refrigerate the pie for at least 4 hours, or until set. This chilling time allows the flavors to meld beautifully. When you’re ready to serve, garnish with chocolate shavings or extra cherries for that wow factor!
Tips for Success
Use room temperature cream cheese for easier mixing and a smoother filling.
Don’t skip the chilling time; it’s essential for the pie to set properly.
For a fun twist, try adding a splash of almond extract to the filling.
Keep your whipped cream light by folding gently; this keeps the texture airy.
Experiment with different fruits like raspberries or strawberries for a unique flavor.
Equipment Needed
9-inch pie pan: A standard pie dish works best, but a springform pan can also be used for easy removal.
Mixing bowls: Have a few on hand for combining ingredients; glass or stainless steel are great options.
Blender or food processor: Essential for making the cherry puree; a hand blender can work too.
Electric mixer: For whipping cream; a whisk can be used, but it requires more effort.
Spatula: Perfect for folding and smoothing the filling into the crust.
Variations
Berry Bliss: Swap out the cherries for fresh raspberries or strawberries for a fruity twist that’s equally delicious.
Nutty Delight: Add crushed nuts like almonds or walnuts to the crust for an extra crunch and flavor boost.
Vegan Option: Use coconut cream instead of heavy whipping cream and a dairy-free cream cheese alternative for a plant-based version.
Chocolate Overload: Incorporate chocolate shavings or chunks into the filling for an even richer chocolate experience.
Minty Fresh: Add a few drops of peppermint extract to the filling for a refreshing mint chocolate cherry pie.
Serving Suggestions
Pair with Coffee: A rich cup of coffee complements the chocolate and cherry flavors beautifully.
Fresh Whipped Cream: Serve with a dollop of whipped cream on top for added indulgence.
Chocolate Sauce: Drizzle extra chocolate sauce over each slice for a decadent touch.
Fruit Salad: A light fruit salad on the side balances the richness of the pie.
Elegant Presentation: Garnish with mint leaves for a pop of color and freshness.
FAQs about No-Bake Chocolate Cherry Pie
Can I use frozen cherries for this No-Bake Chocolate Cherry Pie?
Absolutely! Frozen cherries work just as well as fresh ones. Just make sure to thaw and drain them before blending to avoid excess moisture in your filling.
How long can I store the No-Bake Chocolate Cherry Pie?
This pie can be stored in the refrigerator for up to 3 days. Just cover it with plastic wrap to keep it fresh and prevent it from absorbing any odors.
Can I make this pie ahead of time?
Yes! This No-Bake Chocolate Cherry Pie is perfect for making ahead. Prepare it a day in advance and let it chill overnight for the best flavor and texture.
What can I substitute for cream cheese?
If you’re looking for a lighter option, you can use Greek yogurt or a dairy-free cream cheese alternative. Both will give you a creamy texture without compromising flavor.
Is this pie suitable for vegetarians?
Yes, this No-Bake Chocolate Cherry Pie is vegetarian-friendly! It contains no meat or fish products, making it a delightful dessert for everyone to enjoy.
Final Thoughts
Creating this No-Bake Chocolate Cherry Pie is more than just whipping up a dessert; it’s about sharing joy and indulgence with those you love. Each slice is a celebration of flavors, where the rich chocolate meets the vibrant cherries, creating a delightful harmony. Whether it’s a special occasion or a simple weeknight treat, this pie brings smiles and satisfaction. Plus, the ease of preparation means you can focus on what truly matters—enjoying time with family and friends. So, roll up your sleeves, dive into this recipe, and let the deliciousness unfold!
A delicious and easy-to-make No-Bake Chocolate Cherry Pie that combines the rich flavors of chocolate and cherries, perfect for any occasion.
Ingredients
Scale
1 ½ cups chocolate graham cracker crumbs
½ cup unsalted butter, melted
2 cups pitted cherries (fresh or frozen)
1 cup heavy whipping cream
1 cup powdered sugar
8 oz cream cheese, softened
1 tsp vanilla extract
½ cup semi-sweet chocolate chips
¼ cup cherry juice (from the cherries)
Chocolate shavings or additional cherries for garnish (optional)
Instructions
In a medium bowl, combine the chocolate graham cracker crumbs and melted butter. Mix until the crumbs are evenly coated. Press the mixture firmly into the bottom and up the sides of a 9-inch pie pan to form the crust. Refrigerate for 30 minutes to set.
In a blender or food processor, puree the pitted cherries until smooth. Set aside.
In a large mixing bowl, beat the heavy whipping cream and powdered sugar together until soft peaks form. Set aside.
In another bowl, beat the softened cream cheese and vanilla extract until smooth and creamy. Gradually add the cherry puree and cherry juice, mixing until well combined.
Gently fold the whipped cream into the cherry cream cheese mixture until fully incorporated.
Pour the filling into the chilled crust, smoothing the top with a spatula.
Melt the semi-sweet chocolate chips in a microwave-safe bowl in 30-second intervals, stirring in between until smooth. Drizzle the melted chocolate over the pie.
Refrigerate the pie for at least 4 hours or until set.
Before serving, garnish with chocolate shavings or additional cherries if desired.
Notes
For a richer chocolate flavor, use dark chocolate graham crackers for the crust.
Substitute the cherries with raspberries or strawberries for a different fruit flavor.