

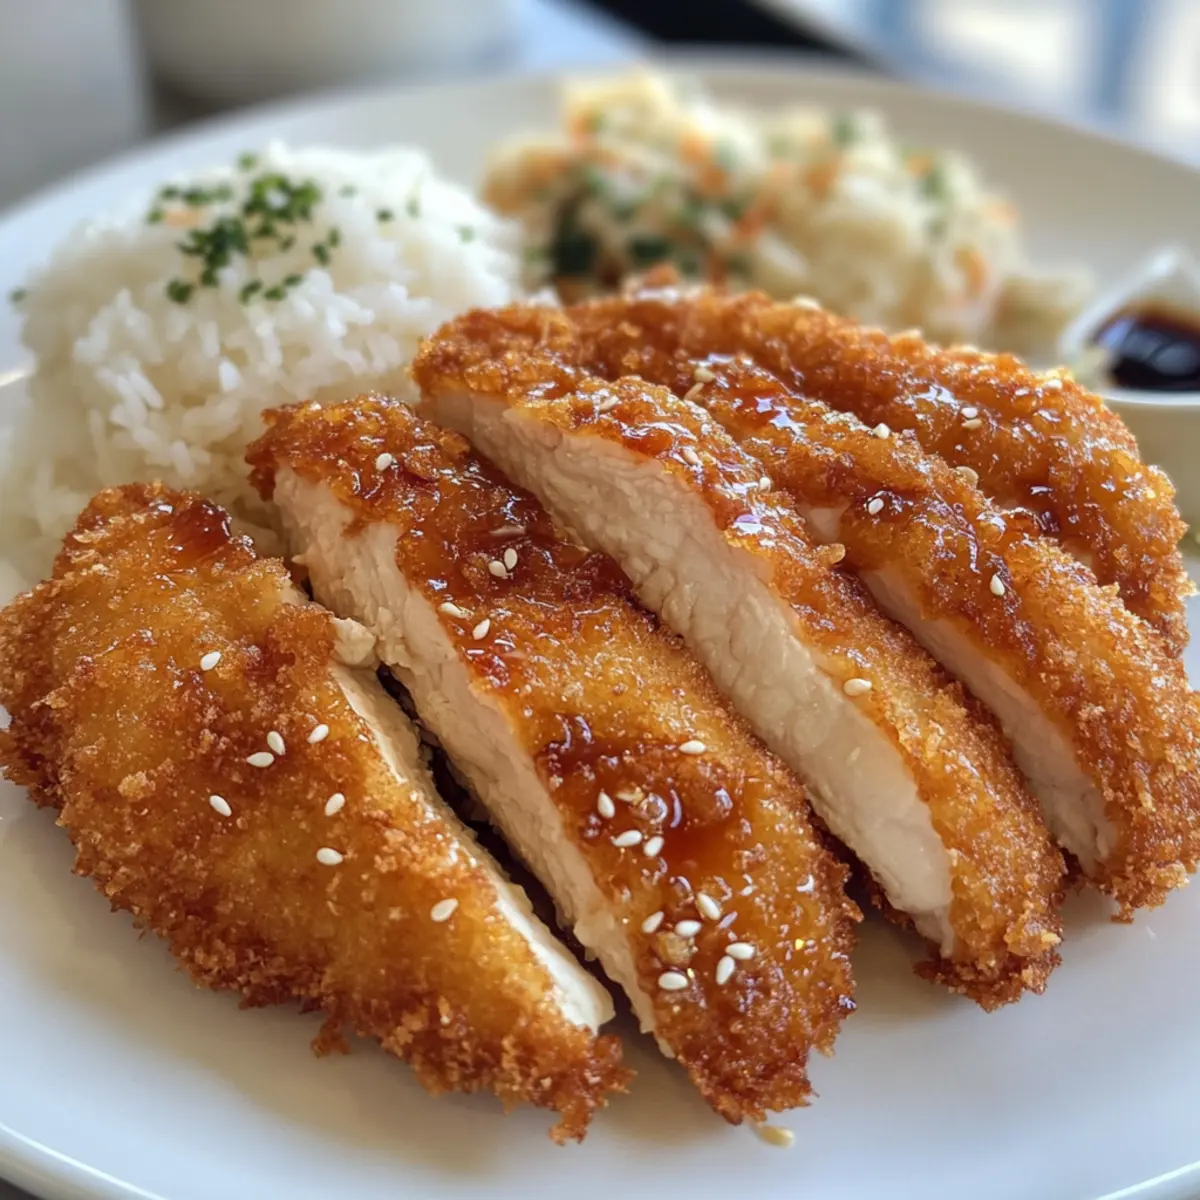
There’s something enchanting about the crunch of crispy chicken that transports you straight to a beachside luau. My journey to creating this Juicy Hawaiian Chicken Katsu was born from a craving for something better-than-takeout—an adventure that combines ease with an explosion of flavor. Not only does this dish deliver a delightful contrast between its crunchy exterior and tender interior, but it also offers a gluten-free option so everyone can enjoy it. Imagine sinking your teeth into that juicy goodness, paired with a side of steamed rice or colorful veggies; it’s comfort food at its finest! Are you ready to discover how to bring this little slice of paradise into your kitchen?
Why is Hawaiian Chicken Katsu Irresistible?
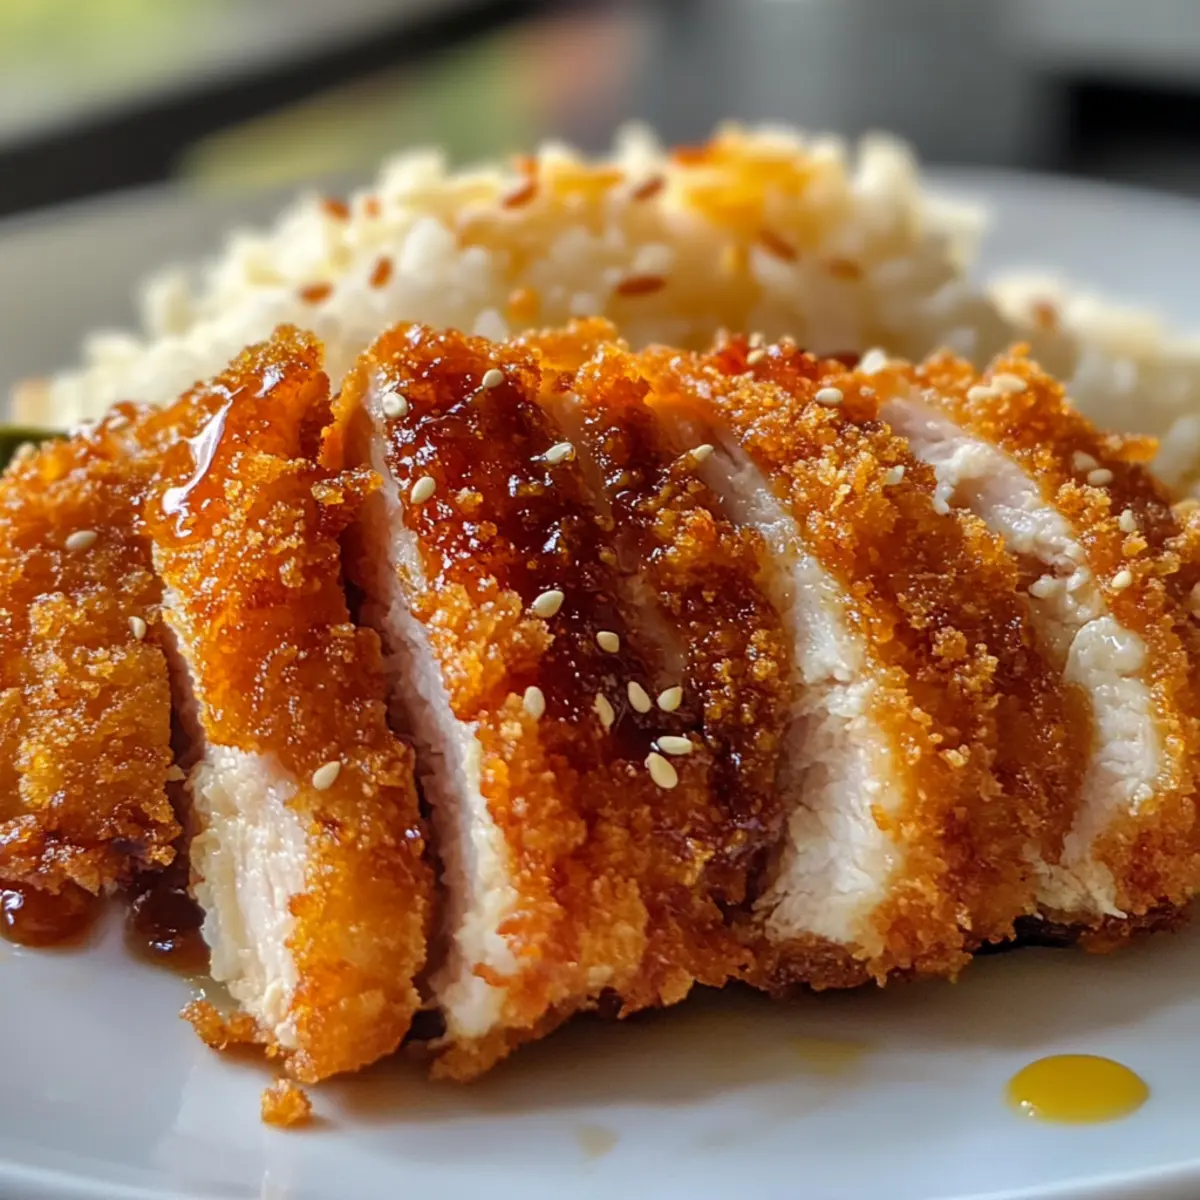
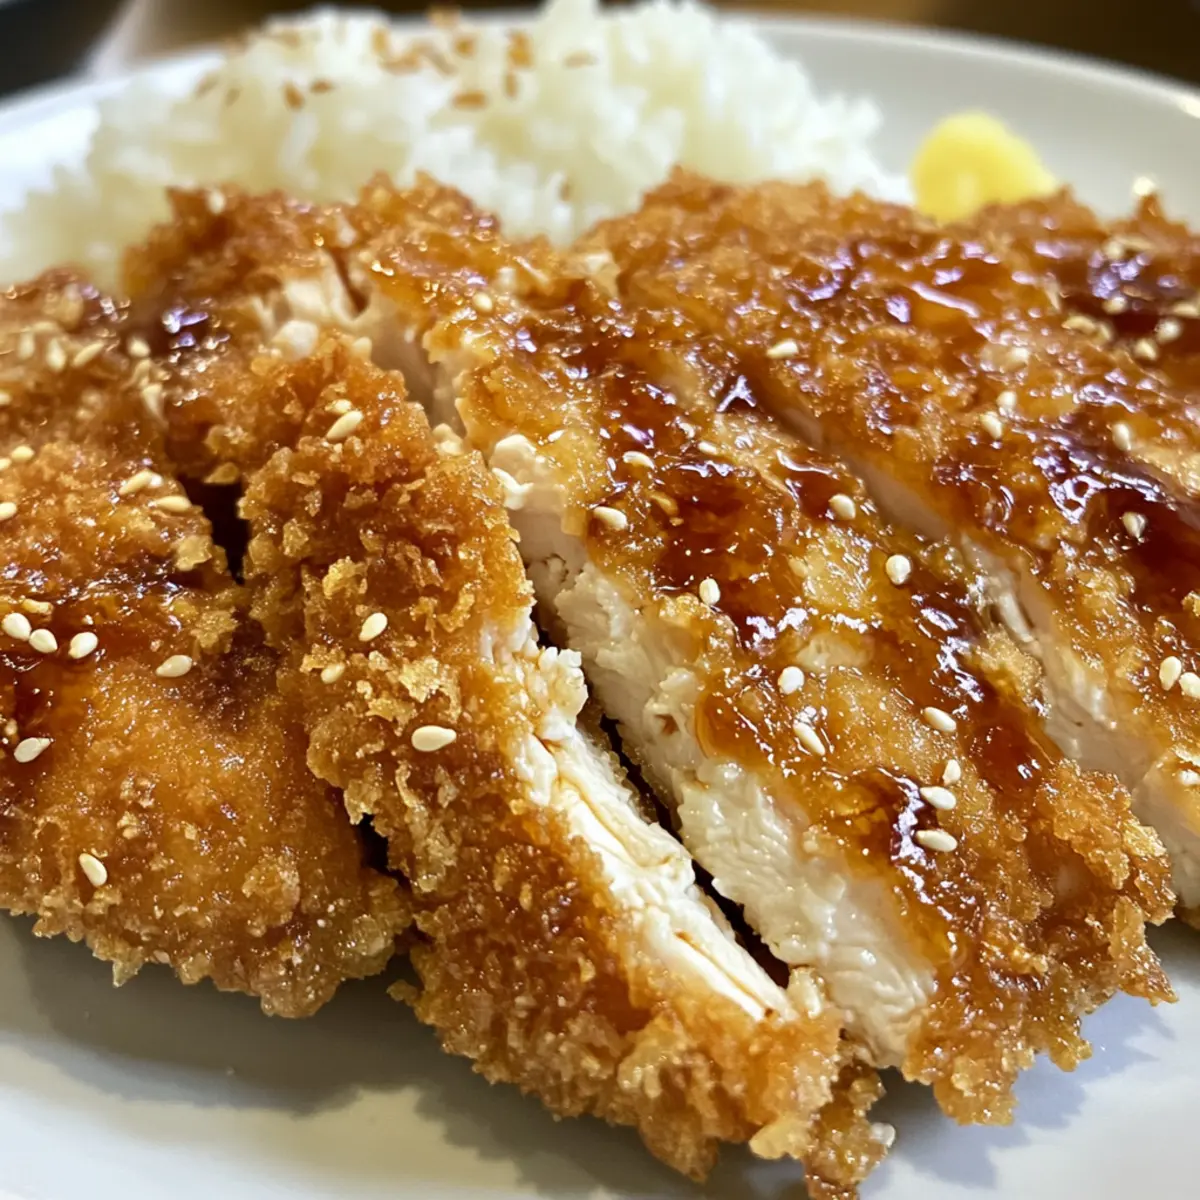
Satisfying Crunch: The crispy panko coating creates a delightful contrast with the moist chicken within, making every bite an experience.
Easy to Make: With straightforward steps, you don’t need to be a chef to whip up this restaurant-quality dish at home.
Gluten-Free Friendly: Easily swap ingredients for gluten-free options without sacrificing flavor, allowing everyone to join in on the feast.
Crowd-Pleasing Delight: Perfect for family dinners or entertaining friends, this dish is sure to impress, just like a classic Garlic Chicken Gnocchi or a savory Tzatziki Chicken Salad.
Versatile Serving Options: Pair with rice, veggies, or even on a bun for a delicious twist that everyone will love. Experience the magic of Hawaiian flavors without ever leaving your home!
Juicy Hawaiian Chicken Katsu Ingredients
For the Chicken
• Chicken Breasts – Choose boneless, skinless for maximum juiciness.
For the Breading
• Flour – This forms the base of the breading; use gluten-free flour to keep it friendly for all diets.
• Panko Breadcrumbs – These are essential for that crunchy, golden exterior, giving your dish the authentic touch.
• Eggs – These act as a binder, ensuring the flour and panko adhere perfectly to the chicken.
For Frying
• Cooking Oil – Use peanut or vegetable oil for frying to achieve that crispy finish we all desire.
Don’t wait too long to savor the deliciousness of your juicy Hawaiian Chicken Katsu; the flavor will keep you coming back for more!
Step‑by‑Step Instructions for Juicy Hawaiian Chicken Katsu
Step 1: Prepare the Chicken
Begin by laying your boneless, skinless chicken breasts on a cutting board. Using a meat mallet, gently pound the chicken to an even thickness of about ½ inch. This step ensures uniform cooking, leading to tender and juicy results in your Juicy Hawaiian Chicken Katsu.
Step 2: Dredging Setup
Create a dredging station by setting up three shallow bowls: place flour in the first, beaten eggs in the second, and panko breadcrumbs in the third. This organization will streamline the breading process, allowing you to achieve the perfect crispy coating for your chicken.
Step 3: Coat the Chicken
Take each pounded chicken breast and first dip it into the flour, ensuring it’s well coated, then move it to the beaten eggs, letting any excess drip off. Finally, press the chicken into the panko breadcrumbs, making sure it’s fully covered to achieve that signature crunchy texture of Juicy Hawaiian Chicken Katsu.
Step 4: Heat the Oil
In a large skillet, heat about ½ inch of peanut or vegetable oil over medium heat. The oil should reach a temperature of 375°F before frying, ensuring the perfect golden brown color and crispy finish. Use a thermometer for accuracy; this is crucial for the ultimate crunch.
Step 5: Fry the Chicken
Once the oil is hot, carefully add the breaded chicken breasts to the skillet. Fry them for about 10-12 minutes, turning halfway through, until they achieve a golden-brown color and an internal temperature of 165°F. This step will enhance the juiciness and flavor of your Hawaiian Chicken Katsu.
Step 6: Drain and Serve
After frying, transfer the chicken to a plate lined with paper towels to drain any excess oil. This final touch not only keeps your Juicy Hawaiian Chicken Katsu crispy but also ready for serving. Pair it with steamed rice or fresh veggies for a delightful, wholesome meal.
Juicy Hawaiian Chicken Katsu Variations
Feel free to explore these delightful twists, as the possibilities for customizing your dish are endless!
-
Vegetarian Swap: Replace chicken with eggplant slices; simply bread and fry until golden, creating a satisfying meat-free version.
-
Spice It Up: Add chili powder or cayenne pepper to the flour for a zesty kick. This little adjustment brings a delightful warmth that pairs beautifully with the crunch.
-
Coconut Flour: For a gluten-free option, use coconut flour instead of regular flour. It adds a slightly sweet, tropical flavor that perfectly complements the dish.
-
Fruity Dip: Serve with a mango salsa or pineapple dip instead of traditional sauces. This sweetness brightens up each bite, reminiscent of tropical islands and beachside picnics.
-
Herb-Infused Crust: Mix fresh herbs like basil or cilantro into the panko breadcrumbs. This fresh twist provides a burst of flavor, making every bite unforgettable.
-
Cheesy Option: Top with shredded mozzarella before serving. Melting cheese adds richness—pair it with a light side like crunchy zucchini for balance.
-
Crispy Challenge: Double coat your chicken by dipping it in the egg mixture again and then back into the panko. This results in an extra crispy exterior that’s hard to resist!
-
Saucy Finish: Drizzle with a sweet chili sauce or teriyaki glaze after frying. It adds layers of flavor, enhancing the juicy experience while keeping your dish firmly in that better-than-takeout realm.
Dive deeper into your cooking adventure by pairing it with a side of Grilled Chicken Burrito for a full-on feast that’ll have everyone asking for seconds!
Make Ahead Options
These Juicy Hawaiian Chicken Katsu are perfect for meal prep enthusiasts! You can prepare the chicken by pounding and breading it up to 24 hours in advance. Simply follow the dredging steps, coating them in flour, egg, and panko, then place the breaded chicken on a parchment-lined baking sheet, cover tightly, and refrigerate until you’re ready to fry. This method not only saves you time but also helps to enhance the flavors as they blend overnight. When you’re ready to serve, heat the oil and fry the chicken directly from the fridge, ensuring it’s crispy and juicy—just as delectable as freshly made!
What to Serve with Irresistibly Juicy Hawaiian Chicken Katsu
Transform your Hawaiian Chicken Katsu into an unforgettable meal by exploring these delightful pairings!
-
Steamed Jasmine Rice: This fragrant rice complements the crispy chicken and absorbs any delicious sauces, creating a harmonious balance on your plate.
-
Crispy Zucchini Fries: With a light seasoning and crunch, these make a perfect veggie side that contrasts beautifully with chicken’s richness.
-
Sweet and Tangy Slaw: This vibrant salad adds a refreshing crunch, with a hint of sweetness to offset the savory flavors of the chicken.
-
Pineapple Salsa: Bright and fruity, this fresh topping complements the Katsu wonderfully and brings a tropical zing to every bite.
-
Savory Soy Dipping Sauce: The umami-rich sauce adds a gourmet touch while enhancing the chicken’s crunch with an extra depth of flavor.
-
Mango Coconut Smoothie: This creamy drink brings a luscious tropical touch, pairing perfectly with the flavors of Hawaiian cuisine.
-
Classic Macaroni Salad: A creamy accompaniment that enhances the dish with its cool texture and addictive flavor, brilliantly balancing the crispy chicken.
-
Cold Beer or Refreshing Iced Tea: Whether you prefer a chilled beverage, both options bring a comforting element, making your meal feel like a special occasion.
Let your taste buds dance with these delightful additions and create a feast fit for sharing or savoring solo!
How to Store and Freeze Juicy Hawaiian Chicken Katsu
Fridge: Store leftovers in an airtight container for up to 3 days. This will keep your Juicy Hawaiian Chicken Katsu fresh and ready for quick meals.
Freezer: For longer storage, freeze breaded but uncooked chicken for up to 3 months. Just remember to wrap it tightly in plastic wrap before placing it in a freezer bag.
Reheating: To enjoy your leftovers, reheat in the oven at 350°F for about 10-15 minutes or until heated through. Avoid microwaving to preserve that coveted crunch!
Make-Ahead Tips: You can prepare the chicken up to the frying step, refrigerate, and then fry just before serving to save time on busy days.
Expert Tips for Juicy Hawaiian Chicken Katsu
-
Pound Evenly: Make sure to pound chicken to an even thickness—this promotes uniform cooking, ensuring every bite of your Juicy Hawaiian Chicken Katsu remains tender and juicy.
-
Use Fresh Panko: For the crispiest results, opt for fresh panko breadcrumbs; stale breadcrumbs can lead to a less satisfying crunch.
-
Maintain Oil Temperature: Fry in small batches to keep the oil temperature steady. If too low, the coating won’t crisp up properly.
-
Check Internal Temperature: Always use a meat thermometer to confirm that the chicken has reached 165°F; this guarantees your Juicy Hawaiian Chicken Katsu is both safe and delicious.
-
Avoid Overcrowding the Pan: Overcrowding can cause the chicken to steam instead of fry, resulting in a soggier texture. Fry just a few pieces at a time for optimal crunchiness.
Juicy Hawaiian Chicken Katsu Recipe FAQs
What chicken should I use for the best results?
For the juiciest Hawaiian Chicken Katsu, I recommend using boneless, skinless chicken breasts. They provide a wonderful balance of moisture and texture, ensuring every bite is flavorful and tender.
How can I store leftover Chicken Katsu?
Absolutely! Store any leftover Juicy Hawaiian Chicken Katsu in an airtight container in the refrigerator for up to 3 days. This keeps them fresh and ready for a quick meal.
Can I freeze Chicken Katsu?
Yes, you can freeze the breaded but uncooked chicken for up to 3 months! Wrap each chicken breast tightly in plastic wrap, then place them in a freezer bag. When you’re ready to enjoy, simply thaw in the refrigerator overnight and fry them up as usual!
What should I do if my Chicken Katsu isn’t crispy?
To achieve that perfect crunch, make sure your frying oil is heated to 375°F before adding the chicken. Additionally, avoid overcrowding the pan, as this can lower the oil temperature and cause the chicken to steam instead of fry. Frying in small batches ensures each piece gets that delightful, crispy coating.
Are there any gluten-free options for this recipe?
Very! You can easily make Juicy Hawaiian Chicken Katsu gluten-free by substituting the regular flour with gluten-free flour and using gluten-free panko breadcrumbs. This way, everyone can enjoy the deliciousness without missing out!
Can pets eat Chicken Katsu?
While it can be tempting to share, avoid giving your pets Chicken Katsu due to the oil, breading, and spices that may not be suitable for them. Stick to plain, cooked, unseasoned chicken for a safe treat!
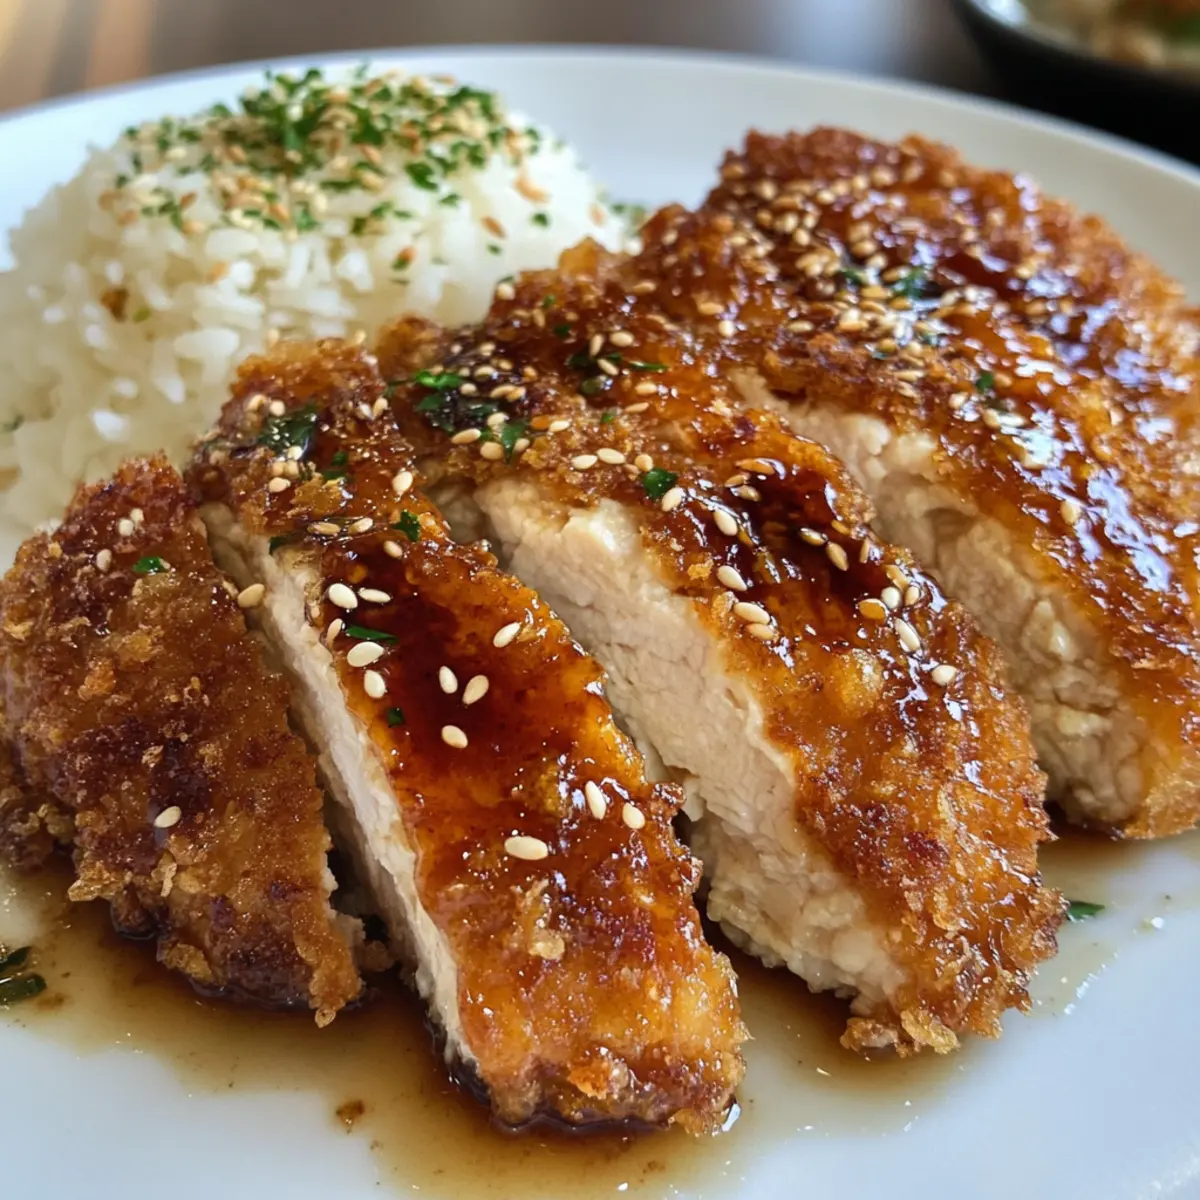
Juicy Hawaiian Chicken Katsu Better Than Takeout at Home
Ingredients
Equipment
Method
- Begin by laying your boneless, skinless chicken breasts on a cutting board. Using a meat mallet, gently pound the chicken to an even thickness of about ½ inch.
- Create a dredging station by setting up three shallow bowls: place flour in the first, beaten eggs in the second, and panko breadcrumbs in the third.
- Take each pounded chicken breast and first dip it into the flour, then the beaten eggs, and finally press it into the panko breadcrumbs.
- In a large skillet, heat about ½ inch of peanut or vegetable oil over medium heat until it reaches 375°F.
- Carefully add the breaded chicken breasts to the skillet and fry for about 10-12 minutes, turning halfway through.
- Transfer the chicken to a plate lined with paper towels to drain any excess oil.