There’s something magical about the combination of chocolate and red velvet, isn’t there?
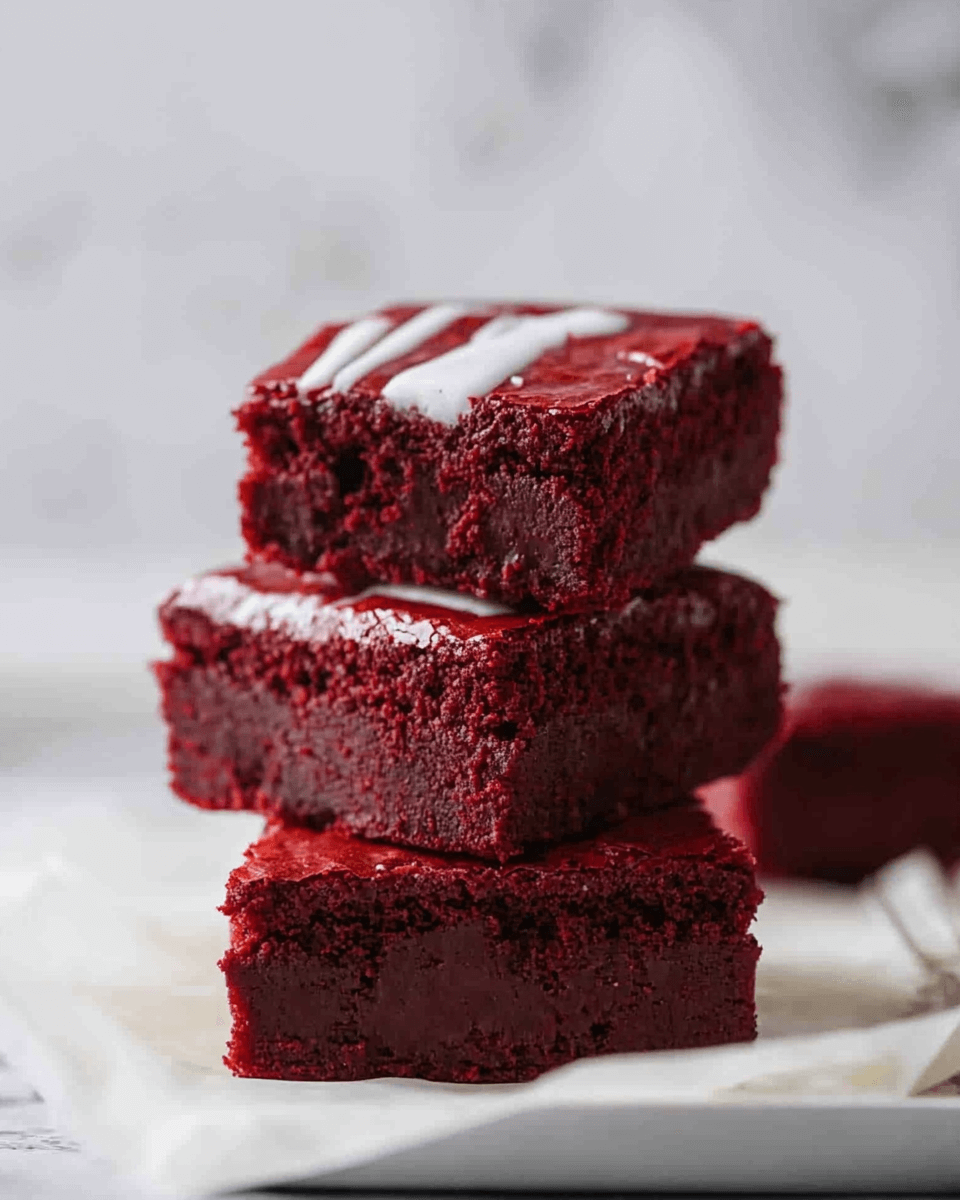
Fudgy red velvet brownies bring that magic right into your kitchen.
Whether you’re looking to impress friends at a gathering or simply want a sweet treat after a long day, these brownies are the answer.
They’re quick to whip up and even quicker to disappear!
With their rich flavor and vibrant color, they’re not just a dessert; they’re a celebration.
Let’s dive into this decadent recipe that’s sure to become a favorite in your home.
Why You’ll Love This Fudgy Red Velvet Brownies
These fudgy red velvet brownies are a game-changer for any dessert lover.
They’re incredibly easy to make, requiring just a handful of ingredients and minimal prep time.
In about 45 minutes, you can have a batch of rich, chocolatey goodness ready to share—or keep all to yourself!
The vibrant color and decadent taste will impress anyone lucky enough to get a bite.
Trust me, they’ll be asking for seconds!
Ingredients for Fudgy Red Velvet Brownies
To create these fudgy red velvet brownies, you’ll need a few key ingredients that work together to deliver that rich, decadent flavor.
Unsalted butter: This is the base of your brownies, adding moisture and richness. Melt it for a smooth batter.
Granulated sugar: This sweetens the brownies and helps create that perfect fudgy texture.
Brown sugar: Packed with molasses, it adds depth and a hint of caramel flavor.
Eggs: They bind everything together, giving the brownies structure and a lovely rise.
Vanilla extract: A splash of this enhances the overall flavor, making each bite more delightful.
All-purpose flour: The backbone of your brownies, providing the necessary structure without making them too cake-like.
Cocoa powder: This adds a rich chocolate flavor, balancing the sweetness of the sugars.
Baking powder and baking soda: These leavening agents help the brownies rise slightly, giving them a soft texture.
Salt: Just a pinch enhances all the flavors, making the chocolate taste even richer.
Red food coloring: This is what gives your brownies that signature red velvet hue. A little goes a long way!
Chocolate chips (optional): For those who crave extra chocolate, these can be mixed in for a delightful surprise.
Cream cheese frosting (optional): Drizzling this on top adds a creamy, tangy finish that pairs beautifully with the brownies.
You can find the exact measurements for each ingredient at the bottom of the article, ready for printing. Happy baking!
How to Make Fudgy Red Velvet Brownies
Making fudgy red velvet brownies is a delightful journey that’s as simple as it is rewarding.
Let’s break it down step by step, ensuring you have all the tips you need for success.
Step 1: Preheat and Prepare
Start by preheating your oven to 350°F (175°C).
While that’s warming up, grab a 9×13-inch baking dish.
You can either grease it with butter or line it with parchment paper for easy removal later.
This little prep step makes all the difference when it’s time to enjoy your brownies!
Step 2: Mix the Wet Ingredients
In a spacious bowl, combine the melted unsalted butter with both granulated and brown sugars.
Mix them until the mixture is smooth and creamy.
Next, add the eggs one at a time, ensuring each is fully blended before introducing the next.
Don’t forget to stir in the vanilla extract and red food coloring.
This is where the magic begins, turning your batter into a vibrant masterpiece!
Step 3: Combine the Dry Ingredients
In a separate bowl, sift together the all-purpose flour, cocoa powder, baking powder, baking soda, and salt.
Sifting helps to aerate the flour, ensuring your brownies are light and fudgy.
Once sifted, give it a quick stir to mix everything evenly.
This step is crucial for achieving that perfect texture!
Step 4: Combine Wet and Dry Mixtures
Now, it’s time to bring the wet and dry ingredients together.
Gently fold the dry mixture into the wet ingredients.
Be careful not to overmix; you want to combine them just until you see no more flour.
If you’re feeling indulgent, this is the moment to stir in those chocolate chips for an extra chocolatey kick!
Step 5: Bake the Brownies
Pour the brownie batter into your prepared baking dish, smoothing it out evenly.
Pop it into the preheated oven and bake for about 25-30 minutes.
To check for doneness, insert a toothpick into the center.
It should come out with a few moist crumbs attached, not wet batter.
This ensures your brownies are fudgy and delicious!
Step 6: Cool and Serve
Once baked, let the brownies cool in the pan for about 15 minutes.
This cooling time helps them set up nicely.
After that, slice them into squares.
For an indulgent touch, drizzle cream cheese frosting over the top before serving.
Trust me, it’s a game-changer!
Tips for Success
Use room temperature eggs for better mixing and a smoother batter.
Don’t overmix the batter; it can lead to dense brownies.
For extra fudginess, underbake slightly and let them cool in the pan.
Experiment with different mix-ins like nuts or white chocolate chips.
Store leftovers in an airtight container to keep them fresh and moist.
Equipment Needed
Baking dish: A 9×13-inch pan is ideal, but you can use any similar-sized dish.
Mixing bowls: A large bowl for wet ingredients and a medium bowl for dry ingredients work best.
Whisk or spatula: Use either for mixing; a spatula is great for folding.
Measuring cups and spoons: Essential for accuracy, but you can eyeball if you’re feeling adventurous!
Toothpick: For checking doneness; a fork can work in a pinch.
Variations
Nutty Delight: Add chopped walnuts or pecans for a crunchy texture that complements the fudginess.
Mint Chocolate: Incorporate mint extract into the batter for a refreshing twist, or mix in mint chocolate chips.
Gluten-Free Option: Substitute all-purpose flour with a gluten-free blend to make these brownies suitable for gluten-sensitive friends.
Vegan Version: Replace eggs with flaxseed meal mixed with water and use a plant-based butter alternative for a vegan-friendly treat.
Spicy Kick: Add a pinch of cayenne pepper or cinnamon to the batter for a surprising flavor boost that pairs well with chocolate.
Serving Suggestions
Ice Cream: Serve warm brownies with a scoop of vanilla or mint chocolate chip ice cream for a delightful contrast.
Fresh Berries: Pair with strawberries or raspberries to add a refreshing tartness that balances the sweetness.
Presentation: Dust with powdered sugar or cocoa powder for an elegant touch before serving.
Drinks: Enjoy with a glass of cold milk or a rich cup of coffee to enhance the chocolate flavor.
FAQs about Fudgy Red Velvet Brownies
Can I make these fudgy red velvet brownies ahead of time?
Absolutely! You can prepare the batter a day in advance and store it in the fridge. Just remember to bring it back to room temperature before baking for the best results.
What’s the best way to store leftover brownies?
Keep your brownies in an airtight container at room temperature for up to three days. For longer storage, you can freeze them for up to three months. Just thaw before enjoying!
Can I substitute the red food coloring?
If you prefer a natural option, beet juice or powder can be used for coloring. It won’t be as vibrant, but it will still give a lovely hue!
How do I know when my brownies are done baking?
Check for doneness by inserting a toothpick into the center. It should come out with a few moist crumbs attached, indicating that your fudgy red velvet brownies are perfectly baked.
Can I add nuts to the brownie batter?
Definitely! Chopped walnuts or pecans can add a delightful crunch. Just fold them in when combining the wet and dry ingredients for a tasty twist.
Final Thoughts
Baking fudgy red velvet brownies is more than just a recipe; it’s an experience that brings joy to your kitchen.
The vibrant color and rich flavor create a feast for the eyes and the taste buds.
Whether you’re sharing them with friends or savoring them solo, each bite is a little moment of happiness.
These brownies are perfect for any occasion, from casual weeknight treats to festive gatherings.
So, roll up your sleeves, embrace the process, and let the aroma fill your home.
You’ll find that these brownies are not just a dessert; they’re a sweet memory waiting to happen!