There’s something magical about the aroma of a freshly baked cake wafting through the house. It brings back memories of family gatherings and celebrations. Today, I want to share a recipe that captures that warmth and nostalgia: Cookie Butter Cake. This delightful dessert is not just a treat; it’s a quick solution for those busy days when you want to impress your loved ones without spending hours in the kitchen. With its moist texture and rich flavor, this cake is bound to become a favorite in your home. Let’s dive into this delicious adventure!
Why You’ll Love This Cookie Butter Cake
This Cookie Butter Cake is a game-changer for dessert lovers. It’s incredibly easy to whip up, making it perfect for those last-minute gatherings or a cozy night in. The rich, buttery flavor combined with the unique taste of cookie butter creates a cake that’s both comforting and indulgent. Plus, it’s versatile enough to suit any occasion, whether it’s a birthday party or just a sweet treat after dinner.
Ingredients for Cookie Butter Cake
Gathering the right ingredients is the first step to creating a mouthwatering Cookie Butter Cake. Here’s what you’ll need:
All-purpose flour: The backbone of your cake, providing structure and texture.
Baking powder: This leavening agent helps the cake rise, giving it that fluffy quality.
Baking soda: Works alongside baking powder to ensure a light and airy cake.
Salt: A pinch enhances the flavors, balancing the sweetness.
Unsalted butter: Adds richness and moisture; make sure it’s softened for easy mixing.
Granulated sugar: Sweetens the cake and contributes to its tender crumb.
Brown sugar: Packed with molasses, it adds depth and a hint of caramel flavor.
Eggs: They bind the ingredients together and provide moisture and richness.
Vanilla extract: A classic flavor enhancer that brings warmth to the cake.
Cookie butter: The star of the show! This spread infuses the cake with a delightful, spiced sweetness.
Buttermilk: Adds tanginess and moisture, making the cake incredibly tender.
For those looking to elevate the flavor, consider adding chocolate chips for a decadent twist. You can find all the exact measurements at the bottom of the article, ready for printing. Happy baking!
How to Make Cookie Butter Cake
Now that you have all your ingredients ready, let’s get to the fun part: making the Cookie Butter Cake! Follow these simple steps, and you’ll have a delicious dessert that will impress everyone.
Step 1: Preheat and Prepare
First things first, preheat your oven to 350°F (175°C). This ensures your cake bakes evenly. While the oven heats up, grab a 9×13 inch baking pan. Grease it with butter or cooking spray, then dust it with flour. This will help your cake slide out easily once it’s baked.
Step 2: Mix Dry Ingredients
In a medium bowl, whisk together the all-purpose flour, baking powder, baking soda, and salt. This step is crucial as it evenly distributes the leavening agents. A well-mixed dry blend leads to a perfectly risen cake. Set this bowl aside for now; we’ll come back to it shortly.
Step 3: Cream Butter and Sugars
In a large mixing bowl, it’s time to cream the softened unsalted butter, granulated sugar, and brown sugar together. Use an electric mixer on medium speed for about 3-4 minutes. You want the mixture to be light and fluffy. This process incorporates air, which is key for a tender cake.
Step 4: Add Eggs and Flavorings
Next, add the eggs one at a time, mixing well after each addition. This helps the eggs blend smoothly into the batter. Then, stir in the vanilla extract and the star of the show, cookie butter. Mix until everything is fully combined. The batter will start to smell heavenly!
Step 5: Combine Wet and Dry Ingredients
Now, it’s time to bring it all together. Gradually add the dry ingredients to the wet mixture, alternating with the buttermilk. Start and end with the dry ingredients. Mix until just combined; overmixing can lead to a dense cake. You want a smooth batter, but a few lumps are okay!
Step 6: Bake the Cake
Pour the batter into your prepared baking pan. Use a spatula to smooth the top. Pop it in the preheated oven and bake for 30-35 minutes. To check for doneness, insert a toothpick in the center. If it comes out clean, your cake is ready!
Step 7: Cool and Serve
Once baked, allow the cake to cool in the pan for about 10 minutes. Then, carefully transfer it to a wire rack to cool completely. This step is important; a warm cake can crumble when you try to slice it. Once cooled, you can serve it as is or top it with whipped cream and a drizzle of cookie butter for an extra indulgent treat!
Tips for Success
Make sure your butter is softened for easy creaming; it should be at room temperature.
Don’t skip the buttermilk; it adds moisture and tenderness to the cake.
Use a toothpick to check for doneness; it should come out clean or with a few crumbs.
Let the cake cool completely before slicing to avoid crumbling.
Store leftovers in an airtight container to keep it fresh and moist.
Equipment Needed
9×13 inch baking pan: A standard size for this cake; you can use a round pan if preferred.
Mixing bowls: A set of various sizes will help with ingredient prep.
Electric mixer: For creaming butter and sugars; a whisk works too, but it’ll take longer.
Spatula: Essential for smoothing the batter and scraping the bowl.
Wire rack: Ideal for cooling the cake; a plate can work in a pinch.
Variations
Chocolate Chip Cookie Butter Cake: Fold in ½ cup of chocolate chips for a delightful chocolatey twist.
Nutty Delight: Add ½ cup of chopped nuts, like walnuts or pecans, for added crunch and flavor.
Gluten-Free Option: Substitute all-purpose flour with a gluten-free flour blend to make this cake gluten-free.
Spiced Version: Incorporate a teaspoon of cinnamon or nutmeg for a warm, spiced flavor profile.
Vegan Adaptation: Replace eggs with flax eggs and use vegan butter to create a plant-based version.
Serving Suggestions
Pair your Cookie Butter Cake with a scoop of vanilla ice cream for a delightful contrast.
Serve it alongside a hot cup of coffee or tea to enhance the flavors.
For a festive touch, dust the top with powdered sugar or drizzle with extra cookie butter.
Consider adding fresh berries for a pop of color and freshness.
FAQs about Cookie Butter Cake
As you embark on your baking journey with this Cookie Butter Cake, you might have a few questions. Here are some common queries that can help you along the way:
Can I use homemade cookie butter?
Absolutely! Homemade cookie butter can add a personal touch to your cake. Just ensure it has a similar consistency to store-bought versions for the best results.
How should I store leftover cake?
To keep your Cookie Butter Cake fresh, store it in an airtight container at room temperature for up to three days. For longer storage, you can refrigerate it, but be sure to let it come to room temperature before serving.
Can I freeze the cake?
Yes, you can freeze the cake! Wrap it tightly in plastic wrap and then in aluminum foil. It can last up to three months in the freezer. Just thaw it in the fridge overnight before serving.
What can I substitute for buttermilk?
If you don’t have buttermilk on hand, you can make a quick substitute by mixing one cup of milk with one tablespoon of vinegar or lemon juice. Let it sit for about 5 minutes before using.
Can I make this cake ahead of time?
Definitely! This Cookie Butter Cake actually tastes even better the next day as the flavors meld together. Just bake it a day in advance and store it properly until you’re ready to serve.
Final Thoughts
Baking this Cookie Butter Cake is more than just a culinary task; it’s an experience filled with joy and warmth. The delightful aroma that fills your kitchen as it bakes is enough to make anyone’s mouth water. Each slice offers a perfect blend of sweetness and nostalgia, making it a wonderful treat for family gatherings or quiet evenings at home. Whether you enjoy it plain or dressed up with whipped cream, this cake is sure to bring smiles. So, roll up your sleeves, embrace the process, and let this cake become a cherished part of your dessert repertoire!
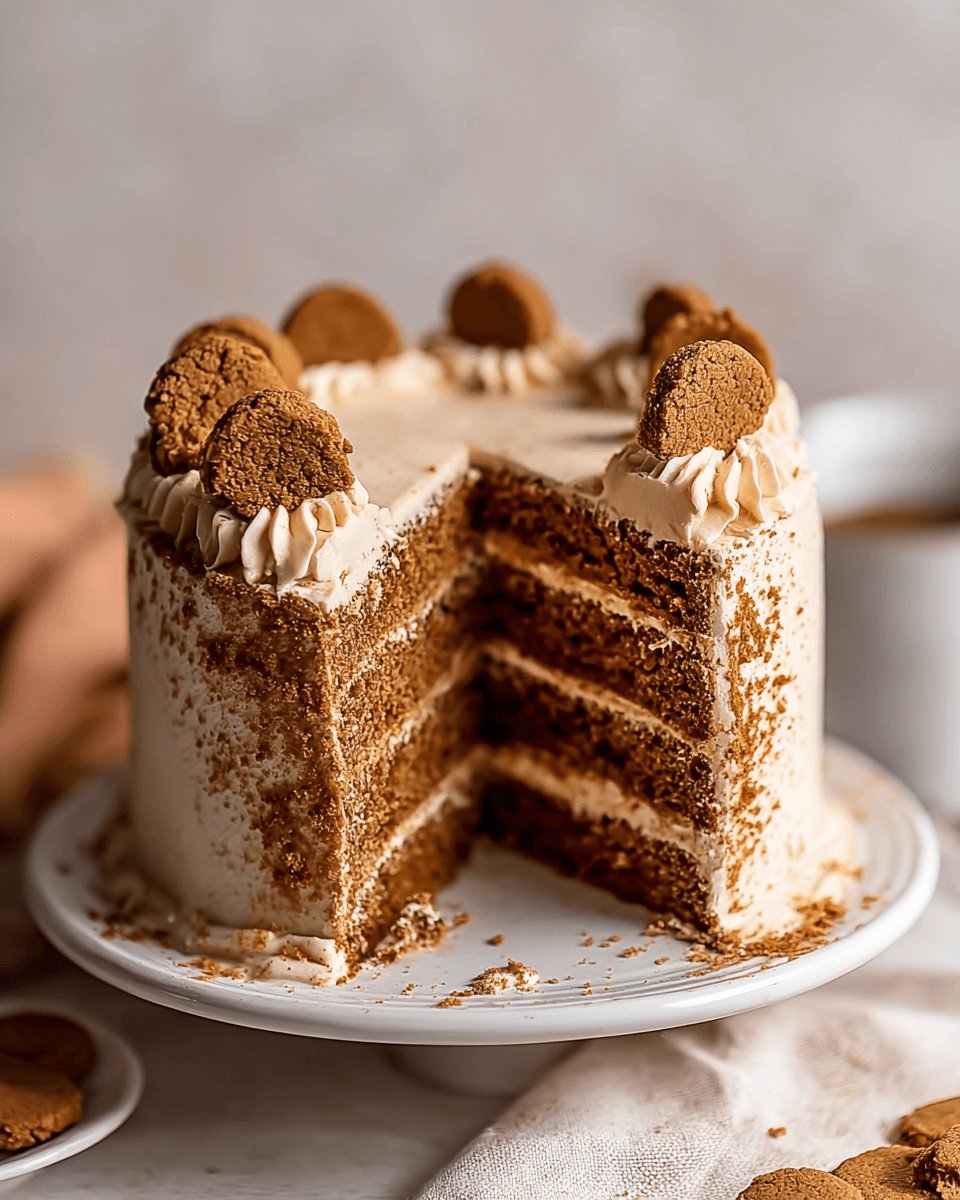
A delicious and moist Cookie Butter Cake that is perfect for any occasion.
Ingredients
Scale
2 cups all-purpose flour
1 ½ teaspoons baking powder
½ teaspoon baking soda
½ teaspoon salt
1 cup unsalted butter, softened
1 cup granulated sugar
1 cup brown sugar, packed
4 large eggs
1 teaspoon vanilla extract
1 cup cookie butter
½ cup buttermilk
Instructions
Preheat your oven to 350°F (175°C). Grease and flour a 9×13 inch baking pan.
In a medium bowl, whisk together the flour, baking powder, baking soda, and salt. Set aside.
In a large mixing bowl, cream together the softened butter, granulated sugar, and brown sugar until light and fluffy, about 3-4 minutes.
Add the eggs one at a time, mixing well after each addition. Stir in the vanilla extract and cookie butter until fully combined.
Gradually add the dry ingredients to the wet mixture, alternating with the buttermilk. Start and end with the dry ingredients, mixing until just combined.
Pour the batter into the prepared baking pan and smooth the top with a spatula. Bake for 30-35 minutes, or until a toothpick inserted in the center comes out clean.
Allow the cake to cool in the pan for about 10 minutes, then transfer it to a wire rack to cool completely.
Notes
For a richer flavor, add ½ cup of chocolate chips to the batter before baking.
You can also top the cooled cake with whipped cream and a drizzle of cookie butter for an extra indulgent treat.