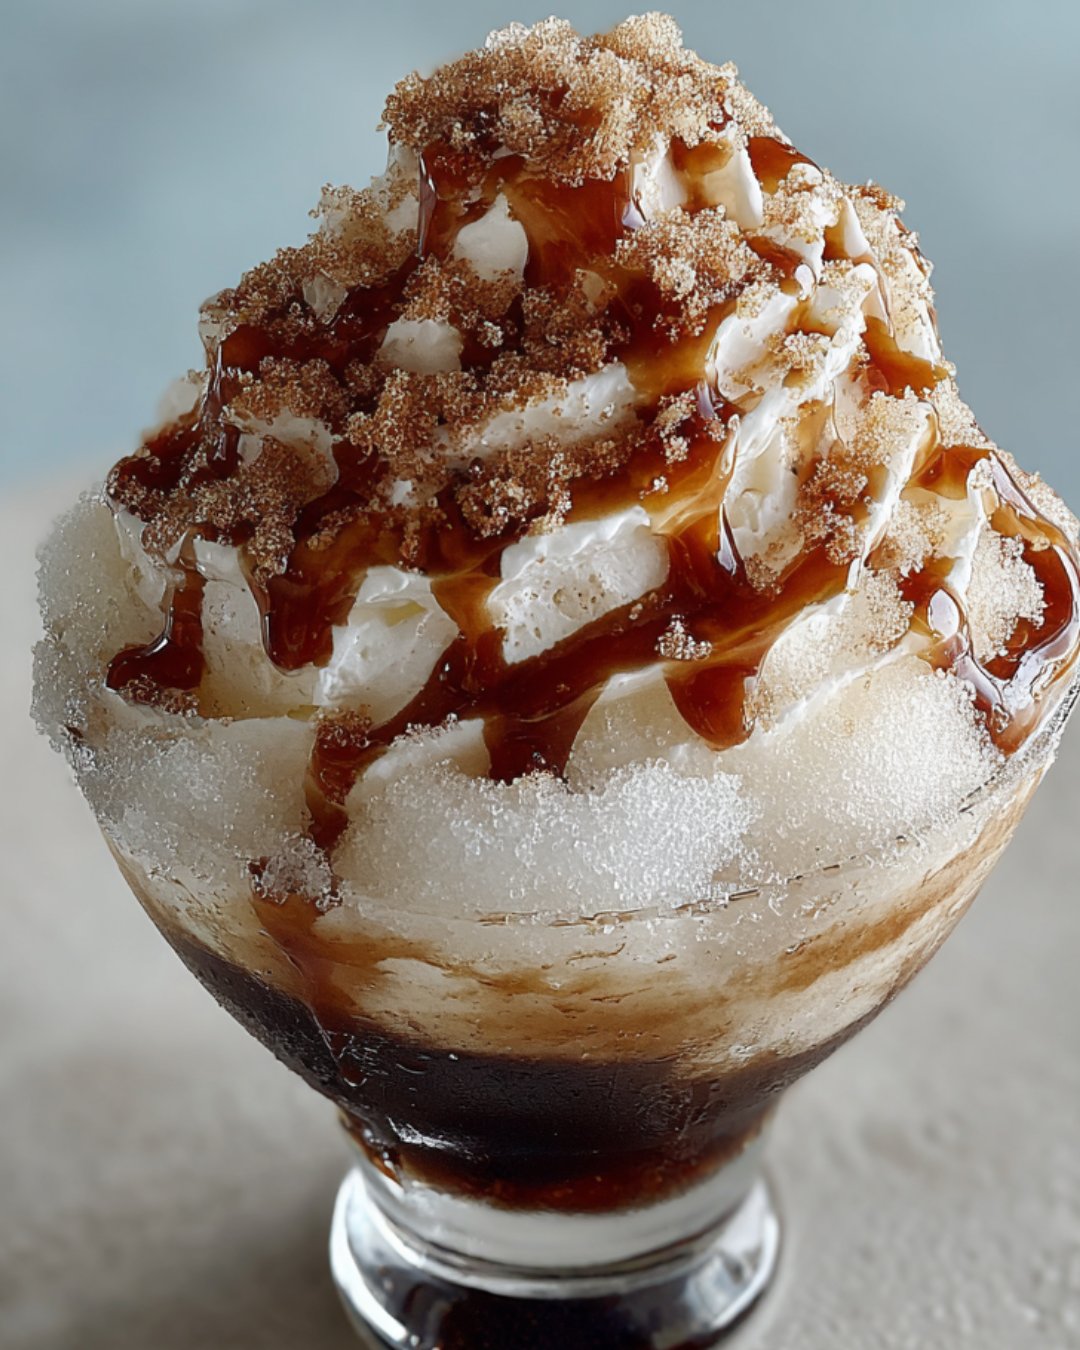
Summer days can be a real scorcher, can’t they? When the heat hits, nothing beats a refreshing treat. That’s where the Coffee Snow Cone comes in—a delightful blend of coffee and ice that’s perfect for cooling down. This recipe is not just a quick solution for a busy day; it’s a fun way to impress your friends or family. Imagine serving this chilled delight at your next backyard barbecue or simply enjoying it on a lazy afternoon. Trust me, once you try it, you’ll be hooked on this unique summer dessert!
Why You’ll Love This Coffee Snow Cone
This Coffee Snow Cone is a game-changer for summer treats. It’s incredibly easy to whip up, taking just 10 minutes from start to finish. The combination of rich coffee and icy goodness creates a flavor explosion that’s both refreshing and satisfying. Plus, it’s a versatile dessert that can be customized with your favorite toppings. Whether you’re a coffee lover or just looking for a cool treat, this recipe is sure to please!
Ingredients for Coffee Snow Cone
Gathering the right ingredients is key to making the perfect Coffee Snow Cone. Here’s what you’ll need:
Brewed Coffee: Use your favorite blend, cooled down. The coffee is the star of this treat, so choose one you love.
Granulated Sugar: This sweetens the coffee mixture. You can adjust the amount based on your taste preference.
Milk or Cream: Adds a creamy texture. For a lighter option, go with milk; for indulgence, use cream.
Vanilla Extract: A splash of this enhances the flavor, giving it a delightful aroma.
Ice: Crushed or shaved, this is essential for that refreshing chill. The finer the ice, the better it absorbs the coffee flavor.
Chocolate Syrup: Optional, but who can resist a drizzle of chocolate? It adds a rich touch to your snow cone.
Whipped Cream: Another optional topping that brings a luxurious finish to your treat.
For those looking for alternatives, you can swap the milk or cream with almond or coconut milk for a dairy-free version. If you want to elevate your Coffee Snow Cone, consider adding a scoop of vanilla ice cream on top. The exact quantities for each ingredient are listed at the bottom of the article for easy printing.
How to Make Coffee Snow Cone
Creating a Coffee Snow Cone is as easy as pie, or should I say, as easy as ice? Follow these simple steps, and you’ll have a delightful treat ready in no time. Let’s dive into the process!
Step 1: Prepare the Coffee Mixture
Start by grabbing a mixing bowl. Combine your cooled brewed coffee, granulated sugar, milk or cream, and a splash of vanilla extract. Stir it all together until the sugar dissolves completely. This mixture is the heart of your Coffee Snow Cone, so make sure it’s well blended. The aroma of coffee and vanilla will already have you dreaming of summer!
Step 2: Prepare the Ice
Next, it’s time to get your ice ready. Fill a snow cone cup or a small bowl with crushed or shaved ice. The finer the ice, the better it will soak up that delicious coffee mixture. If you don’t have a snow cone maker, no worries! A blender or even a sturdy bag and a rolling pin will do the trick. Just make sure it’s nice and fluffy!
Step 3: Assemble the Snow Cone
Now comes the fun part! Pour the coffee mixture over the ice, allowing it to soak in and flavor the ice. Watch as the ice transforms into a coffee-flavored delight. You can be generous here; the more coffee, the better! This step is where the magic happens, turning simple ice into a refreshing treat.
Step 4: Add Toppings
Feeling fancy? Drizzle some chocolate syrup over the top for an extra layer of flavor. If you’re in the mood for indulgence, add a dollop of whipped cream. It’s like the cherry on top, but better! These toppings elevate your Coffee Snow Cone from a simple dessert to a showstopper.
Step 5: Serve and Enjoy
Finally, it’s time to dig in! Serve your Coffee Snow Cone immediately with a spoon or straw. The combination of icy coffee goodness and sweet toppings is sure to bring a smile to your face. Enjoy every last bite, and don’t forget to share with friends—if you’re feeling generous!
Tips for Success
Use freshly brewed coffee for the best flavor; it makes a noticeable difference.
Chill your coffee in the fridge for quicker prep time.
Experiment with different flavored syrups for a unique twist.
For a smoother texture, use a snow cone maker or a high-powered blender.
Don’t skimp on toppings; they add a fun and delicious touch!
Equipment Needed
Mixing Bowl: Any large bowl will do; just make sure it’s easy to stir in.
Spoon: A regular spoon works perfectly for mixing and serving.
Ice Crusher or Blender: Use a snow cone maker, blender, or even a sturdy bag and rolling pin to crush ice.
Snow Cone Cups or Small Bowls: Any small container will work for serving your treat.
Variations
Mocha Delight: Add a tablespoon of cocoa powder to the coffee mixture for a rich mocha flavor.
Nutty Twist: Incorporate a splash of hazelnut or almond syrup for a nutty undertone.
Spiced Coffee: Mix in a pinch of cinnamon or nutmeg to give your Coffee Snow Cone a warm, spiced kick.
Fruit Fusion: Blend in some fruit puree, like raspberry or strawberry, for a fruity twist.
Dairy-Free Option: Use coconut milk or almond milk instead of regular milk or cream for a lighter, dairy-free treat.
Serving Suggestions
Pair your Coffee Snow Cone with a slice of chocolate cake for a decadent dessert duo.
Serve alongside a refreshing iced tea or lemonade to balance the coffee flavor.
For a fun presentation, use colorful straws and decorative cups.
Garnish with fresh mint leaves for a pop of color and freshness.
FAQs about Coffee Snow Cone
Can I use decaf coffee for my Coffee Snow Cone?
Absolutely! If you prefer a caffeine-free option, decaf coffee works just as well. You’ll still enjoy that rich coffee flavor without the jitters.
How can I make my Coffee Snow Cone sweeter?
If you like it sweet, simply add more granulated sugar to the coffee mixture. You can also drizzle extra chocolate syrup on top for an indulgent touch.
Can I make this Coffee Snow Cone in advance?
While it’s best enjoyed fresh, you can prepare the coffee mixture ahead of time and store it in the fridge. Just assemble it with ice when you’re ready to serve!
What’s the best way to crush ice for my Coffee Snow Cone?
A blender works wonders for crushing ice, but if you don’t have one, place ice in a sturdy bag and use a rolling pin to crush it. Just make sure to get it nice and fluffy!
Are there any other toppings I can use?
Definitely! Get creative with toppings like caramel sauce, crushed nuts, or even a sprinkle of cinnamon. The possibilities are endless!
Final Thoughts
Creating a Coffee Snow Cone is more than just making a dessert; it’s about crafting a moment of joy. Each spoonful brings together the rich, bold flavor of coffee and the refreshing chill of ice, making it a perfect summer escape. Whether you’re enjoying it solo on a hot afternoon or sharing it with friends at a gathering, this treat is bound to spark smiles. Plus, the endless customization options mean you can make it your own. So, grab your ingredients and dive into this delightful experience—your taste buds will thank you!
A refreshing and delightful treat combining coffee and ice for a perfect summer dessert.
Ingredients
Scale
2 cups brewed coffee, cooled
1/2 cup granulated sugar
1/4 cup milk or cream
1 teaspoon vanilla extract
Ice, crushed or shaved
Chocolate syrup (optional, for drizzling)
Whipped cream (optional, for topping)
Instructions
In a mixing bowl, combine the cooled brewed coffee, granulated sugar, milk or cream, and vanilla extract. Stir until the sugar is completely dissolved.
Fill a snow cone cup or a small bowl with crushed or shaved ice.
Pour the coffee mixture over the ice, allowing it to soak in and flavor the ice.
If desired, drizzle chocolate syrup over the top and add a dollop of whipped cream.
Serve immediately with a spoon or straw.
Notes
For a dairy-free option, substitute the milk or cream with almond milk or coconut milk.
Add a scoop of vanilla ice cream on top for an extra creamy treat.