There’s something magical about a cake that requires no eggs or dairy, yet still delivers a rich, chocolatey experience. That’s where the Chocolate Depression Cake comes in. This delightful dessert is not just for those with dietary restrictions; it’s a quick solution for busy days when you crave something sweet without the fuss. I remember the first time I made it—my friends were amazed that such a simple recipe could yield such a delicious treat. Whether you’re looking to impress loved ones or just satisfy a sweet tooth, this cake is sure to hit the spot!
Why You’ll Love This Chocolate Depression Cake
This Chocolate Depression Cake is a game-changer in the dessert world. It’s incredibly easy to whip up, making it perfect for those last-minute cravings or unexpected guests. The best part? It’s ready in under an hour! With its rich, moist texture and deep chocolate flavor, it’s hard to believe it’s vegan. This cake proves that you don’t need fancy ingredients or hours in the kitchen to create something truly delicious.
Ingredients for Chocolate Depression Cake
Gathering the right ingredients is the first step to creating this delightful Chocolate Depression Cake. Here’s what you’ll need:
All-purpose flour: The backbone of the cake, providing structure and a light texture.
Granulated sugar: Sweetens the cake and helps create that moist crumb.
Unsweetened cocoa powder: This is where the chocolate magic happens, giving the cake its rich flavor.
Baking soda: A leavening agent that helps the cake rise, ensuring a fluffy texture.
Salt: Just a pinch enhances the flavors and balances the sweetness.
Vanilla extract: Adds a warm, aromatic note that complements the chocolate beautifully.
White vinegar: This might seem unusual, but it reacts with the baking soda to create a light, airy cake.
Vegetable oil: Keeps the cake moist and tender, making each bite melt in your mouth.
Water: The liquid that brings everything together, ensuring a smooth batter.
For those looking to elevate the flavor, consider adding chocolate chips for an extra chocolatey kick. If you’re out of an ingredient, don’t fret! You can substitute the vegetable oil with melted coconut oil or applesauce for a healthier twist. All ingredient measurements are available at the bottom of the article for easy printing.
How to Make Chocolate Depression Cake
Now that you have all your ingredients ready, let’s dive into the fun part—making the Chocolate Depression Cake! This process is straightforward and rewarding. Follow these simple steps, and you’ll have a delicious cake in no time.
Step 1: Preheat the Oven
First things first, preheat your oven to 350°F (175°C). This ensures that your cake bakes evenly. While the oven heats up, grab a 9×13-inch baking pan and grease it with a bit of oil or butter. Dust it with flour to prevent sticking. Trust me, you want that cake to slide right out!
Step 2: Mix Dry Ingredients
In a large mixing bowl, combine the all-purpose flour, granulated sugar, unsweetened cocoa powder, baking soda, and salt. Whisk everything together until it’s well blended. This step is crucial because it ensures that the leavening agent is evenly distributed, giving your cake that perfect rise.
Step 3: Create Wells
Now, it’s time to get a little creative! Make three wells in the dry mixture. In one well, pour in the vanilla extract. In the second well, add the white vinegar, and in the third well, pour in the vegetable oil. This method allows the flavors to infuse beautifully into the batter.
Step 4: Combine Ingredients
Next, pour the water over the entire mixture. Grab a spatula or wooden spoon and stir everything together until just combined. Be careful not to overmix; a few lumps are perfectly fine. This is where the magic happens, transforming simple ingredients into a rich, chocolatey batter.
Step 5: Bake the Cake
Pour the batter into your prepared baking pan. Spread it out evenly, and pop it into the preheated oven. Bake for 30-35 minutes. To check if it’s done, insert a toothpick into the center. If it comes out clean, your cake is ready to shine!
Step 6: Cool the Cake
Once baked, allow the cake to cool in the pan for about 10 minutes. This helps it set and makes it easier to transfer. After that, carefully move it to a wire rack to cool completely. The aroma wafting through your kitchen will be irresistible!
Tips for Success
Measure your ingredients accurately for the best results.
Don’t skip the greasing and flouring of the pan; it’s key to a smooth release.
Let the cake cool completely before frosting or serving to enhance its flavor.
For a fun twist, try adding a pinch of cinnamon to the dry ingredients.
Store leftovers in an airtight container to keep it fresh and moist.
Equipment Needed
9×13-inch baking pan: Essential for this cake; a round pan works too if that’s what you have.
Mixing bowls: A large bowl for dry ingredients and a smaller one for wet ingredients.
Whisk: Perfect for blending dry ingredients; a fork can work in a pinch.
Spatula or wooden spoon: Great for mixing the batter.
Toothpick: For testing doneness; a knife can also do the trick.
Variations
Gluten-Free: Substitute all-purpose flour with a gluten-free flour blend for a delicious gluten-free version.
Nutty Twist: Add ½ cup of chopped walnuts or pecans to the batter for a delightful crunch.
Mint Chocolate: Incorporate a teaspoon of peppermint extract for a refreshing minty flavor.
Spicy Kick: Mix in a pinch of cayenne pepper or chili powder for a surprising heat that complements the chocolate.
Fruit Infusion: Fold in 1 cup of fresh raspberries or chopped strawberries for a fruity twist.
Serving Suggestions
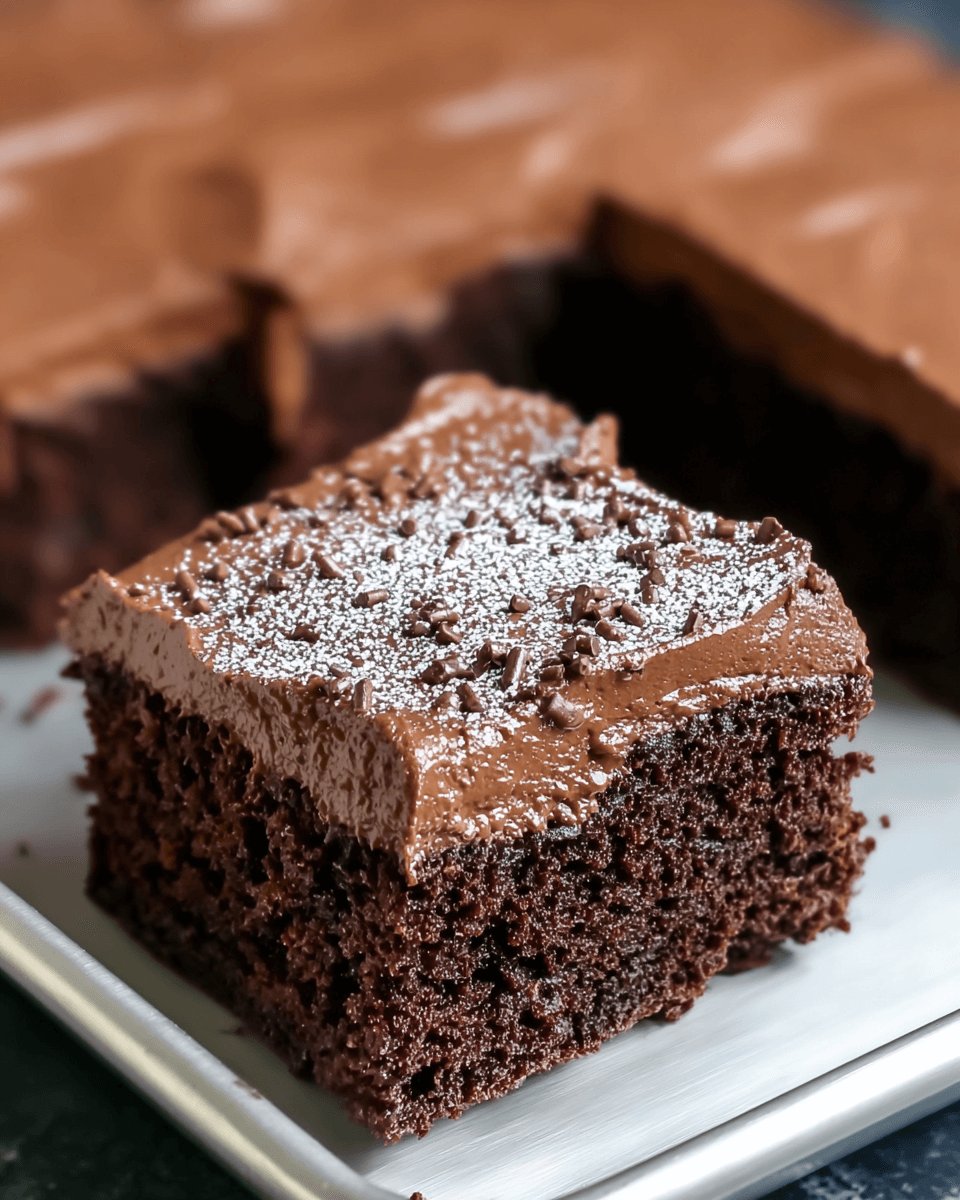
Dust the cooled cake with powdered sugar for a simple yet elegant finish.
Pair it with a scoop of vanilla ice cream for a delightful contrast.
Serve alongside fresh berries to add a pop of color and flavor.
Enjoy with a cup of coffee or a glass of cold milk.
For a festive touch, top with whipped coconut cream and chocolate shavings.
FAQs about Chocolate Depression Cake
As you embark on your journey to create this delightful Chocolate Depression Cake, you might have a few questions. Here are some common queries that can help you along the way:
Can I use a different type of flour?
Absolutely! While all-purpose flour is the go-to for this recipe, you can substitute it with a gluten-free flour blend if needed. Just ensure it’s a 1:1 ratio for the best results.
What can I use instead of vegetable oil?
If you’re looking for alternatives, melted coconut oil or unsweetened applesauce work wonderfully. Both options will keep your cake moist and delicious!
How do I store leftovers?
To keep your Chocolate Depression Cake fresh, store it in an airtight container at room temperature for up to three days. You can also refrigerate it for a longer shelf life, but be sure to let it come to room temperature before serving.
Can I freeze this cake?
Yes! This cake freezes beautifully. Wrap it tightly in plastic wrap and then in aluminum foil. It can last up to three months in the freezer. Just thaw it in the fridge overnight before serving.
Is this cake suitable for vegans?
Definitely! This Chocolate Depression Cake is naturally vegan, as it contains no eggs or dairy. It’s a fantastic option for anyone following a plant-based diet.
Final Thoughts
Creating this Chocolate Depression Cake is more than just baking; it’s about sharing joy and deliciousness with those you love. The simplicity of the recipe allows anyone to whip it up, regardless of their culinary skills. Each bite is a reminder that comfort food doesn’t have to be complicated. Whether you’re celebrating a special occasion or just indulging in a sweet moment, this cake brings smiles and satisfaction. So, roll up your sleeves, embrace the process, and enjoy the delightful aroma filling your kitchen. Trust me, your taste buds will thank you for this chocolatey adventure!
Chocolate Depression Cake is a simple and delicious cake that requires no eggs or dairy, making it perfect for those with dietary restrictions.
Ingredients
Scale
2 cups all-purpose flour
2 cups granulated sugar
¾ cup unsweetened cocoa powder
1 teaspoon baking soda
½ teaspoon salt
1 teaspoon vanilla extract
1 tablespoon white vinegar
1 cup vegetable oil
2 cups water
Instructions
Preheat your oven to 350°F (175°C). Grease and flour a 9×13-inch baking pan.
In a large mixing bowl, combine the flour, sugar, cocoa powder, baking soda, and salt. Whisk together until well blended.
Make three wells in the dry ingredients. In one well, add the vanilla extract, in the second well, add the vinegar, and in the third well, pour in the vegetable oil.
Pour the water over the entire mixture. Stir everything together until just combined; do not overmix.
Pour the batter into the prepared baking pan.
Bake in the preheated oven for 30-35 minutes, or until a toothpick inserted in the center comes out clean.
Allow the cake to cool in the pan for about 10 minutes before transferring it to a wire rack to cool completely.
Notes
For a richer flavor, add ½ cup of chocolate chips to the batter before baking.
Serve with a dusting of powdered sugar or a scoop of vanilla ice cream for a delightful dessert.