


With the holidays fast approaching, I found myself in a mad dash to create the perfect cookie to share with family and friends. That’s when the delightful idea of Gluten-Free Peanut Butter Marshmallow Cookies hit me! These soft, pillowy bites are not just a delightful treat; they also boast the irresistible perks of being naturally gluten-free and oh-so-easy to make. The combination of creamy peanut butter and gooey marshmallows creates a mouthwatering texture that’s bound to impress even the most discerning cookie lover. Whether you’re gearing up for a holiday cookie exchange or simply looking to indulge, these cookies are sure to become a treasured favorite. Curious how to whip up this delectable delight? Let’s dive in!
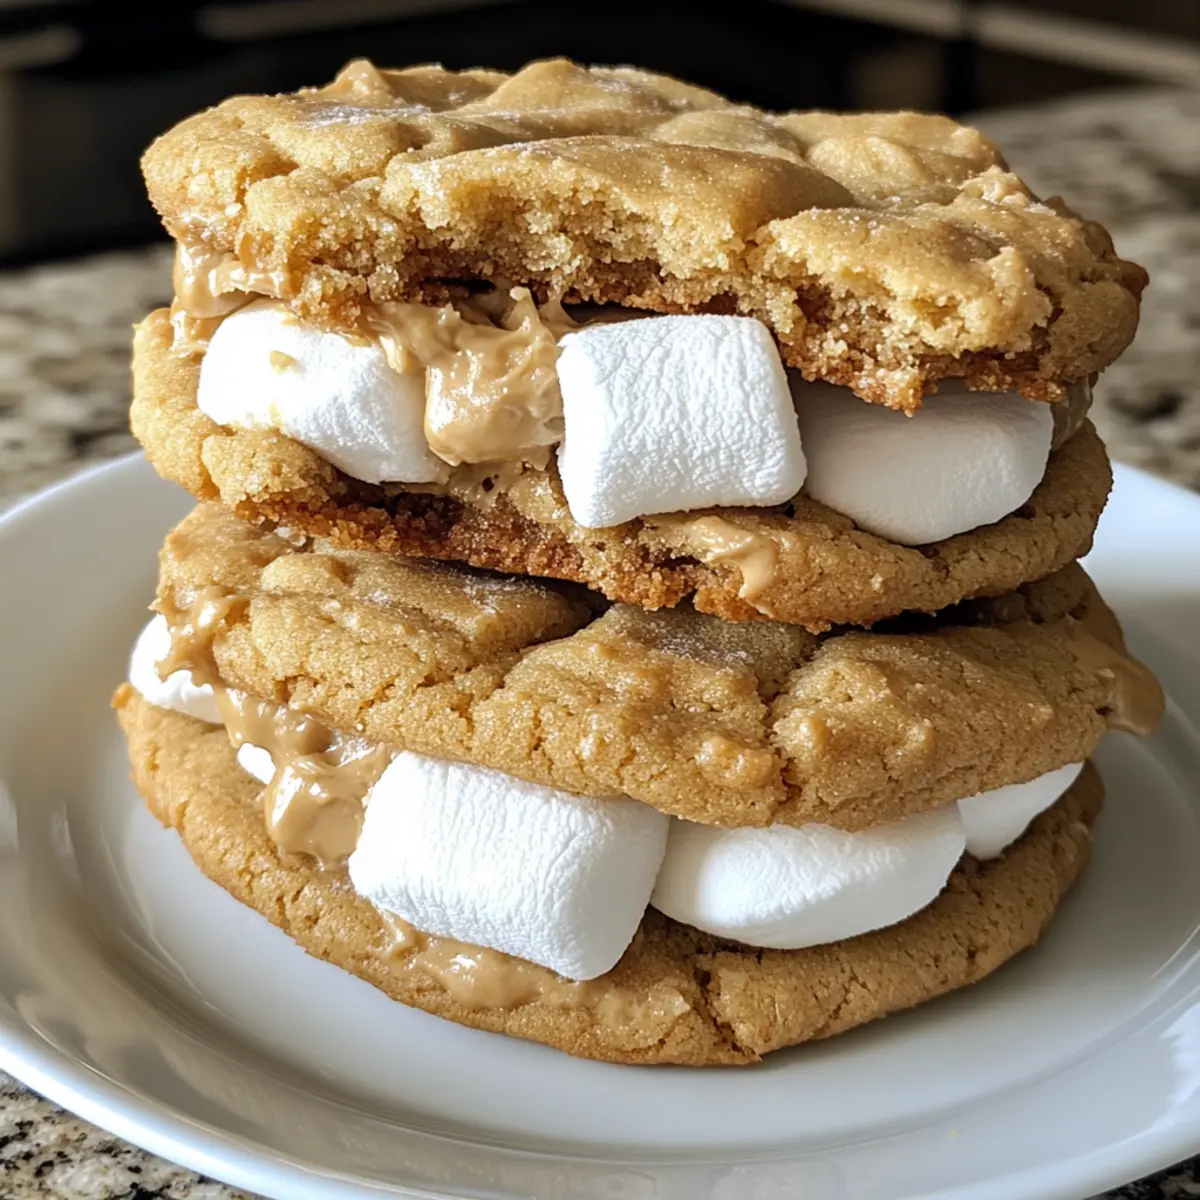
Why Choose Gluten-Free Peanut Butter Cookies?
Delightful Texture: These cookies are not only soft and chewy but also feature a gooey marshmallow center, offering a delightful contrast with a slightly crispy edge.
Quick Preparation: With simple steps, you’ll have these cookies ready to bake in no time—perfect for while you’re busy entertaining.
Crowd Pleaser: They’re a hit at holiday gatherings, ensuring everyone—from kids to adults—enjoys this gluten-free treat. Pair them with a cozy cup of hot chocolate for the ultimate indulgence!
Versatile Options: Want to switch things up? Try adding chocolate chips or substituting peanut butter with almond or cashew butter for a new twist.
Convenient Storage: Made ahead of time? No problem! These cookies can be stored in the fridge for up to a week or frozen for up to three months, so you can enjoy them anytime.
Butter Marshmallow Cookies Ingredients
For the Cookie Base
• Gluten-Free Flour – Provides the structure and texture needed for a delightful cookie; can be swapped with all-purpose flour for non-gluten-free versions.
• Baking Soda – A key leavening agent that helps your cookies rise nicely while baking.
• Sea Salt – Enhances flavor balance and ensures the sweetness shines in these butter marshmallow cookies.
• Unsalted Butter (softened) – Adds rich moisture, creating the ultimate softness in every bite.
• Granulated Sugar – Contributes sweetness and aids in browning your cookies for that perfect golden hue.
• Brown Sugar (packed) – Introduces a mellow sweetness and moisture, making the cookies delightful and chewy.
• Creamy Peanut Butter – The star ingredient; imparts a rich, flavorful punch and chewy texture.
• Large Egg – Binds all ingredients together, ensuring the cookies maintain structure during baking.
• Vanilla Extract – Adds a warm, inviting depth of flavor to the batter.
For the Gooey Filling
• Mini Marshmallows (frozen) – Creates bursts of gooey delight; freezing them prevents melting completely, keeping that wonderful chewy center.
These delicious butter marshmallow cookies are sure to bring sweet moments to your holiday gatherings!
Step‑by‑Step Instructions for Butter Marshmallow Cookies
Step 1: Freeze the Marshmallows
Begin by placing your mini marshmallows in the freezer for at least 2 hours before baking. This crucial step ensures they stay intact during the baking process, allowing for that delightful gooeyness inside your butter marshmallow cookies without becoming a melted mess.
Step 2: Preheat the Oven
Preheat your oven to 350°F (175°C). This temperature is perfect for baking, creating cookies with a lightly crispy edge while keeping the center soft and chewy. As your oven heats up, gather your baking sheet and line it with parchment paper to prevent the cookies from sticking.
Step 3: Prepare the Dry Ingredients
In a medium bowl, whisk together the gluten-free flour, baking soda, and sea salt until well combined. This step ensures that all the dry ingredients are evenly distributed, giving your butter marshmallow cookies structure and flavor. Set the bowl aside while you mix up the wet ingredients.
Step 4: Cream Together Butter and Sugars
In a large bowl, use an electric mixer to beat the softened unsalted butter, granulated sugar, and brown sugar until the mixture is smooth and creamy, about 2-3 minutes. You’re looking for a light and fluffy texture that will contribute to the cookies’ rich, moist interior.
Step 5: Mix in Peanut Butter and Egg
Add the creamy peanut butter to the butter and sugar mixture, along with the large egg and vanilla extract. Mix until thoroughly combined—this should take another 1-2 minutes. The peanut butter adds its signature flavor, making these cookies truly irresistible.
Step 6: Fold in the Frozen Marshmallows
Quickly fold the frozen mini marshmallows into your batter using a spatula. Make sure not to let them sit too long in the batter, as you want them to remain frozen. This will result in delightful pockets of gooeyness in your baked butter marshmallow cookies.
Step 7: Combine Wet and Dry Ingredients
Gradually mix the dry flour mixture into the wet ingredients until just combined. You want a soft dough that holds together well but avoid overmixing to keep your cookies tender. This is the final step before shaping your butter marshmallow cookies!
Step 8: Shape the Cookie Dough
Using a cookie scoop or your hands, portion out the dough into balls, each weighing about 2-3 tablespoons. Place them 1-2 inches apart on the prepared baking sheet. This gives each cookie space to spread out and bake evenly while developing that lovely golden color.
Step 9: Bake the Cookies
Slide the baking sheet into the preheated oven and bake for 10-11 minutes. Keep an eye on the cookies; they’re ready when the edges are lightly golden but the centers still look soft. This slight underbaking ensures they remain chewy after cooling.
Step 10: Cool and Enjoy
Once done, allow the cookies to cool on the baking sheet for about 10 minutes before transferring them to a wire rack. This cooling time helps them firm up slightly while retaining their gooey marshmallow center. Enjoy these delightful butter marshmallow cookies!
Expert Tips for Butter Marshmallow Cookies
-
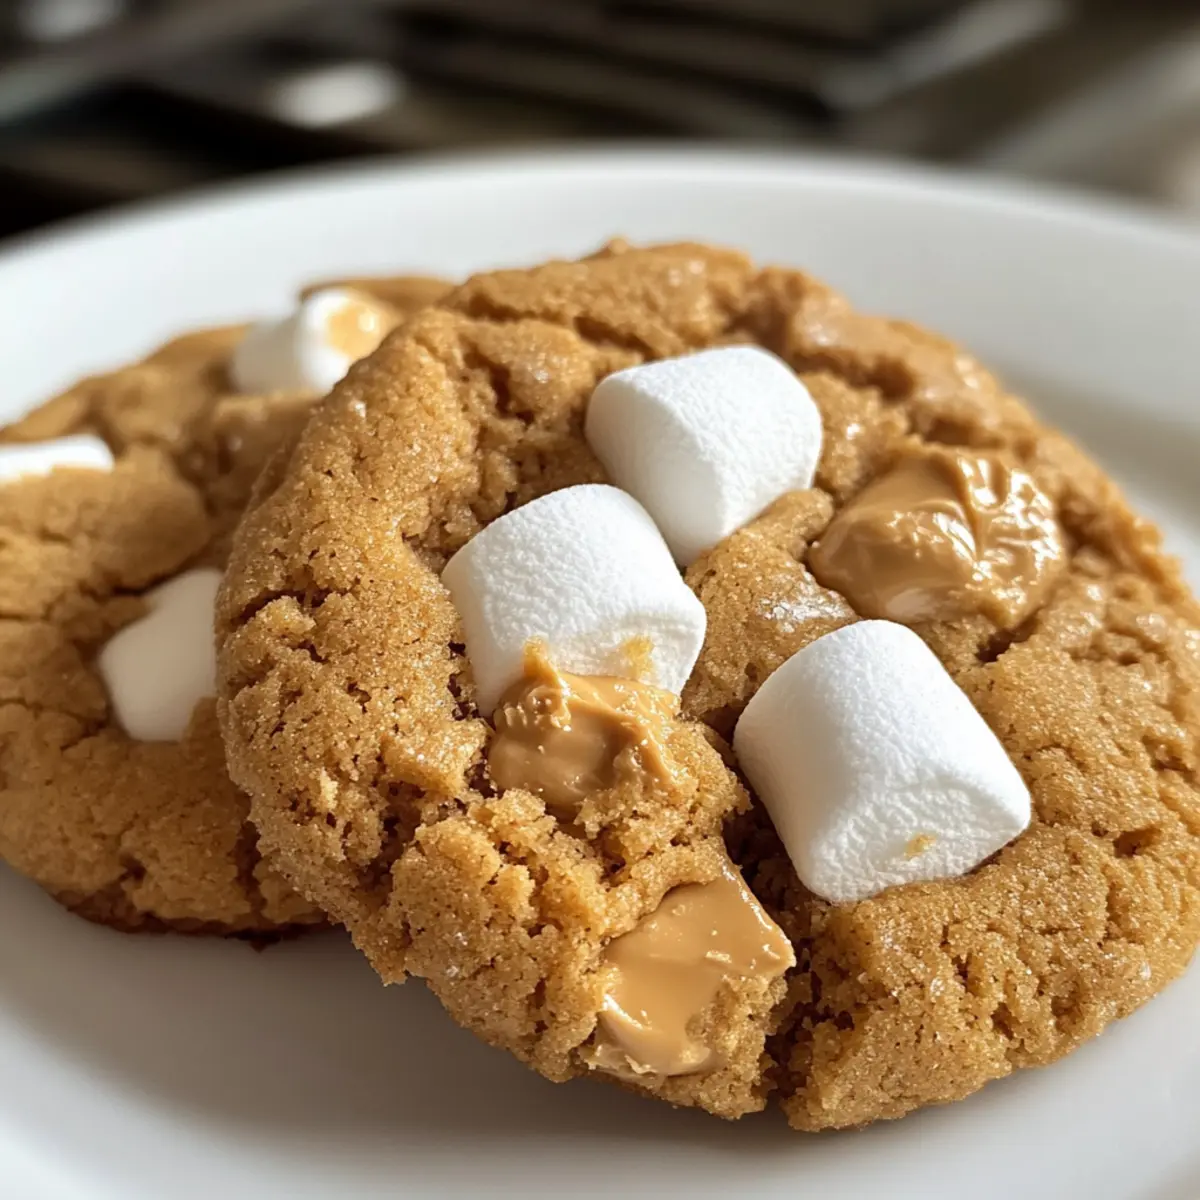
Chill Your Marshmallows: Ensure mini marshmallows are completely frozen for the perfect chewy center that won’t melt into goo during baking.
-
Cookie Scoop Advantage: Using a cookie scoop guarantees uniform cookie sizes, allowing for even baking and a consistent texture in your butter marshmallow cookies.
-
Watch Baking Time: Keep a close eye on the cookies; removing them when edges are golden but centers are still soft keeps them wonderfully chewy.
-
Don’t Overmix Dough: Combine wet and dry ingredients until just mixed to prevent tough cookies. Overmixing can ruin the tender texture of your butter marshmallow cookies.
-
Let Them Cool: Allow cookies to cool on the baking sheet for 10 minutes before transferring to a wire rack; this helps them maintain their structure and gooiness.
How to Store and Freeze Butter Marshmallow Cookies
Fridge: Store cookies in an airtight container in the fridge for up to 1 week to keep them fresh and chewy.
Freezer: For longer storage, freeze cookies in a single layer on a baking sheet, then transfer to a sealed freezer bag for up to 3 months.
Reheating: To enjoy cookies after freezing, thaw at room temperature or reheat in the microwave for 10-15 seconds; this revives their delightful softness.
Room Temperature: If you plan to eat them quickly, leave cookies at room temperature in an airtight container for up to 3 days, maintaining their delicious texture.
Make Ahead Options
These Gluten-Free Peanut Butter Marshmallow Cookies are a fantastic choice for busy home cooks looking to save time during the hustle and bustle of the holidays! You can prepare the cookie dough up to 24 hours in advance by mixing the ingredients and keeping the dough covered in the refrigerator. For optimal quality, it’s essential to freeze the mini marshmallows before incorporating them into the dough, allowing them to retain their delightful chewiness. When you’re ready to bake, simply scoop the chilled dough onto a baking sheet and follow the baking instructions. This way, you’ll enjoy fresh, warm cookies with minimal effort, just as delicious as if they were made from scratch right before serving!
What to Serve with Gluten-Free Peanut Butter Marshmallow Cookies
Indulging in these cookies creates a lovely moment, and pairing them with the right treats will elevate your experience even more.
-
Glass of Milk: The classic pairing brings out the rich, creamy peanut butter flavors while balancing sweetness and texture with each sip.
-
Festive Hot Chocolate: A warm cup with whipped cream provides a cozy complement, enhancing the delightful chocolatey vibes during the holiday season.
-
Vanilla Ice Cream: A scoop of creamy vanilla ice cream melts beautifully alongside these cookies, creating a delightful contrast that’s simply irresistible.
-
Fresh Fruit Salad: Light and refreshing, a colorful bowl of fruits offers a bright, juicy counterpoint to the rich cookies, enhancing your dessert experience.
-
Chocolate Dipped Pretzels: The sweet and salty combo of crunchy pretzels dipped in chocolate adds a fun texture while harmonizing beautifully with peanut butter goodness.
-
Roasted Nuts: Nuts, especially honey-roasted or salted varieties, add crunch and a subtle savory note, providing a delightful contrast to the sweetness of the cookies.
-
Coconut Macaroons: These chewy delights echo the marshmallow center while introducing a coconut flavor that enhances the overall treat experience beautifully.
-
Chai Tea: A warm cup of chai with spices like cinnamon and nutmeg adds a cozy aroma, creating a comforting atmosphere perfect for enjoying cookies.
Variations for Butter Marshmallow Cookies
Feel free to play around with these ideas to make these cookies uniquely yours and even more delightful!
-
Nut Butter Swap: Use almond or hazelnut butter instead of peanut butter for a deliciously different nutty flavor. Each bite will bring a new taste adventure!
-
Chocolate Boost: Fold in 1 cup of chocolate chips for a sweet, decadent twist. The melted chocolate mingling with the marshmallow filling is pure bliss.
-
Oatmeal Crunch: Incorporate 1 cup of gluten-free oats into the dough for added texture and chewiness. The oats provide a heartiness that complements the soft marshmallows.
-
Flavored Extracts: Experiment with almond or coconut extract instead of vanilla for an aromatic change. Each variation adds its own unique twist to the familiar cookie base.
-
Spice it Up: Add 1 teaspoon of cinnamon or nutmeg for a warm, spiced profile perfect for the holidays. This subtle change adds a cozy touch to each mouthful.
-
Toasted Coconut: Mix in ½ cup of toasted shredded coconut for a tropical flavor and added texture. Pairing coconut with marshmallows is a delightful surprise!
-
Caramel Drizzle: Drizzle melted caramel over the cooled cookies for an extra layer of sweet indulgence. The combination of caramel, peanut butter, and marshmallow is a match made in heaven.
-
Mini Marshmallow Swirl: Instead of frozen marshmallows, try using mini marshmallow fluff swirled into the dough. It creates a different gooey texture that’s equally delightful.
Try any of these variations next time you bake these cookies or keep them as a reference for adapting your future baking adventures! And just imagine enjoying them alongside a cozy mug of hot chocolate or after sharing a batch with friends. Perfect cozy moments await!
Gluten-Free Peanut Butter Marshmallow Cookies Recipe FAQs
How do I choose the right gluten-free flour?
Absolutely! When selecting gluten-free flour, look for blends that contain ingredients like brown rice, tapioca, and potato starch. These provide better structure and texture. Brands like Bob’s Red Mill or King Arthur Flour offer excellent options. If you’re in a pinch, you can always substitute with all-purpose flour if gluten isn’t a concern!
What’s the best way to store leftover cookies?
Very! To maintain the freshness of your gluten-free peanut butter marshmallow cookies, store them in an airtight container at room temperature for up to 3 days. For longer storage, keep them in the fridge for up to a week, or freeze them for up to 3 months. Just make sure they’re completely cooled before storing.
How do I freeze my cookies for later?
Here’s a step-by-step! First, place your cookies in a single layer on a baking sheet and pop them in the freezer for about 2 hours or until firm. Once frozen, transfer the cookies to a freezer-safe bag or container. Make sure to label it with the date. This method helps preserve their texture and flavor!
What if my cookies spread too much while baking?
Oh no! If your cookies spread excessively, it could be due to a few reasons. Make sure your butter isn’t too soft—aim for room temperature but not melted. Also, chilling the dough for at least 30 minutes before baking can help. If the dough feels very sticky, adding a bit more gluten-free flour can provide the right consistency.
Are these cookies safe for those with nut allergies?
Definitely not! These cookies are made with peanut butter, which poses a risk for nut allergies. If you need a nut-free alternative, you can substitute the peanut butter with sunflower seed butter or soy nut butter. Just ensure the products you choose are processed in a nut-free facility for safety!
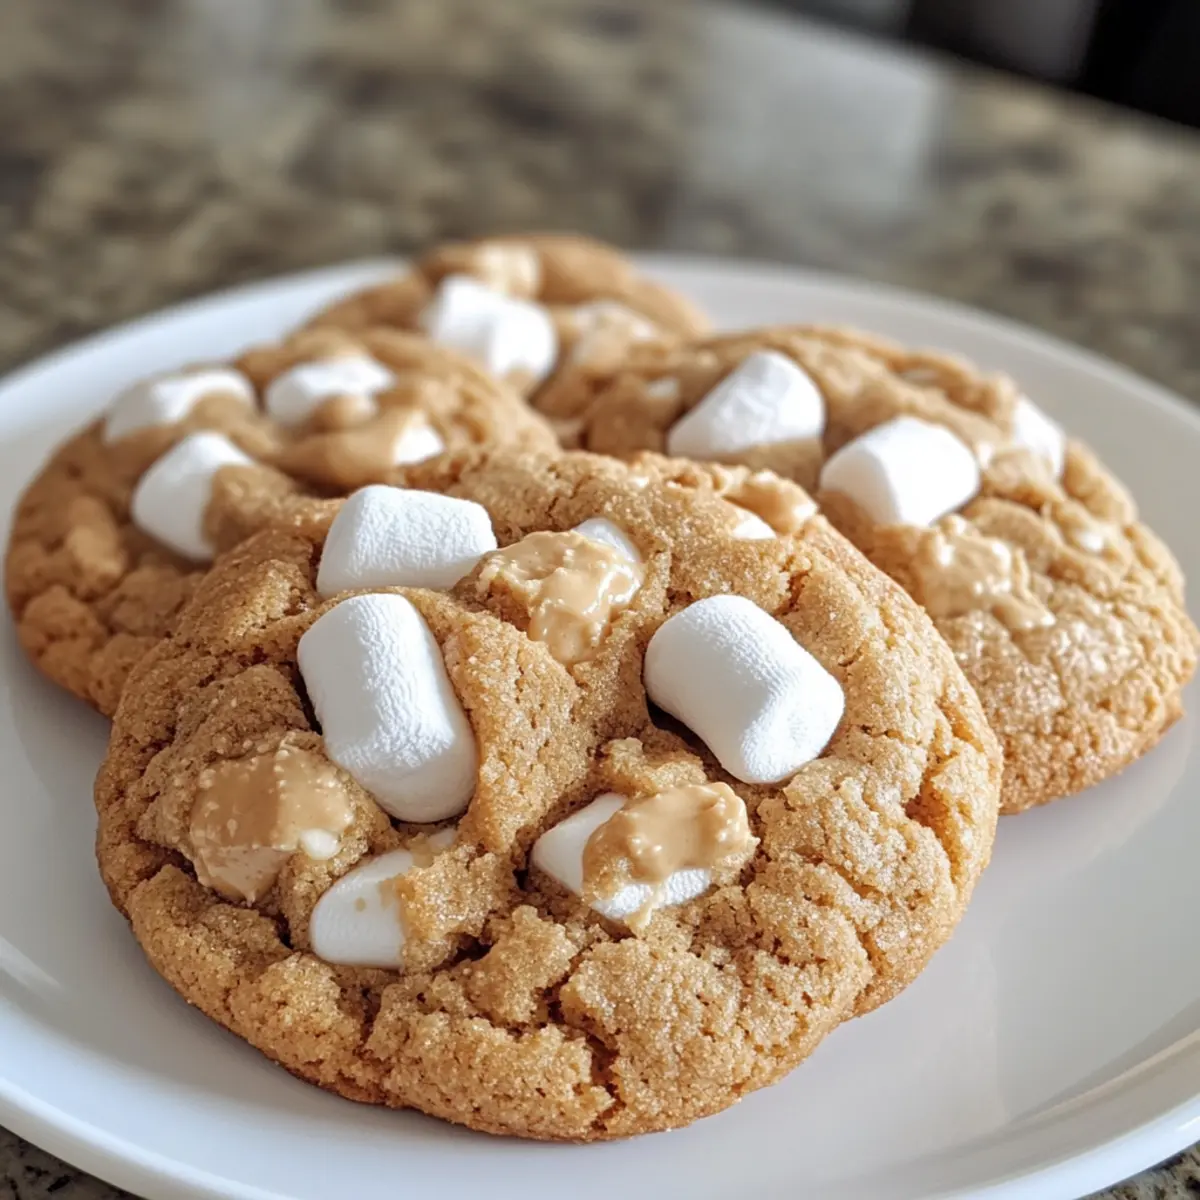
Decadent Butter Marshmallow Cookies for Sweet Moments
Ingredients
Equipment
Method
- Begin by placing your mini marshmallows in the freezer for at least 2 hours before baking.
- Preheat your oven to 350°F (175°C). Prepare a baking sheet lined with parchment paper.
- In a medium bowl, whisk together the gluten-free flour, baking soda, and sea salt until well combined.
- In a large bowl, beat the softened butter, granulated sugar, and brown sugar until smooth and creamy.
- Add the creamy peanut butter, egg, and vanilla extract to the mixture and mix until combined.
- Fold the frozen mini marshmallows into the batter using a spatula.
- Gradually mix the dry flour mixture into the wet ingredients until just combined.
- Shape the dough into balls weighing about 2-3 tablespoons and place them 1-2 inches apart on the baking sheet.
- Bake for 10-11 minutes until edges are golden but centers are soft. Allow to cool on the baking sheet.
- Transfer cookies to a wire rack to cool completely.