


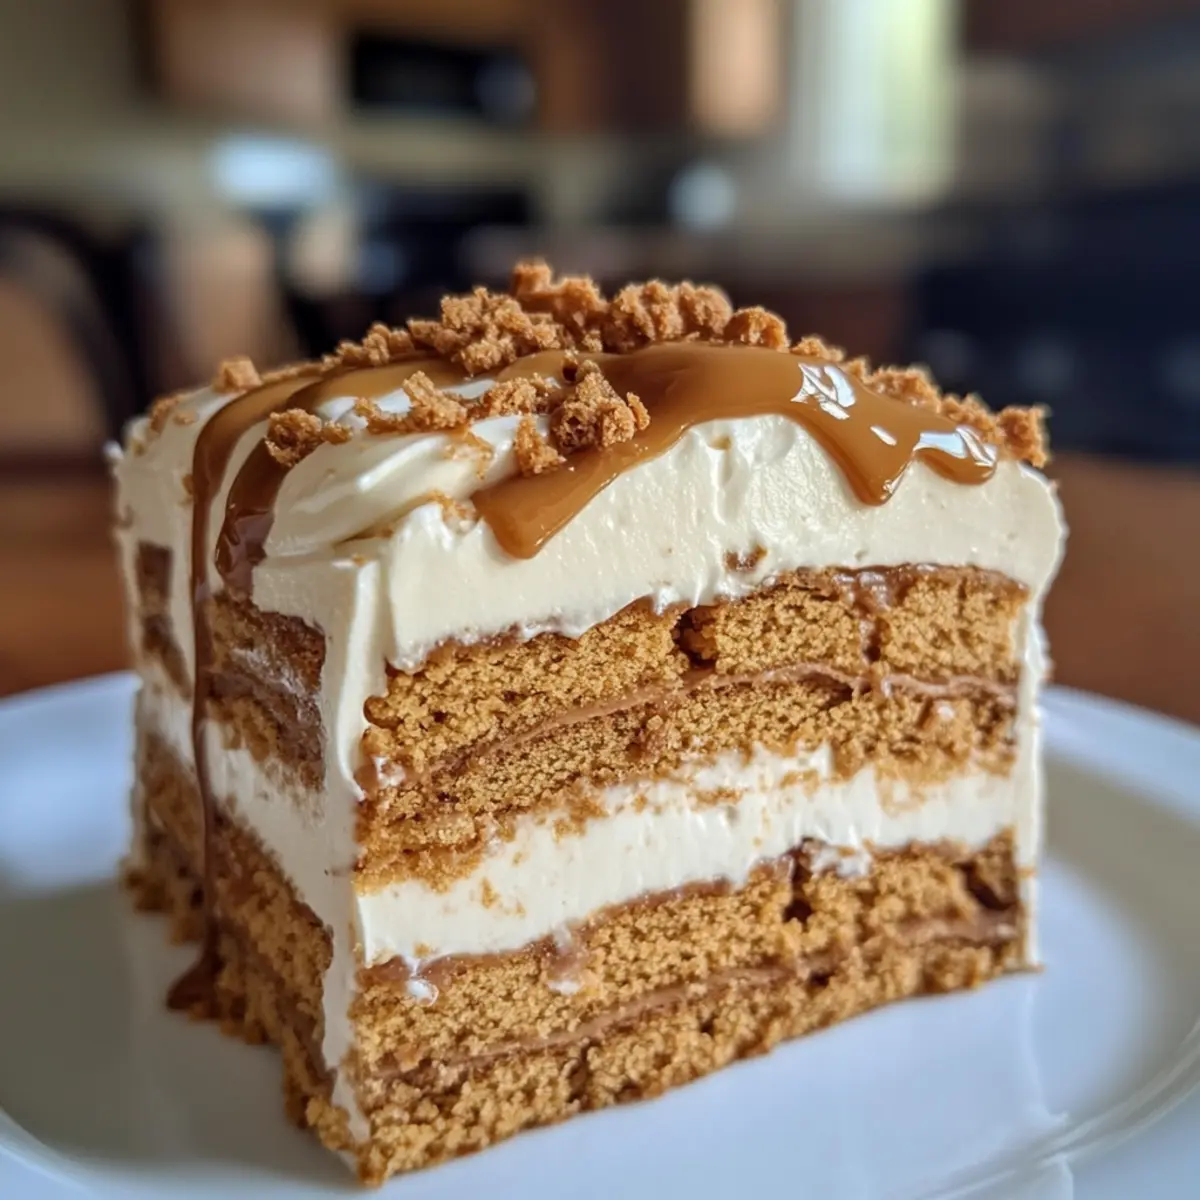
As I stirred the creamy layers of my latest no-bake obsession, a delightful aroma filled the kitchen, transporting me to a cozy café in Belgium. This 4-Ingredient No-Bake Biscoff Icebox Cake is a whimsical twist on a classic favorite that merges rich Biscoff flavors with crunchy cookie goodness. What makes it even more appealing is how effortlessly it comes together—perfect for anyone who craves a sweet treat without the fuss of baking. It’s an indulgent dessert that you can prepare ahead of time and simply chill while you focus on enjoying time with loved ones. Plus, it’s vegetarian and halal-friendly, making it suitable for everyone at your gathering. Ready to impress with this make-ahead marvel? Let’s dive into the layers of deliciousness that await!
Why is Biscoff Icebox Cake a Must-Try?
Simplicity at Its Best: With just four ingredients, this no-bake dessert can be whipped up in no time, making it perfect for even the busiest of weeks.
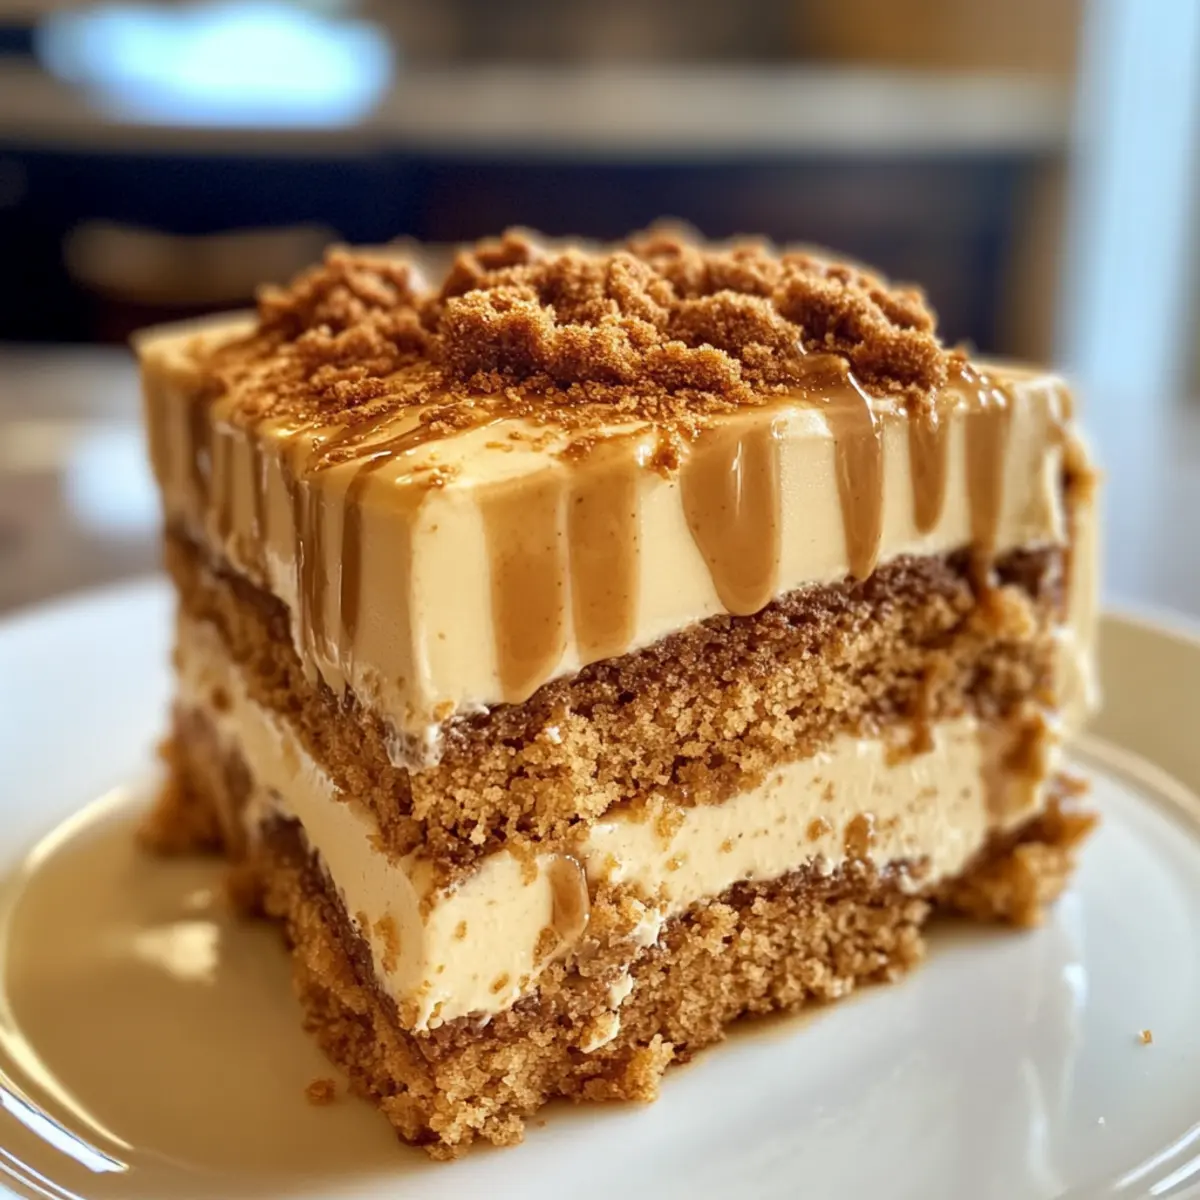
Unmatched Flavor: Rich, creamy Biscoff cream paired with crunchy biscuits creates a delectable experience that you won’t be able to resist.
Versatile Indulgence: Feel free to experiment with variations! Substitute the Biscoff spread with different options like almond butter, or incorporate flavors such as Nutella to surprise your taste buds.
Ideal for Gatherings: Perfectly designed for make-ahead preparation, this cake allows you to spend more time with your guests and less time in the kitchen.
Crowd-Pleasing Treat: With its unique flavors and elegant presentation, it’s bound to be a hit at any gathering, much like the delightful Pistachio Raspberry Cake or the Moist Carrot Cake.
Biscoff Icebox Cake Ingredients
For the Cream Layer
- Heavy Cream – Provides a rich and creamy base for the filling; use well-chilled heavy cream for best results when whipping.
- Sweetened Condensed Milk – Adds sweetness and a smooth texture to the cream; can be substituted with powdered (icing) sugar to adjust sweetness to personal preference.
- Lotus Biscoff Spread – Imparts the distinct brown sugar and spice flavor characteristic of Biscoff cookies; other brands of cookie butter can be used as alternatives.
For the Cake Assembly
- Lotus Biscoff Biscuits – Used for layering and garnishing the cake; feel free to substitute with any brand of speculoos biscuits for similar taste.
Step‑by‑Step Instructions for Biscoff Icebox Cake
Step 1: Prepare the Lotus Cream
In a large, chilled bowl, combine heavy cream and sweetened condensed milk. Using an electric mixer, whip the mixture on medium speed until stiff peaks form, which should take about 3-5 minutes. Carefully fold in half a cup of Biscoff spread until fully combined, ensuring the mixture remains fluffy. This creamy layer will be the heart of your Biscoff Icebox Cake.
Step 2: Set Up for Layering
To ensure easy assembly, microwave the remaining Biscoff spread until it becomes runny, roughly 20 seconds. Line a 9×5 loaf pan with plastic wrap, letting the edges hang over the side for easy removal later. Start the layering process with a thin layer of the prepared Biscoff cream at the bottom, creating a smooth base for your dessert.
Step 3: Layer the Biscuits and Cream
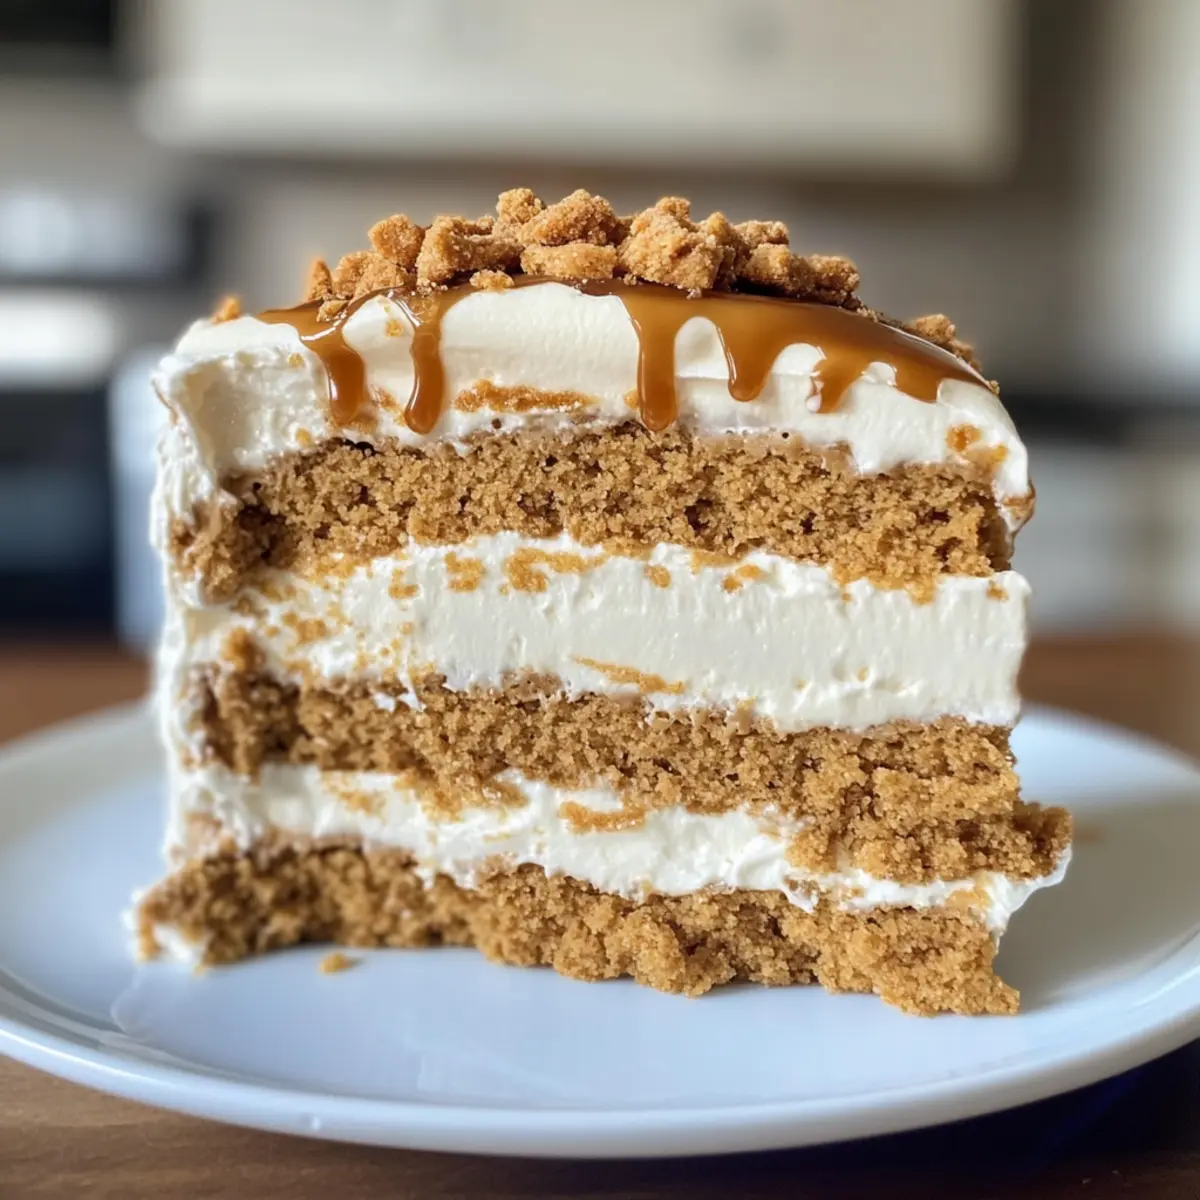
Place a single layer of Lotus Biscoff biscuits over the initial cream layer, covering it completely. Drizzle a generous portion of the warm Biscoff spread over the biscuits to create a rich, flavorful connection. Next, repeat this layering process two more times, alternating between the biscuits and cream until all components are used, ending with another layer of cream on top.
Step 4: Chill to Firm Up
Once you’ve finished layering, fold the excess plastic wrap over the top of the cake to cover it completely. Transfer the assembled Biscoff Icebox Cake to the freezer and allow it to chill for a minimum of 2 hours, or better yet, overnight. This chilling time is crucial for achieving that perfect sliceable texture.
Step 5: Slice and Serve
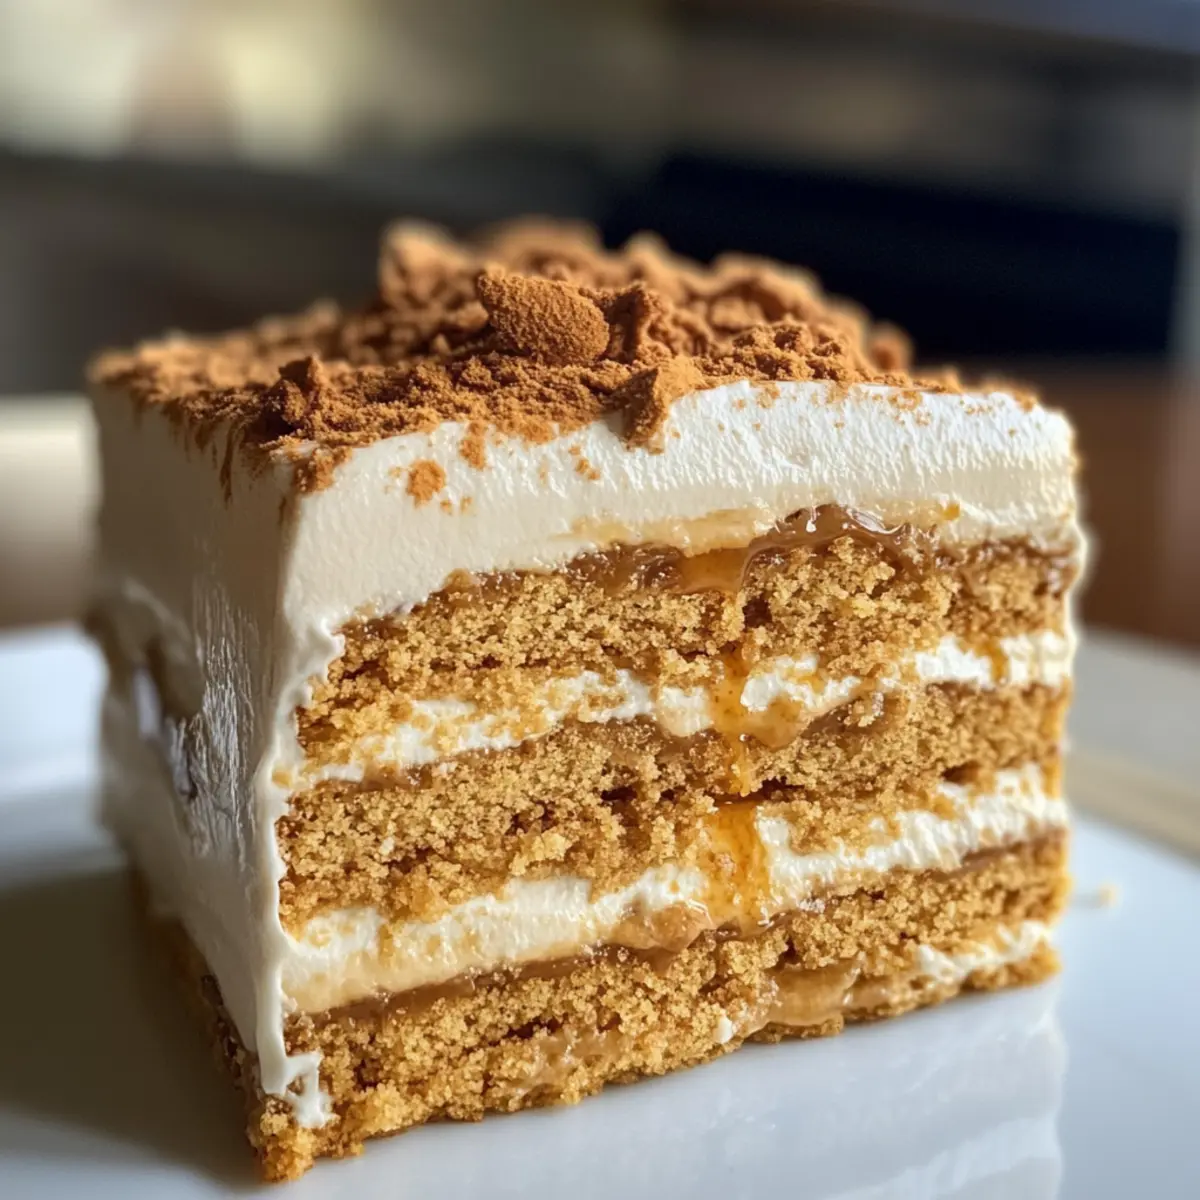
When you’re ready to serve your Biscoff Icebox Cake, remove it from the freezer. For the best texture, slice the cake when it’s still slightly frozen. Allow the slices to sit at room temperature for about 15 minutes, enabling the flavors to meld and soften nicely. Enjoy the delightful combination of layers as you indulge in this no-bake dessert!
What to Serve with Biscoff Icebox Cake?
This delectable dessert is just the sweet end to your meal, waiting to be complemented by delightful pairings that elevate every bite.
- Fresh Berries: Juicy strawberries or raspberries add a vibrant burst of tartness that balances the sweetness of the cake perfectly.
- Whipped Cream: A dollop of lightly sweetened whipped cream enhances the creamy layers of the Biscoff Icebox Cake for an extra indulgent experience.
- Chocolate Sauce: A drizzle of warm chocolate sauce brings a rich, decadent layer to the dessert, creating a delightful contrast with the spice of Biscoff.
- Coffee or Espresso: Serve with a cup of freshly brewed coffee or espresso for a warm, comforting experience that echoes the Belgian roots of the Biscoff tradition.
- Vanilla Ice Cream: Creamy vanilla ice cream melts over the frozen layers, adding a rich creaminess that complements the crunchy biscuits beautifully.
- Nutty Granola: Sprinkling a bit of crunchy granola on top introduces a delightful texture that enhances each creamy bite of the cake.
- Chai Latte: Pairing it with a spiced chai latte balances the flavors and adds warmth, making for a cozy dessert moment.
- Mint Leaves: A fresh mint garnish brightens up the presentation and adds a refreshing touch to every serving.
- Caramel Sauce: A drizzle of sweet caramel sauce introduces a buttery flavor, making each slice even more addictive!
- Chocolate-Covered Almonds: These crunchy treats (served on the side) add an impressive nutty flavor and a satisfying crunch that contrasts nicely with the cake’s softness.
Make Ahead Options
These Biscoff Icebox Cakes are perfect for meal prep enthusiasts! You can prepare the entire cake up to 24 hours in advance by following the layering steps but leaving the final assembly until the day of serving. To maintain the cake’s quality, make sure to tightly wrap the loaf pan in plastic wrap and keep it in the freezer. When you’re ready to serve, simply take it out, slice while still slightly frozen, and let the slices sit at room temperature for about 15 minutes to soften. This way, you’ll have a delectable dessert ready to impress your guests with minimal last-minute effort!
Helpful Tricks for Biscoff Icebox Cake
-
Chill Properly: Ensure all your ingredients, especially the heavy cream, are well-chilled to achieve the best whip and texture for the Biscoff Icebox Cake.
-
Layering Precision: Start with a thin layer of cream and biscuits to avoid soggy bottoms. This helps maintain structure and balance in your cake.
-
Microwave Wisely: Heat the Biscoff spread in short bursts to prevent overheating, which can make it too runny and difficult to layer effectively.
-
Storage Savvy: Wrap leftovers tightly and store them in the freezer for up to 2 weeks to keep the flavors intact and the texture delightful.
-
Serve at Room Temp: For the ideal serving texture, let your slices sit at room temperature for about 15 minutes before enjoying. This enhances the flavors and creaminess.
Biscoff Icebox Cake Variations & Substitutions
Feel free to get creative with this Biscoff Icebox Cake and make it your own—a little twist can elevate your dessert to new heights!
- Nut-Free: Use sun butter instead of Biscoff spread for a delicious nut-free option. This will add a unique flavor with a similar creamy texture.
- Dairy-Free: Swap heavy cream with coconut cream and use dairy-free sweetened condensed milk for a vegan-friendly treat that retains all the richness.
- Chocolate Lovers: Layer with Nutella in between the cream and biscuits for a decadent chocolate twist that enhances the scrumptious flavors of the Biscoff.
- Fruity Layer: Add thin slices of strawberries or raspberries between the cookie layers to introduce a refreshing fruity burst that pairs beautifully with the creamy filling.
- Spiced Up: Sprinkle in a dash of cinnamon or cardamom to the cream mixture for a warm spiced flavor that adds great depth and character.
- Different Biscuits: Explore different cookie varieties by using ginger snaps or even Oreos for a fun twist on the texture and flavor of your icebox cake.
- Coffee Infused: Incorporate a tablespoon of instant coffee granules into the cream mixture for a delightful coffee flavor that adds an energizing touch to each slice.
- Extra Crunch: Mix in chopped nuts or chocolate chips into the cream layer for added crunch in every bite. This simple addition will add an exciting texture contrast.
Feel inspired? You can enjoy this cake alongside a slice of Strawberry Cake Sweet or keep the theme going with the delightful flavors of the Celebration Poke Cake for your next gathering!
How to Store and Freeze Biscoff Icebox Cake
Fridge: Keep covered in an airtight container for up to 3 days. This allows you to enjoy the cake without losing its texture and flavor.
Freezer: Wrap the Biscoff Icebox Cake tightly in plastic wrap and then in foil to prevent freezer burn. It can be frozen for up to 2 weeks.
Thawing: To thaw, transfer slices to the fridge for several hours or overnight. If you’re ready to indulge, let them sit at room temperature for about 15 minutes before serving to achieve the perfect creamy texture.
Reheating: There’s no need to reheat, as this elegant no-bake dessert is best enjoyed chilled!
Biscoff Icebox Cake Recipe FAQs
What type of heavy cream should I use?
Absolutely! Use well-chilled heavy cream for the best results when whipping. This will help you achieve stiff peaks quickly and create a luscious, creamy filling for your Biscoff Icebox Cake.
How should I store the Biscoff Icebox Cake?
For maximum freshness, keep the cake covered in an airtight container in the fridge for up to 3 days. If you’re planning to store it longer, wrap it tightly in plastic wrap and foil, then freeze it for up to 2 weeks. This will keep the flavors vibrant and the texture delightful.
Can I freeze the Biscoff Icebox Cake?
Yes, you can! After assembling the cake, wrap it tightly in plastic wrap and then in foil to prevent freezer burn. It can be frozen for up to 2 weeks. When you’re ready to enjoy, thaw individual slices in the fridge for several hours or overnight and let them sit at room temperature for 15 minutes before serving.
What should I do if my cream isn’t whipping?
If your cream isn’t whipping properly, make sure your bowl and beaters are cold, and that you’re using heavy cream (not half-and-half or light cream). Whip it on medium speed for about 3-5 minutes until stiff peaks form. If your cream is still not thickening, check the expiration date and consider starting again with fresh cream.
Are there any dietary considerations I should keep in mind?
Very! The Biscoff Icebox Cake is vegetarian and halal-friendly thanks to its simple ingredients. However, if you’re serving guests with allergies, ensure none of the participants have sensitivities to dairy, gluten (from the biscuits), or specific nut spreads if you choose to swap ingredients. Always check the labels for any potential allergens.
Biscoff Icebox Cake: Decadent No-Bake Dessert Bliss
Ingredients
Equipment
Method
- In a large, chilled bowl, combine heavy cream and sweetened condensed milk. Using an electric mixer, whip until stiff peaks form, about 3-5 minutes. Fold in half a cup of Biscoff spread until fully combined.
- Microwave the remaining Biscoff spread for about 20 seconds until runny. Line a 9x5 loaf pan with plastic wrap, letting the edges hang over for easy removal. Start with a layer of the prepared Biscoff cream at the bottom.
- Place a layer of Lotus Biscoff biscuits over the cream layer, covering it completely. Drizzle a generous portion of warm Biscoff spread over the biscuits. Repeat the layering process until all components are used, ending with cream.
- Fold the excess plastic wrap over the top and freeze for at least 2 hours or overnight.
- Remove from the freezer and slice when still slightly frozen. Let sit for 15 minutes at room temperature before serving.