There’s something magical about desserts that require no baking. The *No-Bake Blackberry Mousse* is one of those delightful treats that can turn an ordinary day into something special. I remember the first time I made this dessert; it was a hot summer evening, and I wanted to impress my friends without spending hours in the kitchen. This mousse is not only quick and easy but also bursting with fresh flavors. Perfect for a busy day or a gathering, it’s a light, creamy indulgence that everyone will love. Trust me, your taste buds will thank you!
Why You’ll Love This No-Bake Blackberry Mousse
This *No-Bake Blackberry Mousse* is a game-changer for dessert lovers. It’s incredibly easy to whip up, taking just 15 minutes of prep time. The best part? You don’t need to turn on the oven! With its rich, fruity flavor and creamy texture, it’s a crowd-pleaser that impresses without the fuss. Whether it’s a family dinner or a casual get-together, this mousse is sure to steal the show.
Ingredients for No-Bake Blackberry Mousse
Gathering the right ingredients is the first step to creating this delightful *No-Bake Blackberry Mousse*. Here’s what you’ll need:
Fresh Blackberries: The star of the show! These juicy gems provide the vibrant flavor and color. You can also use frozen blackberries; just make sure to thaw and drain them first.
Heavy Whipping Cream: This is what gives the mousse its rich, creamy texture. If you’re looking for a lighter option, consider substituting half with Greek yogurt.
Powdered Sugar: A touch of sweetness to balance the tartness of the blackberries. It dissolves easily, making it perfect for this dessert.
Vanilla Extract: A splash of this adds depth and warmth to the flavor profile. Always opt for pure vanilla for the best taste.
Lemon Juice: Just a hint of acidity brightens the mousse and enhances the blackberry flavor. Freshly squeezed is always best!
Unflavored Gelatin: This is the secret ingredient that helps the mousse set without baking. It’s essential for achieving that perfect texture.
Cold Water: Used to bloom the gelatin, ensuring it dissolves properly when heated.
For exact measurements, check the bottom of the article where you can find everything listed for easy printing. Happy cooking!
How to Make No-Bake Blackberry Mousse
Creating this *No-Bake Blackberry Mousse* is a breeze! Follow these simple steps, and you’ll have a delicious dessert ready in no time. Let’s dive in!
Step 1: Bloom the Gelatin
Start by sprinkling the unflavored gelatin over the cold water in a small bowl. Let it sit for about 5 minutes. This process, known as blooming, ensures the gelatin will dissolve smoothly later. It’s a crucial step for that perfect mousse texture!
Step 2: Dissolve the Gelatin
Next, gently warm the gelatin mixture in a saucepan over low heat. Stir until it’s completely dissolved, then remove it from the heat. Be careful not to let it boil; we want it just warm enough to melt the gelatin without cooking it.
Step 3: Puree the Blackberries
Now, grab your blender or food processor. Toss in the fresh blackberries and blend until smooth. The vibrant color and aroma will fill your kitchen, making it hard to resist a taste!
Step 4: Strain the Puree
If you prefer a seedless mousse, strain the blackberry puree through a fine mesh sieve. This step is optional, but it gives the mousse a silky-smooth texture. Plus, it looks fancy when served!
Step 5: Combine Ingredients
In a large mixing bowl, combine the blackberry puree, lemon juice, and the dissolved gelatin. Mix well to ensure everything is evenly distributed. The lemon juice adds a refreshing zing that complements the blackberries beautifully.
Step 6: Whip the Cream
In another bowl, whip the heavy cream, powdered sugar, and vanilla extract until soft peaks form. This is where the magic happens! The whipped cream adds lightness and creaminess to the mousse, making it irresistible.
Step 7: Fold the Mixtures
Gently fold the whipped cream into the blackberry mixture. Use a spatula and be careful not to deflate the whipped cream. This step is key to achieving that airy texture we all love in a mousse!
Step 8: Chill and Serve
Spoon the mousse into individual serving dishes and refrigerate for at least 2 hours, or until set. When you’re ready to serve, garnish with fresh blackberries for a pop of color. Enjoy your delightful *No-Bake Blackberry Mousse*!
Tips for Success
Use fresh blackberries for the best flavor, but frozen works too—just thaw and drain them.
Make sure your heavy cream is cold for better whipping results.
Don’t rush the chilling process; letting it set properly ensures a perfect texture.
For a fun twist, try adding a splash of liqueur to the blackberry mixture.
Experiment with different berries for unique flavor combinations!
Equipment Needed
Blender or Food Processor: Essential for pureeing the blackberries. A hand blender works too!
Mixing Bowls: You’ll need a couple for combining ingredients. Any size will do.
Fine Mesh Sieve: Useful for straining the puree. A regular strainer can work in a pinch.
Spatula: Perfect for folding the mixtures without deflating the whipped cream.
Serving Dishes: Individual cups or bowls make for a beautiful presentation.
Variations
Berry Medley: Swap out blackberries for a mix of your favorite berries like raspberries, strawberries, or blueberries for a colorful twist.
Chocolate Delight: Add a tablespoon of cocoa powder to the blackberry mixture for a rich chocolate-blackberry mousse.
Vegan Option: Use coconut cream instead of heavy cream and agar-agar instead of gelatin for a plant-based version.
Nutty Flavor: Fold in some crushed nuts like almonds or hazelnuts for added texture and flavor.
Herbal Infusion: Infuse the cream with fresh mint or basil before whipping for a refreshing herbal note.
Serving Suggestions
Pair the *No-Bake Blackberry Mousse* with a light, buttery shortbread cookie for a delightful contrast.
Serve alongside a refreshing mint tea or a crisp white wine to enhance the fruity flavors.
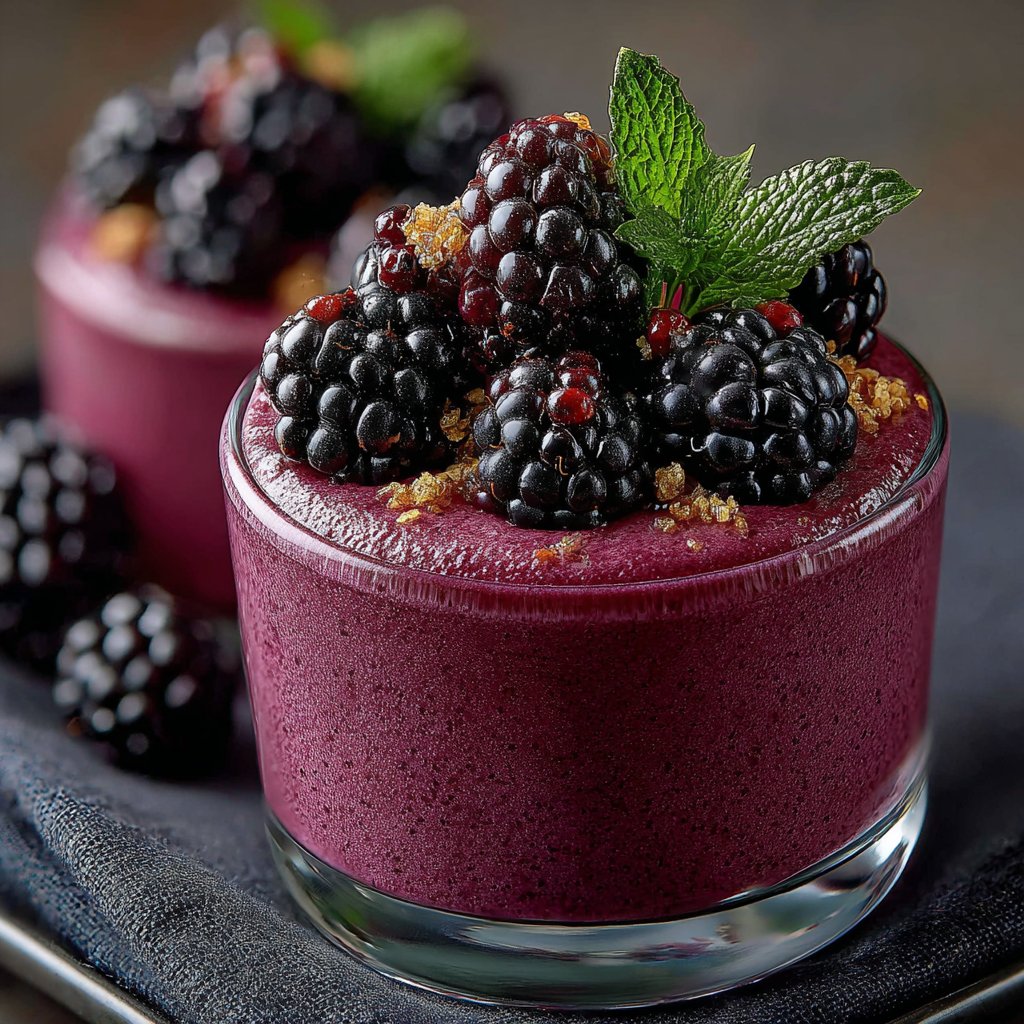
For a stunning presentation, layer the mousse in clear glasses and top with a sprig of mint.
Drizzle a bit of blackberry sauce over the mousse for an extra touch of elegance.
FAQs about No-Bake Blackberry Mousse
Curious about the *No-Bake Blackberry Mousse*? Here are some common questions I often hear, along with their answers to help you on your culinary journey!
Can I use frozen blackberries for this recipe?
Absolutely! Frozen blackberries work just as well. Just make sure to thaw them and drain any excess liquid before pureeing. This way, you’ll still get that delicious flavor without compromising the texture.
How long does the mousse need to chill?
For the best results, let the mousse chill in the refrigerator for at least 2 hours. This allows it to set properly, giving you that light and airy texture we all love.
Can I make this mousse ahead of time?
Yes! This *No-Bake Blackberry Mousse* is perfect for making ahead. You can prepare it a day in advance and store it in the fridge. Just add your garnish right before serving for a fresh look!
What can I substitute for gelatin?
If you’re looking for a vegetarian option, try using agar-agar instead of gelatin. It’s a great plant-based alternative that will help your mousse set beautifully.
How can I make this dessert more decadent?
For an extra indulgent twist, consider folding in some melted chocolate or a splash of liqueur into the blackberry mixture. It adds a rich depth of flavor that will impress your guests!
Final Thoughts
Creating this *No-Bake Blackberry Mousse* is more than just whipping up a dessert; it’s about sharing joy and delight with those you love. The vibrant color and luscious texture make it a feast for the eyes and the palate. Each spoonful is a reminder of summer days and sweet moments spent with friends and family. Whether you’re celebrating a special occasion or simply treating yourself, this mousse brings a touch of elegance to any table. So, roll up your sleeves, gather your ingredients, and let this delightful dessert bring smiles all around!