There’s something magical about desserts that whisk us back to simpler times. The No-Bake Orange Dreamsicle Lasagna is one of those treats that brings a smile to my face, reminding me of warm summer days and carefree childhood moments. This delightful dessert is not just a quick solution for a busy day; it’s a way to impress your loved ones without spending hours in the kitchen. With its creamy layers and refreshing orange flavor, it’s perfect for gatherings or just a sweet escape after a long day. Let’s dive into this easy, no-bake wonder!
Why You’ll Love This No-Bake Orange Dreamsicle Lasagna
This No-Bake Orange Dreamsicle Lasagna is a game-changer for dessert lovers. It’s incredibly easy to whip up, taking just 30 minutes of prep time. No baking means less fuss and more fun! The layers of creamy goodness and zesty orange flavor create a taste sensation that’s both refreshing and indulgent. Plus, it’s a crowd-pleaser, making it perfect for parties or family gatherings. You’ll be the hero of dessert time!
Ingredients for No-Bake Orange Dreamsicle Lasagna
Gathering the right ingredients is the first step to creating this delightful No-Bake Orange Dreamsicle Lasagna. Here’s what you’ll need:
Graham cracker crumbs: These form the base of your dessert, providing a sweet and crunchy crust.
Unsalted butter: Melted butter binds the crumbs together, adding richness to the crust.
Cream cheese: Softened cream cheese gives a creamy texture and a slight tang to the dessert.
Powdered sugar: This sweetens the cream cheese layer, making it smooth and luscious.
Vanilla extract: A splash of vanilla enhances the overall flavor, adding warmth to the dish.
Whipped topping: Thawed whipped topping adds lightness and a fluffy texture to the layers.
Instant vanilla pudding mix: This thickens the vanilla layer, creating a creamy contrast to the orange layer.
Milk: Essential for preparing the pudding mixes, it helps achieve the right consistency.
Instant orange pudding mix: This brings the signature orange flavor, making the dessert refreshing and vibrant.
Mandarin orange segments: These add bursts of juicy sweetness and a pop of color to the dish.
Orange zest (optional): A sprinkle of zest intensifies the orange flavor, making it even more aromatic.
For exact measurements, check the bottom of the article where you can find everything listed for easy printing. Feel free to get creative with your ingredients; for instance, you can swap out the mandarin oranges for fresh berries for a different twist!
How to Make No-Bake Orange Dreamsicle Lasagna
Creating this No-Bake Orange Dreamsicle Lasagna is a breeze! Follow these simple steps, and you’ll have a stunning dessert that’s sure to impress. Let’s get started!
Step 1: Prepare the Crust
First, grab a medium bowl and combine the graham cracker crumbs with the melted butter. Mix until everything is well combined. The texture should resemble wet sand.
Next, press this mixture evenly into the bottom of a 9×13-inch baking dish. This will be your crust, so make sure it’s compact. Set it aside while you prepare the next layer.
Step 2: Make the Cream Cheese Layer
In a large bowl, beat the softened cream cheese, powdered sugar, and vanilla extract together until smooth and creamy. This is where the magic begins!
Once it’s well mixed, gently fold in half of the whipped topping. This adds a lightness to the cream cheese layer. Spread this mixture evenly over your graham cracker crust.
Step 3: Create the Vanilla Pudding Layer
Now, in another bowl, whisk together the instant vanilla pudding mix and milk. Keep whisking until it thickens up nicely. This should only take a couple of minutes.
Once thickened, spread the vanilla pudding layer over the cream cheese layer. The contrast of flavors is already starting to shine!
Step 4: Prepare the Orange Pudding Layer
In a separate bowl, whisk together the instant orange pudding mix and 2 cups of milk until it thickens. This is where the vibrant orange flavor comes to life!
Gently fold in the mandarin orange segments and orange zest, if you’re using it. This adds a burst of freshness. Spread this orange pudding mixture over the vanilla pudding layer.
Step 5: Assemble the Lasagna
Now it’s time to top it all off! Spread the remaining whipped topping evenly over the orange pudding layer. This creates a beautiful finish and adds a creamy touch.
Step 6: Chill and Serve
Cover the dish with plastic wrap and refrigerate for at least 4 hours, or overnight if you can wait. This chilling time allows the layers to set properly.
When you’re ready to serve, garnish with additional mandarin oranges or a sprinkle of orange zest for that extra flair. Cut into squares and enjoy the delightful layers of flavor!
Tips for Success
Make sure your cream cheese is softened for easy mixing.
Use a measuring cup to pack the graham cracker crumbs tightly for a sturdy crust.
Chill the dessert overnight for the best flavor and texture.
Feel free to experiment with different pudding flavors for a unique twist.
For a fun presentation, serve in individual cups instead of a large dish.
Equipment Needed
9×13-inch baking dish: A standard size for this dessert; you can also use a similar-sized glass dish.
Mixing bowls: A set of various sizes will help with different layers.
Whisk: Essential for mixing pudding and cream cheese smoothly.
Spatula: Perfect for spreading layers evenly.
Plastic wrap: To cover and chill the lasagna.
Variations
For a chocolate twist, substitute the vanilla pudding with chocolate pudding and top with chocolate shavings.
Try using fresh berries instead of mandarin oranges for a berry-infused version that adds a tart contrast.
Make it gluten-free by using gluten-free graham crackers or a nut-based crust.
Add a layer of crushed pineapple for a tropical flair that complements the orange flavor.
For a lighter version, use low-fat cream cheese and sugar-free pudding mixes.
Serving Suggestions
Pair with a refreshing glass of iced tea or lemonade for a perfect summer treat.
Serve alongside a light fruit salad to complement the creamy layers.
For a fun presentation, use individual dessert cups for each serving.
Garnish with fresh mint leaves for a pop of color and flavor.
FAQs about No-Bake Orange Dreamsicle Lasagna
Can I make No-Bake Orange Dreamsicle Lasagna ahead of time?
Absolutely! This dessert is perfect for making ahead. Just prepare it the night before and let it chill overnight. The flavors meld beautifully, making it even more delicious!
How long does the No-Bake Orange Dreamsicle Lasagna last in the fridge?
It can last up to 3-4 days in the refrigerator. Just make sure to cover it well to keep it fresh and tasty.
Can I use different flavors of pudding?
Yes! Feel free to get creative. You can swap the vanilla pudding for chocolate or even try different fruit flavors. The possibilities are endless!
Is this dessert suitable for a gluten-free diet?
Yes, you can easily make this No-Bake Orange Dreamsicle Lasagna gluten-free by using gluten-free graham crackers or a nut-based crust. It’s a delicious option for everyone!
What can I use instead of mandarin oranges?
If you’re not a fan of mandarin oranges, fresh berries or even crushed pineapple work wonderfully. They add a different twist while keeping the dessert refreshing!
Final Thoughts
Creating the No-Bake Orange Dreamsicle Lasagna is more than just whipping up a dessert; it’s about crafting memories. Each layer tells a story, from the crunchy graham cracker base to the creamy orange goodness that dances on your taste buds. This dessert is a celebration of simplicity and joy, perfect for any occasion. Whether you’re sharing it with family or enjoying a quiet moment alone, it brings a slice of sunshine to your day. So, roll up your sleeves, gather your ingredients, and let this delightful treat brighten your kitchen and your heart!
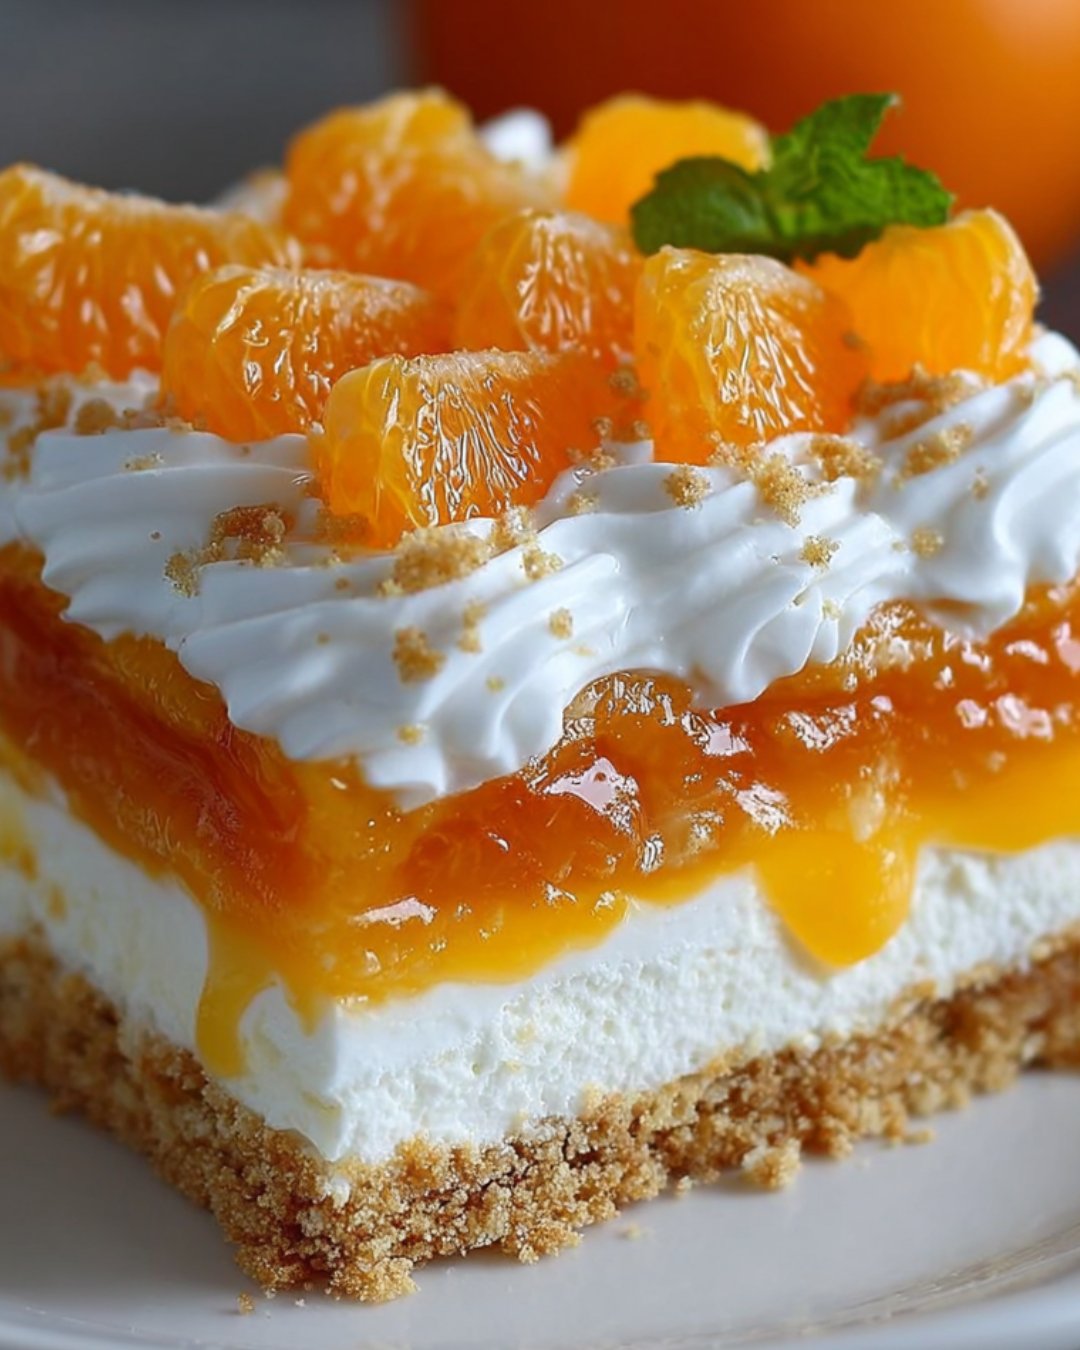
A delightful no-bake dessert that combines the flavors of orange and cream in a layered lasagna format.
Ingredients
Scale
2 cups graham cracker crumbs
1/2 cup unsalted butter, melted
1 (8-ounce) package cream cheese, softened
1 cup powdered sugar
1 teaspoon vanilla extract
1 (8-ounce) container whipped topping, thawed
1 (3.4-ounce) package instant vanilla pudding mix
2 cups milk
1 (3.4-ounce) package instant orange pudding mix
1 cup mandarin orange segments, drained
Zest of 1 orange (optional)
Instructions
In a medium bowl, combine graham cracker crumbs and melted butter. Mix until well combined. Press the mixture evenly into the bottom of a 9×13-inch baking dish to form the crust. Set aside.
In a large bowl, beat the softened cream cheese, powdered sugar, and vanilla extract until smooth and creamy. Gently fold in half of the whipped topping until well combined. Spread this mixture evenly over the graham cracker crust.
In another bowl, whisk together the instant vanilla pudding mix and milk until thickened. Spread the vanilla pudding layer over the cream cheese layer.
In a separate bowl, whisk together the instant orange pudding mix and 2 cups of milk until thickened. Gently fold in the mandarin orange segments and orange zest, if using. Spread this orange pudding mixture over the vanilla pudding layer.
Top with the remaining whipped topping, spreading it evenly over the orange pudding layer.
Cover the dish with plastic wrap and refrigerate for at least 4 hours, or overnight, to allow the layers to set properly.
Before serving, garnish with additional mandarin oranges or orange zest if desired. Cut into squares and enjoy!
Notes
For a chocolate twist, use chocolate pudding instead of vanilla and add chocolate shavings on top.
Substitute the mandarin oranges with fresh berries for a different flavor profile and added freshness.