Cooking has always been a way for me to connect with family and friends. When I discovered this Gluten-Free Thai Sticky Chicken recipe, it felt like a culinary hug. It’s the kind of dish that brings everyone to the table, eager for a taste of those sweet and savory flavors. Perfect for a busy weeknight or a weekend gathering, this recipe is a quick solution that doesn’t skimp on taste. With just a few simple ingredients, you can impress your loved ones and create a memorable meal that’s both satisfying and gluten-free.
Why You’ll Love This Gluten-Free Thai Sticky Chicken
This Gluten-Free Thai Sticky Chicken is a game-changer for any home cook. It’s incredibly easy to whip up, making it perfect for those hectic evenings when time is tight. The flavors are bold yet balanced, offering a delightful taste experience that will have everyone asking for seconds. Plus, it’s gluten-free, so you can enjoy it without worry. Trust me, this dish will quickly become a favorite in your household!
Ingredients for Gluten-Free Thai Sticky Chicken
Gathering the right ingredients is the first step to creating this mouthwatering Gluten-Free Thai Sticky Chicken. Here’s what you’ll need:
Chicken thighs: Boneless and skinless, they’re juicy and perfect for soaking up flavors.
Gluten-free soy sauce: This adds that essential umami kick without the gluten. Look for brands that are certified gluten-free.
Honey: A natural sweetener that balances the savory elements beautifully.
Fish sauce: A staple in Thai cuisine, it brings depth and complexity to the dish.
Rice vinegar: This adds a touch of acidity, brightening the overall flavor profile.
Brown sugar: For an extra layer of sweetness, it complements the honey perfectly.
Garlic: Minced garlic infuses the chicken with aromatic goodness.
Fresh ginger: Grated ginger adds a warm, spicy note that enhances the dish.
Red pepper flakes: Adjust these to your heat preference for a spicy kick.
Vegetable oil: Used for cooking, it helps achieve that perfect sear.
Green onions: Sliced for garnish, they add a fresh crunch and vibrant color.
Sesame seeds: These are optional but add a delightful nutty flavor and texture.
For exact measurements, check the bottom of the article where you can find everything listed for easy printing. Feel free to experiment with these ingredients; cooking is all about making it your own!
How to Make Gluten-Free Thai Sticky Chicken
Now that you have all your ingredients ready, let’s dive into the steps to create this delicious Gluten-Free Thai Sticky Chicken. Each step is straightforward, ensuring you can whip this up with ease. Let’s get cooking!
Step 1: Prepare the Marinade
Start by grabbing a large bowl. In it, whisk together the gluten-free soy sauce, honey, fish sauce, rice vinegar, brown sugar, minced garlic, grated ginger, and red pepper flakes. You want everything to blend together nicely, creating a fragrant marinade that will infuse your chicken with flavor. This step is crucial, as the marinade is the heart of this dish!
Step 2: Marinate the Chicken
Next, take your chicken thighs and add them to the bowl with the marinade. Make sure each piece is fully coated. This is where the magic happens! Cover the bowl and let it sit in the fridge for at least an hour. If you have time, marinating overnight will deepen the flavors even more. Trust me, it’s worth the wait!
Step 3: Preheat the Grill or Skillet
While the chicken is marinating, it’s time to prepare your cooking surface. Preheat your grill or a large skillet over medium-high heat. This step is essential for achieving that perfect sear. Once hot, add a splash of vegetable oil to prevent sticking and to help the chicken develop a beautiful char.
Step 4: Cook the Chicken
Remove the chicken from the marinade, letting any excess drip off. Place the thighs on the grill or skillet. Cook for about 6-7 minutes on each side. You’re looking for a nice golden-brown color and an internal temperature of 165°F. The aroma will be irresistible, and your kitchen will feel like a Thai restaurant!
Step 5: Thicken the Marinade
While the chicken is cooking, take the reserved marinade and pour it into a small saucepan. Bring it to a boil, then reduce the heat and let it simmer for about 5 minutes. This will thicken the sauce and intensify the flavors. It’s a simple step that adds a lot of depth to your dish!
Step 6: Serve and Garnish
Once the chicken is cooked, remove it from the heat and let it rest for a few minutes. This helps keep it juicy. Slice the chicken into pieces and drizzle it with the thickened marinade. For a pop of color and flavor, garnish with sliced green onions and a sprinkle of sesame seeds. Serve it up, and watch everyone dig in!
Tips for Success
Always marinate the chicken for at least an hour; overnight is even better for flavor.
Use a meat thermometer to ensure your chicken reaches 165°F for perfect doneness.
Don’t skip the resting time after cooking; it keeps the chicken juicy.
Feel free to adjust the spice level by adding more or less red pepper flakes.
Pair with jasmine rice or steamed veggies for a complete meal.
Equipment Needed
Grill or Skillet: A grill gives that smoky flavor, but a skillet works just as well.
Large Bowl: For mixing the marinade; any mixing bowl will do.
Whisk: Essential for blending the marinade ingredients smoothly.
Meat Thermometer: Helps ensure perfect chicken doneness; a simple knife can also check if juices run clear.
Variations
Spicy Thai Sticky Chicken: Add more red pepper flakes or a splash of sriracha to the marinade for an extra kick.
Herb-Infused: Incorporate fresh herbs like cilantro or basil into the marinade for a fragrant twist.
Vegetarian Option: Substitute chicken with firm tofu or tempeh, marinating and cooking them the same way.
Sweet and Tangy: Replace honey with maple syrup for a different sweetness and a unique flavor profile.
Grilled Veggies: Add bell peppers, zucchini, or eggplant to the grill alongside the chicken for a colorful, healthy side.
Serving Suggestions
Serve the Gluten-Free Thai Sticky Chicken over a bed of fluffy jasmine rice for a classic pairing.
Complement the dish with steamed broccoli or snap peas for a fresh crunch.
Pair with a light, citrusy salad to balance the rich flavors.
For drinks, consider a chilled Thai iced tea or a crisp lager.
FAQs about Gluten-Free Thai Sticky Chicken
Can I use chicken breasts instead of thighs?
Absolutely! While chicken thighs are juicier, chicken breasts can work just as well. Just be mindful of the cooking time, as breasts may cook faster.
Is this recipe suitable for meal prep?
Yes! This Gluten-Free Thai Sticky Chicken is perfect for meal prep. You can marinate the chicken ahead of time and cook it when you’re ready. It stores well in the fridge for up to four days.
What can I serve with this dish?
Pair it with jasmine rice, steamed vegetables, or a fresh salad. The sticky sauce complements a variety of sides beautifully!
Can I freeze the leftovers?
Definitely! Just make sure to store the chicken in an airtight container. It can be frozen for up to three months. Thaw it in the fridge before reheating.
How can I adjust the spice level?
If you prefer a milder flavor, reduce the red pepper flakes or omit them entirely. For more heat, add extra flakes or a dash of sriracha to the marinade.
Final Thoughts
Cooking this Gluten-Free Thai Sticky Chicken is more than just preparing a meal; it’s about creating moments. The sweet and savory flavors dance together, making every bite a delightful experience. Whether you’re sharing it with family or enjoying it solo, this dish brings a sense of joy and satisfaction. It’s a reminder that good food can elevate any occasion, turning an ordinary day into something special. So, roll up your sleeves, embrace the process, and let the aroma fill your kitchen. You’ll find that this recipe not only pleases the palate but also warms the heart.
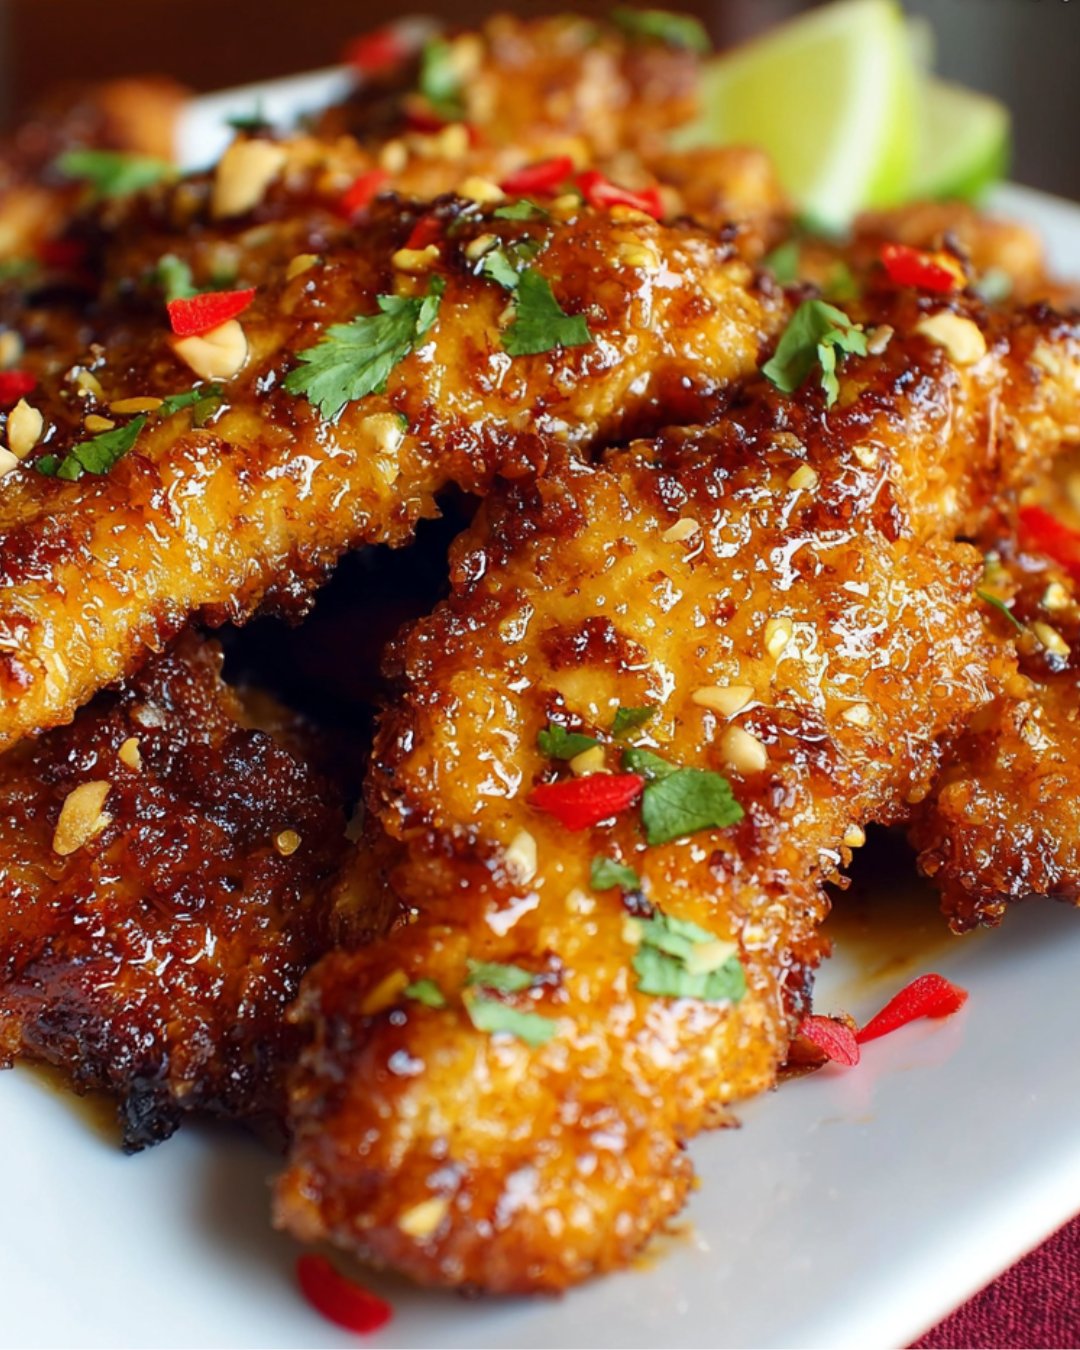
A flavorful and sticky Thai chicken dish that is gluten-free and perfect for any occasion.
Ingredients
Scale
2 pounds chicken thighs, boneless and skinless
1/4 cup gluten-free soy sauce
1/4 cup honey
2 tablespoons fish sauce
2 tablespoons rice vinegar
2 tablespoons brown sugar
4 cloves garlic, minced
1 tablespoon fresh ginger, grated
1 teaspoon red pepper flakes (adjust to taste)
2 tablespoons vegetable oil
2 green onions, sliced (for garnish)
Sesame seeds (for garnish)
Instructions
In a large bowl, whisk together gluten-free soy sauce, honey, fish sauce, rice vinegar, brown sugar, minced garlic, grated ginger, and red pepper flakes until well combined.
Add the chicken thighs to the marinade, ensuring they are fully coated. Cover and refrigerate for at least 1 hour, or up to overnight for maximum flavor.
Preheat your grill or a large skillet over medium-high heat and add vegetable oil.
Remove the chicken from the marinade, allowing excess marinade to drip off. Reserve the marinade for later use.
Grill or pan-sear the chicken thighs for about 6-7 minutes on each side, or until they are cooked through and have a nice char.
While the chicken is cooking, pour the reserved marinade into a small saucepan and bring it to a boil. Reduce heat and simmer for about 5 minutes until slightly thickened.
Once the chicken is cooked, brush it with the thickened marinade and let it rest for a few minutes.
Slice the chicken and serve it drizzled with additional sauce, garnished with sliced green onions and sesame seeds.
Notes
For a spicier kick, add more red pepper flakes or a dash of sriracha to the marinade.
Serve the sticky chicken over a bed of jasmine rice or with a side of steamed vegetables for a complete meal.