


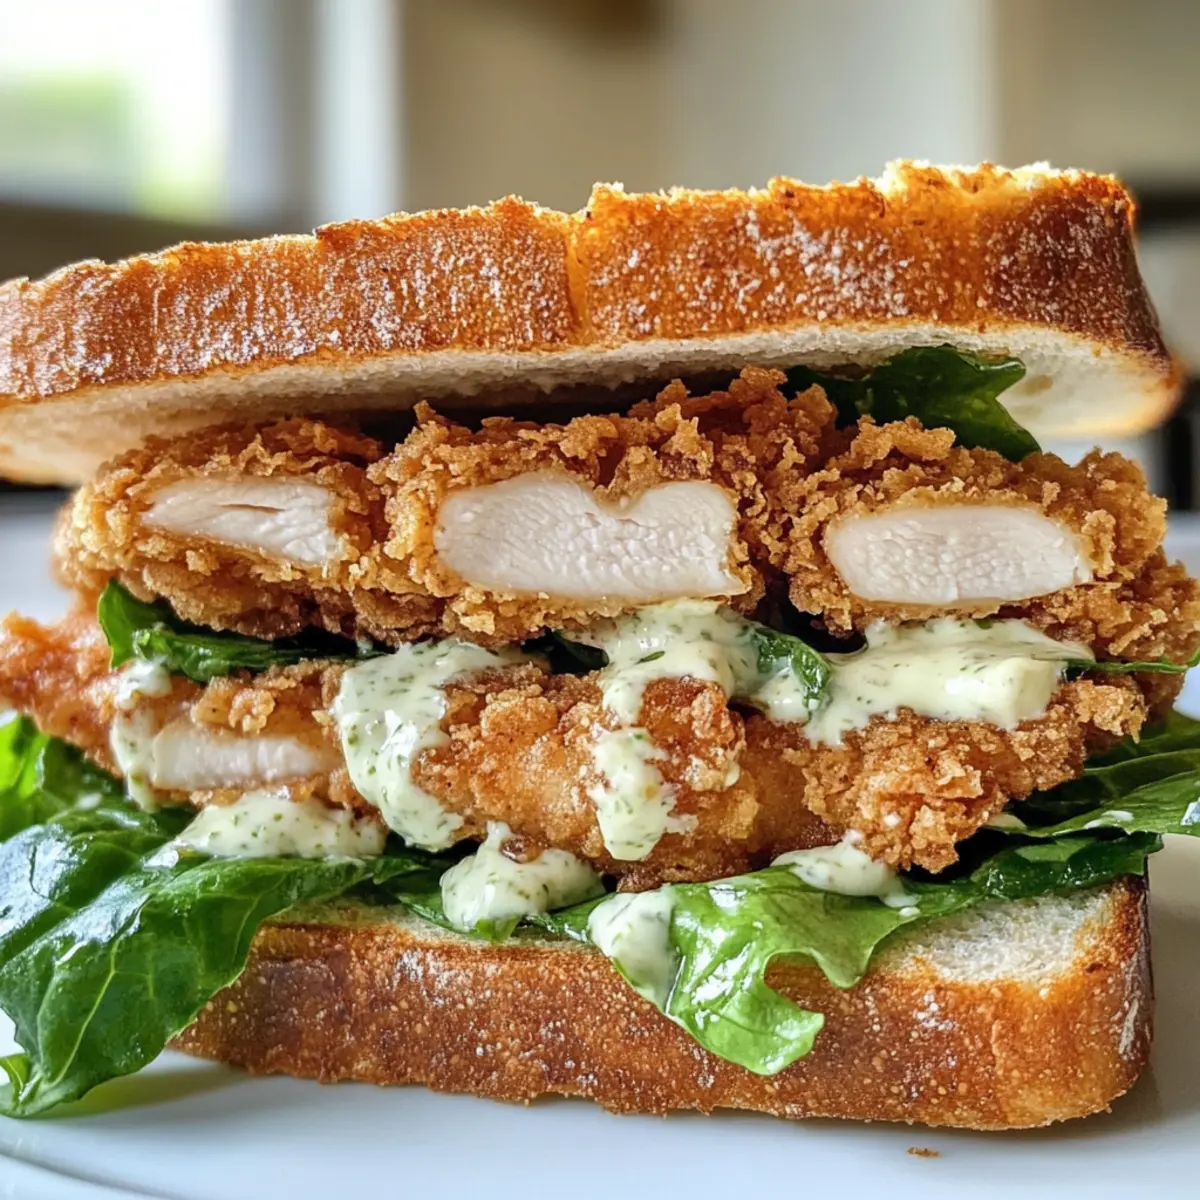
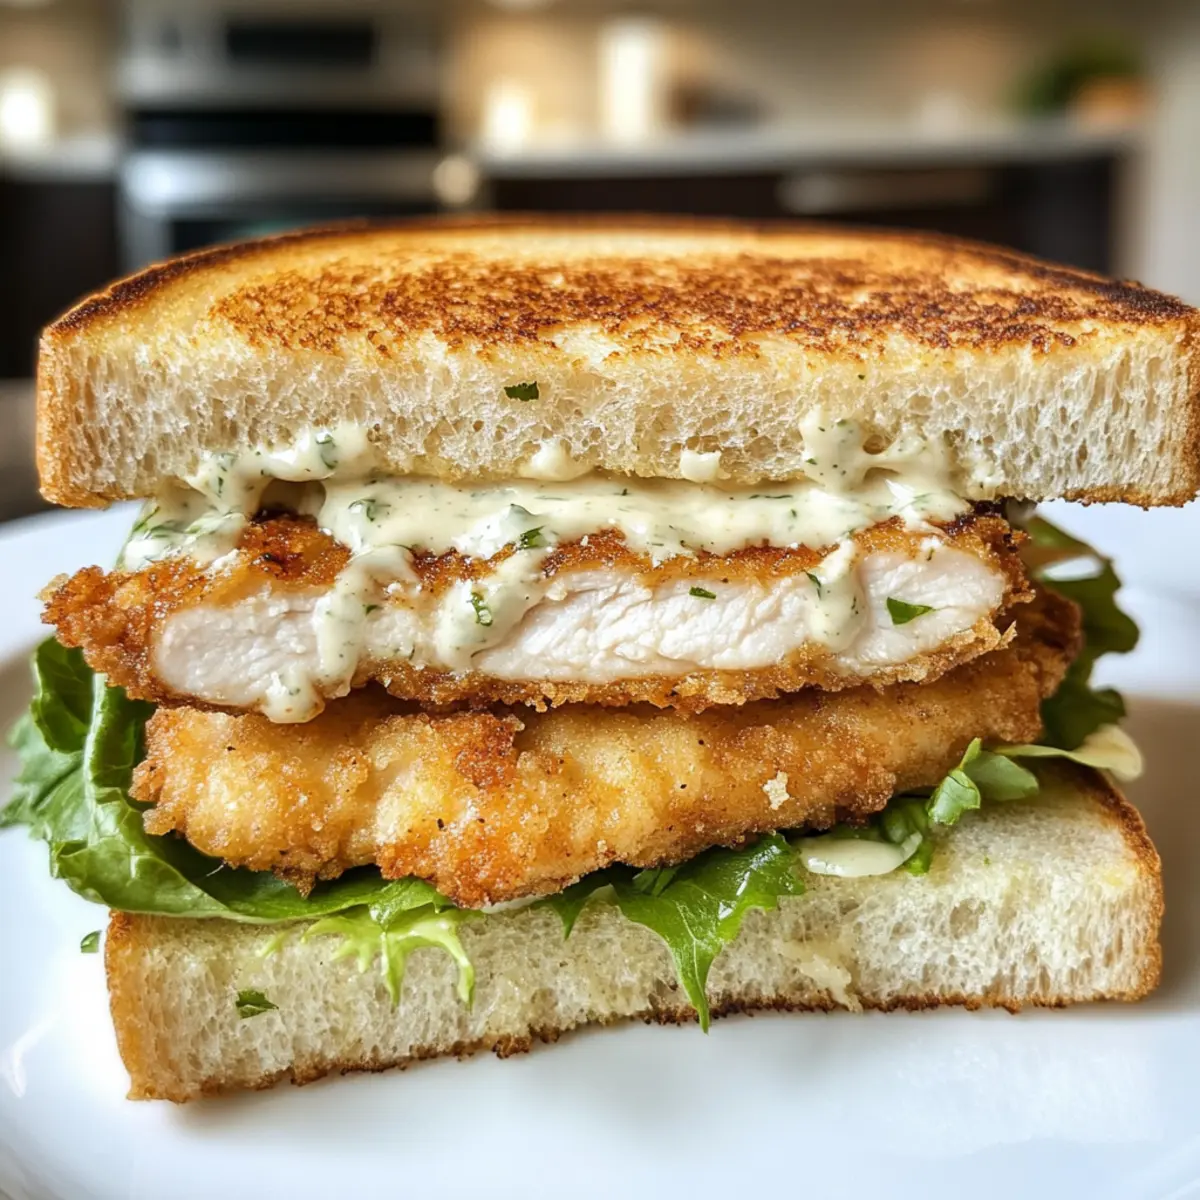
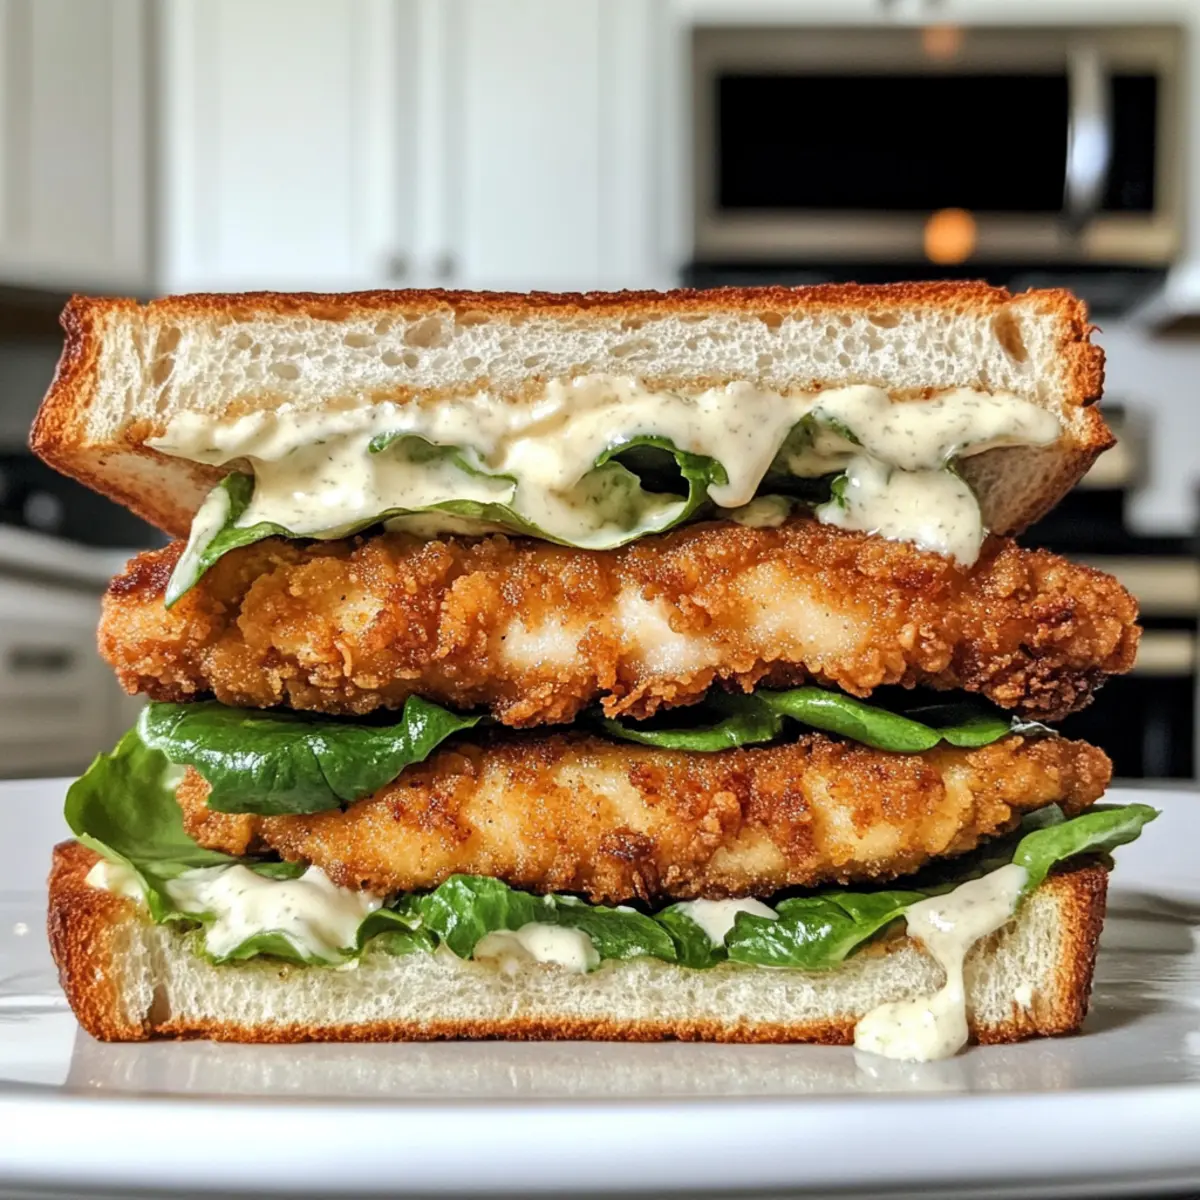
“Crispy chicken” and “sandwich” are two words that can instantly elevate your mood, aren’t they? That’s why I’m excited to share my take on Chicken Caesar Sandwiches, where tender, fried chicken meets the crunch of fresh romaine and a drizzle of creamy Caesar dressing, all nestled between slices of garlic butter toast. This sandwich is not only a delightful spin on a beloved classic, but it also brings your meal together in under 30 minutes—perfect for a busy weeknight or a weekend treat! You’ll love how the crispy exterior of the chicken pairs with the refreshing greens, making it a hearty yet satisfying option that’s bound to impress family and friends. Are you ready to bite into a homemade feast that feels like dining out? Let’s dive in!

Why are Chicken Caesar Sandwiches so irresistible?
Flavor Explosion: The crunchy, fried chicken packs a punch with its savory blend of seasonings, balanced perfectly by the creamy Caesar dressing.
Quick and Easy: Ready in under 30 minutes, this recipe is a lifesaver for busy weeknights or impromptu gatherings!
Customizable Goodness: Feel free to add toppings like sliced tomatoes or avocados, or even try the air-fryer method for a healthier spin.
Crowd-Pleasing Delight: Perfect for satisfying those comfort food cravings, this sandwich is sure to impress at family lunches or casual dinners.
Comforting Textures: Enjoy the crunch of the toasted garlic butter bread combined with the tender chicken and crisp romaine—it’s a feast of textures!
If you enjoyed this, you might also love the Chicken Caesar Pasta for an easy, flavorful meal option.
Chicken Caesar Sandwich Ingredients
For the Chicken
• Chicken Breasts – The star of your sandwich; feel free to swap with turkey or a plant-based option for variety.
• Egg – Acts as the binder for your breadcrumbs; replace with a flax egg for a vegan-friendly twist.
• Garlic Powder – Enhances flavor; fresh garlic can be used if you prefer more robust taste.
• Salt and Pepper – Essential seasonings to elevate your chicken’s flavor; adjust to your liking based on taste preferences.
• Breadcrumbs & Panko – Creates that irresistibly crispy crust; gluten-free breadcrumbs work well for a gluten-free version.
• Vegetable Oil – Ideal for frying; olive oil is a healthier option but may alter the flavor slightly.
For the Garlic Butter Bread
• Salted Butter – Provides the perfect base for your garlic spread; if you have unsalted, just add salt to taste.
• Garlic (minced) – Adds a fragrant kick to your butter; jarred garlic can be a convenient alternative.
• Fresh Parsley – Introduces freshness and a pop of color; other herbs like basil can also be substituted.
For the Caesar Dressing
• Mayonnaise – Forms the creamy backbone of your dressing; Greek yogurt can be a lighter option.
• Sour Cream/Greek Yogurt – Adds rich creaminess to the dressing; plain yogurt works well too.
• Lemon Juice – Brightens your dressing nicely; vinegar can be used in its place if needed.
• Dijon Mustard – Provides a depth of flavor; feel free to adjust based on your preference.
• Anchovy Paste – Adds umami richness to the dressing; omit for a vegetarian version.
• Worcestershire Sauce – Enhances the dressing’s complexity; skipping this will make it vegetarian.
• Grated Parmesan Cheese – Elevates the dressing with rich flavor; nutritional yeast is a great vegan substitute.
For Assembling the Sandwich
• Romaine Lettuce – Introduces freshness and crunch; spinach can also be a nice alternative.
Step‑by‑Step Instructions for Chicken Caesar Sandwiches
Step 1: Prep Chicken
Start by slicing chicken breasts into thin cutlets, about 1/2 inch thick, to ensure quick cooking. Season the cutlets generously with salt, pepper, and garlic powder for flavor. Set up a breading station by placing a beaten egg in one bowl and a mix of breadcrumbs and panko in another. This will prepare you for creating that wonderfully crispy exterior for the Chicken Caesar Sandwiches.
Step 2: Fry Chicken
Heat vegetable oil in a large skillet over medium-high heat until shimmering, aiming for about 350°F. Dip each chicken cutlet into the egg, allowing excess to drip off, then coat with the breadcrumb mixture. Fry the cutlets in batches for about 4–5 minutes on each side, or until they are golden brown and cooked through. Once done, transfer them to a paper towel-lined plate to drain excess oil.
Step 3: Make Garlic Butter Bread
While the chicken is frying, prepare the garlic butter spread. In a small bowl, mix together softened salted butter, minced garlic, and chopped fresh parsley until well combined. Take your bread halves and spread the garlic butter generously on each side. Next, toast the bread in a preheated oven at 450°F for about 3-4 minutes, or until it’s golden and crispy.
Step 4: Prepare Dressing
In a medium bowl or mason jar, combine mayonnaise, sour cream or Greek yogurt, lemon juice, Dijon mustard, anchovy paste, Worcestershire sauce, and grated Parmesan cheese. Whisk or shake until everything is smooth and well mixed. This creamy dressing will become the heart of your Chicken Caesar Sandwiches, adding richness and flavor to each bite.
Step 5: Assemble Sandwiches
Once everything is ready, it’s time to construct your Chicken Caesar Sandwiches. Layer a crispy chicken cutlet on one slice of the toasted garlic bread, followed by a generous handful of crisp romaine lettuce. Drizzle the creamy Caesar dressing on top, and if desired, add more grated Parmesan cheese. Finally, place the other slice of garlic butter bread on top to complete your sandwich, ready to savor!
Chicken Caesar Sandwiches Variations
Feel free to get creative with your Chicken Caesar Sandwiches—there are so many delicious ways to customize this recipe!
-
Air-Fryer Option: Swap traditional frying for the air-fryer method. This makes your chicken crispy without the added oil!
-
Add Freshness: Top your sandwich with sliced tomatoes or creamy avocado for a refreshing burst of flavor. These additions bring a delightful contrast to the crispy chicken.
-
Crunchy Substitute: Replace breadcrumbs with crushed cornflakes for a unique crunch. This twist adds a sweet and earthy note to each bite.
-
Dairy-Free Delight: Use vegan mayonnaise and nutritional yeast in place of cheese to create a completely dairy-free option. Your taste buds won’t even miss the dairy!
-
Herb-Infused Garlic Butter: Try mixing in different herbs like thyme or oregano into your garlic butter spread. It will elevate the flavor with a fragrant aroma.
-
Spicy Kick: Spice up your dressing by adding a dash of hot sauce or red pepper flakes for those who love a little heat. Just the right kick can elevate the whole sandwich experience!
-
Gluten-Free Version: Substitute regular breadcrumbs with gluten-free alternatives or ground almonds. You can still enjoy the crunch without the gluten!
-
Zesty Dressing Boost: Mix in a teaspoon of Dijon mustard or a splash of balsamic vinegar to your Caesar dressing for an unexpected, zesty flavor twist. It really livens up the classic taste!
And if you’re looking for more exciting meals, don’t forget to try the Garlic Chicken Gnocchi for a comforting option or enjoy the bold flavors of Pepperoncini Chicken Skillet. Happy cooking!
Storage Tips for Chicken Caesar Sandwiches
Fridge: Keep any leftover chicken and salad separate in airtight containers. The chicken can last up to 3 days, maintaining its flavor and texture.
Freezer: If you have excess fried chicken, it can be frozen for up to 2 months. Wrap the pieces well to prevent freezer burn.
Reheating: For best results, reheat chicken in an oven or air fryer at 350°F until heated through and crispy again. Avoid microwaving to retain crunchiness.
Assembly Reminder: When ready to enjoy, assemble fresh sandwiches with romaine and dressing just before serving for the ultimate Chicken Caesar Sandwich experience.
Expert Tips for Chicken Caesar Sandwiches
Fry Right Away: Start frying the chicken right after breading to preserve the crunch and avoid sogginess.
Temperature Check: Maintain oil at 350°F for perfectly crispy chicken cutlets; a thermometer helps ensure accuracy.
Freshness Matters: Assemble sandwiches just before serving to keep the garlic butter bread crunchy and the romaine crisp.
Customize Ingredients: Don’t hesitate to experiment with variations like adding avocado or using different herbs in the garlic butter.
Leftovers Storage: Store leftover chicken and salad separately to maintain texture; enjoy chicken within 3 days for best flavor.
Make Ahead Options
These Chicken Caesar Sandwiches are a time-saver for busy home cooks! You can prep the crispy chicken cutlets and garlic butter bread up to 24 hours in advance. To do this, fry the chicken as instructed and allow it to cool completely before storing it in an airtight container in the refrigerator to maintain its crispiness. The garlic butter spread can also be prepared ahead and stored in the fridge. When you’re ready to serve, simply reheat the chicken in the oven or air fryer for a few minutes to regain that delightful crunch, and assemble your sandwiches just before eating for a fresh and satisfying meal!
What to Serve with Crispy Chicken Caesar Sandwiches
Complete your meal with delightful sides that enhance the flavors of your crispy chicken delight!
-
Sweet Potato Fries: Their natural sweetness and crispiness contrast beautifully with the savory sandwich, creating a satisfying balance.
-
Caesar Salad: Pairing a classic salad brings the same delicious Caesar flavors, offering freshness and crunch as a perfect sidekick.
-
Garlic Bread: Extend the garlic flavor with a side of garlic bread. The buttery toast complements the creamy dressing in your sandwich.
-
Coleslaw: Its tangy, crunchy profile adds a refreshing kick, making each bite of the sandwich even more enjoyable.
-
Potato Chips: The crunchiness of salty chips provides an easy, satisfying munch alongside your hearty sandwiches.
-
Iced Tea: A refreshing glass of iced tea will cleanse your palate and enhance the overall dining experience, perfect for those warm days.
-
Fruit Salad: A light fruit salad offers a touch of sweetness, balancing the richness of the sandwich with refreshing fruit flavors.
Chicken Caesar Sandwiches Recipe FAQs
How do I select the best chicken breasts for this sandwich?
Absolutely! Look for chicken breasts that are plump and firm with no visible dark spots. Fresh chicken should have a light pink color and should feel slightly moist. If you prefer to use frozen chicken, ensure it’s fully thawed before preparation to ensure even cooking.
How should I store leftover Chicken Caesar Sandwiches?
For optimal freshness, store the leftover chicken and salad separately in airtight containers. The fried chicken will stay good in the fridge for up to 3 days. Just make sure to keep the romaine lettuce dry to avoid wilting!
Can I freeze the fried chicken, and how?
Certainly! To freeze fried chicken, allow it to cool completely after frying. Then, wrap each piece tightly in plastic wrap or aluminum foil, and place them in a freezer bag. You can store them for up to 2 months. When you’re ready to enjoy, reheating in an oven or air fryer at 350°F will restore its crispiness!
What if my chicken cutlets don’t get crispy?
If your chicken cutlets aren’t crispy, it might be due to excess moisture or oil temperature. Ensure that you dry the chicken cutlets well before breading, and check that your oil is hot enough (around 350°F) before frying. If the oil is too cool, the breading won’t achieve that golden crunch.
Are there any dietary considerations with this recipe?
This recipe is versatile! You can make it gluten-free by using gluten-free breadcrumbs, and for a dairy-free version, substitute mayonnaise and yogurt with vegan alternatives. If you’re catering to vegetarians, simply omit the chicken and enjoy the Caesar salad on garlic butter toast for a delightful veggie treat!
How should I handle leftovers for pets or allergies?
If you have pets, it’s best to avoid giving them any leftover chicken that’s seasoned with garlic or other spices, as these can be harmful to them. Always store any allergenic ingredients separately, and if you’re unsure, a simple lettuce sandwich without the dressing is a safe option for sharing!
Crispy Chicken Caesar Sandwiches for a Flavor-Packed Meal
Ingredients
Equipment
Method
- Start by slicing chicken breasts into thin cutlets, about 1/2 inch thick, and season with salt, pepper, and garlic powder.
- Heat vegetable oil in a skillet over medium-high heat. Dip chicken cutlets into egg and coat with breadcrumb mixture. Fry for 4-5 minutes on each side until golden brown.
- Mix together softened butter, minced garlic, and chopped parsley. Spread garlic butter on bread and toast in the oven at 450°F for 3-4 minutes until golden.
- Combine mayonnaise, sour cream, lemon juice, Dijon mustard, anchovy paste, Worcestershire sauce, and Parmesan cheese in a bowl. Whisk until smooth.
- Assemble sandwiches with a chicken cutlet, romaine lettuce, and Caesar dressing on toasted garlic bread, then top with the other slice.