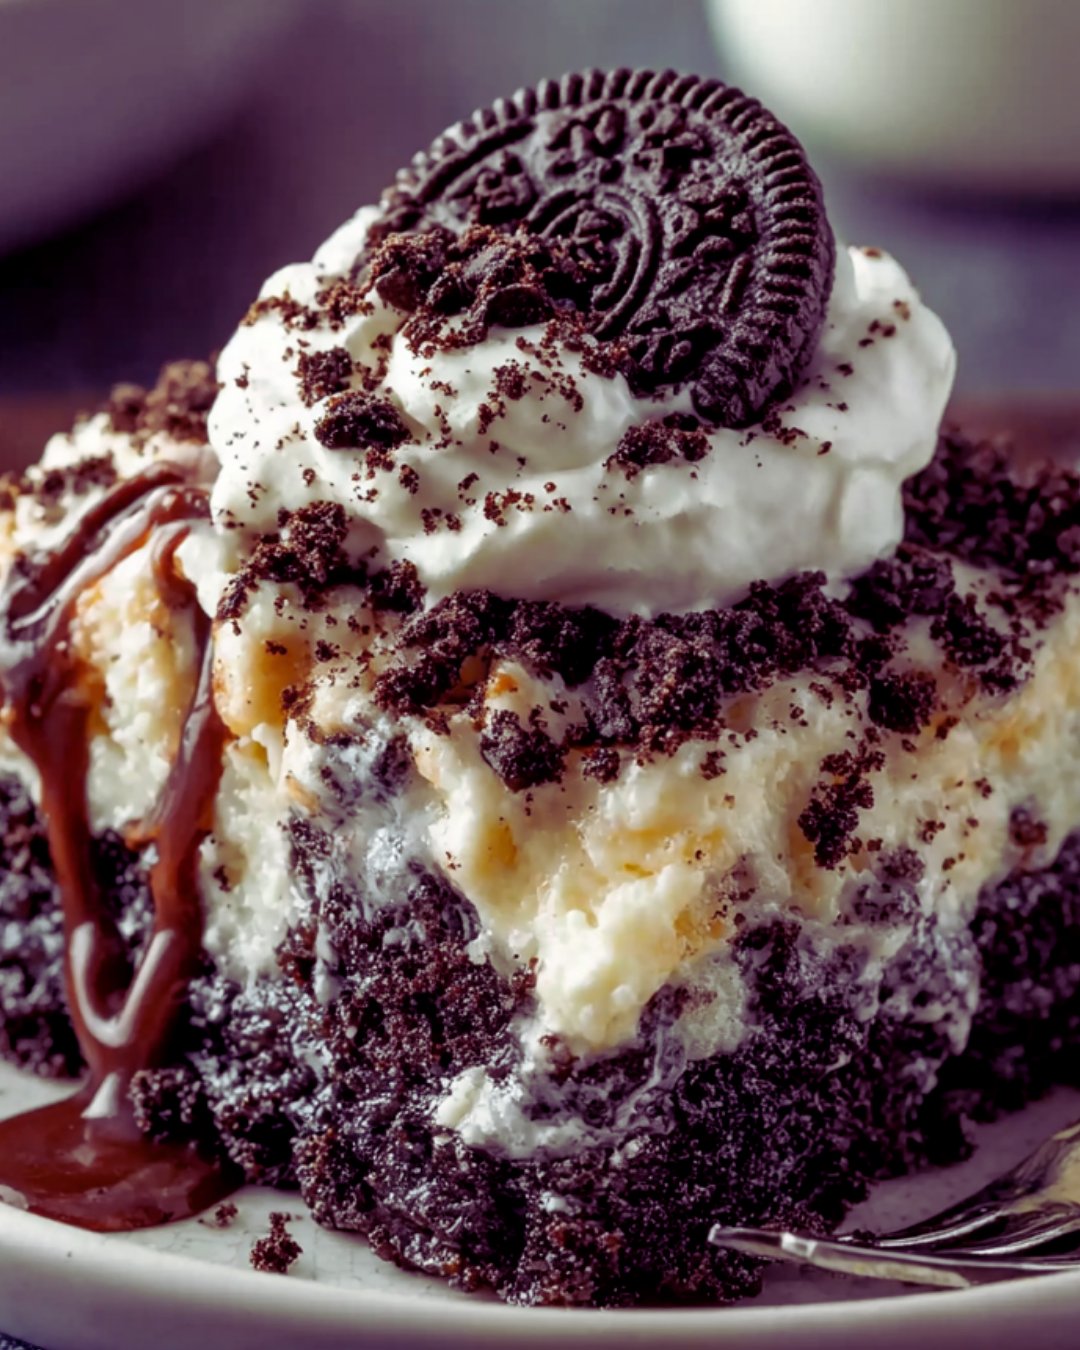
There’s something magical about desserts that come together with minimal effort, and that’s exactly what you get with Oreo Dump Cake. This delightful treat is a nostalgic nod to simpler times, where the joy of baking didn’t require a culinary degree. Whether you’re looking for a quick solution for a busy day or a dish to impress your loved ones, this recipe fits the bill perfectly. With layers of crushed Oreos, sweetened condensed milk, and chocolate cake mix, it’s a sweet escape that’s as easy to make as it is to devour. Let’s dive into this delicious adventure!
Why You’ll Love This Oreo Dump Cake
This Oreo Dump Cake is a game-changer for anyone who loves dessert but hates complicated recipes. It’s incredibly easy to whip up, taking just 15 minutes of prep time. The combination of rich chocolate and creamy layers creates a flavor explosion that will have your taste buds dancing. Plus, it’s perfect for gatherings or a cozy night in. Trust me, once you try it, you’ll be hooked!
Ingredients for Oreo Dump Cake
Gathering the right ingredients is the first step to creating this indulgent Oreo Dump Cake. Here’s what you’ll need:
Oreo cookies: The star of the show! These crushed cookies provide a rich chocolatey base and a delightful crunch.
Sweetened condensed milk: This creamy ingredient adds sweetness and moisture, binding everything together beautifully.
Cool Whip: A light and fluffy topping that balances the richness of the cake, making each bite heavenly.
Chocolate cake mix: The foundation of our cake, it brings a deep chocolate flavor that complements the Oreos perfectly.
Semi-sweet chocolate chips: These little morsels add extra chocolatey goodness and a delightful texture on top.
Unsalted butter: Melted and drizzled over the cake mix, it helps create a golden, crispy top layer.
For those looking to mix things up, consider adding a layer of peanut butter between the Cool Whip and cake mix for a richer flavor. You can also swap the chocolate cake mix for vanilla and toss in some crushed peppermint Oreos for a festive twist. The possibilities are endless!
Exact quantities for each ingredient can be found at the bottom of the article, ready for printing. Happy baking!
How to Make Oreo Dump Cake
Creating this Oreo Dump Cake is a breeze! Follow these simple steps, and you’ll have a dessert that’s sure to impress. Let’s get started!
Step 1: Preheat the Oven
First things first, preheat your oven to 350°F. This step is crucial because it ensures that your cake bakes evenly. A hot oven helps the ingredients meld together perfectly, creating that delicious texture we all love.
Step 2: Layer the Crushed Oreos
Next, grab your baking dish and layer half of the crushed Oreos evenly across the bottom. Make sure to cover the entire surface. This layer acts as the foundation, giving your cake that delightful crunch and rich chocolate flavor.
Step 3: Add Sweetened Condensed Milk
Now, pour the sweetened condensed milk over the crushed Oreos. Use a spatula to spread it out evenly. This creamy layer adds moisture and sweetness, binding everything together beautifully. Don’t skimp on this step; it’s what makes the cake so indulgent!
Step 4: Spoon on the Cool Whip
Time to add the Cool Whip! Spoon it over the condensed milk layer, smoothing it out gently with a spatula. This fluffy topping balances the richness of the cake, making each bite a heavenly experience. Take your time to get it nice and even.
Step 5: Sprinkle the Cake Mix
Next, sprinkle the chocolate cake mix evenly over the Cool Whip layer. Make sure to cover every inch. This step is essential for achieving that perfect cake texture. You want it to rise and create a lovely crust on top.
Step 6: Drizzle with Butter
Now, drizzle the melted butter over the cake mix. Aim to cover as much of the surface as possible. This will help create a golden, crispy top layer that’s simply irresistible. Don’t be shy with the butter; it’s what makes everything come together!
Step 7: Top with Oreos and Chocolate Chips
Finish off your masterpiece by topping it with the remaining crushed Oreos and a sprinkle of chocolate chips. This adds an extra layer of texture and flavor. Plus, it looks fantastic when it comes out of the oven!
Step 8: Bake to Perfection
Finally, pop your creation into the preheated oven and bake for 30-35 minutes. Keep an eye on it; you’ll know it’s done when the top is golden and the cake is set. Let it cool for at least 15 minutes before serving. This waiting period allows the flavors to meld beautifully.
Tips for Success
Use a sturdy baking dish to prevent spills and ensure even baking.
Let the Cool Whip thaw completely for easier spreading.
For a richer flavor, consider adding a layer of peanut butter.
Don’t rush the cooling time; it helps the cake set properly.
Experiment with different cake mixes for unique flavors!
Equipment Needed
9×13-inch baking dish: A standard size for even baking; a glass or metal dish works well.
Mixing bowl: For combining ingredients; any large bowl will do.
Spatula: Essential for spreading layers; a silicone spatula is great for easy cleanup.
Measuring cups: Handy for precise ingredient amounts, though you can eyeball some layers.
Variations
Peanut Butter Delight: Add a layer of creamy peanut butter between the Cool Whip and cake mix for a rich, nutty flavor.
Minty Fresh: Swap the chocolate cake mix for vanilla and use crushed peppermint Oreos for a festive twist.
Fruit Fusion: Incorporate fresh berries like raspberries or strawberries on top of the Cool Whip for a fruity burst.
Gluten-Free Option: Use a gluten-free chocolate cake mix to make this dessert suitable for those with dietary restrictions.
Nutty Crunch: Sprinkle chopped nuts, like walnuts or pecans, on top for added texture and flavor.
Serving Suggestions
Pair with a scoop of vanilla ice cream for a delightful contrast in temperature and texture.
Serve with a drizzle of chocolate or caramel sauce for an extra indulgent touch.
Garnish with fresh mint leaves for a pop of color and freshness.
Enjoy with a cup of coffee or a glass of cold milk to balance the sweetness.
FAQs about Oreo Dump Cake
Got questions about this delicious Oreo Dump Cake? You’re not alone! Here are some common queries that might pop up as you embark on this sweet adventure.
Can I make Oreo Dump Cake ahead of time?
Absolutely! You can prepare it a day in advance. Just cover it tightly and store it in the fridge. Let it sit at room temperature for a bit before serving to enhance the flavors.
What can I substitute for Cool Whip?
If you’re not a fan of Cool Whip, you can use homemade whipped cream instead. Just whip heavy cream with a bit of sugar until soft peaks form. It’ll add a fresh touch!
Can I use different types of Oreos?
Definitely! Feel free to experiment with different Oreo flavors, like mint or peanut butter. Each variation will give your cake a unique twist that’s sure to impress.
How do I store leftovers?
Store any leftovers in an airtight container in the fridge. It should stay fresh for about 3-4 days, but trust me, it’s so good, it might not last that long!
Is Oreo Dump Cake suitable for special diets?
This dessert is vegetarian-friendly, but if you need a gluten-free option, just swap the chocolate cake mix for a gluten-free version. Enjoy without worry!
Final Thoughts
Creating this Oreo Dump Cake is more than just baking; it’s about sharing joy and indulgence with those you love. Each layer tells a story, from the crunch of the Oreos to the creamy Cool Whip that melts in your mouth. This dessert is perfect for any occasion, whether it’s a family gathering or a cozy night in. The best part? It’s so easy to make that you’ll find yourself whipping it up again and again. So grab your ingredients, gather your loved ones, and dive into this sweet adventure. Trust me, it’s a treat you won’t forget!
Oreo Dump Cake is a delicious and easy dessert that combines layers of crushed Oreo cookies, sweetened condensed milk, Cool Whip, chocolate cake mix, and chocolate chips, all baked to perfection.
Ingredients
Scale
2 (15.25-ounce) packages of Oreo cookies, crushed
1 (15-ounce) can of sweetened condensed milk
1 (12-ounce) container of Cool Whip, thawed
1 (18.25-ounce) box of chocolate cake mix
1 (12-ounce) package of semi-sweet chocolate chips
1 cup of unsalted butter, melted
Instructions
Preheat your oven to 350°F.
In a 9×13-inch baking dish, layer half of the crushed Oreo cookies evenly across the bottom.
Pour the sweetened condensed milk over the crushed Oreos, spreading it evenly.
Spoon the thawed Cool Whip over the condensed milk layer, smoothing it out gently.
Sprinkle the chocolate cake mix evenly over the Cool Whip layer, ensuring full coverage.
Drizzle the melted butter over the cake mix, making sure to cover as much of the surface as possible.
Top with the remaining crushed Oreo cookies and sprinkle the chocolate chips on top.
Bake in the preheated oven for 30-35 minutes, or until the top is golden and the cake is set.
Allow to cool for at least 15 minutes before serving.
Notes
For a richer flavor, try adding a layer of peanut butter between the Cool Whip and cake mix.
For a fun twist, substitute vanilla cake mix for chocolate and add crushed peppermint Oreos for a seasonal variation.