


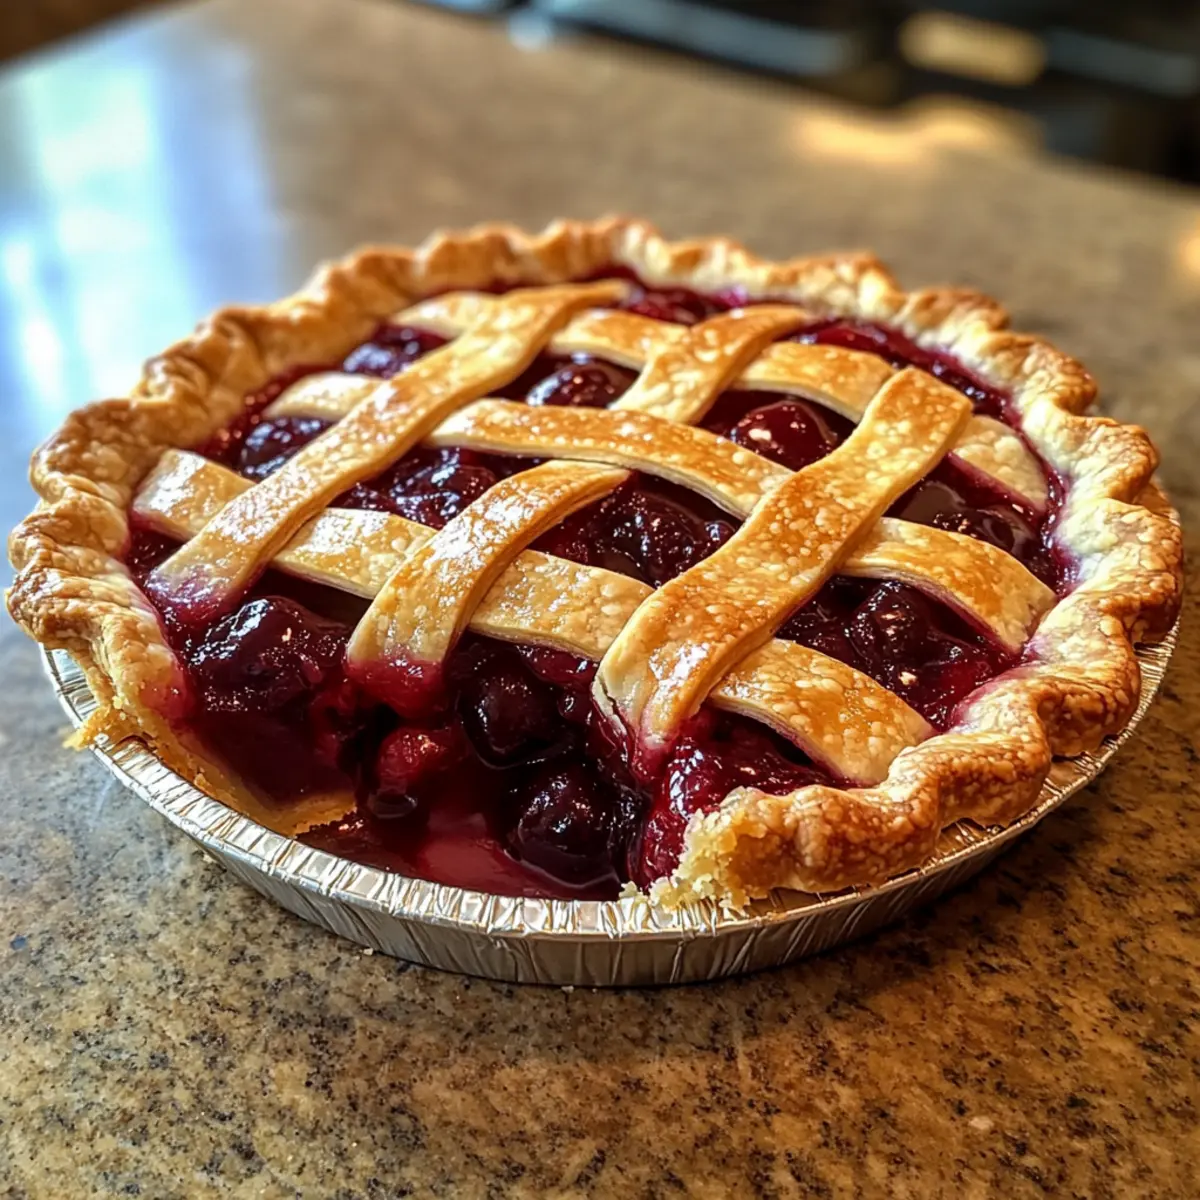
As I sat on my porch, the sweet scent of cherries mingled with the warm summer breeze, reminding me of cozy family gatherings and laughter over homemade desserts. That’s when I knew it was time to whip up a Perfect Flaky Cherry Pie with Classic Lattice Top. This recipe captures the essence of nostalgia while being incredibly easy to make. With a buttery, flaky crust that encases a tangy cherry filling, it’s perfect for impressing guests or simply enjoying during a quiet night in. What’s more, the lattice top not only elevates the visual appeal but also allows the beautiful filling to shine through. Plus, I’ve included plenty of variation options to cater to different dietary preferences, making it a versatile addition to your dessert repertoire. Are you ready to get baking and embrace the joys of pie-making?
Why Is This Cherry Pie So Special?
Nostalgic Flavor: Each bite of this Perfect Flaky Cherry Pie transports you back to cherished family moments around the kitchen table.
Simple to Make: With just a few ingredients and straightforward steps, you’ll have a stunning dessert that impresses with ease.
Customizable Options: Need to accommodate dietary preferences? This recipe offers numerous swaps, perfect for everyone, including those who prefer gluten-free or dairy-free.
Visual Delight: The classic lattice top not only looks appetizing but also invites everyone to dig in, making it a showstopper at potlucks or gatherings.
Versatile Enjoyment: Pair it with a scoop of vanilla ice cream or enjoy it plain; this pie adapts beautifully for any occasion. For other delicious delights, explore this Garlic Chicken Masterpiece or treat your guests to decadent Milk Pecan Pie.
Flaky Cherry Pie Ingredients
-
For the Crust
• All-Purpose Flour – Essential for structure in the crust; substitute with a cup-for-cup gluten-free blend if needed.
• Cold Butter – Creates that wonderful flakiness; use dairy-free margarine for a dairy-free version.
• Granulated Sugar – Sweetens the crust; consider reducing for a lower sugar option.
• Salt – Enhances flavor and balances sweetness; no substitutes recommended.
• Cold Water – Helps bind the dough together; adjust the amount based on dough consistency. -
For the Filling
• Tart Cherries – The star of your Flaky Cherry Pie; fresh cherries in season work beautifully.
• Cornstarch – Thickens the filling and provides a glossy finish; tapioca starch can substitute if needed.
• Granulated Sugar – Sweetens the cherry filling; adjust according to taste preference.
• Almond Extract – Adds a nostalgic flavor; substitute with vanilla extract if necessary, though it may alter the flavor slightly.
Step‑by‑Step Instructions for Perfect Flaky Cherry Pie
Step 1: Prepare the Dough
In a large mixing bowl, combine all-purpose flour, granulated sugar, and salt. Cut in cold butter until the mixture resembles coarse crumbs. Gradually add cold water, mixing just until a dough forms. Divide the dough into two equal discs, wrap them in plastic wrap, and chill in the refrigerator for 30 minutes to ensure a flaky crust.
Step 2: Pre-bake Bottom Crust
Preheat your oven to 350°F (175°C). Roll out one chilled dough disc on a floured surface until it’s about 12 inches in diameter. Fit it into a 9-inch pie pan, gently pressing it into place. Pre-bake the bottom crust for 5 minutes, allowing it to firm up and reduce sogginess. Remove from the oven and let it cool while you prepare the filling.
Step 3: Prepare Filling
In a mixing bowl, toss the pitted tart cherries with granulated sugar and cornstarch until well coated. Add almond extract for that nostalgic flavor and gently mix. The cherries should be juicy and glossy, ready to be poured into the pre-baked crust, creating a tempting filling for your Perfect Flaky Cherry Pie.
Step 4: Assemble Pie
Pour the cherry filling into the cooled pre-baked crust, spreading it evenly. Roll out the second dough disc on a floured surface and cut it into strips. Weave the strips into a classic lattice top, allowing the beautiful cherry filling to peek through the gaps. Trim any excess dough at the edges and crimp to seal.
Step 5: Bake
Preheat your oven to 425°F (220°C). Brush the lattice top with an egg wash for a beautiful golden finish. Cover the edges with foil to prevent over-browning, then bake the pie for 45-50 minutes or until the filling is bubbling and the crust is golden brown. When done, your Perfect Flaky Cherry Pie will smell heavenly.
Step 6: Cool
Once baked, remove the pie from the oven and let it cool completely on a wire rack. This cooling period is crucial as it allows the filling to set properly, making slicing easier and enhancing flavor. After at least an hour, your stunning cherry pie is ready to serve, full of memories and deliciousness.
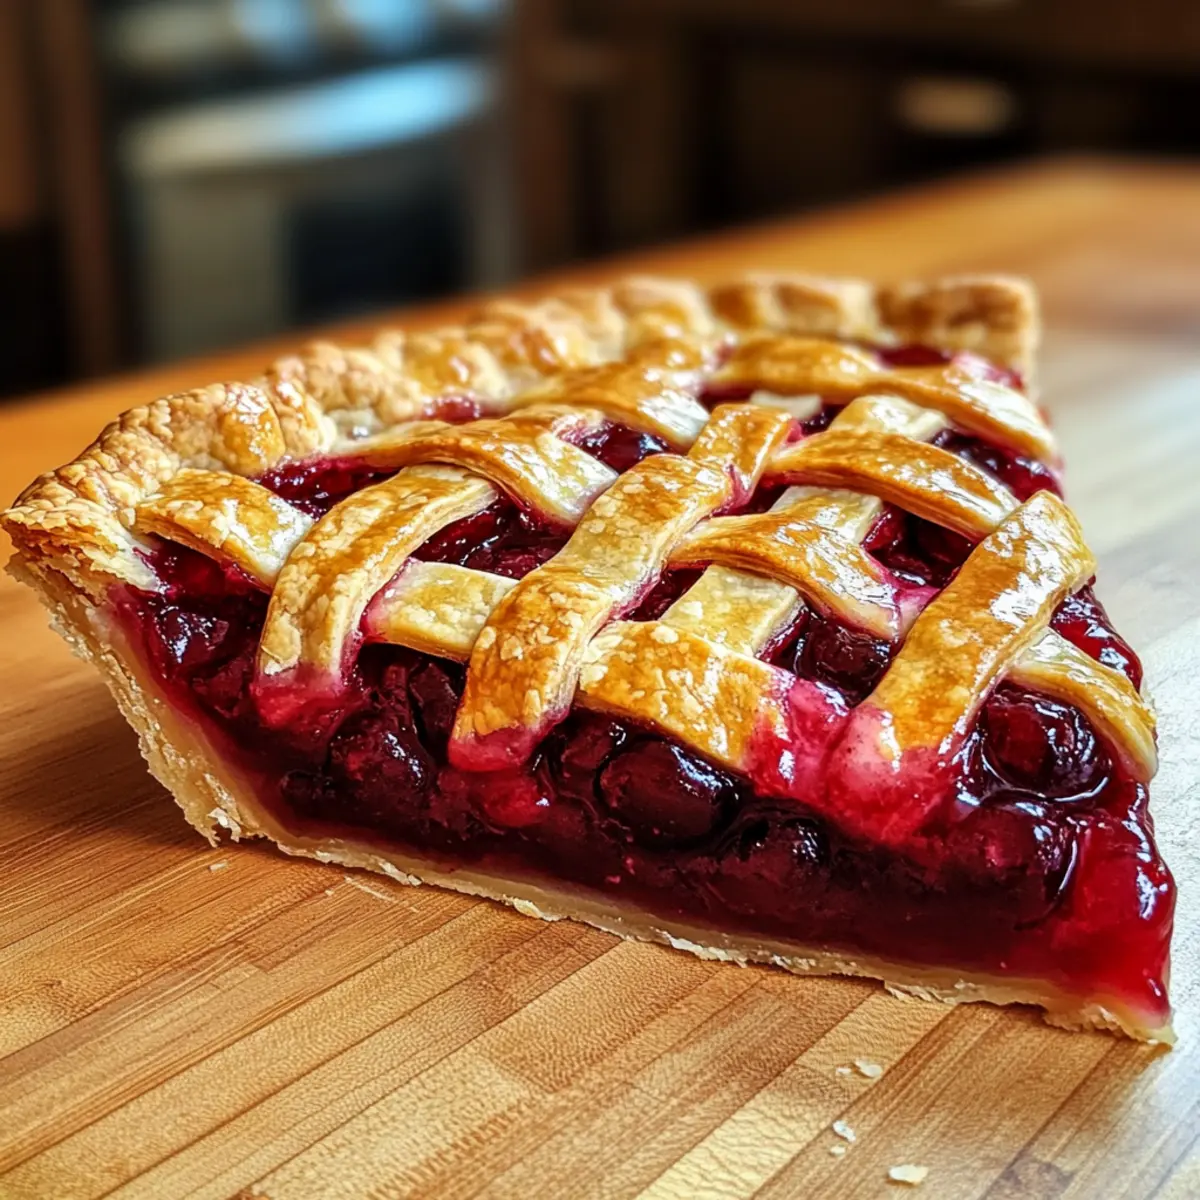
What to Serve with Perfect Flaky Cherry Pie?
As the sweet and tart aroma of cherry pie wafts through your kitchen, imagine the delightful pairings that will take your dessert experience to the next level.
-
Vanilla Ice Cream: A classic companion, its creamy texture balances the tartness of cherry filling. Every bite becomes a perfect harmony of flavors!
-
Whipped Cream: Light and airy, a dollop adds a dreamy touch to each slice, enhancing the nostalgia of your homemade pie.
-
Fresh Mint Leaves: Their vibrant aroma elevates the presentation and adds a refreshing note, making each forkful feel like spring on your plate.
-
Cold Brew Coffee: The rich, bold flavors of coffee contrast beautifully with the sweetness of the cherry pie, perfect for an afternoon indulgence.
-
Almond Biscotti: For those who love a crunchy texture, these nutty cookies complement the almond extract in the pie, creating a delightful pairing.
-
Sparkling Water with Lemon: This refreshing drink clears the palate and adds a zesty twist, making your cherry pie feel even more special.
-
Chocolate Drizzle: A warm drizzle of dark chocolate over the pie adds a luxurious touch, creating an unexpected yet delightful flavor combination.
-
Cheese Plate: Pairing with creamy Brie or tangy goat cheese can introduce a savory element that beautifully contrasts the sweetness of the pie.
With these enchanting accompaniments, your Perfect Flaky Cherry Pie becomes a centerpiece, transforming any occasion into a cherished moment around the table.
How to Store and Freeze Flaky Cherry Pie
Fridge: Cover leftover pie with foil or plastic wrap and store in the refrigerator for up to 4 days. This keeps it fresh while allowing those cherry flavors to meld beautifully.
Freezer: To preserve your Flaky Cherry Pie for longer, wrap it tightly in plastic wrap and then in aluminum foil. It can be frozen for up to 3 months without losing its deliciousness.
Thawing: When ready to enjoy your frozen pie, thaw it overnight in the refrigerator. This ensures that it retains its texture and flavor when reheated.
Reheating: For the best taste, reheat slices of pie in a 350°F (175°C) oven for about 10-15 minutes, or until warmed through and the crust becomes crispy again.
Make Ahead Options
These Perfect Flaky Cherry Pies are ideal for meal prep, making your baking experience smoother and less stressful! You can prepare the pie dough and store it in the refrigerator for up to 24 hours or freeze it for up to 3 months; just remember to wrap it tightly to maintain freshness. Additionally, you can pre-make the cherry filling and store it in the fridge for up to 3 days as well. When you’re ready to assemble, simply roll out the dough, fill it with the chilled cherry mixture, and bake as instructed. This way, you’ll enjoy a homemade pie with minimal effort, saving you precious time during busy weeknights or special occasions!
Flaky Cherry Pie Variations
Feel free to let your creativity shine as you customize this delicious cherry pie to suit your taste and dietary needs!
- Gluten-Free: Use a cup-for-cup gluten-free flour blend to ensure a delightful crust without compromising on texture.
- Dairy-Free: Swap cold butter for dairy-free margarine to enjoy the same flaky goodness without the dairy.
- Reduced Sugar: Substitute granulated sugar in the filling with maple syrup for a lower-sugar option. Keep in mind that this may slightly change the texture.
- Nutty Twist: Add chopped toasted almonds on top of the cherry filling before applying the lattice for an irresistible nutty crunch! This extra layer of flavor brings a delightful surprise to each bite.
- Berry Medley: Experiment by mixing in different berries like blueberries, raspberries, or blackberries for a colorful and flavorful twist. Each berry offers its unique sweetness, creating an exciting ensemble.
- Whole Wheat Crust: For a heartier version, substitute half of the all-purpose flour with whole wheat flour, adding a slightly nutty taste to the crust.
- Spicy Kick: Incorporate a sprinkle of cinnamon or nutmeg into the cherry filling for a warm, aromatic hug that complements the tartness beautifully.
- Chocolate Drizzle: After baking, give your pie a luxurious touch with a drizzle of melted dark chocolate on top. This rich addition transforms your pie into a decadent treat!
With these variations, you can ensure that your Flaky Cherry Pie remains a family favorite while catering to different preferences. And for a creamy dessert option, don’t forget to check out the delightful Garlic Butter Masterpiece for a heartwarming family meal too!
Expert Tips for Perfect Flaky Cherry Pie
Chill Ingredients: Ensure all ingredients, particularly butter and water, are cold to achieve the best flaky texture in your crust.
Don’t Overmix: Avoid overworking the dough; this can lead to a tough crust. Mix just until combined for a light, airy result.
Dough Chilling: Remember to chill the dough after preparing it. This makes it easier to roll out and helps maintain that scrumptious flaky texture.
Prevent Sogginess: For a crisp bottom crust, pre-bake the base briefly and consider adding a layer of ground almonds or breadcrumbs before the filling.
Egg Wash Importance: Brushing the lattice top with an egg wash gives your pie a gorgeous golden finish. Skipping this step might leave you with a pale crust.
Baking Time: Keep an eye on your pie as it bakes; ovens vary. Look for a bubbling filling and a beautifully golden crust to know it’s ready!
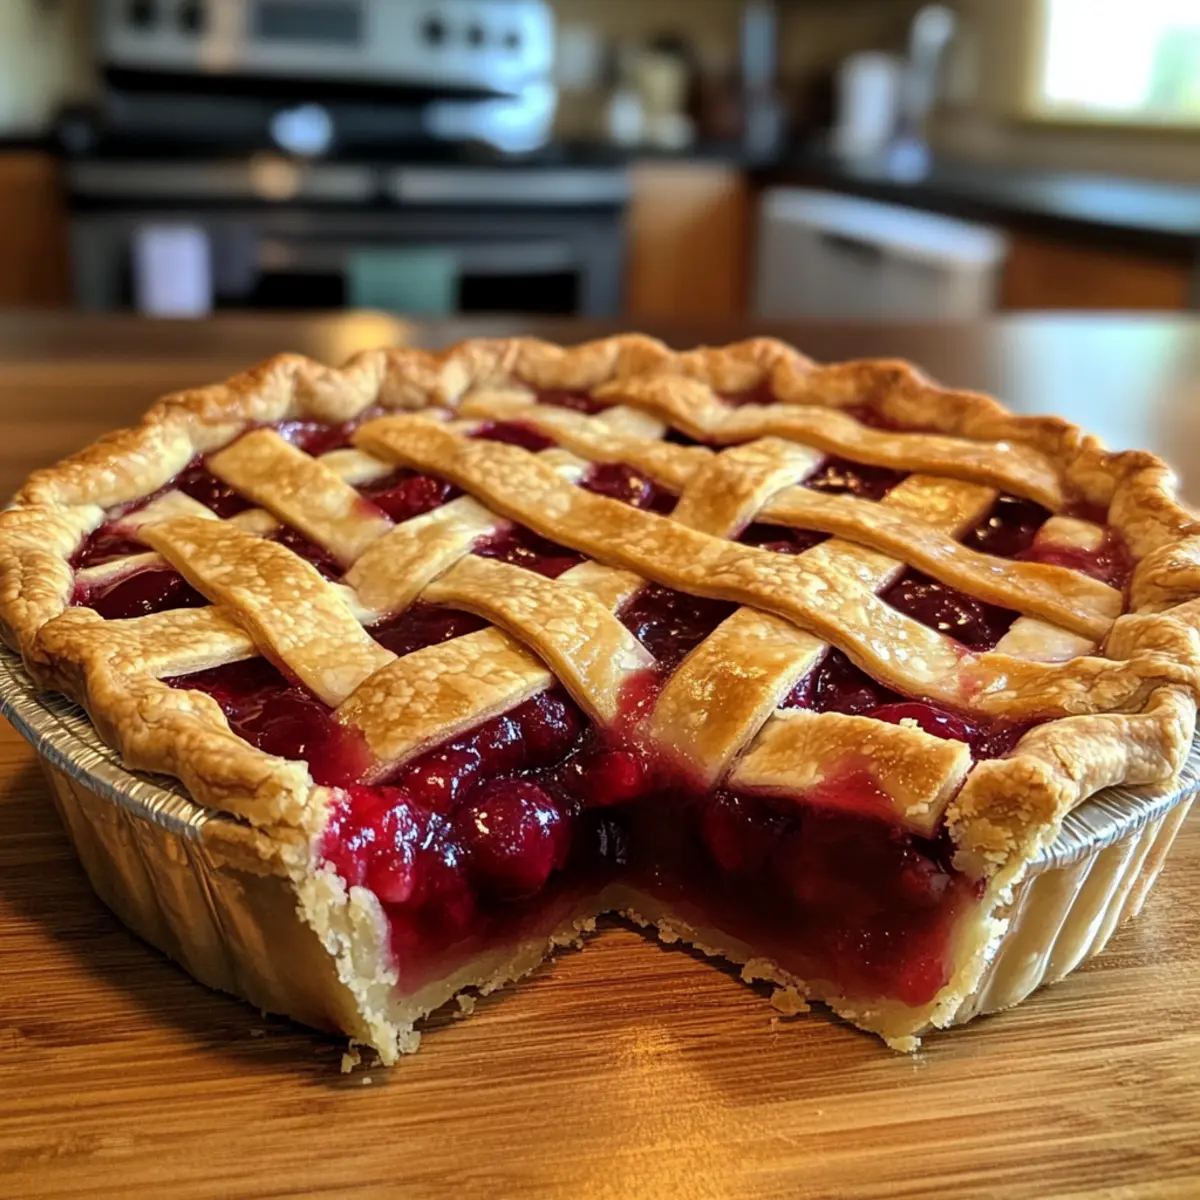
Perfect Flaky Cherry Pie with Classic Lattice Top Recipe FAQs
How do I choose the best cherries for my pie?
When selecting cherries, look for plump, vibrant fruits without dark spots or blemishes. Fresh cherries should be firm to the touch and deeply colored, reflecting their natural sweetness. If they’re in season, the flavor will be at its peak!
What’s the best way to store my leftover cherry pie?
Cover any leftover pie with foil or plastic wrap and store it in the refrigerator for up to 4 days. This simple method keeps the flavors intact while preventing it from drying out.
Can I freeze my Flaky Cherry Pie, and how?
Absolutely! Wrap your pie tightly with plastic wrap and then with aluminum foil to prevent freezer burn. It can be frozen for up to 3 months. When you’re ready to enjoy it, thaw overnight in the refrigerator and reheat at 350°F (175°C) for about 10-15 minutes to refresh that crispiness.
What can I do if my crust turns out tough?
If your crust is tough, it might have been overworked during mixing. To avoid this next time, mix the dough only until combined. Always use cold ingredients as well, and remember to chill your dough for at least 30 minutes before rolling it out.
Are there any allergy considerations with this recipe?
While this recipe is generally safe for most, be mindful of nut allergies when using almond extract; opt for vanilla extract as a substitute if needed. Additionally, ensure everyone is comfortable with the substitution of dairy-free margarine for butter if you’re catering to lactose intolerance.
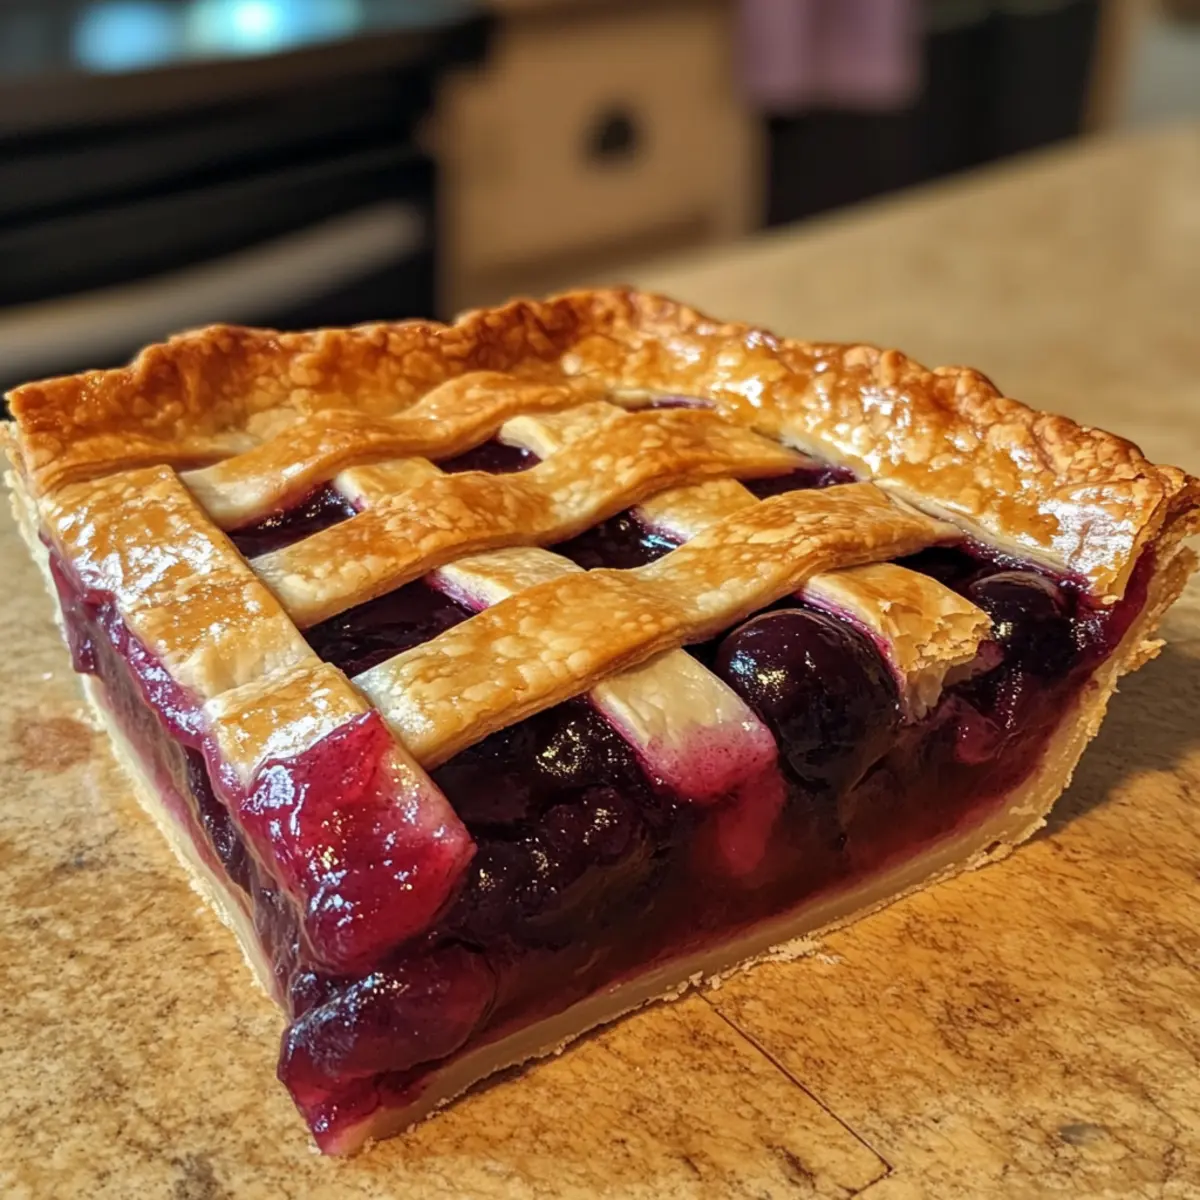
Decadent Flaky Cherry Pie That Embraces Comfort and Joy
Ingredients
Equipment
Method
- In a large mixing bowl, combine all-purpose flour, granulated sugar, and salt. Cut in cold butter until the mixture resembles coarse crumbs. Gradually add cold water, mixing just until a dough forms. Divide the dough into two equal discs, wrap them in plastic wrap, and chill in the refrigerator for 30 minutes.
- Preheat your oven to 350°F (175°C). Roll out one chilled dough disc on a floured surface until it’s about 12 inches in diameter. Fit it into a 9-inch pie pan. Pre-bake the bottom crust for 5 minutes, allowing it to firm up and reduce sogginess. Remove from the oven and let cool while preparing the filling.
- In a mixing bowl, toss the pitted tart cherries with granulated sugar and cornstarch until well coated. Add almond extract and gently mix. Pour the filling into the pre-baked crust.
- Pour the cherry filling into the cooled pre-baked crust, spreading it evenly. Roll out the second dough disc and cut it into strips. Weave the strips into a lattice top, trimming any excess dough and crimping to seal.
- Preheat your oven to 425°F (220°C). Brush the lattice top with an egg wash and cover the edges with foil. Bake for 45-50 minutes until the filling is bubbling and the crust is golden brown.
- Once baked, remove the pie from the oven and let it cool completely on a wire rack for at least an hour before serving.