


As I walked through the bustling streets of Thailand, the sweet aroma of coconut and palm sugar danced in the air, tempting me to stop at every food stall. That moment sparked my love for Thai Coconut Custard, or Sangkaya, a treat so simple yet delightful that it’s often better than any restaurant dessert. This silky, gluten-free recipe features just a handful of ingredients, allowing the luscious flavors of coconut milk and earthy sweetness to shine. Not only is it a breeze to whip up at home, but it also delivers a comforting taste of Thailand that’s perfect for sharing or savoring solo. Whether you’re a seasoned home chef or a kitchen novice, this dessert invites exploration and creativity. Are you ready to indulge in this tropical delight?
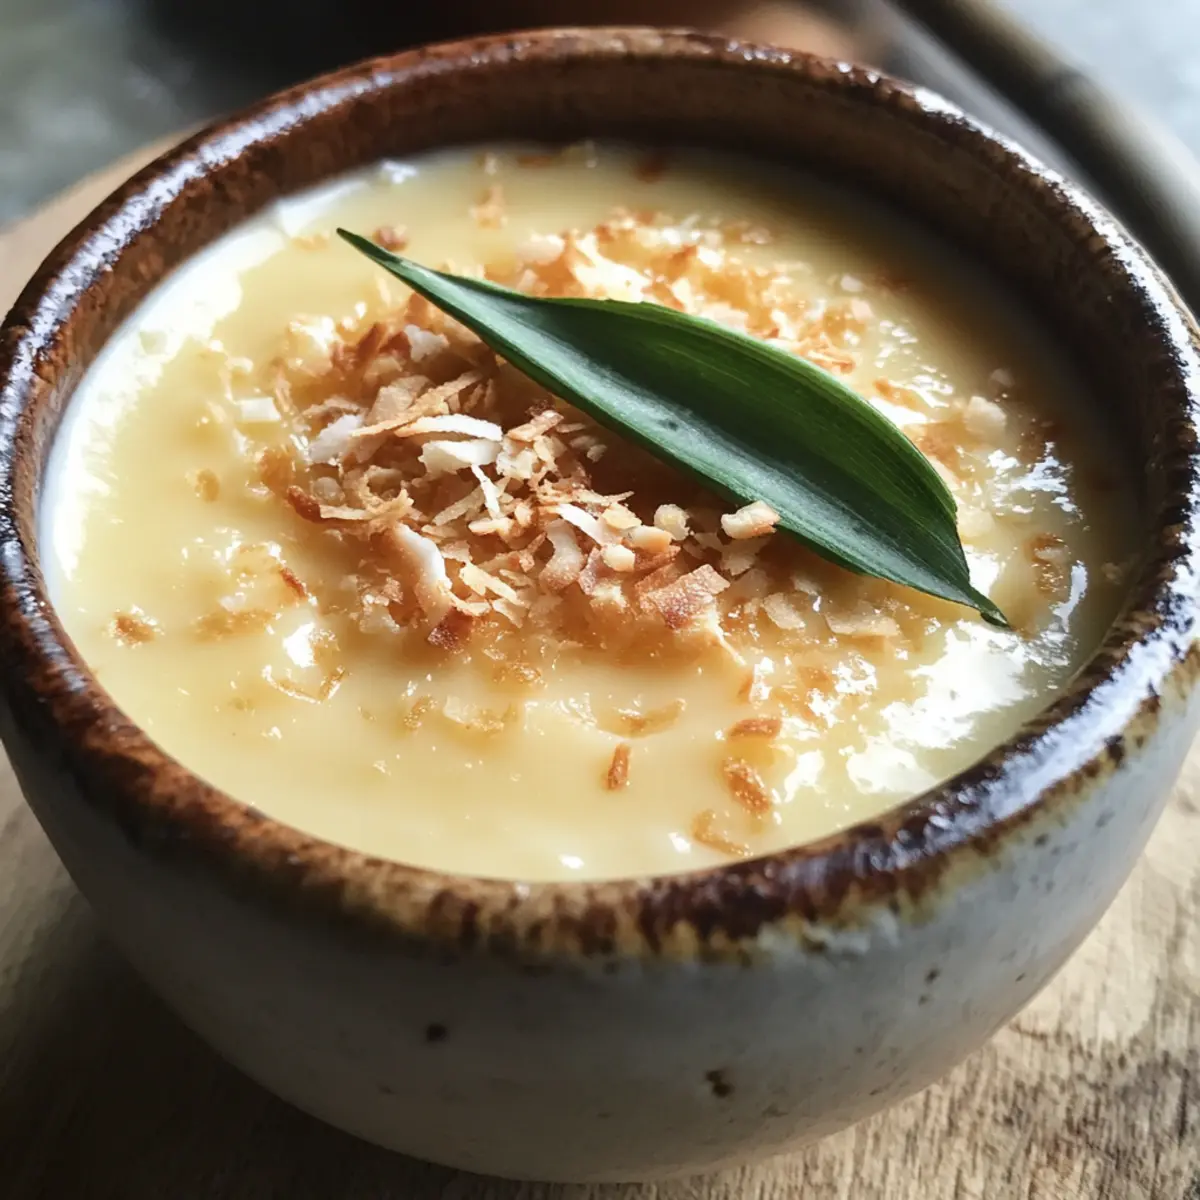
Why Is Thai Coconut Custard Irresistible?
Velvety Texture: The Thai Coconut Custard boasts an incredibly silky consistency, melting effortlessly in your mouth, making it a dessert dreams are made of.
Minimal Ingredients: With just a handful of staples like coconut milk and palm sugar, you’ll discover how easy it is to create this delectable treat without fuss.
Versatile Variations: From Pandan Coconut Custard to serving it with sticky rice, the possibilities are endless, allowing you to tailor it to any occasion.
Perfect for Sharing: This dessert is an instant crowd-pleaser, making it the perfect addition to gatherings or celebrations, bringing a taste of Thailand right to your table.
For more tropical inspirations, try pairing it creatively with Mint Oreo Parfaits or indulging in a classic Thai Coconut Shrimp.
Thai Coconut Custard Ingredients
For the Custard
- Eggs – Provide structure and creaminess; using large eggs yields the best results.
- Palm Sugar – Adds an earthy sweetness; you can substitute it with brown sugar or coconut sugar for a similar flavor.
- Coconut Milk – Supplies a rich, tropical flavor; opt for full-fat coconut milk for a creamier texture, avoiding coconut cream for a lighter finish.
- Flavoring (Jasmine or Pandan extract) – Adds aromatic notes; use pandan for a vibrant green variation, or jasmine for classic custard flavor.
- Optional Pinch of Salt – Balances the sweetness and enhances the overall flavor profile without making the custard salty.
Creating this Thai Coconut Custard at home is a delightful way to experience a dessert that rivals any restaurant offering!
Step‑by‑Step Instructions for Thai Coconut Custard Better Than Any Restaurant Dessert
Step 1: Preheat Oven
Begin by preheating your oven to 300°F (150°C). This gentle temperature is ideal for baking your Thai Coconut Custard slowly, ensuring a smooth and creamy texture. While the oven heats, gather all your ingredients and kitchen tools, including a mixing bowl, whisk, ramekins, and a baking dish for the water bath.
Step 2: Mix Eggs and Sugar
In a mixing bowl, gently whisk together the large eggs and palm sugar until the sugar is fully dissolved. This should take about 2-3 minutes of mixing. The mixture will become slightly frothy but avoid over-whisking, as you want to prevent incorporating too much air. Just enough mixing will ensure a wonderful custard consistency in your Thai Coconut Custard.
Step 3: Add Coconut Milk and Flavoring
Pour in the rich coconut milk and your choice of flavoring—whether it’s jasmine or pandan extract—to the egg and sugar mixture. Whisk until completely smooth, making sure all ingredients are fully combined. The luscious mixture should have a silky consistency, inviting you to savor its tropical essence.
Step 4: Strain Mixture (Optional)
For an ultra-silky texture in your Thai Coconut Custard, strain the mixture through a fine mesh sieve into another bowl. This step helps to eliminate any small bits of egg and ensures an even creamier custard. If you prefer a rustic feel, you can skip this step and pour directly into the ramekins.
Step 5: Prepare Ramekins
Carefully pour the custard mixture into 4 ramekins, filling each one about three-quarters full. This allows room for the custard to rise slightly as it bakes. Ensure that the ramekins are placed on a baking sheet, making it easier to transfer into the hot oven later.
Step 6: Water Bath
Place the filled ramekins into a larger baking dish. Pour boiling water into the dish until it reaches halfway up the sides of the ramekins. This water bath method helps to maintain a gentle heat and prevents the custard from baking too quickly, resulting in a perfectly smooth texture for your Thai Coconut Custard.
Step 7: Bake
Transfer the water bath and ramekins into the preheated oven. Bake for approximately 90 minutes, or until the custard appears set with a slight jiggle in the center. You might want to check for doneness by inserting a knife; it should come out nearly clean, indicating that it’s ready to come out.
Step 8: Cool
Once baked, carefully remove the ramekins from the water bath and let them cool at room temperature for about 30 minutes. After that, place them in the refrigerator to chill for at least 2 hours. This cooling step is essential for the flavors to develop and the custard to set perfectly for serving.
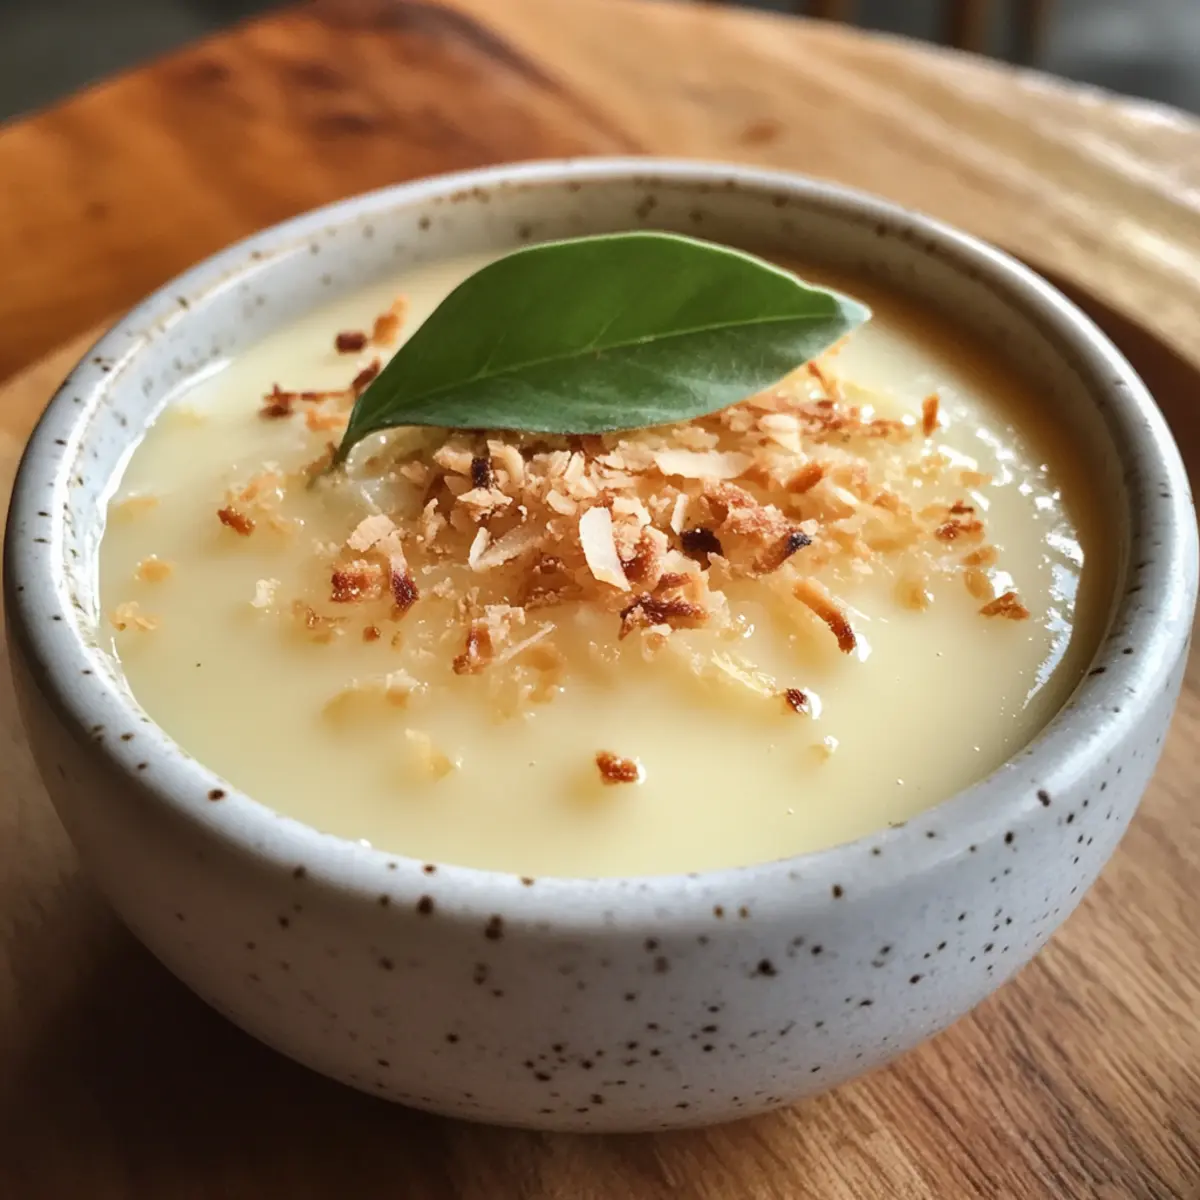
Expert Tips for Thai Coconut Custard
-
Avoid Over-Whisking: Too much whisking can introduce air bubbles, resulting in a spongy texture. Aim for gentle mixing to preserve the silky creaminess of your Thai Coconut Custard.
-
Check Doneness: Insert a knife in the center of the custard; it should come out almost clean. If there’s a lot of wobbling, it needs more time in the oven.
-
Consider Steaming: For a more traditional take, steaming your custard instead of baking can yield an incredibly tender texture and infuse it with a subtle depth of flavor.
-
Use Quality Ingredients: The flavor of your Thai Coconut Custard hinges on good-quality coconut milk and fresh eggs. Don’t skimp on these essentials to elevate your dessert.
-
Experiment with Flavors: Feel free to get creative with flavor variations! Not only can you use pandan or jasmine, but also consider adding a hint of vanilla or a splash of tropical fruit essence for a fun twist.
Storage Tips for Thai Coconut Custard
Fridge: Store the custard covered in the refrigerator for up to 3 days to maintain its freshness and creamy texture. Place a layer of plastic wrap directly on the surface to prevent a skin from forming.
Freezer: For longer storage, Thai Coconut Custard can be frozen in airtight containers. It lasts for up to 2 months, but be aware that the texture may change slightly upon thawing.
Reheating: When ready to enjoy, thaw the custard in the fridge overnight, then gently reheat in a water bath or microwave until just warm. This method helps to preserve its silky consistency.
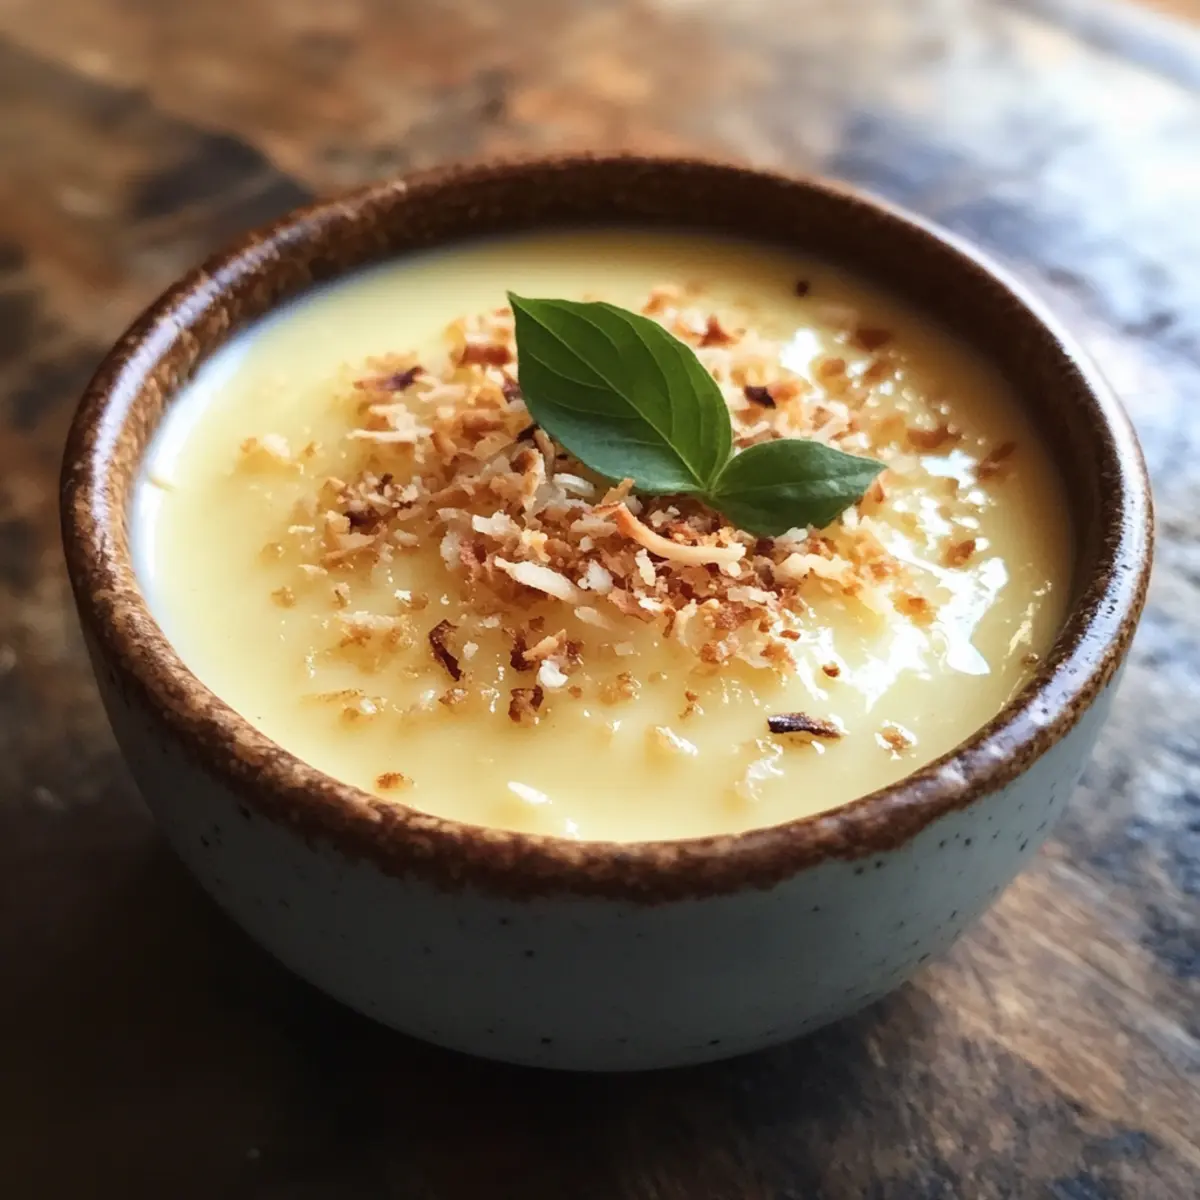
Serving Suggestions: Consider serving the custard chilled, topped with toasted coconut or fresh fruits for an extra touch—transforming your homemade dessert into a restaurant-quality experience!
What to Serve with Thai Coconut Custard
As you prepare for a delightful dessert experience, think about how we can create a full meal that tantalizes all the senses.
-
Sweet Sticky Rice: Serve warm sticky rice alongside your custard for a traditional pairing that’s both comforting and satisfying. The chewy texture and subtle sweetness perfectly complement the silky custard.
-
Fresh Tropical Fruit: Slices of mango, pineapple, or papaya add a refreshing burst of flavor that brightens up the plate. Their natural sweetness and juicy textures harmonize beautifully with the rich custard base.
-
Toasted Coconut Flakes: Sprinkling toasted coconut on top of your custard introduces a wonderful crunch and additional coconut flavor, enhancing the tropical experience with every spoonful.
-
Jasmine Tea: A warm cup of jasmine tea offers aromatic notes that pair well with the flavors of your dessert, providing a calming cleanse to the palate between bites.
-
Mint-Infused Water: Serve with a refreshing mint-infused water to elevate your meal; its crispness offers a light contrast to the creamy custard while keeping hydration in focus.
-
Cardamom Ice Cream: A scoop of cardamom ice cream brings an exotic flavor twist while pairing beautifully with the Thai-inspired dish. It adds a creamy element that will leave your guests wanting more.
-
Chocolate-Dipped Fruit: An elegant touch! Chocolate-dipped strawberries or bananas provide a delightful contrast of flavors and textures—the richness of chocolate balances perfectly with the light, airy custard.
Let your imagination run wild and explore these pairings to elevate your Thai Coconut Custard experience beyond any restaurant dessert!
Make Ahead Options
Preparing your delicious Thai Coconut Custard ahead of time is a wonderful way to save precious moments during busy weeknights! You can whisk together the egg and palm sugar mixture, then add the coconut milk and flavoring, and refrigerate it up to 24 hours before baking. Just cover the bowl with plastic wrap to keep it fresh and prevent any off-flavors. When you’re ready to serve, pour the mixture into ramekins, set them in a water bath, and bake as directed. The custard will still be just as delicious and creamy, ready to impress your family or guests! Don’t hesitate to prep this delightful treat in advance!
Thai Coconut Custard Variations & Substitutions
Feel free to let your imagination run wild by customizing this delightful recipe to suit your taste buds and occasions!
-
Pandan Coconut Custard: Substitute half the coconut milk with pandan juice for a vibrant green color and an aromatic twist. This adds a beautiful hue and provides a unique flavor that’s reminiscent of Asian desserts.
-
Sticky Rice Pairing: Serve with warm sweet sticky rice for a traditional dessert experience. The chewy texture of the rice perfectly complements the smooth custard, creating a wonderful contrast that’s simply unforgettable.
-
Custard Cake: Layer the custard over a soft sponge cake for a delightful dessert cake. It’s an indulgent way to elevate the classic recipe into something extra special, perfect for celebrations.
-
Banana Variation: Incorporate sliced ripe bananas into the custard base for added sweetness and flavor. This twist not only enhances the taste but also adds a lovely fruity note that is hard to resist.
-
Vegan Option: Swap eggs with a mixture of cornstarch and coconut milk for a plant-based version. This keeps the texture smooth while accommodating vegan diets, ensuring everyone can enjoy this tropical delight.
-
Coconut Lime Twist: Add a hint of lime zest or coconut lime juice to brighten the flavor profile. The citrus notes will uplift the richness of the custard, creating a refreshing balance that awakens the palate.
-
Add Spices: For an exotic flair, sprinkle in a hint of cardamom or nutmeg. These spices provide a warm undertone that pairs beautifully with the coconut, inviting cozy memories with every bite.
-
Chocolate Drizzle: Top with a rich chocolate ganache or a drizzle of melted dark chocolate for a decadent twist. The combination of chocolate and coconut creates a heavenly indulgence that’s perfect for chocoholics.
For other tropical inspirations, you might enjoy pairing this custard creatively with Mint Oreo Parfaits or savoring the flavors in a comforting bowl of Coconut Lime Fish.
Thai Coconut Custard Recipe FAQs
How do I choose the best coconut milk for this recipe?
Absolutely! For the best results, opt for full-fat coconut milk, as it provides the richness and creaminess that make Thai Coconut Custard irresistible. Avoid coconut cream, which has a thicker consistency, leading to a denser custard. You can also check for BPA-free cans if you’re concerned about chemicals.
How should I store leftover Thai Coconut Custard?
To keep your custard fresh, store it covered in the refrigerator for up to 3 days. I recommend placing a layer of plastic wrap directly on the surface to prevent a skin from forming. This will help maintain its silky texture while you savor the leftovers!
Can I freeze Thai Coconut Custard?
Yes, you can! To freeze your Thai Coconut Custard, place it in airtight containers. It can be stored for up to 2 months. When you’re ready to enjoy it, thaw it overnight in the refrigerator and gently reheat in a warm water bath or microwave until just warm. Just remember, the texture might change slightly after freezing, but it will still be delicious!
What if my Thai Coconut Custard is not setting properly?
Very! If you find your custard is not setting correctly, it may need more baking time. Insert a knife in the center; it should come out nearly clean. If the custard is still jiggly, pop it back in the oven for an additional 10-15 minutes. Ensure that you are using the water bath method correctly, as it creates gentle heat to aid in the cooking process.
Is this recipe suitable for those with dietary restrictions?
Absolutely! This Thai Coconut Custard is dairy-free and gluten-free, making it suitable for many dietary needs. However, if you’re concerned about allergies, please ensure all ingredients (like palm sugar) are safe for your consumption. If you’re serving pets, avoid giving custard to them as it may not be healthy for them.
Can I add different flavors to the custard?
Very! This recipe invites creativity—feel free to infuse flavors like vanilla, or even experiment with tropical essences like mango or lychee! Just make sure to balance the sweetness as needed. Using pandan can give your custard a beautiful green color and a unique, aromatic twist. The more the merrier in terms of flavors!

Thai Coconut Custard Better Than Any Restaurant Dessert
Ingredients
Equipment
Method
- Preheat your oven to 300°F (150°C). Gather all your ingredients and kitchen tools.
- Whisk together the eggs and palm sugar until fully dissolved.
- Add coconut milk and your choice of flavoring to the egg and sugar mixture. Whisk until smooth.
- Optional: Strain the mixture through a fine mesh sieve into another bowl for a silkier texture.
- Pour the custard mixture into 4 ramekins, filling them about three-quarters full.
- Place the filled ramekins into a larger baking dish and pour boiling water until it reaches halfway up the sides.
- Bake for approximately 90 minutes, until the custard is set with a slight jiggle.
- Let the ramekins cool at room temperature for about 30 minutes before refrigerating for at least 2 hours.