


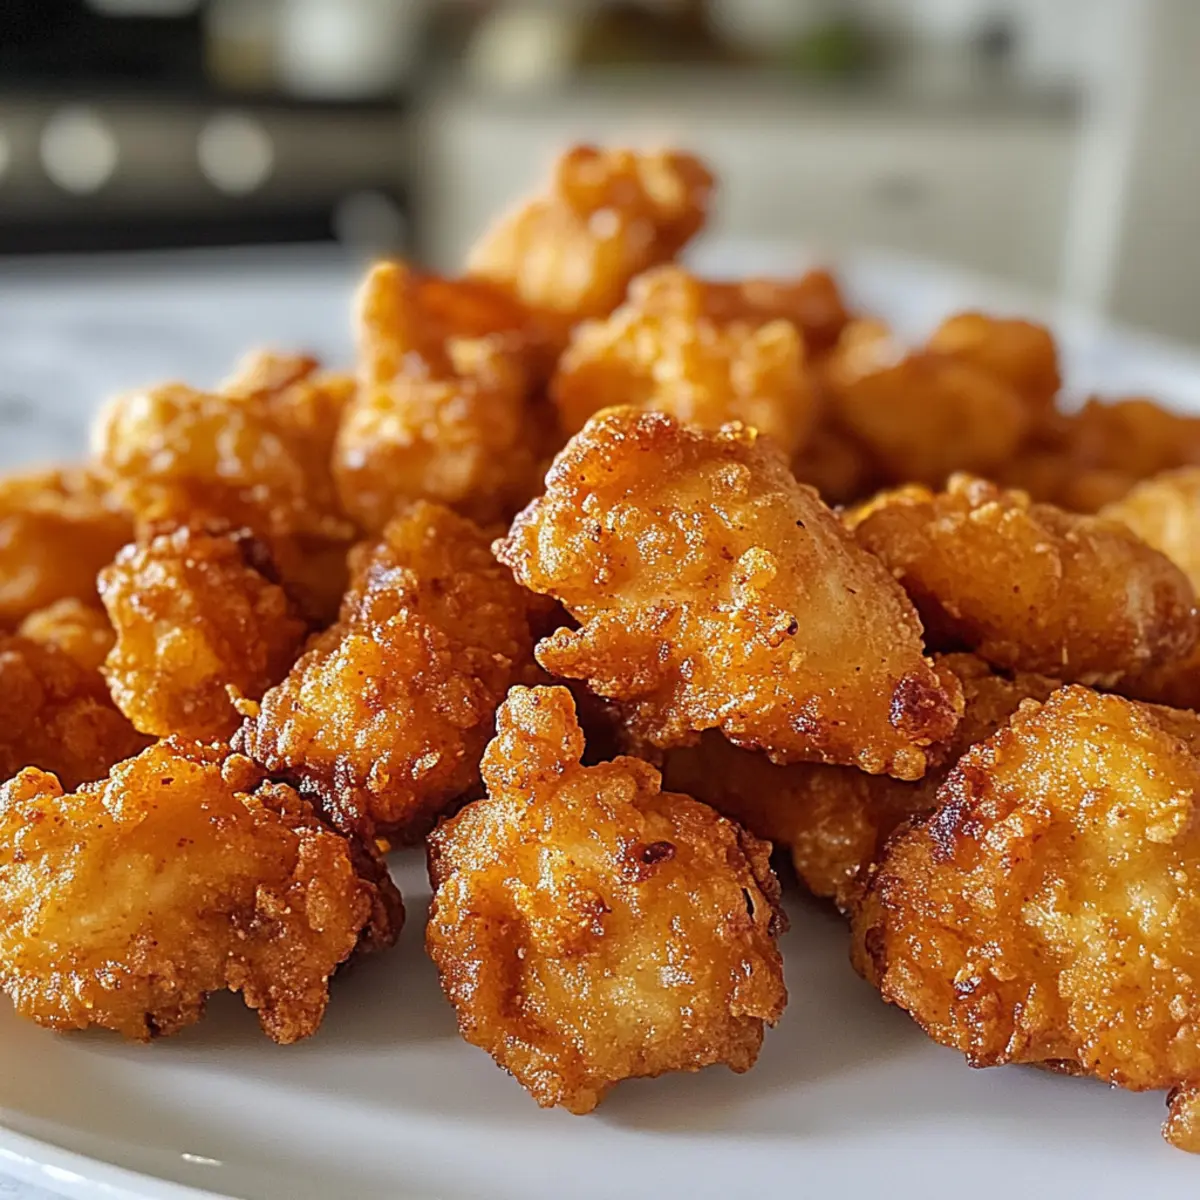
The aroma wafting from my kitchen is a delightful reminder of bustling Indian markets, where the sizzle of fried snacks fills the air. Today, I’m excited to share my take on Chicken Pakora, a crispy and flavorful gluten-free snack that’s sure to be a hit at any gathering. With tender pieces of marinated chicken enveloped in a golden gram flour batter, these pakoras not only offer a protein-rich treat but are also quick and easy to prepare. They’re perfect for serving alongside your afternoon tea or as a mouthwatering appetizer at dinner parties. Are you ready to bite into something deliciously crunchy? Let’s get cooking!
Why is Chicken Pakora a Must-Try?
Crispy Perfection: Each pakora boasts a golden, crunchy exterior that encapsulates juicy chicken, delivering a delightful contrast in texture.
Gluten-Free Goodness: With a base of gram flour and no gluten in sight, this snack caters to those with dietary restrictions while still pleasing the palate.
Quick to Make: This recipe is perfect for busy cooks! It takes just about 30 minutes to prepare, making it an ideal option for impromptu gatherings or snack cravings.
Versatile Flavor Profile: You can customize the spice levels to suit your taste. Try a tandoori style with added intensity or experiment with your favorite herbs.
Perfect Pairing: Serve these tasty morsels with refreshing mint yogurt chutney or tangy tamarind sauce for an unforgettable culinary experience. For more mouthwatering ideas, check out my Garlic Chicken Gnocchi or adapt the scrumptious taste with Southwest Chicken Rolls!
Crowd-Pleaser: Whether at a family dinner or a social gathering, Chicken Pakora is bound to impress and satisfy all your guests!
Chicken Pakora Ingredients
For the Chicken Marinade
• Boneless Chicken (250g) – Use chicken breast for a tender bite.
• Salt (½ teaspoon) – Enhances flavor; adjust to your taste preference.
• Crushed Chilies (½ teaspoon) – Adds a kick; substitute with paprika for milder heat.
• Cumin Powder (½ teaspoon) – Provides earthy warmth to the mix.
• Garam Masala Powder (½ teaspoon) – A fragrant blend that deepens flavor.
• Red Chili Powder (½ teaspoon) – Adds vibrant color and heat; adjust as needed.
• Chaat Masala (½ teaspoon) – Brings a tangy twist; optional based on preference.
• Garlic Powder (½ teaspoon) – Boosts umami richness.
• Ginger Powder (½ teaspoon) – Adds warmth and depth to the marinade.
• Fresh Lemon Juice (1 teaspoon) – Brightens the dish; vinegar can be used as a substitute.
• Chopped Onion (2 teaspoons) – Provides moisture and enhances flavor.
• Green Chilies (1 teaspoon) – Adds fresh heat; optional for spice-sensitive eaters.
• Chopped Coriander (1 teaspoon) – Fresh herb for garnish and extra flavor.
For the Batter
• Gram Flour (½ Cup) – The essential ingredient for authentic pakora flavor.
• Corn Flour (1 tablespoon) – Contributes extra crispness to the coating.
• Rice Flour (1 tablespoon) – Enhances crunch; key for gluten-free baking.
• Soda Bicarbonate (2 pinches, optional) – Aids in achieving a fluffy texture; use sparingly.
• Water (100 ml) – Gradually add to create a thick batter.
For Frying
• Oil for Frying – Necessary for achieving the perfect crispy texture through deep-frying.
Dive into this Chicken Pakora recipe for a delightful gluten-free snack that combines savory spices and an irresistible crunch!
Step‑by‑Step Instructions for Crispy Chicken Pakora
Step 1: Marinate the Chicken
In a mixing bowl, combine 250g of boneless chicken with ½ teaspoon salt, crushed chilies, cumin, garam masala, red chili powder, chaat masala, garlic powder, and ginger powder. Squeeze in 1 teaspoon of fresh lemon juice, then add 2 teaspoons of chopped onion and 1 teaspoon of chopped green chilies. Mix thoroughly, ensuring the chicken is well-coated, and let it marinate for 30 minutes at room temperature for the best flavor infusion.
Step 2: Prepare the Batter
After marination, add ½ cup of gram flour, 1 tablespoon of corn flour, and 1 tablespoon of rice flour directly to the marinated chicken. Mix well until the chicken pieces are evenly coated. Gradually pour in 100 ml of water, stirring until you achieve a thick, smooth batter—this consistency is key for creating a crispy Chicken Pakora without feeling too heavy during frying.
Step 3: Heat the Oil
In a deep frying pan or kadhai, pour enough oil for deep frying, about 2-3 inches deep. Heat the oil over medium heat until it reaches around 350°F (180°C), which you can test with a small drop of batter; it should sizzle and rise to the surface immediately. This ensures that your crispy Chicken Pakoras will fry evenly with the right texture.
Step 4: Deep Fry the Chicken
Carefully drop spoonfuls of the coated chicken into the hot oil, making sure not to overcrowd the pan. Fry for about 5-6 minutes, turning occasionally until the Chicken Pakoras turn golden brown and crisp. Use a slotted spoon to ensure even cooking and check that the chicken is fully cooked through; it should no longer be pink in the center.
Step 5: Drain Excess Oil
Once your chicken pieces are beautifully golden and sound crispy when tapped, use a slotted spoon to transfer them onto a plate lined with paper towels. This will absorb the excess oil and help maintain the delightful crunch of the Chicken Pakora. Let them rest for a minute or two while you prepare your serving platter.
Step 6: Serve and Enjoy
Transfer the Chicken Pakoras to a serving dish and garnish with fresh coriander for a pop of color. Pair them with your favorite chutney, such as mint yogurt or tangy tamarind sauce, to enhance the flavors. These crispy delights are perfect for sharing with friends or family as an appetizer or snack while enjoying a cozy evening at home.
How to Store and Freeze Chicken Pakora
Fridge: Store leftover Chicken Pakoras in an airtight container in the fridge for up to 3 days to maintain freshness and flavor.
Freezer: For longer storage, freeze Chicken Pakoras in a single layer on a baking sheet. Once frozen, transfer them to a freezer bag for up to 3 months.
Reheating: To reheat, heat a frying pan over low heat and cook the pakoras for a few minutes to regain their crispiness. Avoid microwaving to prevent sogginess.
Make-Ahead: You can marinate the chicken a day in advance and keep it in the fridge to enhance the flavors before frying.
Make Ahead Options
These Chicken Pakoras are perfect for meal prep enthusiasts seeking to save time on busy weeknights! You can marinate the chicken up to 24 hours in advance, allowing the flavors to deepen beautifully. Simply mix the boneless chicken with all the marinade ingredients, cover it in an airtight container, and refrigerate. The batter can also be prepared and refrigerated for up to 3 days; just make sure to add a splash of water before frying to loosen it up. When you’re ready to enjoy your Chicken Pakoras, heat the oil and simply fry the marinated chicken pieces as directed, ensuring they remain deliciously crispy. This way, you’ll have a fantastic snack ready to serve with minimal effort!
What to Serve with Crispy Chicken Pakora
Elevate your Chicken Pakora experience with delicious sides that balance flavor and texture, creating a memorable meal.
-
Mint Yogurt Chutney: A cooling, tangy dip that complements the spice of the pakoras perfectly. This cooling effect enhances every crunchy bite.
-
Tamarind Sauce: Sweet and sour, this sauce adds a rich tang that elevates each pakora, enhancing the overall flavor profile.
-
Cucumber Salad: Fresh cucumbers offer a refreshing crunch that balances the crispy pakoras, providing a delightful contrast. Toss in some tomatoes and onions for added flavor.
-
Rice Pilaf: A light, fluffy rice dish helps soak up any leftover chutney or sauce, making every mouthful flavorful and satisfying.
-
Lemon Wedges: A squeeze of fresh lemon brightens the flavors and adds a zesty finish to the deep-fried goodness.
-
Masala Chai: Enjoying your pakoras with a warm cup of spiced chai creates a comforting pairing that’s perfect for cozy afternoons.
-
Mango Lassi: This sweet yogurt drink balances the spices in the pakora, offering a delightful contrast and ensuring each bite is refreshing.
-
Potato Samosas: These crispy snacks not only match the theme but bring additional textures to your plate, perfect for parties or family gatherings.
-
Chocolate Halwa: For dessert, this rich and sweet Indian dessert wraps up the meal with flavors that linger deliciously on the palate.
Tips for the Best Chicken Pakora
-
Thick Batter: Make sure your batter is thick enough to coat the chicken nicely. If it’s too thin, the Chicken Pakora won’t achieve that delightful crunch.
-
Oil Temperature: Maintain medium heat while frying. Too hot, and the outside will burn before cooking the chicken; too low, and you’ll end up with oily, soggy pakoras.
-
Fresh Ingredients: Use fresh spices and herbs for marinating to infuse the chicken with vibrant flavors. Stale spices can dull the taste.
-
Avoid Overcrowding: Fry in batches to keep the oil temperature consistent. Overcrowding the pan can lower the temperature and yield greasy pakoras.
-
Rest and Drain: Allow your Chicken Pakora to rest on paper towels after frying to absorb excess oil but serve them immediately for the best crunch.
Chicken Pakora Variations and Substitutions
Feel free to get creative, as these delightful Chicken Pakoras are easy to customize for any taste preference or dietary need!
-
Tandoori Twist: Add tandoori masala for a smoky flavor profile that will transport you straight to an Indian feast.
-
Vegetarian Option: Substitute chicken with diced paneer or mixed vegetables like bell peppers and cauliflower for a hearty vegetarian snack.
-
Oven-Baked: For a healthier version, air-fry or bake the pakoras at 400°F (200°C) until crispy, cutting down on oil without sacrificing flavor.
-
Gluten-Free Flour: Swap gram flour for a gluten-free all-purpose blend to ensure this treat remains accessible for everyone.
-
Extra Crunch: Mix in crushed corn flakes into the batter for an irresistible crunch that takes the pakoras to the next level.
-
Heat Variants: Adjust the level of crushed chilies or incorporate green jalapeños for those who crave a spicier kick.
-
Crispy Corn Flour: Use more corn flour instead of rice flour for an even crispier texture throughout the pakoras.
-
Herb-Infused: Add fresh herbs like mint or basil into the batter for an aromatic twist that enhances flavor and freshness.
These tasty variations will surely suit every palate! If you’re looking for more ways to spice up your cooking, check out my Grilled Chicken Burrito or explore the flavors in my Tzatziki Chicken Salad. Enjoy your culinary adventure!
Chicken Pakora Recipe FAQs
How do I choose ripe ingredients for Chicken Pakora?
Absolutely! For the best flavor, select fresh, vibrant chicken breasts with no dark spots or signs of spoilage. Fresh spices also make a significant difference; check for aromatic scents and vibrant colors, ensuring they’re not stale.
What’s the best way to store leftover Chicken Pakora?
Very! Store your leftover Chicken Pakoras in an airtight container in the fridge for up to 3 days. This keeps them fresh and tasty. Just be sure they are completely cooled before storing to prevent condensation.
Can I freeze Chicken Pakora? How?
Certainly! To freeze Chicken Pakora, arrange them in a single layer on a baking sheet and place in the freezer until solid. Once frozen, transfer them to a freezer bag and store for up to 3 months. When you’re ready to enjoy, simply reheat them in a pan on low heat to restore their crispiness.
What should I do if my Chicken Pakora batter is too thin?
No worries! If your batter is too thin, gradually mix in more gram flour to achieve the desired thick consistency. A thicker batter helps create that perfect crunch! Alternatively, you can add a small amount of corn flour or rice flour to enhance texture without overpowering the flavor.
Can I make Chicken Pakora gluten-free?
Absolutely! This Chicken Pakora recipe is inherently gluten-free thanks to the use of gram flour. Additionally, make sure all other seasonings are gluten-free. If you have specific dietary allergens, always check the labels to ensure a safe cooking experience.
How long can I marinate my chicken for Chicken Pakora?
You can marinate the chicken for at least 30 minutes, but for deeper flavor, feel free to marinate it overnight in the fridge. Just be sure to keep it in an airtight container to maintain its flavor while marinating.
Crispy Chicken Pakora: The Ultimate Gluten-Free Snack
Ingredients
Equipment
Method
- In a mixing bowl, combine 250g of boneless chicken with ½ teaspoon salt, crushed chilies, cumin, garam masala, red chili powder, chaat masala, garlic powder, and ginger powder. Squeeze in 1 teaspoon of fresh lemon juice, then add 2 teaspoons of chopped onion and 1 teaspoon of chopped green chilies. Mix thoroughly, ensuring the chicken is well-coated, and let it marinate for 30 minutes at room temperature for the best flavor infusion.
- After marination, add ½ cup of gram flour, 1 tablespoon of corn flour, and 1 tablespoon of rice flour directly to the marinated chicken. Mix well until the chicken pieces are evenly coated. Gradually pour in 100 ml of water, stirring until you achieve a thick, smooth batter.
- In a deep frying pan or kadhai, pour enough oil for deep frying, about 2-3 inches deep. Heat the oil over medium heat until it reaches around 350°F (180°C), which you can test with a small drop of batter.
- Carefully drop spoonfuls of the coated chicken into the hot oil, making sure not to overcrowd the pan. Fry for about 5-6 minutes, turning occasionally until the chicken pakoras turn golden brown and crisp.
- Once your chicken pieces are beautifully golden and sound crispy when tapped, use a slotted spoon to transfer them onto a plate lined with paper towels.
- Transfer the Chicken Pakoras to a serving dish and garnish with fresh coriander. Pair them with your favorite chutney, such as mint yogurt or tangy tamarind sauce, to enhance the flavors.