


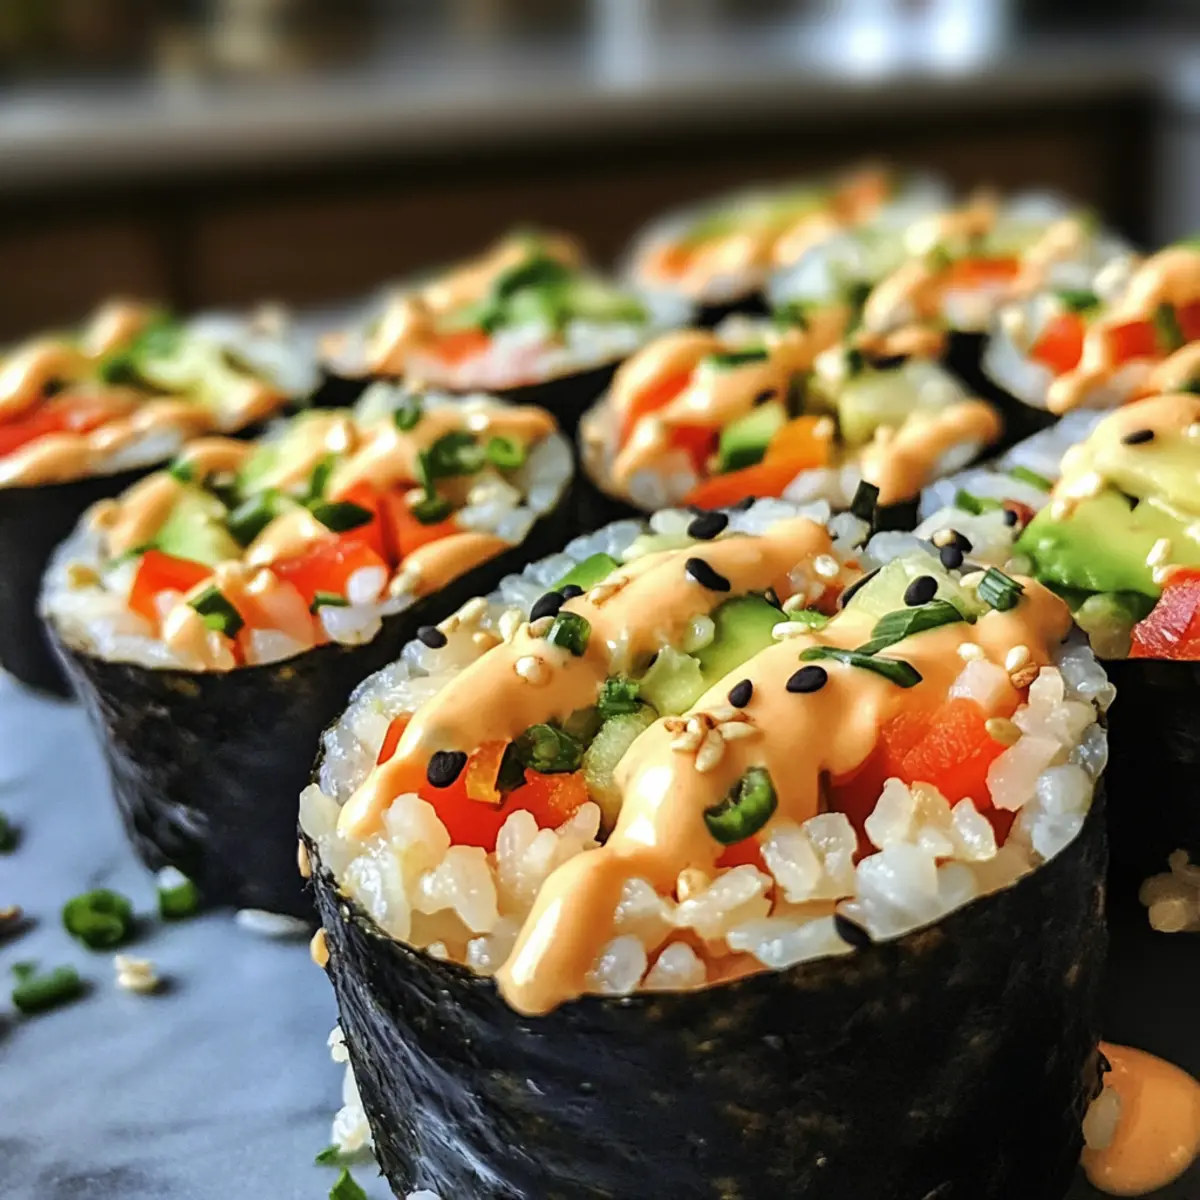
As I stood in my kitchen, the aroma of freshly cooked sushi rice mingling with the crunch of crisp vegetables created a feeling of excitement. These customizable sushi cups are not only a creative way to enjoy the flavors of sushi, but they also eliminate the fuss of rolling. Pack them full of your favorite veggies and creamy avocado for a delightful bite-sized treat that’s perfect for any occasion. Plus, this recipe is effortlessly quick to whip up and offers a vegetarian-friendly, high-protein meal option. Whether you’re hosting a gathering or simply craving something fresh and fun for lunch, these sushi cups will steal the show. Ready to dive into this culinary adventure? Let’s get started!
Why Are Sushi Cups a Game-Changer?
Simplicity: With zero baking required, these sushi cups come together quickly, making them perfect for busy weeknights.
Customizable: Tailor each cup to your taste with a variety of fresh veggies and sauces—your only limit is your imagination!
High Protein: Packed with mukimame and other protein-rich options, they make for a nourishing meal that won’t weigh you down.
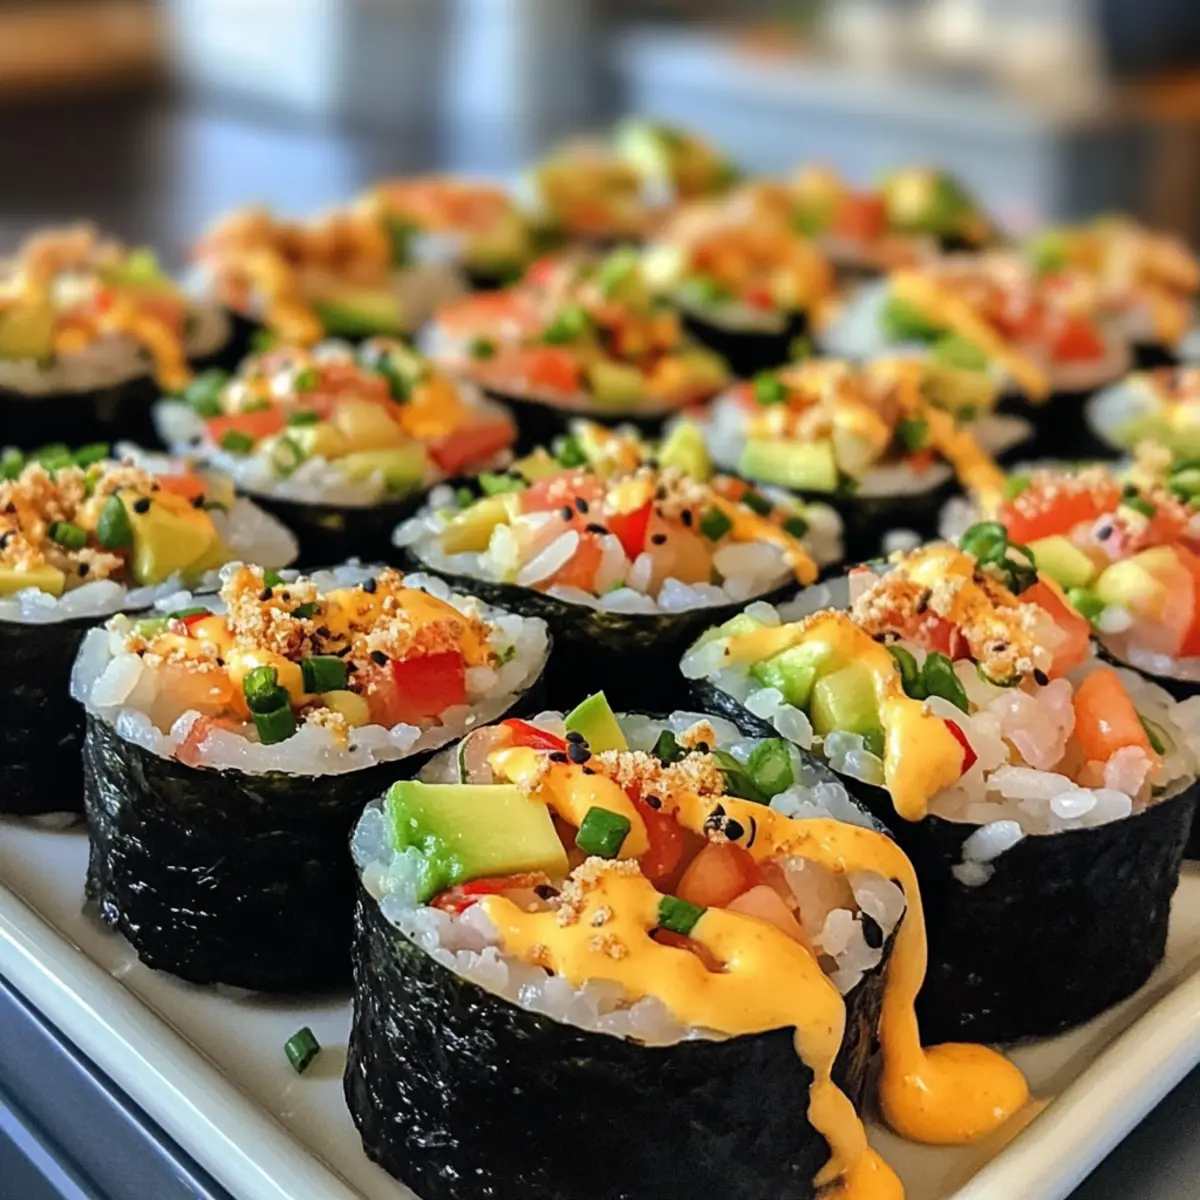
Crowd-Pleaser: Perfect for entertaining, these vibrant cups are sure to impress guests at any gathering, drawing smiles all around.
Versatile: Whether you’re going vegetarian or adding proteins like shrimp or crab, there’s something for everyone in this delightful treat.
Consider pairing them with your favorite dipping sauces or check out our Serving Suggestions for more meal ideas!
Sushi Cups Ingredients
• Ready to make your own delicious sushi cups? Here’s what you’ll need to get started!
For the Sushi Rice
- Sushi Rice – The foundation of these sushi cups; remember to rinse well before cooking to remove excess starch for better texture.
- Water – Essential for cooking your sushi rice to perfection.
For the Filling
- Chopped Veggies – Freshness and crunch are key; use raw options like carrots, cucumbers, or bell peppers for best results.
- Mukimame (Shelled Edamame) – A lovely source of protein; regular edamame can work as a good substitute if mukimame is not available.
- Diced Avocado – Adds that creamy richness; half of a small avocado is typically just right.
For the Sauce
- Sauce – Enhance flavors with soy sauce, tamari, or coconut aminos—choose based on dietary needs.
- Mayonnaise – This forms the creamy base for your spicy mayo topping.
- Sriracha Sauce – Adds the perfect amount of heat; feel free to adjust to suit your taste buds.
- Honey – Adds a touch of sweetness to balance the flavors in your spicy mayo.
- Sesame Oil – Infuses a rich depth of flavor into your sauce.
For Garnishing
- Black Sesame Seeds – These are for a sprinkle of crunch and visual appeal on top of your sushi cups.
With these ingredients, you’re just a few steps away from making your own customizable sushi cups—perfect for impressing your friends and family! Enjoy every bite of these delightful creations!
Step‑by‑Step Instructions for Sushi Cups
Step 1: Cook Sushi Rice
In a medium pot, combine one cup of well-rinsed sushi rice and 1.25 cups of water. Bring to a vigorous boil over medium-high heat, then reduce to low heat, cover, and simmer for 20 minutes. Once the rice is tender and water is absorbed, remove it from heat and let it sit, covered, for an additional 10 minutes to enhance the texture of your sushi cups.
Step 2: Prepare Rice Cups
After the sushi rice has cooled slightly, take two heaping tablespoons of rice and pack it into silicone muffin liners or a greased muffin tin, creating a firm base. Smooth the tops with the back of a spoon for evenness. Place the tin in the refrigerator for 20 minutes, allowing the rice to set and maintain its shape for your sushi cups.
Step 3: Mix Veggie Filling
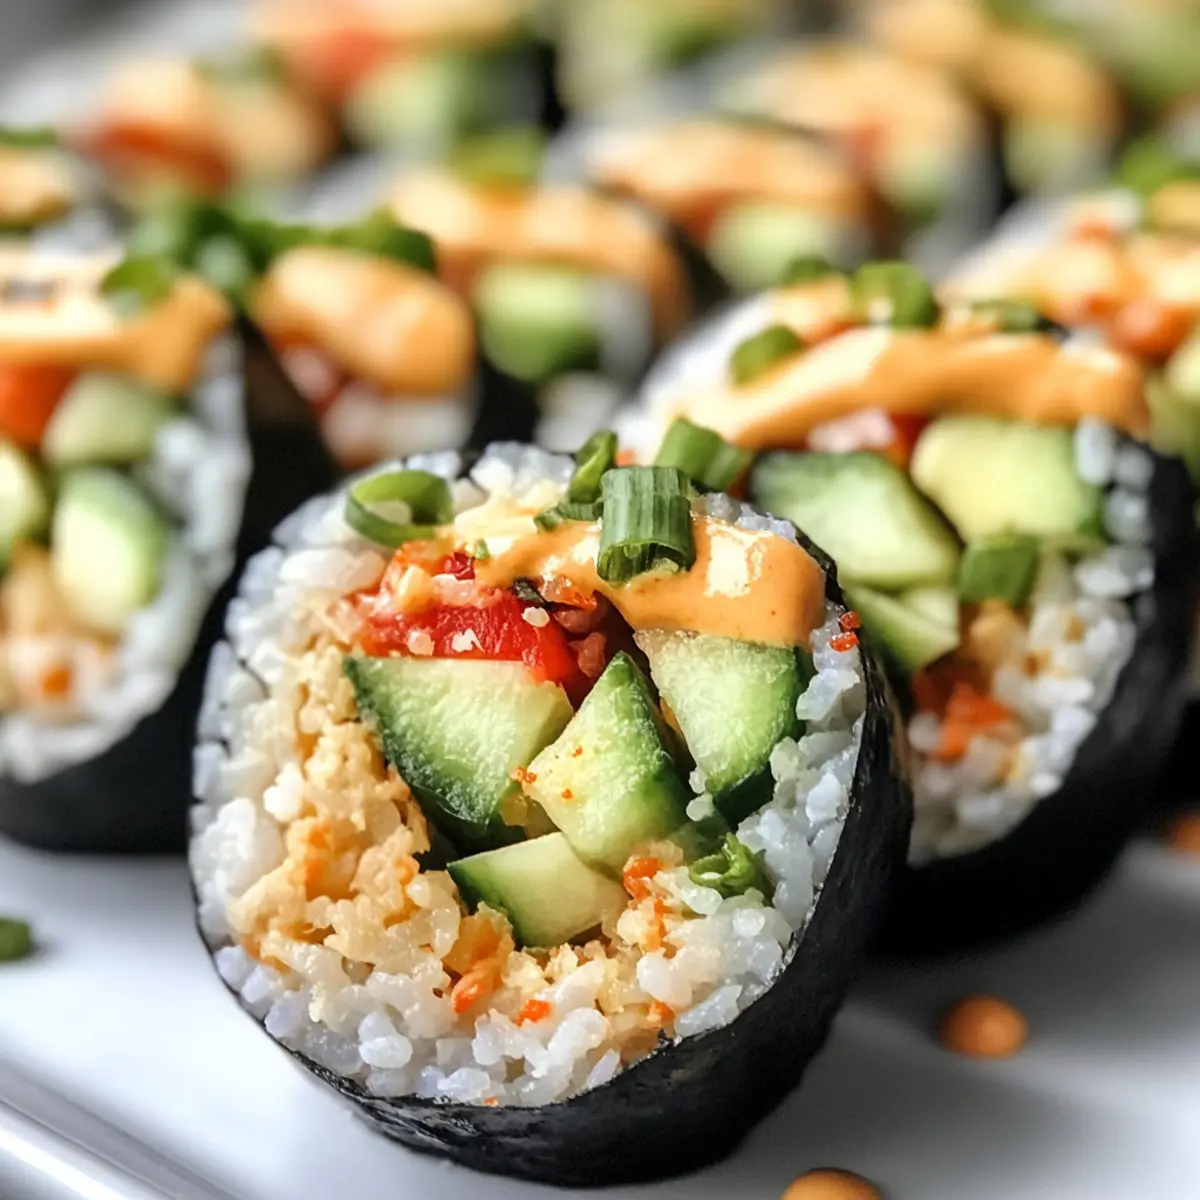
While the rice is chilling, prepare the filling by finely chopping your choice of raw vegetables such as carrots, cucumbers, and bell peppers. In a mixing bowl, combine the chopped veggies with steamed mukimame and diced avocado for creaminess. Drizzle with soy sauce or tamari, stirring gently to incorporate all ingredients for a fresh, vibrant filling.
Step 4: Make Spicy Mayo
In a separate bowl, whisk together ¼ cup of mayonnaise, 1-2 tablespoons of Sriracha sauce, 1 teaspoon of honey, and 1 teaspoon of sesame oil. Adjust the amount of Sriracha to suit your heat preference; taste as you go. This will create a smooth and flavorful spicy mayo that perfectly complements the sushi cups.
Step 5: Assemble Cups
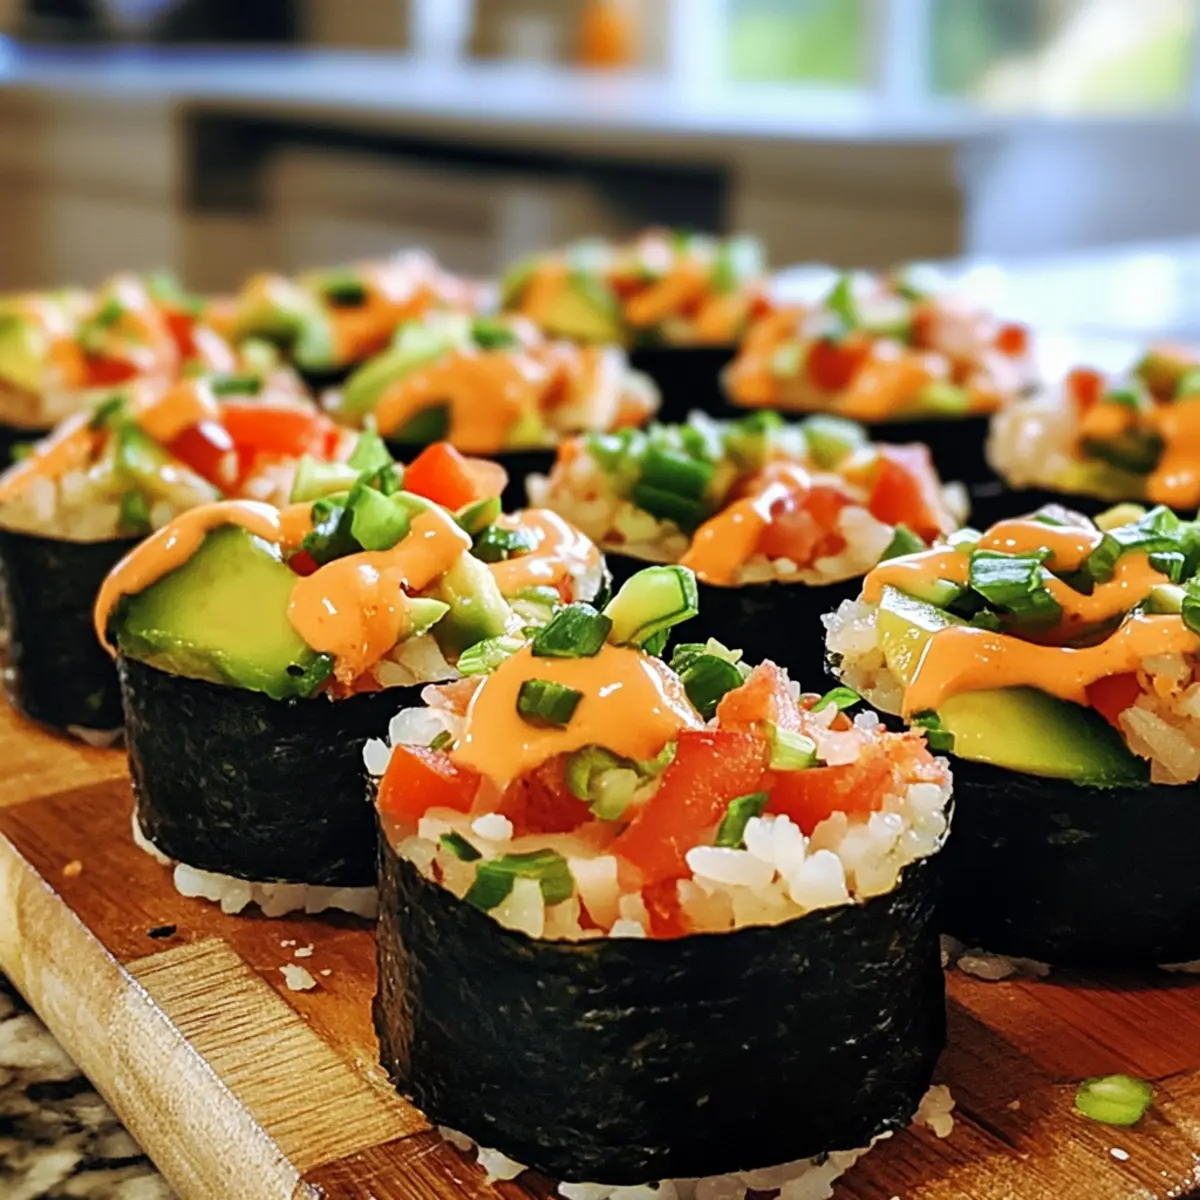
Once the rice cups have set, remove them from the refrigerator. Carefully lift them out of the muffin tin or silicone liners. Spoon the veggie mixture into each rice cup, filling them generously but not overflowing. Finally, drizzle a generous amount of spicy mayo over the top of each cup and finish with a sprinkle of black sesame seeds for an extra touch of flavor and crunch.
Expert Tips for Sushi Cups
-
Rinse Sushi Rice: Ensure you thoroughly rinse the sushi rice before cooking to prevent stickiness and achieve the perfect texture in your sushi cups.
-
Use Silicone Liners: Invest in silicone muffin liners for easy removal of rice cups. They prevent sticking and make assembly a breeze.
-
Chill for Firmness: Don’t skip chilling the rice cups in the refrigerator. This crucial step helps them maintain their shape and makes filling them easier.
-
Veggie Variety: Play around with your choice of chopped veggies. Using a mix of colors and textures not only enhances flavor but also makes your sushi cups visually appealing.
-
Customize Sauces: Feel free to experiment with different sauces. Whether it’s teriyaki or a tangy vinaigrette, a unique sauce can elevate your customizable sushi cups to new heights!
-
Adjust Spiciness: Taste your spicy mayo as you mix. Adjust the Sriracha according to your heat preference—ensure everyone can enjoy these delicious sushi cups!
How to Store and Freeze Sushi Cups
Fridge: Store leftover sushi cups in an airtight container in the refrigerator for up to 2 days to maintain freshness and prevent them from drying out.
Freezer: For longer storage, freeze the rice cups individually wrapped in plastic wrap, then place them in a freezer-safe bag for up to 1 month.
Reheating: To enjoy, thaw in the refrigerator overnight, then reheat in the microwave for 20-30 seconds until warmed through, or serve cold if preferred.
Meal Prep: You can prep the sushi cups 24 hours in advance and store them in the fridge, making it easy to have a quick, delicious meal on hand!
What to Serve with Customizable Sushi Cups with Spicy Mayo
Imagine a vibrant dinner table, where freshness and flavor meet in delightful harmony. Complement your sushi cups with these tantalizing sides and beverages that will truly elevate your meal.
-
Refreshing Cucumber Salad:
Crisp cucumbers drizzled with a tangy sesame dressing provide a refreshing contrast to the rich sushi cups. -
Miso Soup:
Warm and comforting, this light soup is a traditional accompaniment that adds a savory depth to your dining experience. -
Edamame:
Steamed edamame sprinkled with sea salt brings a lovely pop of protein and a fun, shareable snack. -
Pickled Ginger:
Sweet and zesty, pickled ginger acts as a perfect palate cleanser between bites of your sushi cups, enhancing your tasting journey. -
Herb-Infused Rice:
Fluffy jasmine rice with a hint of cilantro or mint introduces a fragrant note that pairs beautifully with the sushi flavors. -
Chilled Green Tea:
Refreshing and slightly bitter, chilled green tea balances the richness of the spicy mayo while providing a soothing drink option. -
Spicy Tuna Roll:
If you’re in the mood for more sushi, a spicy tuna roll complements the flavors of your cups while adding delightful texture and protein.
Sushi Cups Variations & Substitutions
Feel free to let your creativity flow with these sushi cups, transforming them into something uniquely yours!
-
Vegetable Swap: Replace typical veggies with sliced radishes, sprouts, or pickled vegetables for a zingy twist.
-
Protein Boost: Add imitation crabmeat, shrimp, or smoked salmon for an extra protein punch that takes your cups to the next level.
-
Vegan-Friendly: Substitute mayonnaise with cashew cream or vegan mayo to keep it plant-based and creamy.
-
Gluten-Free: Use coconut aminos instead of soy sauce or tamari to ensure these sushi cups are gluten-free without sacrificing flavor.
-
Spicy Sriracha Upgrade: Experiment with different hot sauces, like gochujang or spicy aioli, for a new dimension of heat.
-
Texture Enhancement: Add crunchy toppings like crushed peanuts or crispy shallots on top for an exciting contrast to the soft sushi rice.
-
Cilantro Zest: Mix in fresh herbs like cilantro or basil into your veggie filling for an aromatic burst of flavor.
-
Sweet and Savory: Drizzle a touch of honey or agave over the veggie mixture for a delightful sweet contrast against the savory elements.
No matter what variations you choose, these sushi cups offer a delightful way to enjoy sushi flavors without the fuss. You might also want to check out our Serving Suggestions to see how to best enjoy your creations!
Make Ahead Options
These sushi cups are perfect for meal prep, allowing busy home cooks to enjoy fresh flavors without the last-minute rush! You can prepare the sushi rice and mold it into cups up to 24 hours in advance; simply store them in the refrigerator in an airtight container to maintain their texture. Additionally, chop your veggies and mix the filling up to 3 days ahead, keeping them stored separately to prevent sogginess. When you’re ready to serve, just fill the rice cups with the prepared veggie mix, drizzle with spicy mayo, and garnish with black sesame seeds for a delightful presentation. You’ll have gourmet sushi cups just as delicious as if you made them fresh!
Sushi Cups Recipe FAQs
What type of sushi rice should I use for sushi cups?
You should use short-grain sushi rice for the best texture. It’s starchier than other rice varieties, giving your sushi cups that lovely sticky consistency. Be sure to rinse the rice thoroughly before cooking to remove excess starch, which helps prevent it from becoming too gummy.
How long do sushi cups last in the fridge?
Sushi cups can be stored in an airtight container in the refrigerator for up to 2 days to ensure optimal freshness. However, they are best enjoyed within the first day for the crispness of the veggies and the flavors to shine. If you notice any dark spots on the avocado, it’s time to toss them for safety.
Can I freeze sushi cups?
Absolutely! For longer storage, you can freeze sushi cups individually. Wrap each rice cup in plastic wrap, then place them into a freezer-safe bag. They will last for up to 1 month. When you’re ready to enjoy them, just thaw in the refrigerator overnight, and you can either serve them as-is or give them a quick warm-up in the microwave for about 20-30 seconds.
What if I don’t have mukimame?
No worries! If mukimame is unavailable, regular shelled edamame works beautifully as a substitute. Alternatively, you can fill the cups with other proteins like cooked shrimp, crab, or even tofu cubes for a vegetarian version. The key is to use ingredients you love!
Can pets eat sushi cups?
While sushi cups are primarily safe for humans, it’s best to keep them away from pets. Ingredients like avocado can be harmful to dogs and cats in larger quantities. If you make a version for your furry friends, skip the sauces and spices, and stick to plain cooked protein and veggies suited for pets.
What should I do if the sushi rice is too sticky?
If you find your sushi rice is too sticky, it may be due to either too much water during cooking or insufficient rinsing. You can fix it by fluffing the rice with a fork once it’s cooked, allowing it to cool completely before shaping it into cups. If it’s still too sticky for your liking, consider adding a small drizzle of rice vinegar while fluffing; this balances flavor and helps separate the grains.
Irresistible Sushi Cups: Quick, Customizable & Delicious!
Ingredients
Equipment
Method
- Cook Sushi Rice: In a medium pot, combine sushi rice and water. Bring to a boil, reduce heat, cover, and simmer for 20 minutes. Remove from heat and let sit covered for 10 minutes.
- Prepare Rice Cups: Pack two heaping tablespoons of rice into silicone muffin liners, smooth the tops, then refrigerate for 20 minutes.
- Mix Veggie Filling: Combine chopped veggies with mukimame and avocado in a bowl, drizzle with soy sauce, and mix gently.
- Make Spicy Mayo: Whisk mayonnaise, Sriracha, honey, and sesame oil together to create the sauce, adjusting spiciness to taste.
- Assemble Cups: Fill the rice cups with the veggie mixture, drizzle with spicy mayo, and sprinkle black sesame seeds on top.