


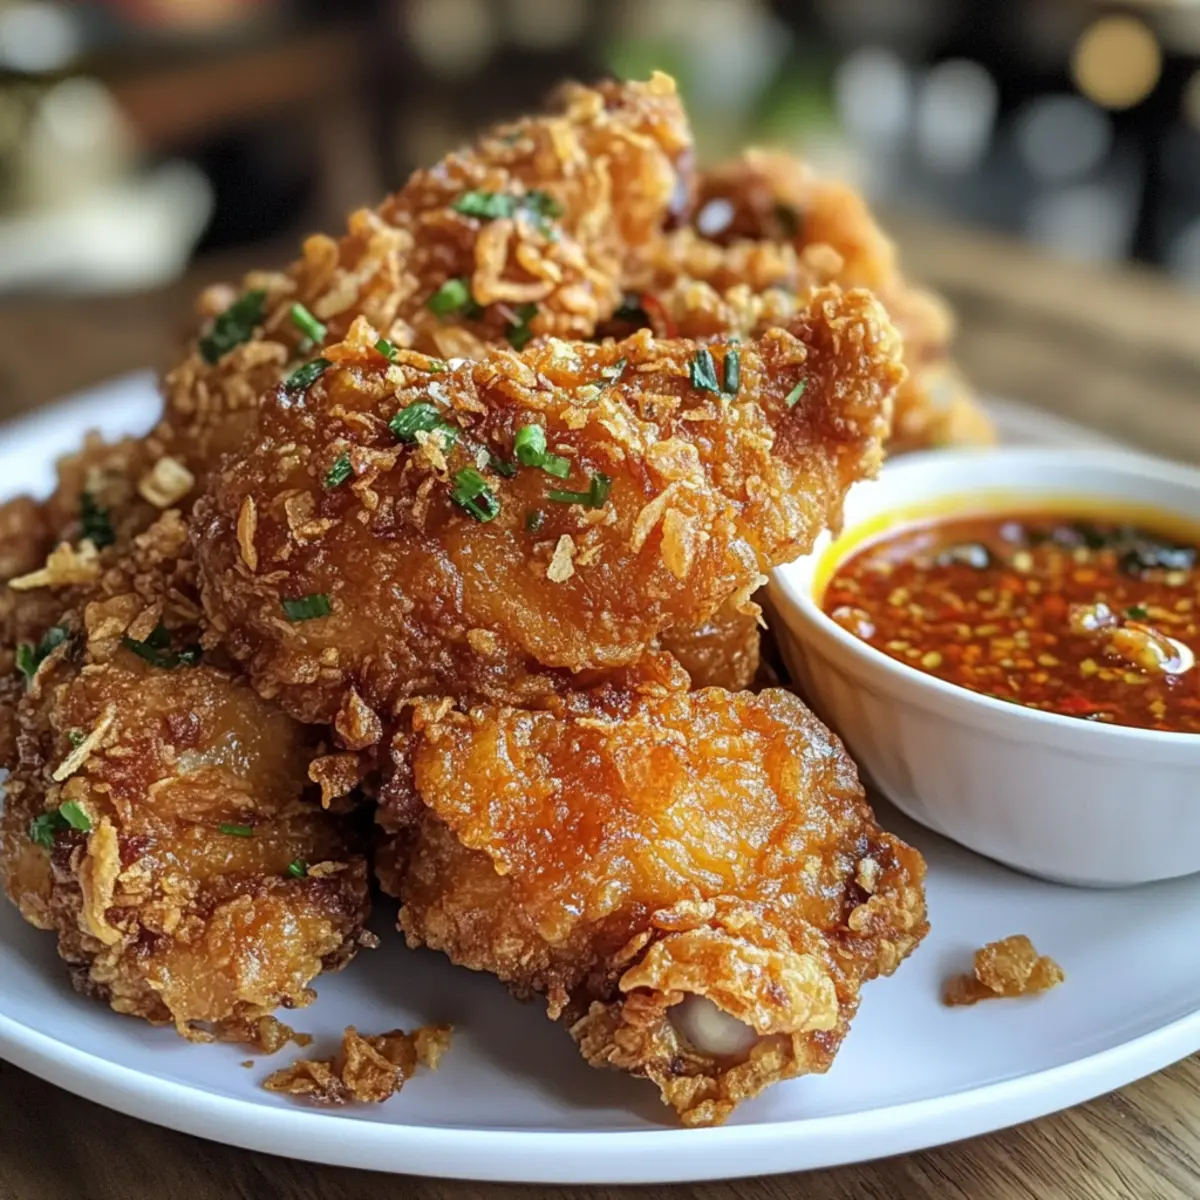
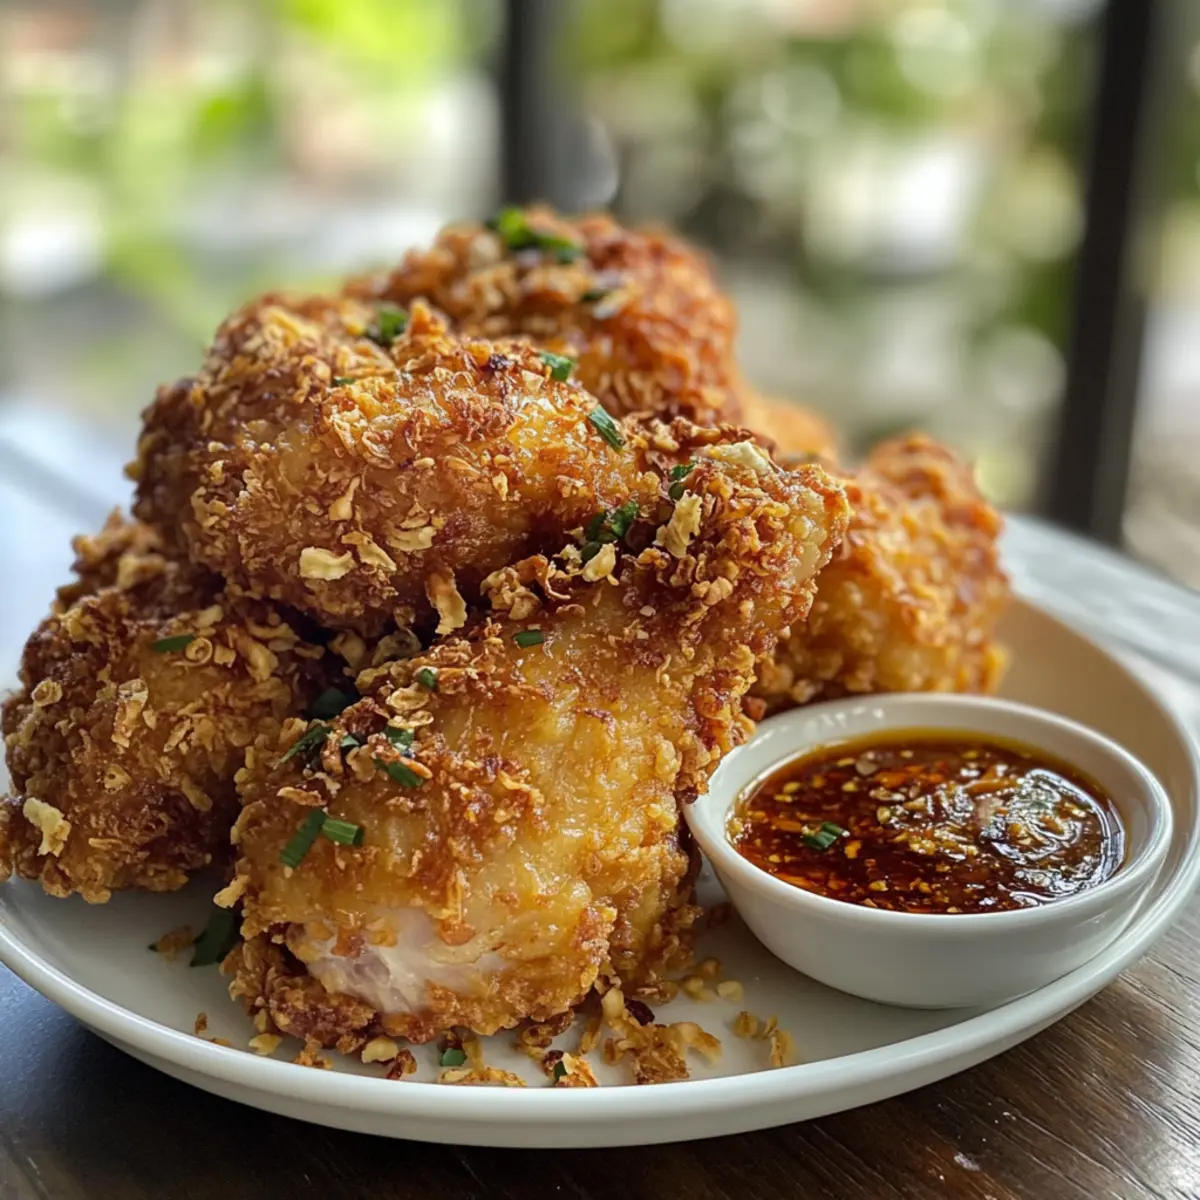
The sizzling sound of chicken hitting hot oil—it’s music to my ears! I remember the first time I tried Hat Yai Fried Chicken, a dazzling Southern Thai dish that stole my heart (and stomach) with its golden, crispy exterior. This recipe transforms humble ingredients into something extraordinary, where each bite reveals tender, juicy chicken marinated in a vibrant blend of Thai spices. What makes this Hat Yai Fried Chicken even more appealing is its quick prep time and the delightful crunch that will make your friends and family come back for seconds! Whether you’re serving it as a delicious appetizer or a flavorful main dish paired with sticky rice and zesty dipping sauces, it promises to elevate your homemade meals to a whole new level. Ready to dive into this Thai culinary adventure? Let’s get cooking!
Why is Hat Yai Fried Chicken Unforgettable?
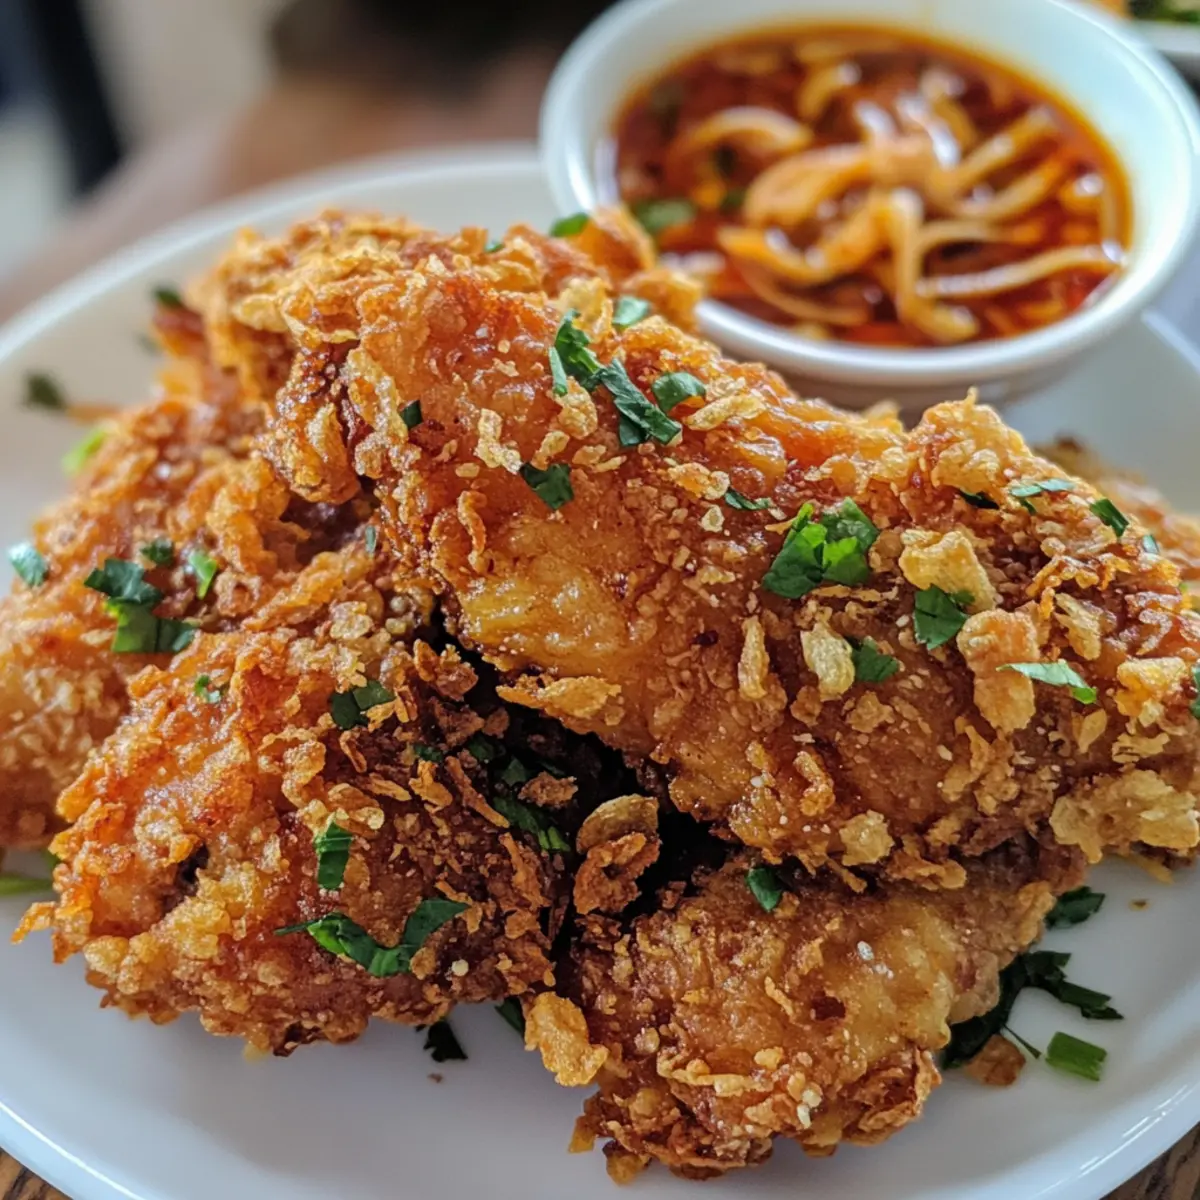
Irresistible Crunch: There’s something magical about that crispy crust; it’s the perfect contrast to the juicy chicken within.
Mouthwatering Flavor: The vibrant Thai marinade combines sweet, savory, and earthy notes, creating a taste explosion that lingers delightfully in your mouth.
Quick & Easy: With straightforward instructions, even novice cooks will feel like experts whipping up this impressive dish.
Versatile Serving Options: Pair it with sticky rice or spicy salads for a complete meal, or enjoy it as finger food at your next gathering. You can even sprinkle some crispy fried shallots on top for an added crunch!
Cultural Delight: This dish brings a taste of Southern Thailand right to your kitchen, making every meal feel like a festive celebration. Experience the charm of Thai cuisine with each delicious bite!
Hat Yai Fried Chicken Ingredients
Discover the key ingredients for this flavorful dish!
For the Marinade
- Thai Shallots – Adds sweetness and crunch; use fresh shallots for best flavor, or substitute with red onions if unavailable.
- Cumin Seeds (1 tsp, roasted) – Contributes warm, earthy flavors; match with ground cumin if unavailable.
- Coriander Seeds (1 tsp, roasted) – Adds citrus notes; can substitute with ground coriander but fresh is preferred.
- Black Peppercorns (1 tsp, roasted) – Enhances flavor with mild spiciness; you can use ground pepper as a substitute.
- Coriander Root (2) – Traditional flavor enhancer; substitute with the stem if unavailable, or omit.
- Garlic (4 cloves) – Provides aromatic base; fresh crushed garlic is ideal but garlic powder can be used in smaller quantities.
- Palm Sugar (1/2 tbsp) – Adds sweetness and balance; can substitute with brown sugar if needed.
- Fish Sauce (1 tbsp) – Adds umami and depth; for a vegan option, use soy sauce or a vegan fish sauce alternative.
- Salt (1 tsp) – Essential for seasoning; adjust to taste based on dietary restrictions.
- Ice-Cold Water (1 cup) – Used in marinade to tenderize chicken; important for achieving the desired texture.
For the Coating
- Tempura Flour (6 tbsp) – Creates a light, crunchy coating; substitute with gluten-free flour for a gluten-free option.
For Deep-Frying
- Oil – Needed for deep-frying; use high smoke point oils like peanut or canola for best results.
With these ingredients in hand, you’re all set to whip up a scrumptious Hat Yai Fried Chicken that will impress everyone at the dinner table!
Step‑by‑Step Instructions for Hat Yai Fried Chicken
Step 1: Prepare the Shallots
Thinly slice the Thai shallots and sprinkle them with salt to draw out moisture. Let them rest for about 10 minutes, then heat oil in a deep frying pan over medium heat. Fry the shallots until they turn golden brown and crispy, about 3-5 minutes. Remove them from the oil and drain on paper towels, ensuring they’re perfectly crisp for topping your Hat Yai Fried Chicken.
Step 2: Toast the Spices
In a dry skillet over medium heat, add the cumin seeds, coriander seeds, and black peppercorns. Toast these spices for approximately 20 seconds, shaking the pan frequently to prevent burning. Once fragrant, remove them from the heat, allowing the aromas to fill your kitchen. This step infuses amazing flavor that will elevate your chicken’s marinade.
Step 3: Make the Marinade
Using a mortar and pestle, pound the garlic and the toasted spices into a smooth paste. Transfer the mixture to a bowl and combine it with palm sugar, fish sauce, and salt. Gradually stir in the tempura flour, followed by the ice-cold water, mixing until a thick, smooth marinade forms. This will coat the chicken beautifully for that flavorful Hat Yai Fried Chicken.
Step 4: Marinate the Chicken
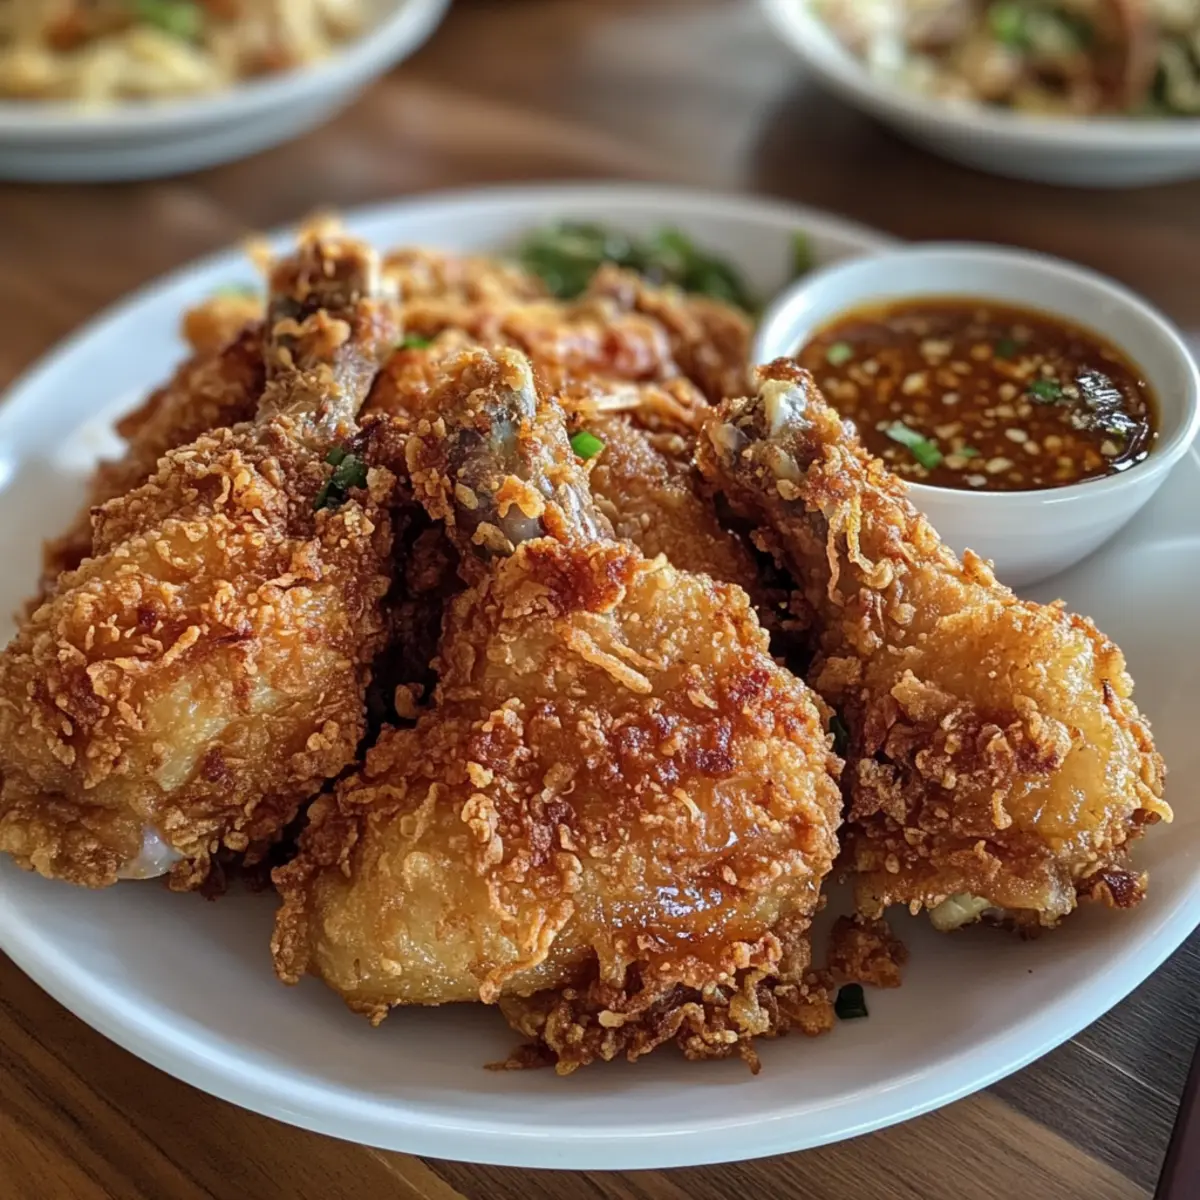
Prepare your chicken drumsticks by scoring the skin lightly; this helps the marinade penetrate more effectively. Coat the drumsticks generously with the marinade, making sure every piece is well covered. Place them in the refrigerator for at least 4 hours; for the best results, let them marinate overnight to fully absorb all the delicious Thai flavors.
Step 5: Fry the Chicken
When you’re ready to fry, heat oil in a deep pot or fryer to a steady 350°F–375°F (175°C–190°C). Carefully add the marinated chicken pieces, taking care not to overcrowd the pot. Fry the chicken for about 8–10 minutes or until golden brown and cooked through (the internal temperature should reach 165°F). Drain the chicken on a wire rack or paper towels to keep it crispy.
Step 6: Serve and Enjoy
Once your Hat Yai Fried Chicken is perfectly fried and draining, sprinkle the crispy fried shallots on top for added crunch and flavor. Serve immediately with sticky rice and your choice of dipping sauce for an authentic Thai dining experience. Enjoy the glorious blend of textures and tastes that this dish has to offer!
Hat Yai Fried Chicken Variations
Feel free to mix things up with these delightful twists for your Hat Yai Fried Chicken!
-
Chicken Thighs: Substitute drumsticks with chicken thighs for a juicier, meatier option. Thighs absorb the marinade beautifully, ensuring they’re flavorful and tender.
-
Different Coatings: Try using panko breadcrumbs instead of tempura flour for an extra crispy texture. Panko adds an addictive crunch that elevates every bite!
-
Spicy Kick: Add chili powder or sliced fresh chilies to the marinade for some heat. Spicy fans will revel in the added flavor dimension that balances well with the sweetness.
-
Vegan Option: Use tofu or cauliflower as a substitute for chicken, ensuring to marinate it just as you would the meat. The crispy fried shallots on top will still bring that familiar crunch!
-
Alternative Sauces: Serve with sweet chili sauce or a tangy green papaya salad for an original twist on flavor pairings. These options enhance the dish, offering fresh tastes alongside the fried chicken.
-
Herb Infusion: Incorporate fresh herbs like cilantro or Thai basil into the marinade for a bright, herbaceous touch. The natural oils from the herbs will infuse into the chicken and add depth to every bite.
-
Fried Shallots Alternative: Sub in crispy garlic chips for a delicious twist that’s just as crunchy. Garlic chips bring their unique flavor and aroma, adding an exciting variation to the classic shallots!
For further inspiration, consider serving your Hat Yai Fried Chicken with warm sticky rice and a side of Tzatziki Chicken Salad. This combo is a fun fusion that’ll keep your taste buds dancing!
Expert Tips for Hat Yai Fried Chicken
Marinating Magic: Ensure the chicken is marinated overnight for deep flavor infusion, elevating your Hat Yai Fried Chicken.
Frying Temperature: Keep oil temperature steady between 350°F and 375°F to avoid soggy chicken—use a thermometer for accuracy.
Avoid Overcrowding: Fry in batches to maintain oil temperature; overcrowding can lead to uneven cooking and less crispiness.
Resting is Key: Let the fried chicken rest on a wire rack post-frying for a few minutes; this helps juices redistribute for maximum tenderness.
Shallot Success: Properly salting and draining shallots before frying prevents excess moisture, ensuring they turn out perfectly crispy.
How to Store and Freeze Hat Yai Fried Chicken
Room Temperature: Store fried chicken uncovered for up to 2 hours to maintain its crispiness. This allows steam to escape, preventing sogginess.
Fridge: For best results, refrigerate any leftovers in an airtight container for up to 3 days. Reheat before serving to restore that tasty crunch.
Freezer: To freeze, wrap individual pieces tightly in plastic wrap and place in a freezer bag. It can last up to 2 months but may lose some texture.
Reheating: For optimal results, reheat in an air fryer at 350°F (175°C) for about 10 minutes or bake in the oven until heated through. Avoid the microwave as it can make the chicken rubbery.
Make Ahead Options
These flavorful Hat Yai Fried Chicken drumsticks are perfect for meal prep enthusiasts! You can marinate the chicken up to 24 hours in advance, allowing the spices to penetrate and harmonize beautifully. Simply follow the marinade instructions, coat the chicken, and place it in a sealed container in the refrigerator. Additionally, you can prepare the crispy fried shallots ahead of time; just store them in an airtight container at room temperature to keep their crunch intact. When you’re ready to cook, heat the oil and fry the marinated chicken until golden brown—this way, you’ll enjoy delicious, homemade fried chicken on busy weeknights with ease!
What to Serve with Crispy Hat Yai Fried Chicken
Elevate your meal with delightful accompaniments that enhance the vibrant flavors of this Thai classic.
-
Thai Sticky Rice: This subtly sweet and chewy rice absorbs all the delicious flavors around it, creating an irresistible pairing with the crispy chicken.
-
Spicy Green Papaya Salad: A refreshing contrast with its tangy and crunchy profile, this salad adds brightness and balances the rich flavors of the fried chicken.
-
Sweet Chili Sauce: With its perfect balance of sweet and spicy, this sauce provides an enticing drizzle or dip that will excite your taste buds and complement the crispy crust.
-
Cucumber Salad: A light and crisp salad featuring thinly sliced cucumbers and a zesty dressing enhances the meal and adds a refreshing crunch that contrasts beautifully with the fried chicken.
-
Fresh Herb Garnish: Serve with a scattering of vibrant cilantro and mint for an aromatic touch; these herbs add color, freshness, and an added layer of flavor.
-
Iced Thai Tea: To wash it all down, this creamy and sweet beverage provides a delightful sweetness that pairs perfectly with the spiciness of the chicken.
With these scrumptious sides, your table will be a feast that captures the essence of Thai cuisine while elevating your Hat Yai Fried Chicken experience!
Hat Yai Fried Chicken Recipe FAQs
What kind of oil is best for deep-frying?
Absolutely! For deep-frying Hat Yai Fried Chicken, it’s best to use oils with a high smoke point, such as peanut or canola oil. These oils can withstand the high temperatures required for frying without breaking down, ensuring your chicken has that perfectly crispy exterior.
How do I know if my chicken is properly marinated?
You’ll want to ensure your chicken has a deep color and is fragrant from the marinade. Ideally, after marinating for 4 hours or, even better, overnight, your chicken should visibly soak up the marinade, enhancing its flavor. Scoring the drumsticks before marination helps maximize flavor absorption. If you’re unsure, just take a bite after frying; it should be bursting with flavor!
How should I store leftovers of Hat Yai Fried Chicken?
For optimal storage, refrigerate any leftovers in an airtight container for up to 3 days. If you have fried chicken that has been left out, it’s best consumed within 2 hours to keep it safe to eat. When reheating, I recommend using an air fryer or an oven to restore that delightful crunch, which usually takes about 10 minutes at 350°F (175°C).
Can I freeze Hat Yai Fried Chicken?
Yes, you can! To freeze, wrap each piece tightly in plastic wrap and place them in a freezer bag. This will help protect the texture and flavor. Frozen fried chicken is best consumed within 2 months. When ready to enjoy, reheat them in an air fryer or oven to ensure they come out crispy rather than soggy.
What can I substitute for fish sauce?
If you’re looking for a substitution for fish sauce, soy sauce is an excellent alternative that maintains the umami flavor. For a vegan option, you can explore vegan fish sauce alternatives made from mushrooms or seaweed. Just remember to adjust the salt accordingly, as these substitutes may vary in saltiness.
Are there any allergies I should be aware of when making this recipe?
Indeed! The main ingredients to watch for include fish sauce, which contains fish and may not be suitable for those with seafood allergies, and gluten, which is found in tempura flour. For a gluten-free version, substitute tempura flour with a gluten-free flour blend. Always double-check ingredient labels if you’re catering to specific dietary restrictions!
Crispy Hat Yai Fried Chicken That Will Wow Your Taste Buds
Ingredients
Equipment
Method
- Thinly slice the Thai shallots and sprinkle them with salt to draw out moisture. Let them rest for about 10 minutes.
- In a deep frying pan over medium heat, fry the shallots until they turn golden brown and crispy, about 3-5 minutes.
- Remove them from the oil and drain on paper towels.
- In a dry skillet over medium heat, add the cumin seeds, coriander seeds, and black peppercorns. Toast these spices for approximately 20 seconds.
- Pound the garlic and the toasted spices into a smooth paste using a mortar and pestle.
- Combine the mixture with palm sugar, fish sauce, and salt. Gradually stir in the tempura flour and then the ice-cold water.
- Prepare the chicken drumsticks by scoring the skin lightly; coat them generously with the marinade and refrigerate for at least 4 hours.
- Heat oil in a deep pot or fryer to a steady 350°F–375°F (175°C–190°C). Carefully add the marinated chicken pieces.
- Fry the chicken for about 8–10 minutes or until golden brown and cooked through. Drain the chicken.
- Sprinkle the crispy fried shallots on top and serve immediately with sticky rice and your choice of dipping sauce.